This video is designed to show you how to edit a portrait photo using the brand new Winter Illuminations Collection from Sleeklens. We earlier did another video to teach you how to edit landscape photos using the same collection and I hope you have already made some strides in your post-processing edits using the techniques outlined in the video.
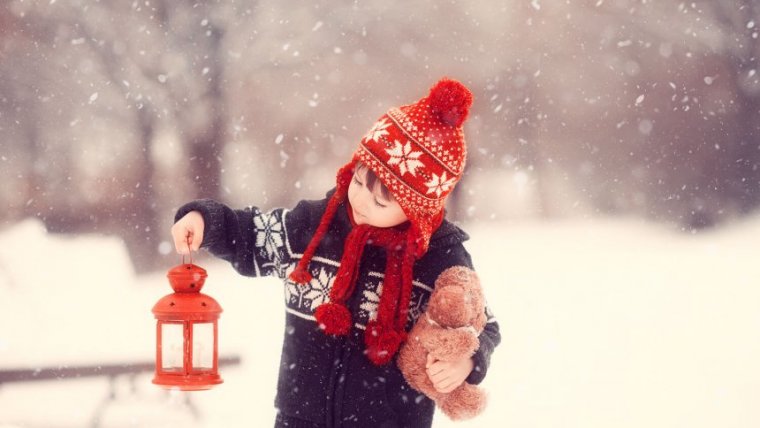
To begin the process, you will need to have your photo ready and uploaded into the system. I have my really good portrait and the model is stretching her hands out as if she is catching snow, she’s got snow in her hair but you can hardly see any snow falling. So, I will amplify that and add some basic adjustments on her such as smoothing the skin, vignette to draw your eye into the photo.
The first thing we need to do is have the Winter Illuminations Collection installed. This is already installed in my system and therefore I will go to Windows > Actions > Winter Illuminations Collection and expand that. From here you can see all of the awesome adjustments you can and the type of combinations you can do.
I will start with the smooth skin brush and then hit the play button. This will bring a message that says “Adjust the brush and Layer opacity as needed to smooth the skin”. I will click OK and then continue. This gives you a layer mask which allows me to paint there with a white brush to apply the effect. I will zoom into the face (the effect is not applied until I start painting), and with the basic brush which is set to white and I will start painting.
Once I have painted, I will toggle off you can see the natural skin but when I toggle on, you can see the smooth skin. This is one cool brush you can apply. When you zoom out and consider that it’s too much, you can lower the opacity and blend it a little bit more to see what works best for you. I will keep mine at around 80 and this gives me my skin smoothing effect.
I will highlight the background layer again and apply a Fake HDR preset and then click the play button. This tones down the image down a little bit and gives me a more detailed back, more details shadows, and the hair is brightened up a little bit. If we toggle it off, you realize that the previous version is really bright but when we toned it down with the HDR so we could get more details back there.
The next effect I will do is the Dark Vignette. I will highlight the background layer again, select the Dark Vignette and then click the play button. This darkens the edges around the image really quickly but draws your eyes more towards the model which is the subject and that is what we really want.
Now that we have the basic edits applied, we will apply the snow brush. I will create a blank layer and with the snow brushes installed, I will click on the snow brush and scroll down, pick the one I want to use based on the intensity of the snow that I want to have in the image. Based on my choice of the brush, you can see the small and large dots and I just want to size it down roughly to the size of the frame. Since my foreground color is white, all I will do is a single click and you can see that there will be falling snow in the image. We can add more snow by doing one more click or I can make it look like it is falling down a little bit fast. I will click on the snow layer by going to Filter > Blur > Motion Blur and make the snow fall straight down a bit. We will also lower the distance a little so it’s not as blurred.
We still want to see a little bit of snow and therefore will click OK and then toggle off and you can see the snow. We will toggle on and if it is distracting a bit to have the snow in front of the model’s face, you can actually make a layer mask, get a regular black brush and size it down a little bit. With this, I will paint the areas where I don’t want the snow to appear. In this case, I will do it around the eyes or I can still lower the opacity and the flow down and still paint it away to make it less opaque.
I will now ground all the edits together by hitting the Command/Ctrl +G and then toggle off. The before photo is not bad looking but the after photo stands out from the normal snapshots thanks to all of the cool effects we applied.
Hope you enjoyed this tutorial using the Winter Illuminations Collection and you can head to Sleeklens.com for more tutorials, Lightroom workflows and Photoshop Actions.


Please verify your software version before proceeding.
 I’ve verified my software version


 Facebook
 Google +
Comments (0)
There are no comments yet.