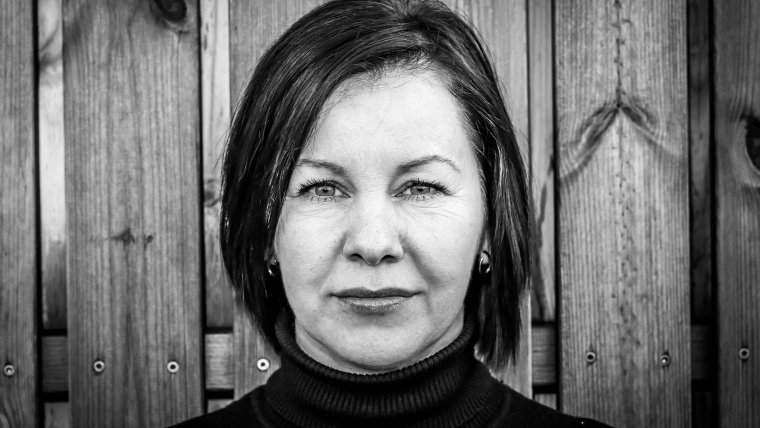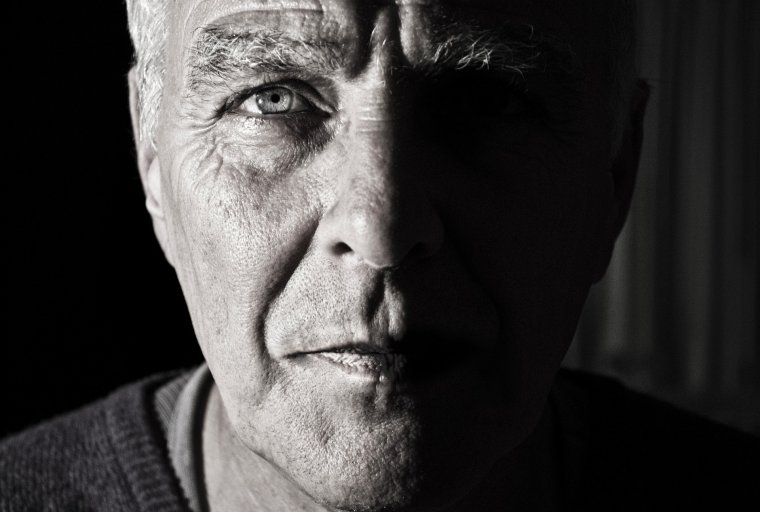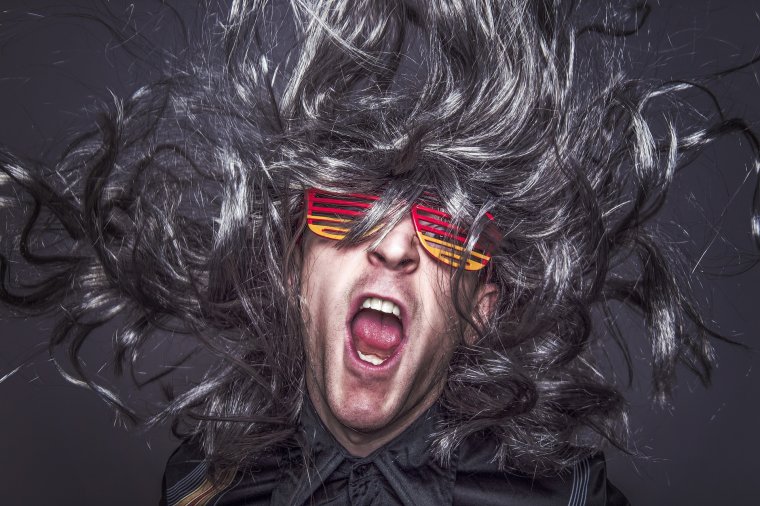
Those pro portraits you had watched on the net and in the magazines do not need extraordinary gear and special knowledge. In fact, there is nothing that you can’t do. I will prove that in this article, with a focus on the lighting for indoor and outdoor portraits.
A good portrait with interesting expressions, composition, and proper lighting has more power than any other kind of photography. Why? Because of the power of the emotions on a face broth in just a part of a second frozen in time forever.
Professional photographers use multiple flashes with as many as four strobes. At first, you must know why there are four strobes, and what is every one of them doing to your image. It’s simple because each and every one of the strobes is having only one function.

The MAIN LIGHT- is supposed to be of the camera. You and nobody else wants red eyes on the photos. Red eyes occur when shooting with on camera flash, so that’s why we will get it off the cam. With this kind of position of the main light, we can create shadows and highlights to the face bones, skin or other face parts. If the flash is on the cam we cannot be creative and dance with the shadows, simply there are limits. The newest DSLR models have the feature to trigger the flash unit wireless, if not then we going to have to buy a long enough cord.
Now that we positioned the main light left or right of the object, depends on the side that we choose the FILL LIGHT (also known as diffuser light) should be on the opposite side. The fill light is used only to soften the shadows that occur from the main light. This kind of light is optional but it’s good to have one in direction of creativity. In case you are not able to have one you can use a white cardboard from the opposite side of the main light to reflect the light beams from the main light. In case it’s not good enough you can wrap the cardboard in an aluminum foil for a better reflection. Additional to this you can play with the distance of the cardboard to get a better effect.
The third source of light is the BACKGROUND LIGHT. This kind of light is used only to show what is behind your object, and of course it’s optional only if you need one in a current situation. The light is positioned behind your object lighting up the background. In case your background is black or in the very dark color you can skip this. If you are improvising you can hang a black bad sheet behind your object and you are done.

The fourth light is called KICKER LIGHT (also known as hair, rim, or edge light). This light is used to make a distinction between the object and the background or it’s kicking the object in front line. It is placed above the object facing the back of the head. But if you place the main light correctly you can forget about this source of light. In my opinion and from my experience it is good to have one but you can make more artistic photos without the kicker.
If you are shooting portraits outdoors my advice would be to use wide angle lens. At wide focal length, you can make beautiful distortions such as creating illusions of the length of the arms (for example), and you will catch some of the surroundings. Also, the background can add drama to your portrait and can change the whole context of the photo. Consider that all of us are stuck with the meaning of the orientation or the layout of the image. Don’t stick to a portrait orientation; you can shoot portraits with landscape orientation. Mix your framing up in each shoot that you do and you’ll add variety to the type of shots you take. Play with the expressions and emotions of the person that you are photographing- don’t be a boring photographer.
After we are clear with the positions of the lights it is up to your taste how you going to dose the amount of the light. Remember that you can play with the distance between the object and the source of the light. These would be my general advice for indoor and outdoor portraits. You can combine additional lights for outdoor photography. Also, the article does not mean that lights are only for in the studios. Practice, practice, and experiment with lighting and composition. The greatness of your work comes with the experience.
Comments (1)
After 50 years as a working pro-photographer, and 40 of those as a large studio owner-opetator, it’s really sad to see today’s new photographers aimlessly trying to learn their craft from a camera viewpoint, rather than lighting. Years ago, a very talented lady named Julia Sully wrote a regular column called “Seeing Light”. That’s the KEY.
PHOTOGRAPHY: An image made from light.
Learn that forst, along with some basic art courses, and always use your camera In MANUAL MODE.