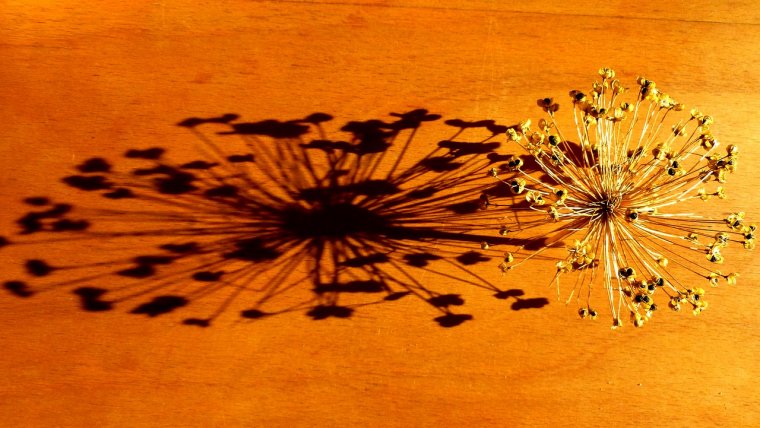
Golden hour, whether it’s early morning or evening, can be a photographer’s best friend. The natural, golden lighting of the setting sun creates an ethereal effect that can really make an image pop.
What do you do if you need that ethereal effect, but you don’t have the option of lugging everything outside at just the right time to capture the shot? The following tips and techniques will help you set up your studio to capture believable sunset lighting effects from the comfort of the great indoors.
Table of Contents
You can use an array of varying strength flashes and gels to effectively render sunset lighting inside. This technique works well if you’re shooting an image that is meant to look as though it was taken indoors with sunset lighting coming through a window.
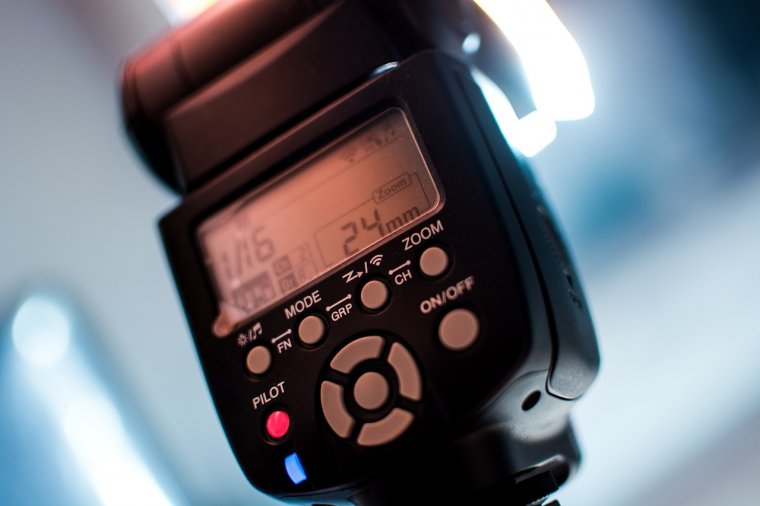
To start with, set up a strong flash in the background of the image. You can cover the light with a gold gel, or use a combination of yellow and orange placed side-by-side over the light source. This will provide a strong directional glow in the background of the image that looks like the setting sun as it crests over the horizon. Place the flash outside the window or directly in front of it, if possible, using the glass to further refract the light.
Next, you should set up a weaker flash in the foreground – try using an for this one. Place a gold, yellow, or orange gel over the flash. Use light diffusion to create a soft glow by aiming it away from the foreground, casting the light on a gold reflector or reflective wall. The other option is to aim it at the foreground while using a softbox which will create a more directional light. Be careful with this as you can accidentally make it look as though the sun is shining from two different directions.
You may need to use additional SB600 or other speedlight, and reflectors to fill in the shadows and create just the right glow. You’ll need to experiment with your space and your camera to get the type of sunset effects you’re looking for.
If you don’t want to use a window to create the effect of having the setting sun in the background of the shot, then angle your backlight so that it is not causing such direct illumination. Instead of a flash, you can also use bare-bulb lighting for this. Either way, remember that the lighting will create deeper shadows when it is placed further away from the foreground.
You should also remember that sunset lighting often creates unique directional shadowing. You will need to play with your light positioning and reflectors to create proper shadowing in the image.
You’ll need to control the exposure of the image by playing with the shutter speed, ISO, and aperture settings on your camera. You can try out different combinations to create different effects. Let’s take a look at two basic ways to create a different type of sunset image using these settings.
If you want the entire image to appear crisp and in focus, try the following settings: Use a low shutter speed and a tripod. The low speed will help you capture more light, and the tripod will keep the image from appearing blurry.
Next, you’ll want to use a high aperture setting. This will produce a lower-level of light, but this should be balanced by the shutter speed. The aperture setting, when combined with the right lighting, will ensure that the image appears crisp instead of soft and nuanced.
The last thing to do is play with your camera’s ISO settings. High-quality equipment can use ISO setting above 400, but low-quality equipment may produce a grainy effect at higher settings. Low ISO lets in less light, high ISO lets in more. Use the ISO to better balance the lighting captured by the camera’s shutter speed and aperture settings.
If you want the light in your image to appear more glowing, with only the foreground appearing in crisp focus, then try out the exact opposite of the above. Set a higher shutter speed with a lower aperture setting, then use the ISO to create just the right balance of lighting.
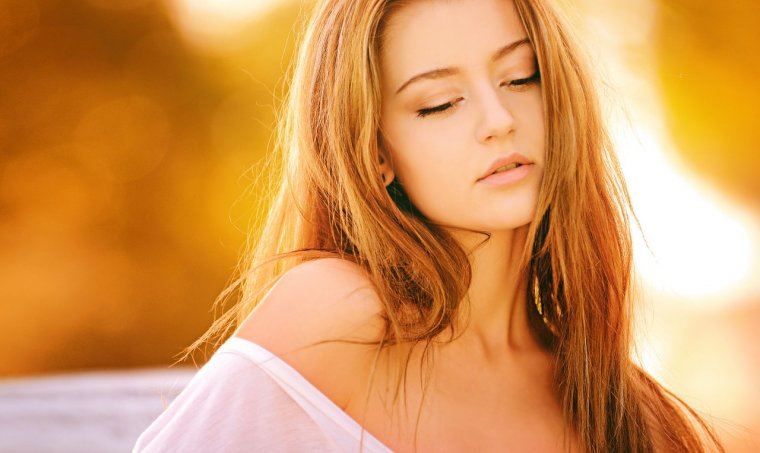
If you want to take an indoor sunset shot that looks like it was taken outdoors, you’ll need to play around with some additional equipment. You can place vellums with holes in front of lights to create cloud shadowing or use a softbox cover with a hole in the center over your foreground light to create the glowing directional light of the setting sun.
While these tips and tricks will help you to get started, experimentation is the only real way to get things set up just right. Have fun working it out in your studio, and please feel free to share any tips you discover along the way!
Comments (0)
There are no comments yet.