The digital age of photography has made photographers just a bit lazy. However, I can’t particularly complain about how easy it has become to access digital images and make your adjustments on them as you see fit. These days you’re now capable of easily accessing your images, straight from your camera, right on to your mobile phone. Therefore in some aspects, the digital age has made photography a lot more easy and accessible to beginners and others. However, this advancement and accessibility often take away from individuals and even photographers themselves, learning a bit about the roots of what photography came from to where it is now.
In a previous article, we spoke a bit about film photography and its relevance in modern day photography. Some of you may have grown interest to learn a bit more about film photography and the tools or supplies that go behind it. In this article, I will be sharing you some of the key things needed to get started in film photography such as supplies and tools. Film photography is a lot more meticulous than that of digital photography and will require a bit more than just a laptop, an SD card and a couple editing software.
Table of Contents
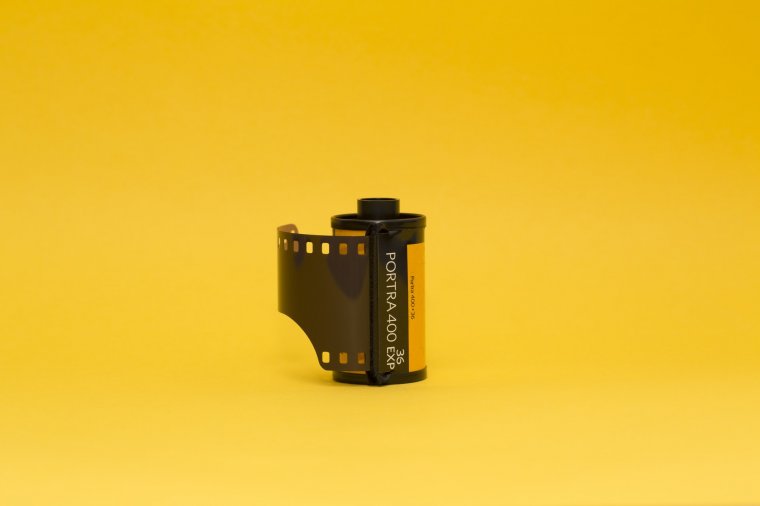
Well, one of the most obvious things you’re going to need to begin film photography is the film. In film photography, unlike digital photography, the film is what determines what your photograph will look like. It is the base layer that dictates the outcome of your images. Films tend to have various sheets with different ISO ratings. Some of the ratings start from 100 all the way to a maximum of 25600 in consecutive shots. The film can also dictate things like the level of contrast, sharpness and even other details in your image. This is a tool that cannot be overlooked or undermined as it is pretty much a key tool needed to begin film photography.

The film is still accessible by Amazon or even some of your nearest photography stores. I’ve heard where many photographers assumed that getting film was the hardest part to get started in film photography but on the contrary, it is probably one of the easiest steps in the whole process. I would definitely recommend trying to learn black and white in film photography first before tackling colors for a few reasons. Colors in film photography are not difficult but the process is a lot more intricate than black and whites. There is always room to practice and master black and white film than colors.
When doing black and white in film photography, things like temperature and timing are that serious like it is in colors. Creative processing and the techniques used in printing are a bit easier to grasp in black and white. When these techniques are mastered then it will become a little less stressful processing colors.
A developing tank is a pretty easy tool to understand as its function is not too complex. The function of a developing tank is to pretty much prevent light from being exposed to the film during its developing process.
A reel is another tool that works along with the developing tank. The function of the reel is to essentially hold the film while it is being developed inside the developing tank. Reels are capable of hold about several rolls of film all at once for you developing process. I would recommend getting plastic reels and development tanks as they are not only a lot cheaper than the stainless steel option but also a lot easier to load and use when needed. Stainless steel reels have proven to be a bit trickier and might cause you a few issues as a beginner.
You will need a stopwatch or timer dedicated to your developing process. Failure to do this could result in inconsistent images or ruined film during your development process. It pretty easy to get a timer these days but feel free to get one that is used specifically for film photography.
This might sound weird to you but you will definitely need a thermometer throughout your developing process as well. A thermometer can play a huge roll in the results of your final image. If the liquid is too hot then your film will develop a bit quicker than usual and have a higher level of contrast. If it is too cold then there might be a chance of you underdeveloping your film.
You will also need a few graduates throughout the process of developing your film. Graduates are pretty much plastic containers that can be used to measure the amount of liquid placed in it. These are often used in chemistry and photography labs. Graduates in film photography are important to measure the correct amount of chemistry as well as getting your dilutions correct when mixing the chemistry.
Some of you may be questioning as to the “chemistry” is. The Chemistry pretty much encompasses the developer, fixer and some water. This chemistry also crucial to the development of your film or images.
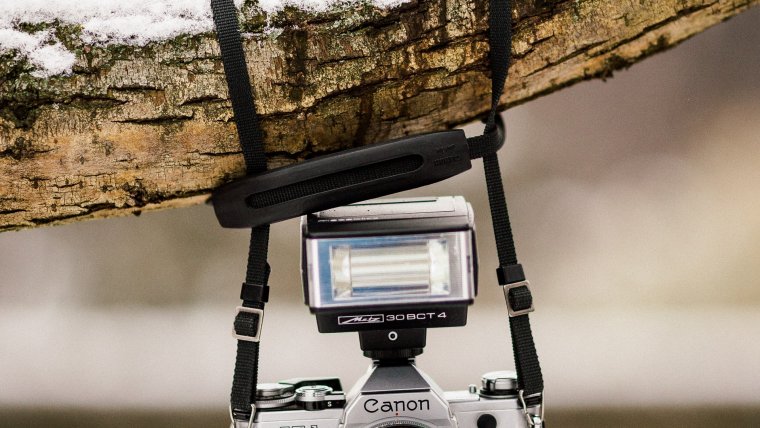
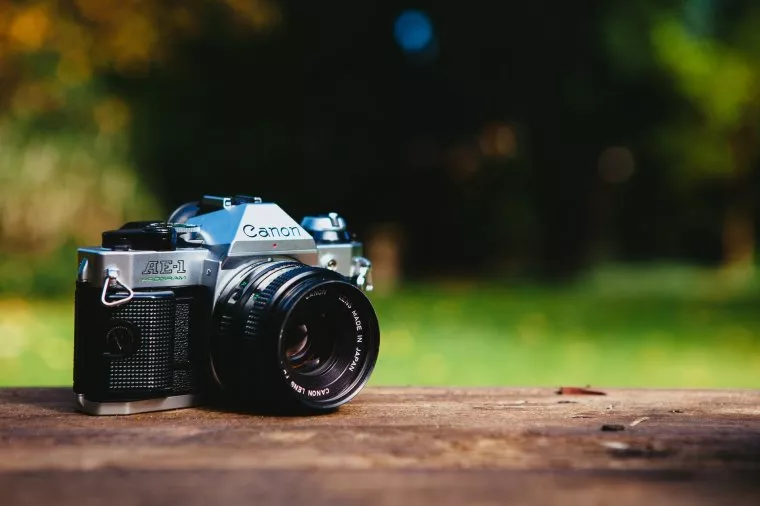
Last but not least, you will need an analog or film camera. Unlike digital photography, the brand or type of analog camera rarely matters as long as it is in working order and can use film. Most analog cameras are equipt with the same lens and functionalities as the other. Things such as shutter speeds, autofocus, and continuous shooting don’t matter when it comes to selecting an analog camera.

Getting one in good shape might be a little challenge depending on where you are and if they are readily available to you. Some of us are lucky and had our elder pass down their analog camera to us as something to cherish so we can now put them to use and learn about photography how they did it back in their days.
Thank you guys for stopping by and giving this article a read. I hope it has helped you to find the tools you need to begin film photography. Until next time, thank you!
Comments (0)
There are no comments yet.