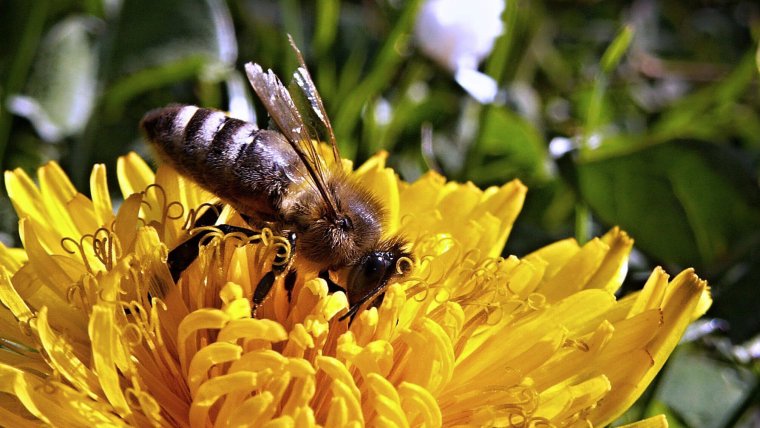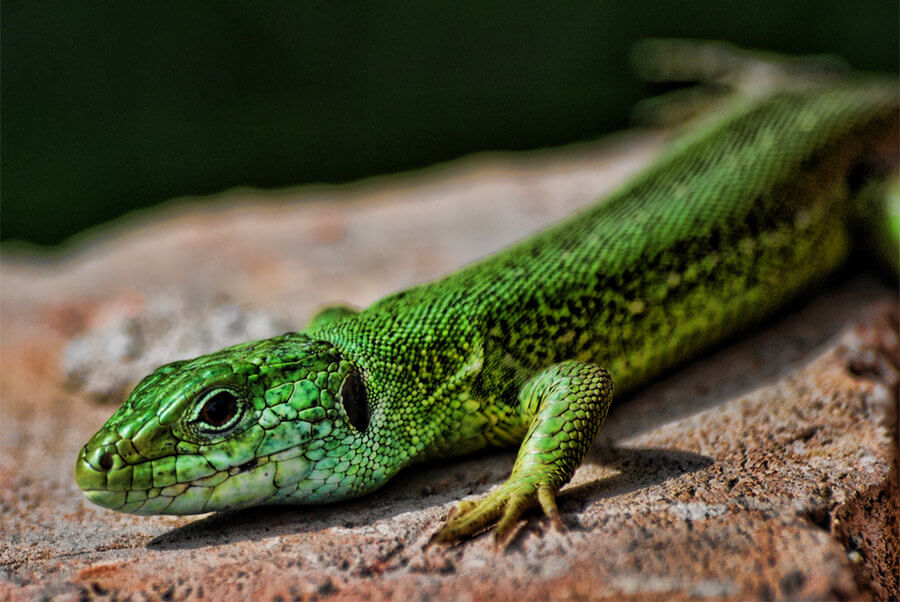
Welcome to the macro world of the micro. This doesn’t make any sense, except when we are talking about photography.
So what exactly is macro photography?
When we are talking about macro, we mean a super close up photo. In another word, it refers to a photographic setup which is capable of reproducing something on the sensor at or larger than its original size. For example, if you are shooting pictures of the object which is 2 cm. long, your lens should project a focused image that is equal or bigger than 2 cm. on the camera sensor.

Now after we are clear about the definition of macro we are going to focus on the settings and techniques.
The first problem is to get so close to the subject to fill the frame something as small as a bug. If you are using a standard 18-55 lens, you will face the first problem, and that would be the focusing. This kind of lens may only be able to focus on objects further away. If you observe your camera you will find a setting for macro. Usually, it looks like a Tulip and often sits next to an icon that looks like a mountain range. Choose the tulip, and you will find you can focus a lot closer to the subject than normal. Next thing will be to have a special macro lens. If this is not enough for your taste end needs, you should consider buying an extension tube. Extension tubes are hollow cylinders which fit between your lens and the camera body, moving the lens away from the body and allowing you to focus a lot closer than you would be able to without the tube in place. The downside of adding the extension is that you are now unable to focus to infinity but, for macro, that’s not a problem. Tubes are typically sold in a set of three offering different extensions (in my case, 12mm, 20mm and 36mm).
The biggest problem I typically have to deal with when shooting macro is the depth of field. When you are a matter of a few centimeters away or even 1 meter away with a longer lens, the depth of field drops off dramatically, and you normally find that it is extremely difficult to get your whole subject in focus. Normally the solution to increasing the depth of field is to decrease your aperture (pick a larger f-number), but this means that you have to decrease your shutter speed to compensate and you soon get into a situation where the shutter is too slow to give you an image without camera shake or movement blur. The resolution would be to pick as small an aperture (as large an f-number) as you can while still keeping your shutter speed in the safe zone. You have another variable thing that you can play with to help around the shutter speed problem, and that will be the ISO, but you should be careful and aware of the noise.

Even though you have come up with a suitable combination to get the correct exposure you will have the problem of keeping the whole subject in focus. Here are two tips:
So now that we are clear about the focusing and the equipment, I’m going to stay a little bit about lighting.
The light is not so good when you are shooting with a single direct flash. If I do have all-around access or helpers willing to hold flashes take the flash off the camera and either put it on a stand close to the object but to one side of the shooting position, then fire it using the on-camera flash as a CLS commander. Also if you are shooting, let’s say food or small objects such as toys, or if you are in the stock photography business, you should consider buying or making a small lightbox. This will give your photos special touch. If you search the web, you will find plenty of tutorials how to make one, and it would not cost much.
Enjoy in your exceptional macros.
Comments (0)
There are no comments yet.