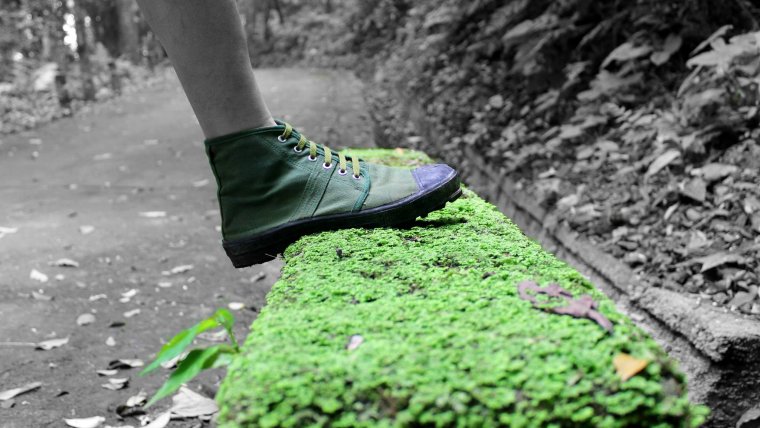
In this tutorial, I would like to show you how to do Selective Color Effect using Adobe Lightroom. So, the selective color effect is basically displaying one color in the entire image, leaving the rest of the image in black and white thus allowing your eyes to focus on the parts of the image that are in color. This is a really fun effect to do to your photos to make the view focus on one thing. It is a cool thing to do in Lightroom Presets. But, have you already installed Lightroom presets? Download now.
With our image uploaded, we shall not do any adjustments in the basic panel but will jump right to the HSL panel. Once there, we will click on the Saturation tab and make sure that all the colors are dropped to -100. This will turn the entire image into black and white. We only need to have the two taxis colored and these normally have yellow and orange colors. As such, I will pump up the yellows to see what I get and once this done, you realize that not only does it affect the two taxis but also the buildings in the background. This is not a problem though. I will then increase the oranges and this gives me the full taxi colors back and I’m ready to go.
With every change that I make, you realize that there are also some buildings which are affected and I will need to get rid of the colors on them and leave them in black and white. This is where my adjustment brush comes in and I will click on it and then make sure that my color is set to white and that the saturation is all the way down. Another thing I can do to achieve these same results is to make sure that the “Show selected Mask Overlay” is checked and then paint over the areas that have color remaining. I will then paint over those areas loosely. This could also be done from the beginning and not worry about doing it in the HSL panel but I find it to me a whole lot easier and more forgiving to do the HSL first and then the paint over.
In my tutorial as can be seen in the video, I have messed up a little by painting over the taxis and the way to rectify this is to hold the ALT option key to turn my brush into Minus and then paint that out. Once done, I will take out my overlay and the only thing that is left colored is the two taxis. I can click on the adjustment brush and go back to my basic panel and do some adjustments such as taking up the clarity, vibrancy, exposure and other basic edits that I normally do. This will leave the taxis more colored and while everything will be in Black and White.
That is how you can do the Selective Color Effect in Adobe Lightroom. Check out more of our Lightroom and Photoshop tutorials from our blog section like how to create collages in Adobe Lightroom and have a look at our amazing presets and actions for fantastic post processing editing work.


Please verify your software version before proceeding.
 I’ve verified my software version


 Facebook
 Google +
Comments (1)
Useful presentation, thanks.