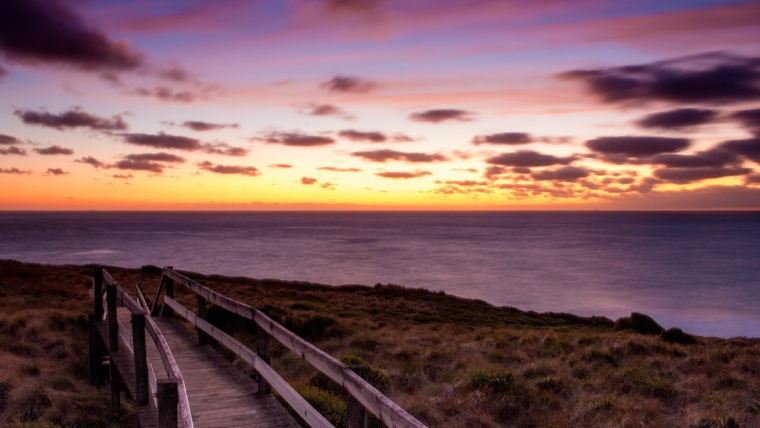
a picture is often used to enhance the subject of a composition, and Lightroom has an automatic feature to create vignetting in the effects panel. However, this software’s native effect only darkens the edges of the picture, making it look very artificial for my taste. So in this tutorial, you’ll learn an alternative way to make the same effect using specific adjustments in Lightroom, improving your picture and making it stand out just like the before and after below. Let´s go!
Step 1) Open Lightroom and Import and/or Open the selected image you want to tweak. Then, go to develop mode and select the graduated filter tool on the right tools panel, that way you’ll create a new mask in your image:
When you select this tool, you’ll notice the cursor will become a cross, click at the top edge of your image and drag to the middle of the image, maintaining a straight line. This way, you’ll create a mask on your image, and can tweak with the adjustments from the right panel, just as a usual image, but it will only apply to the area highlighted by the mask. You can tweak with the values according to your style of editing, but these are the values I’ve used for this example:
Step 3)
Now you’re gonna do the same thing as the previous step, but this time clicking and dragging from the bottom edge to the middle of the image. You can make the adjustments in the right panel, but for this example, I’ve used the same values from the first mask.
Step 4) In this next step you’re gonna make the edges of the picture darker than the middle, just like the default vignette effect, but better! Create a radial filter by clicking the tool on the right panel, you’ll notice the cursor will become a cross also (just like the graduated filter). To create this new mask, click at the center of the image and drag all the way to one of the edges, but this time it has a rounded shape. The values I’ve used are in the images below but, again, it will depend on the image you use and the style of editing you have.
In my case, I like to bring colors to the picture by increasing the saturation and tweak a little bit in the clarity dial to enhance the details of the shadows. To darken the edges of the image, like the default vignette, I´ve lowered the exposure dial a bit.
Step 5)
To finalize the effect, you’ll create another radial filter just like the previous one. Click on the center of the image and drag to the edges, but this time you’re going to invert the mask by checking the box “invert mask” at the bottom of the right panel:
To emphasize the tone at the center of the image, I´ve increased the temperature just a little bit and added a warmer color to the mask, by clicking on the color box at the bottom of the panel and selecting a color similar to the ones at the center of the image. I´ve also adjusted the exposure and sharpness to enhance the details at the center of the image.
By now you should have ended with a totally different picture from the one you had at the beginning of this tutorial. Click “Done” and you can export the picture the way you do usually.
In this tutorial, we learned how we could make our pictures stand out using two great tools from Lightroom, the graduated and radial filters. The final result was an image with enhanced colors and a smooth vignette effect with no dark edges. If you have any suggestions or doubts you can write a comment below or contact me directly. See you next time!
Comments (0)
There are no comments yet.