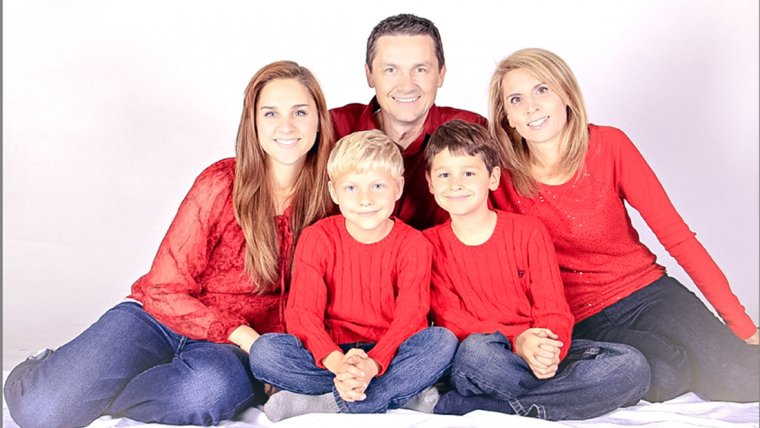
A good family portrait will hang in a house for years. Everyone who comes through that house will see that picture. So it’s important that the best family picture looks the best that it can. If you’re trying to create the perfect portrait, the Sleeklens Chasing Light Lightroom Bundle can help. The bundle is also useful for perking up any pictures your family has, but that weren’t edited properly. Here, we’ll give you an in-depth guide for turning your family portrait into a perfect memory. Follow along as we transform this picture.
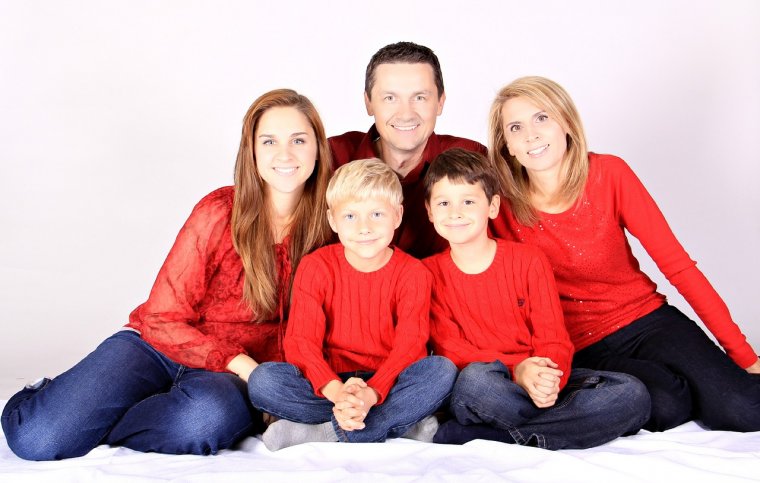
Table of Contents
The all in one section of your Sleeklens Chasing Light bundle is perfect for a quick fix. If you’re a beginner in Lightroom this section is a great place to start. The all in one section will combine the best of the rest of the bundles. Try out the different presets until you find one that works best for you and your picture. For our example photo, we used the preset Matte Glow to darken the background and bring out the natural shape of the outfits.
The base section of the Sleeklens Chasing Light bundle is the most important bundle. This will be your building ground for creating the perfect photo. For the example picture, we want to tone down the bright background and create more of a focus on the family members. To achieve this, we used the base preset in the shadows. This does create more of a highlight on the family’s skin and clothes. However, it darkens the background, and draws the attention to the family. The problems created by the highlight will be fixed in later presets.
In order to adjust the brightness of a photo you’ll want to play with the exposure. Normally this is done when taking the photo. However, the Chasing Light workflow can help you adjust this in the editing section. To help darken the example picture we used the preset Brighten Shadows. This toned down the light of the family’s skin, and brought out their outfits.
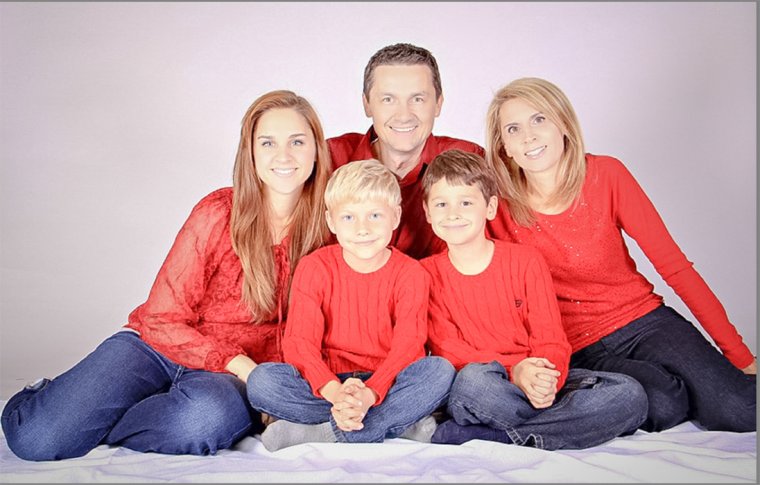
For the color correct, not much needs to be done in this picture. Mostly color correct is used to tone down reds, yellows, blues, and greens. However, since the color of the family’s outfits is a focus of the picture, it’s important to leave them bright. We used the preset Fix Red Skin to bring out the family’s natural skin tone a bit.
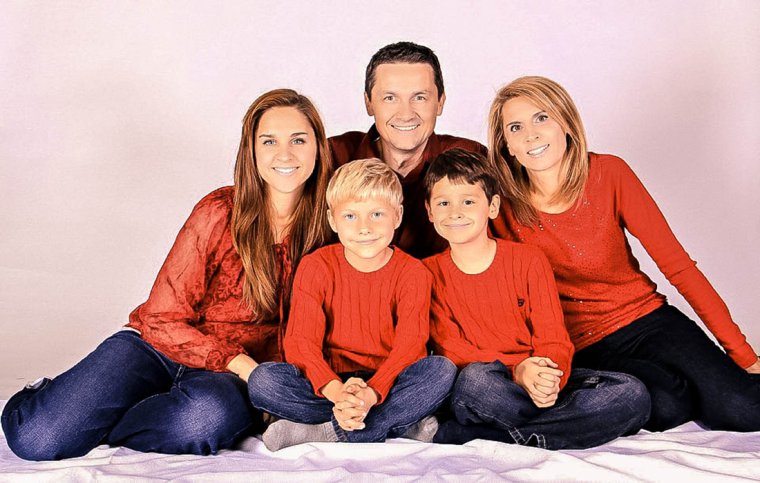
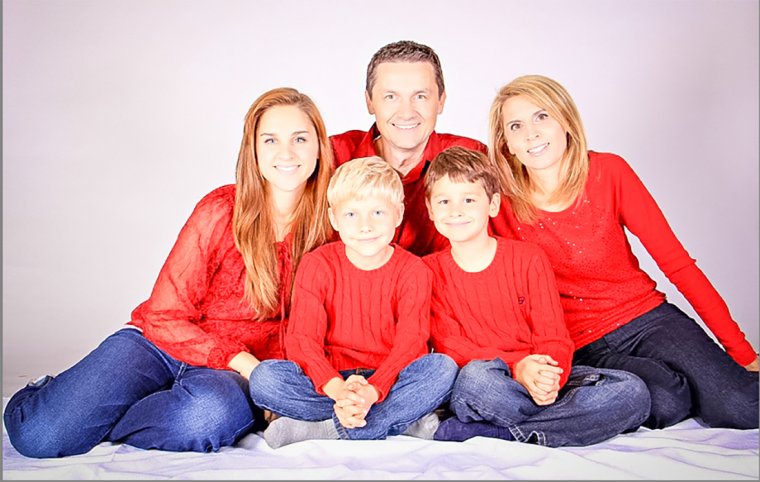
Chasing Light’s tint/tone presets can help the colors of your photo pop rather than get toned down. However, be careful when using the preset color pop. As you can see in the picture below (on the right) bringing out the bright colors of the red tops actually drowned out the patterns on the outfits. Instead, we used Warm It Up (on the left) to bring out the colors.

In the Chasing Light bundle Polish, you can fix errors that occurred in the editing process. This includes fixing colors and highlights. For this example, we used Base Cool. This toned down the red that’s been appearing in the background of the picture. The action also washed out the color of the outfits. However, this was fixed in the next bundle of presets.
The portrait bundles are ones that are used to specifically edit portrait shots. These are groups of settings that are made to match people’s skin tones and outfits. To help bring back the family’s clothing, we used the red/green preset to help pull out the brightness of those colors.
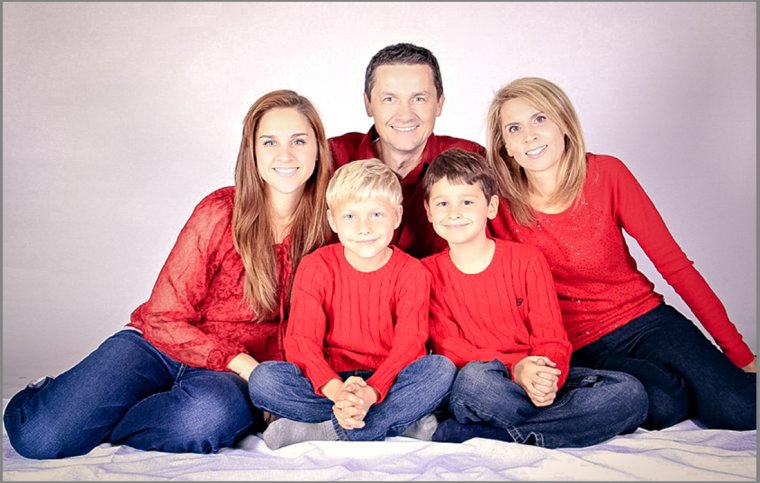
Normally vignettes are used to surround the family and pull the attention to the people. For this picture, we used the Medium White preset. Sometimes a white vignette looks better than a black vignette. In this case, with the sweaters, the white vignette made the picture feel more like a winter setting.

As you can see, using the Chasing Light bundle is an excellent way to edit family portraits. You can help make a perfect picture for your clients or touch up an old family memory. Either way, this bundle is perfect to help create natural looking family portraits that will decorate your home for years.
Comments (0)
There are no comments yet.