
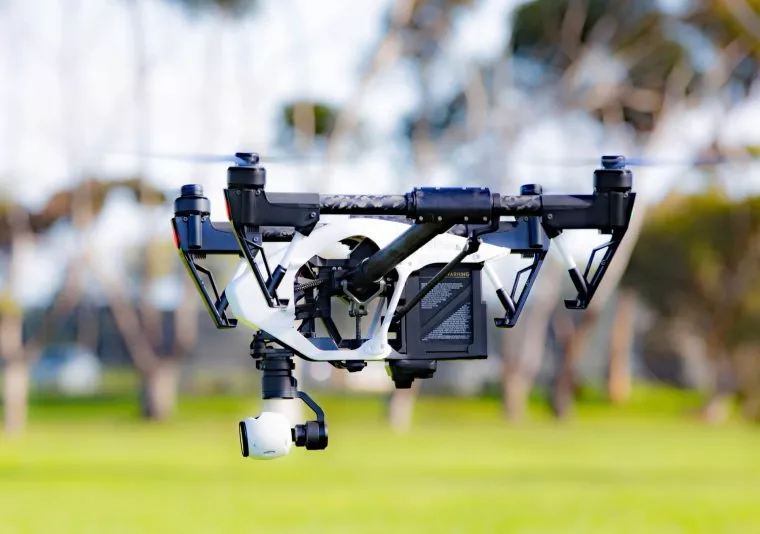
I hope you’re not afraid of heights because in this article we will be diving into some tips for any photographer who would like to explore the sky with a camera by their side. Aerial photography is slowly starting to become a trend amongst photographers—well, at least the brave ones. No worries, I was scared at first too, but when you finally decide to give it a try, it won’t be so bad because you are captivated by the view. This article will exclude drone photography, as you may be going a bit higher than a drone may permit before it loses signal and plummets to the ground.
A lot of people may ask, “why would you want to go thousands of feet in the air just to take aerial photos when there is technology that can do that for you?” Well for one, with all this new technology coming out, they all have their limitations as to how far and how long they can work. For example, your regular DJI drone probably lasts around 35 minutes on a single charge. This is assuming that mother nature permits it to fly unbothered with minimal winds or any other elements.
Table of Contents
This is one of the most important tips for packing your aerial camera gear and getting excited to disappear in the clouds. Run a quick search for a location near you, and see what packages or services are offered for those who would like to do a tour. I have seen many aerial photographers do this at the last minute, and then end up having to wait a few days or even weeks before they can get on an aircraft. It also does not necessarily have to be a plane—a helicopter tour can also help you reach your desired elevation—and may even be better.
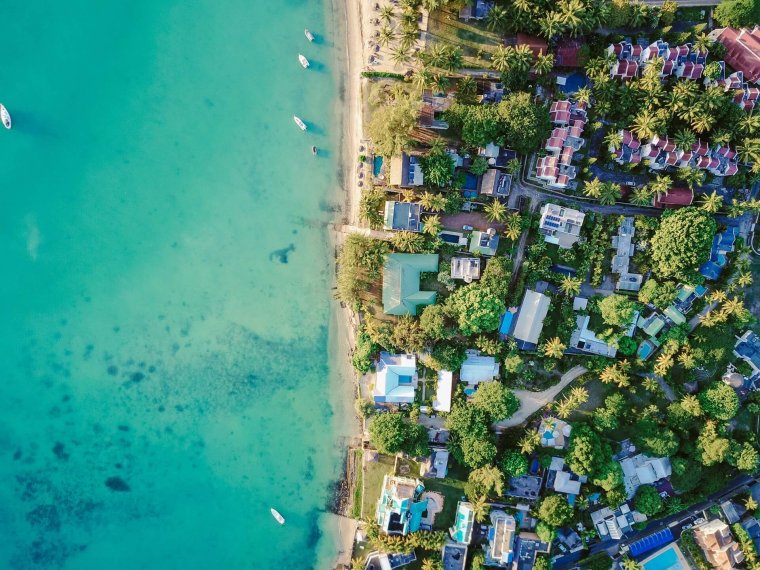
Speaking of bad experiences, I can’t tell you enough how important this is. There is no time at 20,000ft or higher to charge your batteries or scroll through and delete old images. Each minute you’re up there is valuable, and if not utilized properly, may result in you missing out on the best shots. Be sure to put your batteries on charge a day or two before your trip, then quickly check your memory card to make sure you have enough space for the number of images you think you’ll be taking. It also never hurts to have a backup just in case you get shutter happy and full your memory card within a few minutes.
Choosing the right lens may be just as important as making sure you have a flight booked. This can either make or break your trip, and also determine what type of aerial photo you get. If you find where you don’t have any of the right lenses for the job, then you can simply check you nearest lens depot and see what the rental prices are for a day or two. One of my first recommendations would be a zoom lens. This lens will enable you to get a bunch of different frames in a split second.
Unless you’re in a helicopter, you’re continuously moving forward and this gives you such a small window to capture what you need before it’s gone. A personal favorite of mine would be the Canon 24-105mm f/4 L IS, as it performs well in covering landscape shots, and as its focal length is pretty great.
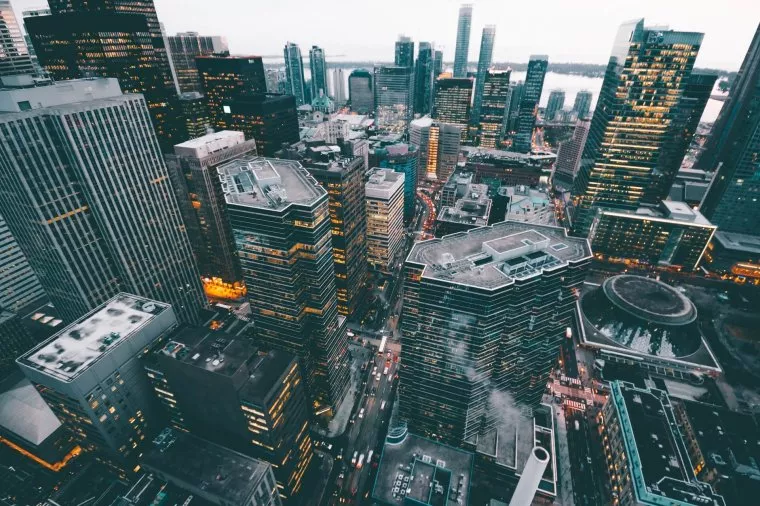
You can also take a look at using a fisheye lens during your flight. These are also pretty great for landscape shots. If you’re wondering which fisheye lens to get, you can look into the Canon 8-15mm f/4, as the focal length gives you a pretty wide shot, so it’s perfect if you’re taking an aerial photograph over a city or even a few mountains.
When it comes to aerial photography, the main thing to pay attention to in regards to the exposure triangle is the shutter speed. Aircraft come with a lot of vibration and movement, and if your shutter speed is a bit too low, then you will more than likely end up with some blurry aerial photos. You shutter speed should be at a minimum of 1/640 or preferably more than 1/1000.
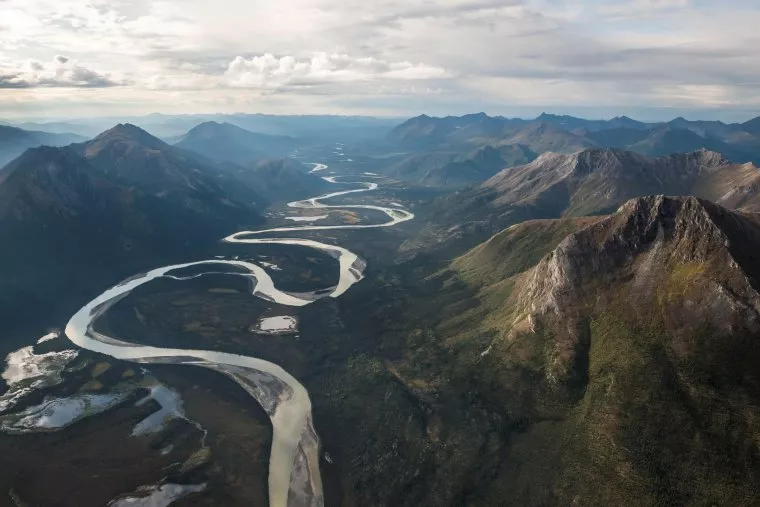
Be sure you have your aperture and ISO levels set correctly to facilitate a fast shutter while still letting inadequate light for your shot. If you find where you are uncomfortable shooting in full manual, then feel free to set your camera to shutter priority mode. This will then allow the camera to set your ISO and aperture levels while you only have control over your shutter speed.
One of the challenges that aerial photographers often face is finding the right location to match their theme and ideas. In this digital age, the challenge of finding the right spot has become a lot easier than when people had to drive around until they saw something they like. By just going on your phone and typing in a few keywords, you’ll be amazed as to what is out there waiting for you. In this section, we will give you a few ideas that should help you find the perfect location to fly over for some awesome aerial shots.
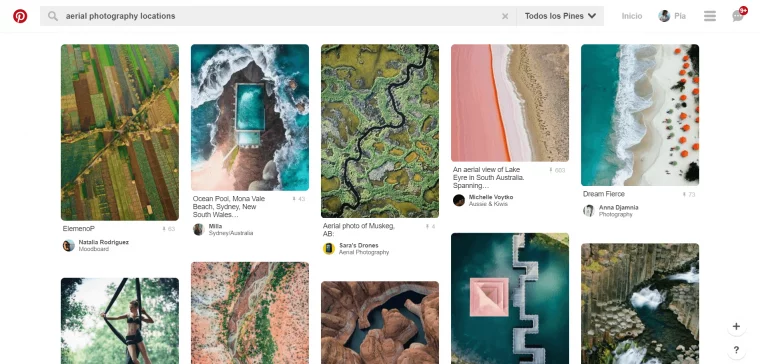
Pinterest is an amazing tool for finding inspiration, ideas, and locations. It acts as a digital search engine and can recommend ideas or tips based on your personal preference. I can confidently say that Pinterest has been responsible for getting me through many photography sessions. It’s been an invaluable tool for finding inspiration for aerial imagery. So, if you’re planning on disappearing into the clouds to capture a few shots below, run a quick search on Pinterest before you book a flight. Make sure to use keywords for exactly what you are looking for, as Pinterest can go off topic from time to time.
Google Earth and Google Maps have been around for many years. Other than trying to get driving directions, Google Earth can be used in many other creative ways. Using satellite imagery, Google Earth allows you to digitally fly anywhere. It provides you with updated, detailed aerial imagery of any location entered into its search bar. So, how does this help you with finding the perfect aerial photography location?
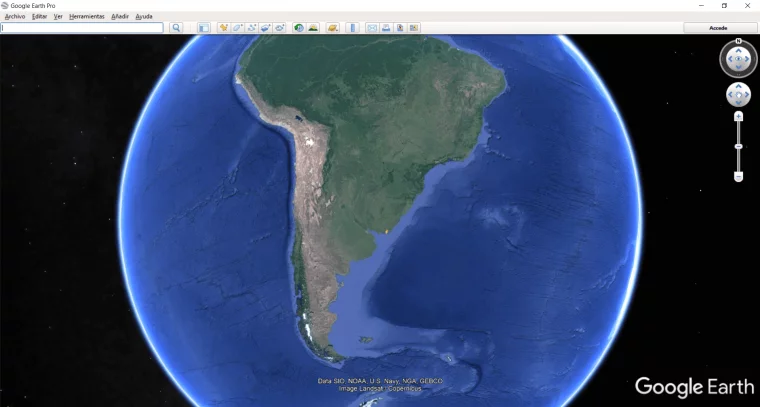
Well, Google Earth provides great aerial shots of any location, and as a result, it is more than capable of giving you a preview of what you can expect to see. If you are interested in shooting a location that you’re not very familiar with, run a quick Google Earth search see the map collection of the area and get familiar with it so you have an idea of where you’re going. Google Earth gives you everything you need to see in a location, not from only an aerial vantage point, but also from the ground.
These days, everyone has an Instagram account, but not everyone uses it to its full potential. Which is surprising, because we often spend so much time on our phones. Instagram gives us the capability of searching specific locations, like San Francisco, with its search bar. Once you’ve selected or entered the location, it pulls up any image tagged with that location from users all around the world—Most photos are from the ground level (which can still be helpful), but if you’re lucky, you’ll even get some aerial imagery. This then gives you the freedom to look through as many profiles as you like to get an idea of some great locations to match your ideas.

Great locations won’t always be posted on social platforms or even visible via Google Earth. You may have to explore a few times to find a hidden treasure in your location. When you have time on the weekend or even on holidays, dedicate some time to your craft and take an adventure to a few locations outside of where you live.
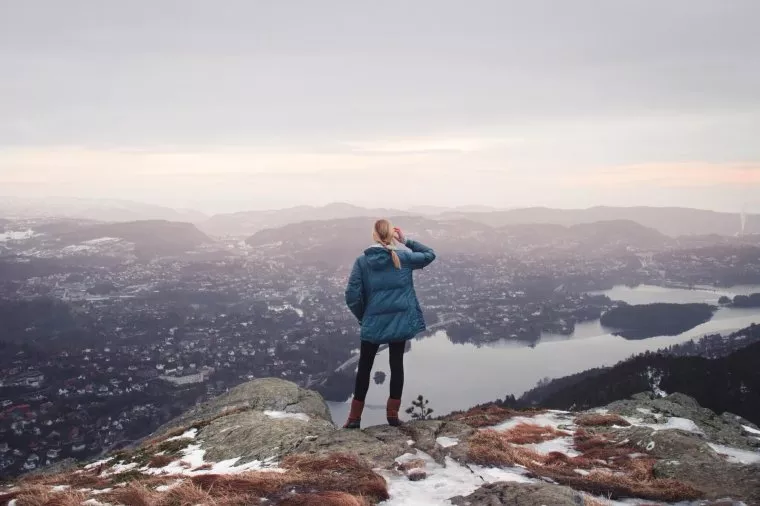
The human brain can only remember so much, and no more especially when it comes to things like locations. Be sure to have a little notebook or notepad on hand when trying to find new locations. After a day of scouting, recheck your notes to see how many locations you’re interested in, then try to make time to do more research on each one—or if possible, pay them a visit.
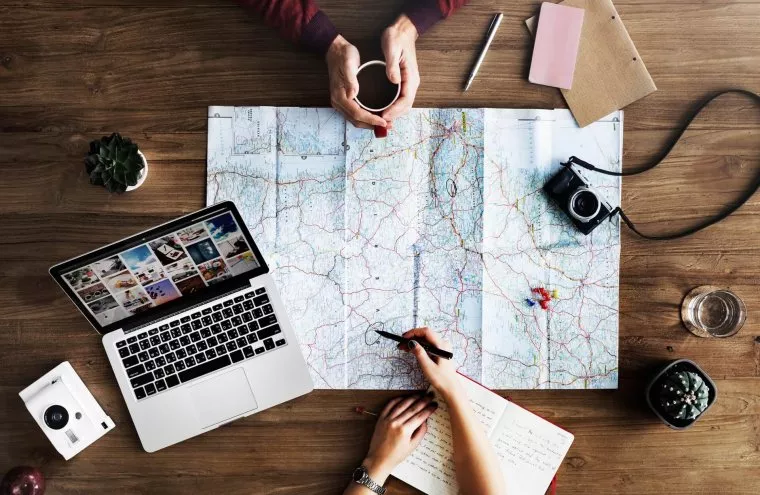
Speaking of research, it’s great to have some general information about the area you’re venturing to for many reasons. Generally, when going into unfamiliar territory, you should try to cover all your bases in the event of an unfortunate event, such as an emergency landing. Keep in mind, it’s not just a drone that you can control from the ground, but rather you thousands of feet in the sky flying over unfamiliar terrain. Knowledge is power, and it’s always better to be safe and prepared than sorry and uncertain as to what you need to do.
Aerial photography is a photography niche where you get to explore the world from a different perspective to capture breathtaking air photos. Whether you’re a professional photographer or a hobbyist, we encourage you to try this technique to take your photography to new levels. We hope you find these quick and easy tips useful for planning your next trip in the clouds. Until next time, be safe and have fun shooting.
Comments (0)
There are no comments yet.