A beautiful atmospheric glow; a sense of depth and dimension; a reduced color contrast that flatters a subject’s natural beauty…Artists have long sought to capture the magic that nature provides in the golden hour. It’s what can set a photograph apart and make it truly special.
Table of Contents
Simply put, it is that time of day (whether exactly an hour more or less, depends on the season and how far away from the equator you are) in which the sun has just crossed the horizon at sunrise or will soon pass over the horizon at sunset. At these hours, the sun’s angle creates an indirect light, traveling at a greater depth of atmosphere which makes it appear soft. Shadows are longer, so interesting dimension is created. There is a concentration of the warmer yellow/red wavelengths as the blue ones are more scattered, creating a beautiful glow and background color that flatters people’s skin tones and makes landscapes pop. In short, it is the preferred natural lighting for photography and the one I use almost exclusively to create meaningful and beautiful images.

When finding the light, it’s always best to be prepared ahead of time. Go out location scouting around the time of day you want to shoot. It’s best to do this, so you can get a better idea of where the sun will sit in the sky during the golden hour. If you are shooting in an urban location, remember the light and the direction of your light source. Whether you are next to a building or out under some trees, you always want to direct your subject towards the light. Not only will you create some beautiful catchlights, you will have beautiful fallen light in all the right places on your subject. The creative possibilities are endless and definitely not limited to just portrait photography. It’s a wonderful time to explore landscapes too. For stunning effects use a wide aperture and make sure you don’t overexpose your photos.
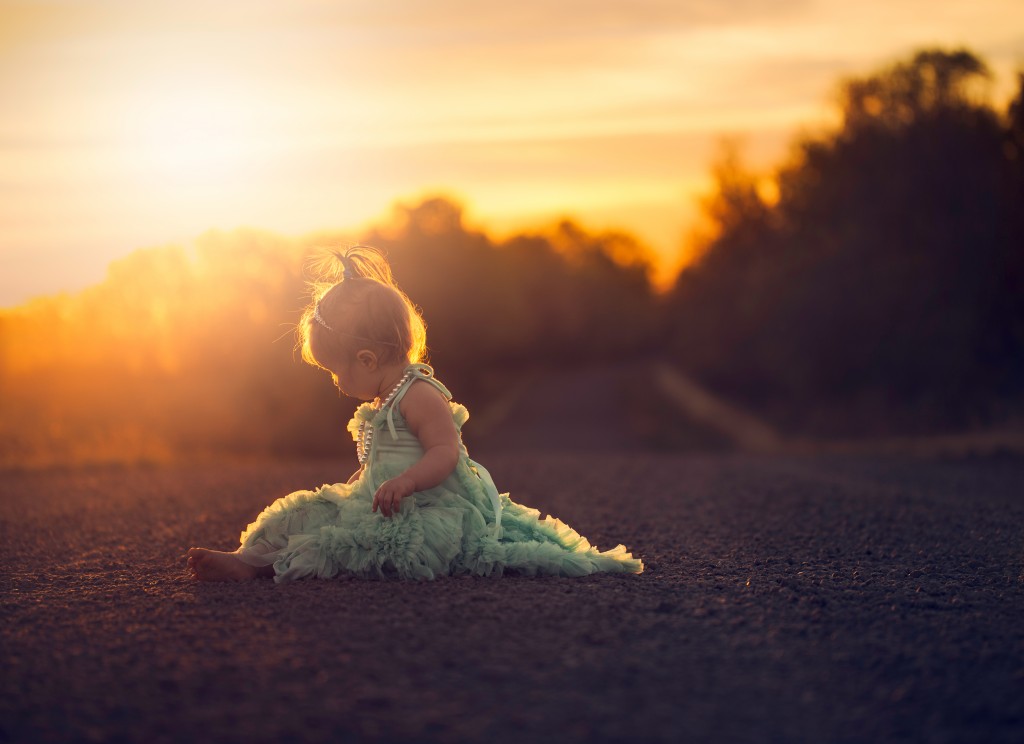
This involves a thin line of light outlining your subject. In this case…the little girl in this photo was enhanced using rim lighting while the background is darkened. This illuminates and pops your subject. When using a light source such as the sun, you must be at a low angle at either mid-morning or late afternoon. This allows the light to evenly distribute the light around the hair. Place your subject right in front of the sun or just a little off center. The sun must be in the same direction as your dark background.
This is beautiful and there’s really no wrong way of doing it. When the sun hits your lens it produces different effects. These effects are really cool techniques that are really easy to achieve without any special processing. It’s important to remember to use a narrow aperture, which means bigger number settings. Starting out in AV or A mode while setting your aperture to f22 and your ISO around 100-200. Your camera will choose a proper shutter speed for you. Just remember. This is a good start. If you aren’t happy with your results, switch over to M mode, dial in your same settings then slightly increase or decrease your shutter speed depending on the look you are going for.
This is one of the best times of the evening to create those gorgeous photos. When your subject becomes the shadow, throwing all textures aside…you are left with an outline of what you are shooting. When a person is your subject, remember to angle them to accentuate their shape rather than shooting them head-on. Remember to have your light source in front of you. It doesn’t necessarily need to be behind the subject, just the best angles to outline your subject properly. In the photo below, I chose a few different subjects with a prop. I set my camera in M mode and dialed my aperture to around f8. I wanted the US flag to be lit enough so people could see it
I hope you enjoyed this article and this helped you to find the light! Photography is all about creating art and having fun doing it!
Comments (0)
There are no comments yet.