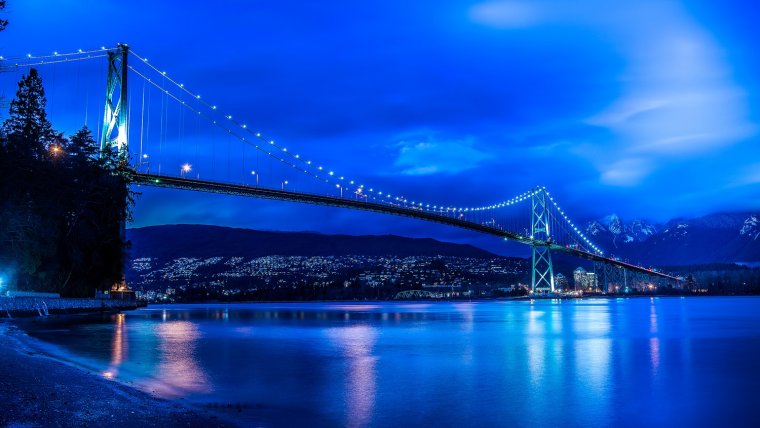
In this tutorial, I will introduce you to the brand new collection from Sleeklens called Aura Laborar Night Workflow. Basically, these workflows are meant for night photography and will help enhance your photography or Milky Way shots. But even though it does a good job on those, it also does a good job on photos that have really intense skies even if it is a sunset photo such as the one we have used in our tutorial video.
I will go through the workflows and show you how to edit some of these using the new workflow only. I have a cool boat photo but would like to make it look really beachy and make the sky pop out a little bit more and add some contrast to it. I have all the new workflows expended under the all-in-one presets, basic presets, black and whites, color process presets, vintage and lights and I can choose any of them to suit my edits.
I will first play around with the all-in-one| 1- Moonlight Clarity which gives more blue effects while still keeping the orange tone which is actually cool. One of my favorite sections of the presets is the color process presets. I will go down and choose the AL| 3 –Warm & Cold. This gives the image some cool effects and punches up the warm colors leaving it looking superb.
The workflow also includes brushes and I will go to the brush panel, click on it and check out the 10 brushes which I can use. I will get the Warm Temp Brush and then make the brush a little large and paint to make the sun warmer and enhance it a bit. The best thing with these workflows is that although they give you default values which are great, you can customize them a little bit more to do what you want to do. So far I have pumped up the warmth and the exposure and this adds a little more kick to the center of the image.
The last thing I will do is not a preset at all but a customer adjustment. This is what I like about the stackable presets in that you can make all cool adjustments using these presets but then fine-tune them to the way you like your photo. The only thing I will do is take my contrasts up to give me a moody beach with warm colors, the blue waters and looking at the “before and after” photos clearly shows the difference our edits have made.
The before photo was a bit flat but with this new Aura Laborar workflow we have punched it up a little bit, made it warmer and this is just one way to edit these photos using the workflow. You can choose the different presets and play around with each one of them to get the exact details you are looking for in the images.
You can check this product and many others under the Lightroom or Photoshop tabs. You can also find out more from our photography tutorials to help make your editing easier, faster and efficient.
Comments (0)
There are no comments yet.