As a landscape photographer, I always found myself amazed by the scenarios we can find in nightscapes and the magic of the stars.
It’s our galaxy, our house and we are just little bodies in such big scenery made of about 100 billion stars and planets. It’s a barred spiral galaxy.
This is why we can see only a part of Milky Way from the Earth; which part? Well, it depends on the place of the World in which we observe the sky.
Table of Contents
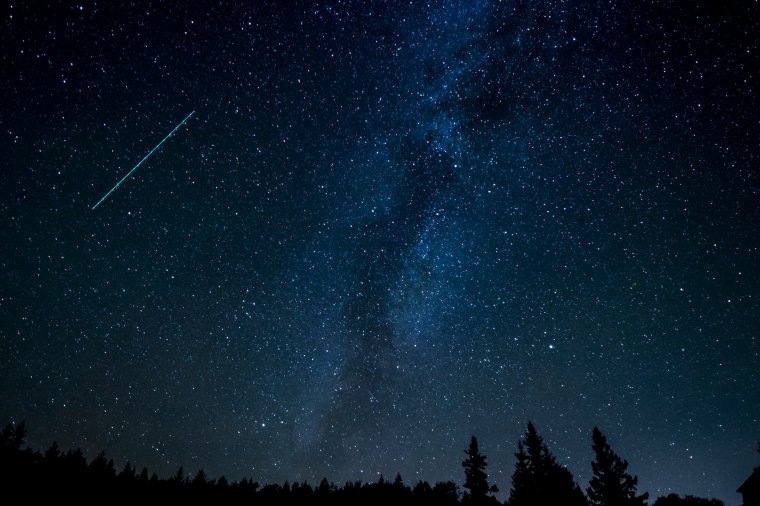
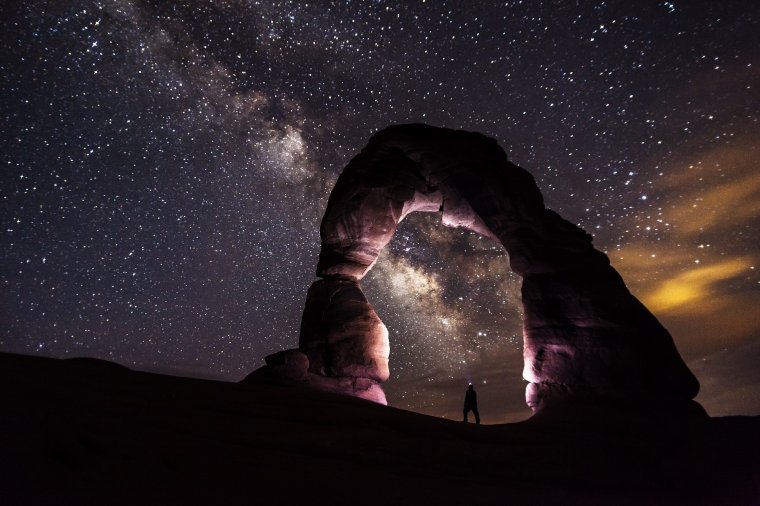
This is a panoramic picture of the Milky Way “arch” seen from the north of Italy in July. It appears like a stripe in which the brightest point is down on the right; this one coincides with the Scorpion and Sagittarius constellation. The upper part of the Milky Way consists of many stars and the Great Rift, a series of dust clouds, divides them.
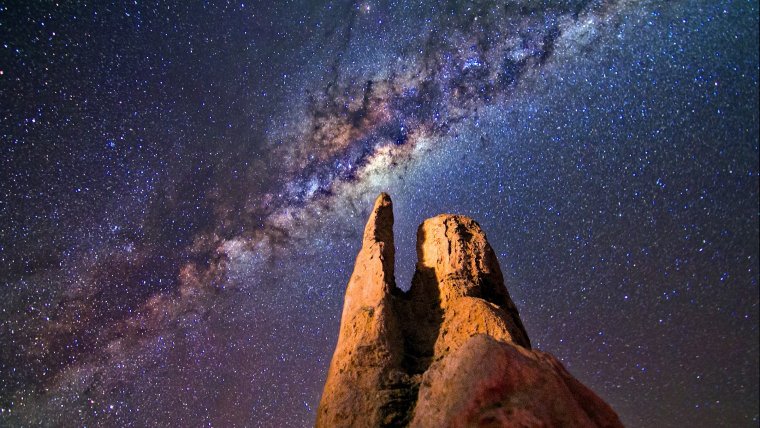
The more you observe Milky Way in the south, the more you can see the part under the Scorpion constellation, like in this shot taken in the Canary Islands.
From the south of the globe, you are able to look at more dust clouds, other stars and constellations. And the two Magellanic Clouds shine on the left of your sight.
This panoramic shot by Bruno Gilli (ESO) represents the inverted Milky Way of an austral hemisphere. The location is the Cerro Paranal Observatory.
The best choice for this kind of shot is a wide angle lens that can open very much its diaphragm. Is better accompany your optic with a full frame reflex.
For example, I work with my Nikon 14-24mm f/2.8 g and a Nikon D810. I had also the occasion to try the D810A of one of my best friends; its sensor captures also the red colors of the HII emitting galaxies.
As the Earth rotates, we can see most of the Milky Way in one period of the Year.
In both the hemispheres, the best time frame to capture our galaxy is from April to August. During the months, the brightest and most colored area around the Scorpion constellation goes down to the horizon earlier and earlier in the night. In Autumn and Winter, we will able to observe only the Great Rift after the blue hour.
I usually start to shot at least two hours from the sunset, when the sky is dark and all the stars are visible.
If you wish to immortalize our galaxy you have always to check the Moon phases. If our satellite is full, the strong light interferes with the shines of many of the stars and Milky Way is not so visible and evident.
Get information also about the moonset or moonrise time.
To plan my shots and check the position of Milky Way, Moon and phases I use some apps you shouldn’t miss. For iOS and Android, Skyguide and Photo Pills are my favorites.
The diaphragms should be very open, like f/2.8 or more, like f/1.8 or f/1.4. The more f is low the more you don’t have to set higher ISO sensibility. For a f/2.8 I use ISO around 3200-4000.
Pay attention to the shutter speed! The Earth is moving (even if very slowly) so you don’t have to set a speed that’s not slower than a certain limit or you’ll see many star trails on your picture.
We calculate this one with the 500 rule:
500 Divided By the Focal Length of Your Lens = The Longest Exposure (in Seconds) Before Stars Start to “Trail”
So, if I’m taking a shot at 24mm with a full frame camera I’ll calculate:
500 / 24 = 21 seconds, which you can round to 20 seconds.
If you don’t have a full frame, but an entry-level, you’ll divide the obtained exposure for 1.5 if Nikon and 1.6 if the camera is Canon.
In spite of everything… I usually don’t set higher exposures than 15-20 seconds for both 14mm and 24mm. This is why my Nikon D810 has about 36 megapixels. A big frame as this means that viewing RAW files at 400% percentages, I’ll notice little trails and not points.
This is why megapixels have no effect on the 500 rule. Anyway, after the resizing, you won’t perceive the little trails even at zoom 1000 %. It’s upon you as photographer and artist.
Personally, I am a perfectionist and if I use my high-resolution shot for every kind of purpose I’d like to see the stars as points.
The scenery that you’d like accompany to the night sky shouldn’t be near a medium-big populated centered.
This is why the light pollution interferes and not all the stars will be visible. So, I’m so sorry to tell you that you won’t be able to capture the Milky Way over Ponte di Rialto in Venice.
I suggest you check the Light Pollution Map.
It’s very useful and you should check if the location of your dreams is located in the green, blue areas. If not, you have to choose another place for your shots.
Sometimes, even if an area is very dark, a little of an orange or yellow halo is visible on the horizon. You can solve this problem by desaturating that area in Adobe Photoshop or using some specific filters. I recommend Clear Night Filter by Haida.
Well, I hope you liked this article and see you next time!


Please verify your software version before proceeding.
 I’ve verified my software version


 Facebook
 Google +
Comments (0)
There are no comments yet.