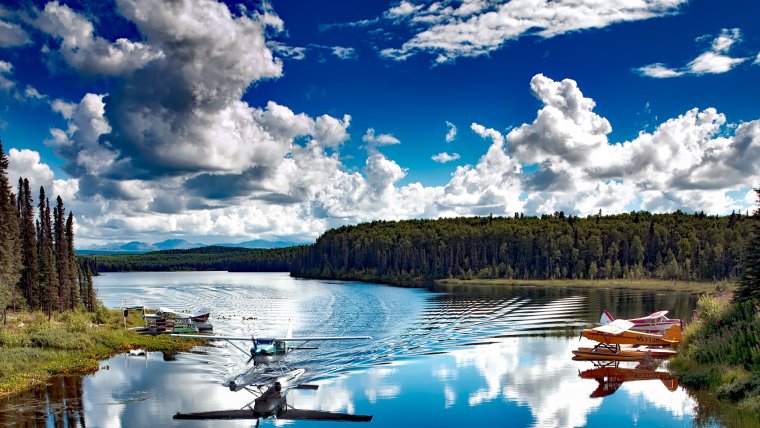
In this video, I will show you how to make a great panorama photo directly from the Adobe Camera Raw. This is a great feature if you want a lot of features to play with as possible but you still want to make a cool panoramic image without going to the Lightroom.
The first thing we need is to upload a couple of panorama images (we already have them for the purpose of this tutorial). It is important to have enough images that allow you to have enough room to play with. We will drag the photos down in Photoshop and this will open them in camera raw automatically. Once this is done, the process of making panoramic images in Adobe Camera Raw is very easy and just the same feature you would use to make an HDR image in camera raw.
We will select all the photos and click the little hidden menu on the top left side of the screen (next to the search button). Clicking the menu will give us a number of options and from the list, we will click on “Merge to Panorama”. This will open a small preview window which gives straightforward instructions which we can use. We will get rid of the surrounding area that is blank and this we can do by choosing the auto crop which automatically takes away the unwanted parts of the image and straighten it up for you. We can also use the boundary warp which is my favorite since it doesn’t get rid of any parts of the image as the cropping option does. We will pump up the boundary warp all the way to 100 to see what happens. The results we get are good and you can play with the projection options but usually spherical works for almost all circumstances. There are situations where cylindrical and perspective options might work for real estate but I usually keep it in spherical since this is the best option.
Once we choose our projection, we will go ahead and this will bring up another dialogue box giving us an option as to where we would like to save the DNG file. We will choose “Photography” file and then click save. Once this is done, we will give it time to generate the final image. With the process complete, we will end up with the final image in addition to other initial images. You can delete the file if for any reason you are not satisfied with the DNG file and start all over again.
From here we can play with all the normal options we would do in Camera Raw. We can pump up the shadows, knock down the highlights, take exposure up a little bit and play with the vibrancy among other things. You can do all your desired edits until you achieve your desired results.
This is an easy process of creating a really cool panoramic image in Adobe Camera Raw without going to the Adobe Photoshop. You can also save your file to a JPEG and take everything directly from here. This works well if you are not familiar with Photoshop and just don’t want to use it in your edits.
Feel free to check more tutorial videos from Sleeklens as well as the great Lightroom presets and Photoshop actions.
Comments (0)
There are no comments yet.