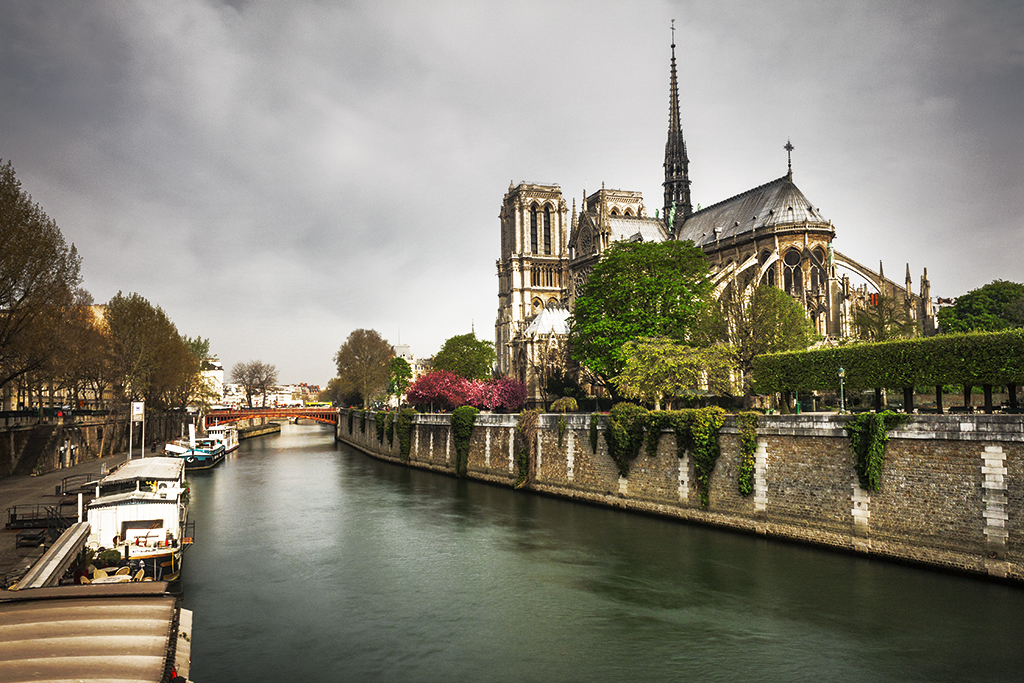
In two previous posts, we looked at the first two groups of adjustment layers in Photoshop: those devoted to make changes in the contrast and those to make changes in the color if images. In this post I will go through the last group of layers available in Photoshop. Below I show once again the full set of fill and adjustment layers for reference.

This last group, in contrast to the previous two, does not have a general purpose but it simply contains five types of adjustment that are, each of them, designed for more specific purposes.
Invert
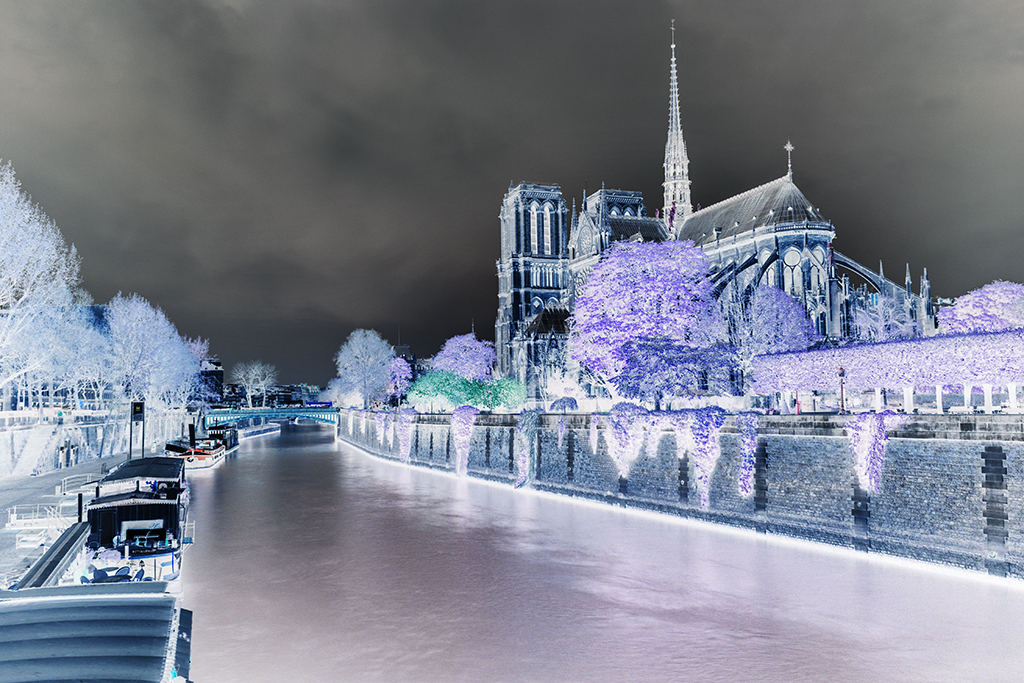
The first layer of the group has a pretty self-explanatory name. What it does is just invert the colors of your image. Inverting a color means subtracting the original value of each color channel from 255 (in an 8-bit image). The resulting image is analogue to looking at a film negative and thus this can be a useful tool if you want to use Photoshop to process your scanned negatives.
You can also use this simply to play around and do some creative color editing. The image below shows the result of applying the negative layer to our original image.
Posterize
While this layer might not find too much use within the world of photography, it can be useful for visual artists looking to produce particular effects. The idea is to reproduce the effect achieved in earlier times when printing posters and what this layer does is basically downsampling the color resolution of an image. While an 8-bit image will have 255 different levels (or shades) between black and white, with a slider that appears once you create the posterize layer you can reduce the number of those levels to any level between 2 and the original 255. This will create a banding effect as it can be appreciated in the image below (created with 8 levels).
Threshold
When applying this layer, Photoshop will convert your image to a 1-bit monochrome, meaning that your new image will only contain black and white pixels. With the creation of the layer, a histogram of the original image together with a slider will appear. The slider is there for you to set where you want the threshold that will define what pixels are turned into white and what pixels are turned into black to be set. Once you set the threshold, all the pixels with luminosity levels above that threshold will be turned white and those with luminosity below the threshold will be turned black.
The image below shows the result of applying the threshold layer with a value of 120.

Gradient Map
This layer takes the luminosity values of the original image and converts them to a specific colormap. It is similar to a black and white conversion (in fact, if the right color map is chosen, this is exactly what it will do) only that the colormap is not limited to grayscale values. There are some presets available and each conversion can be inverted as well by ticking the ‘Reverse’ tickbox.
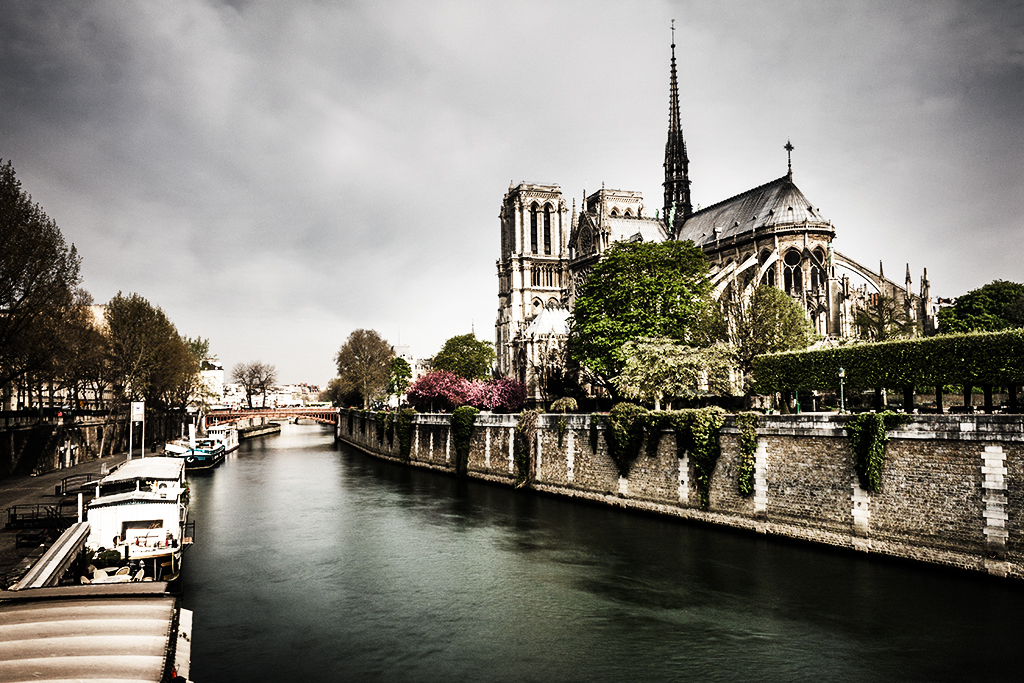
You can obtain some interest results when combining this layer with different blending modes. For instance, the image below was created with a grayscale gradient map and the ‘Hard Light’ blending mode.
Selective Color
This is probably the most useful layer for photographic purposes within this last group. By selective color, Photoshop does not mean what is usually understood by selective color, i.e. converting an image to black and white while retaining a specific color. What this layer allows you to do is due some subtle kind of color mapping in which you actually control the amount of coloring applied to specific tones.
Once you create the layer, a panel will appear showing a dropdown menu where you can select among nine colors (Reds, Yellows, Greens, Cyans, Blues, Magentas, Whites, Neutrals and Blacks) and four sliders (Cyan, Magenta, Yellow and Black).
Basically, with the dropdown menu you can select which colors within your image you want to alter and with the sliders you can control how much of the indicated tones you want to add or subtract from the selected color. The sliders work with the idea of opposite colors meaning that moving one slider to the right will increase the amount of a given color and moving it to the right will increase the amount of its opposite.
This is actually a pretty useful, although frequently neglected, tool. You can use it to adjust skin tones or hair color in portrait photography or you can use it to selectively increase saturation or contrast in virtually any type of photography.
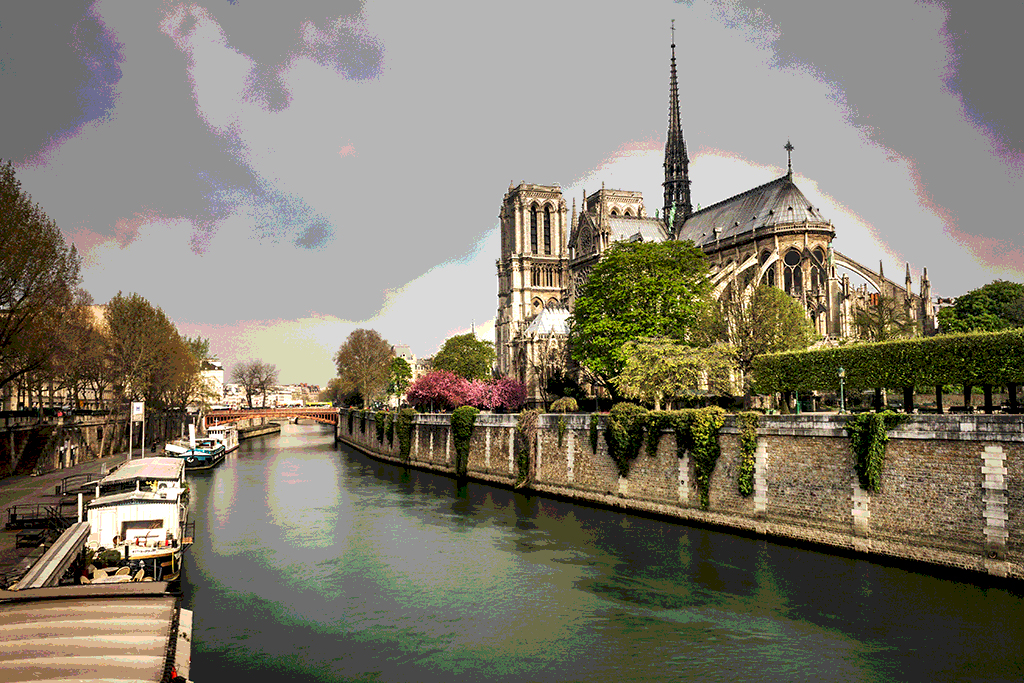
For instance, the image below was obtained moving the ‘Black’ slider all the way to the left with ‘Whites’ selected in the ‘Colors’ menu to increase the contrast in the sky and adjusting the colors of the reds (to increase the saturation of the pink trees and the orange-ish bridge on the back) and the yellows (to change the tone of the trees; yes, usually trees have a strong yellow content!).
So that’s it. Those are all the adjustment layers available in Photoshop. Play with them until you get familiarized. As with blending modes, you will most probably end up including some of them in your workflow while some of them you will rarely touch again. Photoshop is a very powerful software that has many uses, so in fact some tools are intended for some specific users like visual designers and are not that useful for photographers.
Also, keep in mind that, as with any layer, adjustment layers will have completely different impacts when using different blending modes, so take your time as well to explore different combinations and, if you have any question, just contact me.

 Facebook
 Google +