Tag: Settings

Night Sports Photography Tips

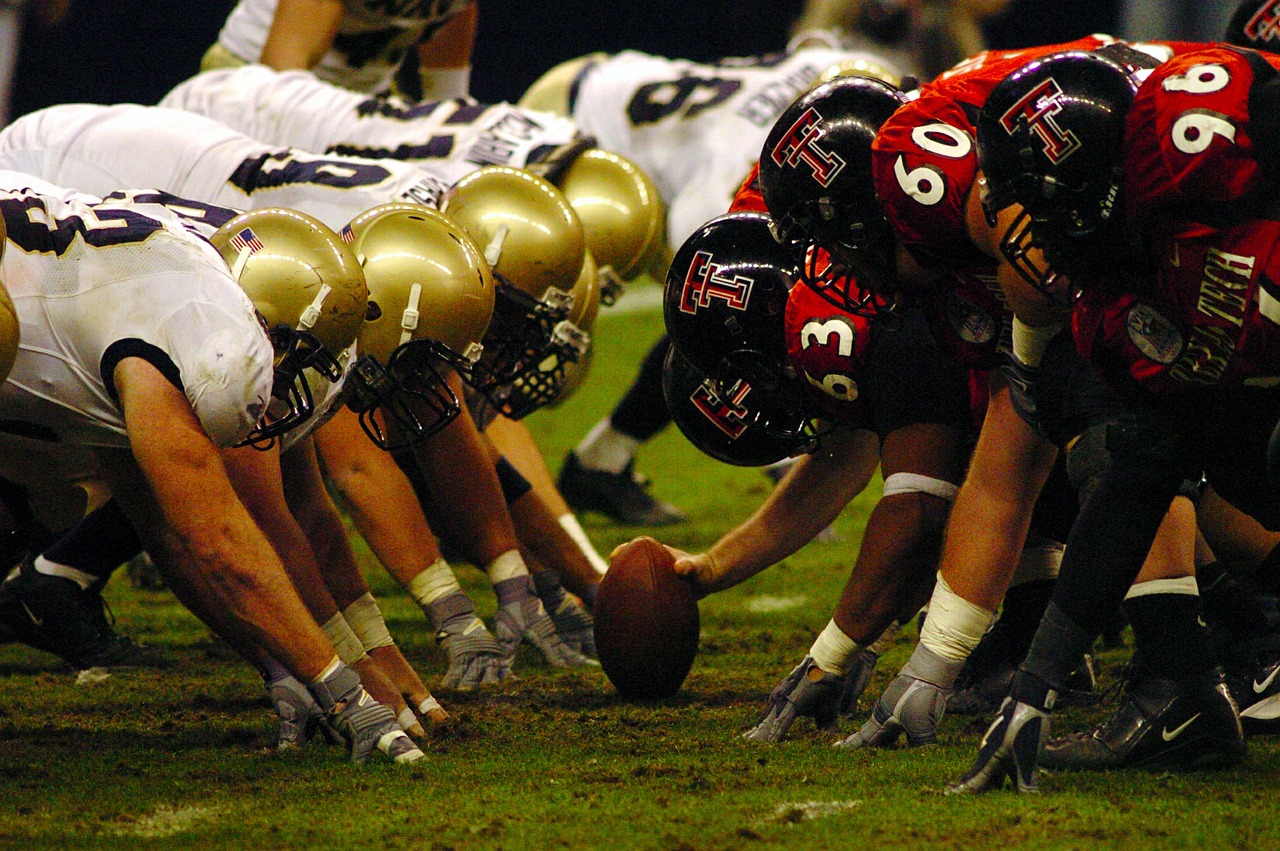
Being a sports photographer requires some patience and practice, no matter what time of day or lighting conditions you’re dealing with. But, photographing sports at night demands even more. If you’re interested in shooting sports like baseball and football, it’s likely that you’ll have to capture images under the lights, after the sun goes down. While this can be challenging, there are some tricks to ensure you get awesome action shots, even your first time out.

There are several reasons nighttime sports photography is so difficult. You’re dealing with limited lighting conditions and a subject that is usually quite far away, moving at a fairly fast pace. As with most other types of photography, the key to mastering sports photography at night is to experiment as much as possible.

However, there are some things you can do to guarantee a better result. These tips will help you prepare for the challenge of night sports photography. We’ll talk more about the kinds of settings and techniques you can use to approach it.

football night game photo

Use the Right Equipment

Shooting a fast-moving subject in low light will be especially difficult with an entry level camera, particularly if you’re hoping for a high-quality result. You’ll want a camera with a digital sensor capable of shooting usable images with an ISO of at least 1600.

A kit lens also won’t yield the results you’re looking for. For this kind of photography, you’ll want a fast lens. This means a lens with a wider aperture – a smaller f-number, like 1.8 or 1.4 – that will let in more light with each exposure. You’ll be able to use faster shutter speeds at a lower ISO, which will give you much cleaner images. If you have one, use a lens with an aperture of at least f/2.8.

soccer night game photo

Artificial lighting can create all kinds of color temperature issues. Before you start shooting, you should take the time to read up on setting your camera’s manual white balance. Set the white balance so that your camera knows what white should look like. This will save you time correcting white balance in post after the game is over.

Use the Right Techniques

Besides knowing how to use the light, there are some things you can do to get great action shots.
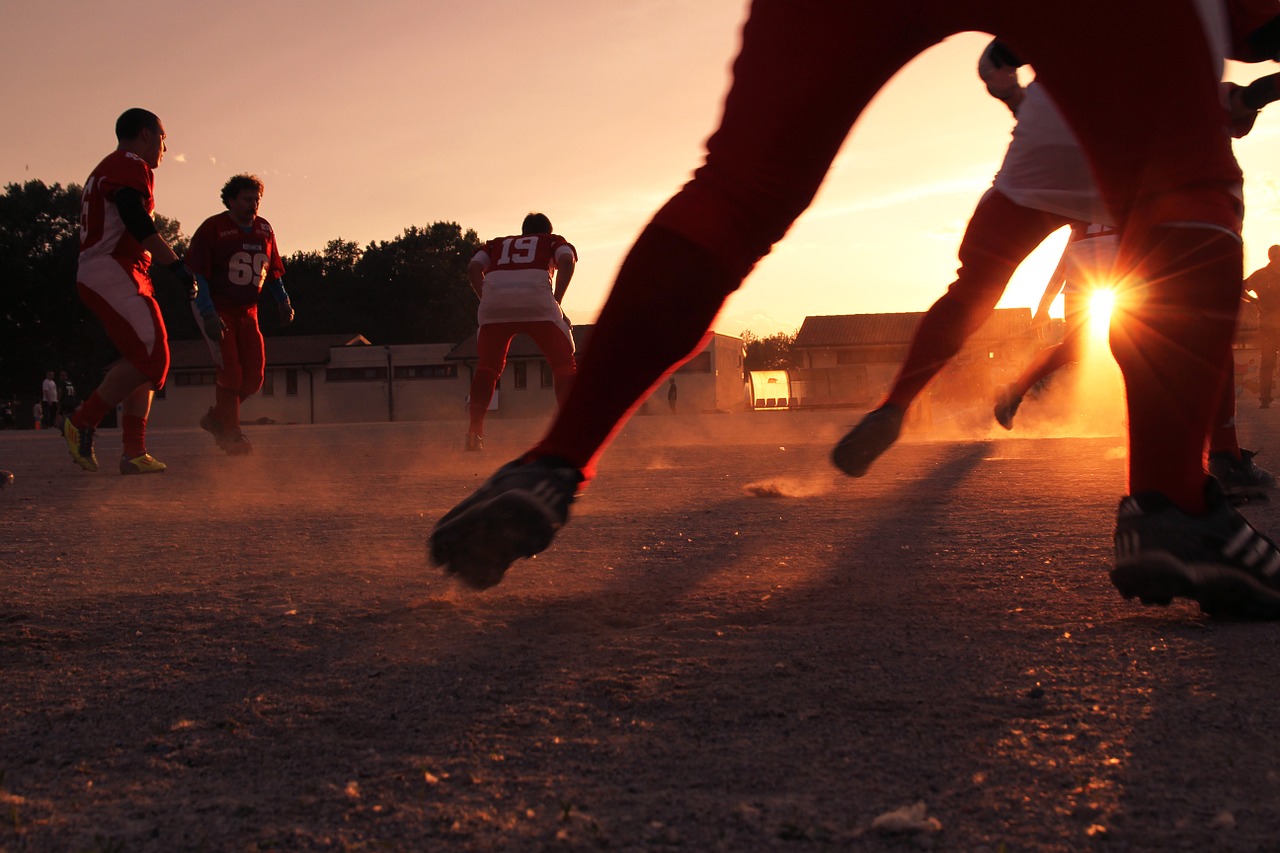
1. Stay Low

Find a good angle and stay as close to the ground as you can, either sitting on kneeling on the sidelines or at the end zone. This offers a better perspective on the action. It also lets you fill more of the frame with the action happening on the field. Your resulting images will be a lot more dynamic than if you had been shooting upright. Plus, it’s a lot more comfortable than standing for several hours while you photograph the game.

low perspective sports photography

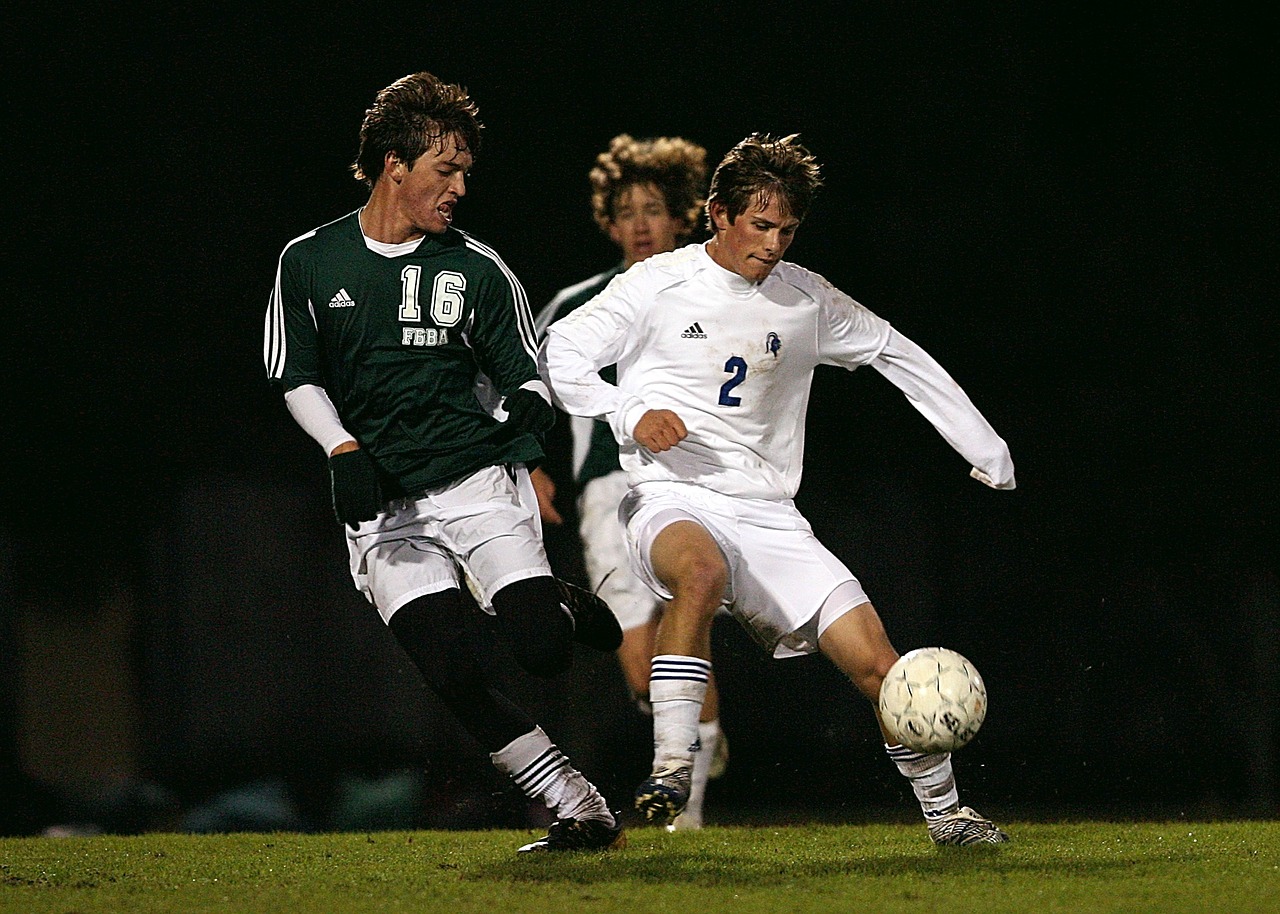
2. Learn to Predict the Action

If you don’t understand how the sport is played, you’ll have a much more difficult time capturing interesting shots of the action. You want to figure out which direction your team or players will be moving, and what their ultimate goals are so that you will be ready with your camera when the action happens.

action sports photography

Get to know the players and the way they play to have a better idea of where the ball will go. Keep your eye on the ones who score the most goals or get the most penalties. The best thing about shooting digital is that you can take as many photos as your storage card will allow. So, if you keep at it, you’ll end up with at least one great action shot.

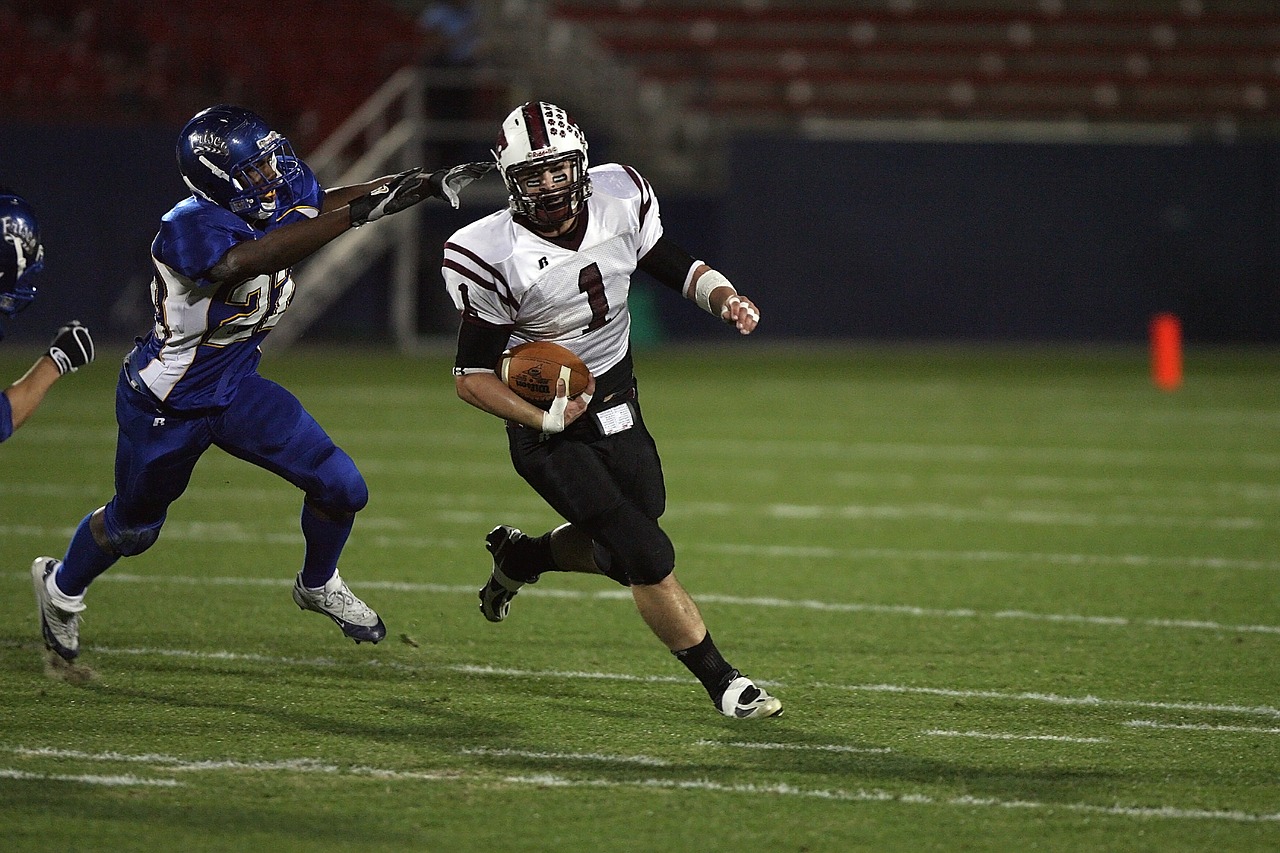
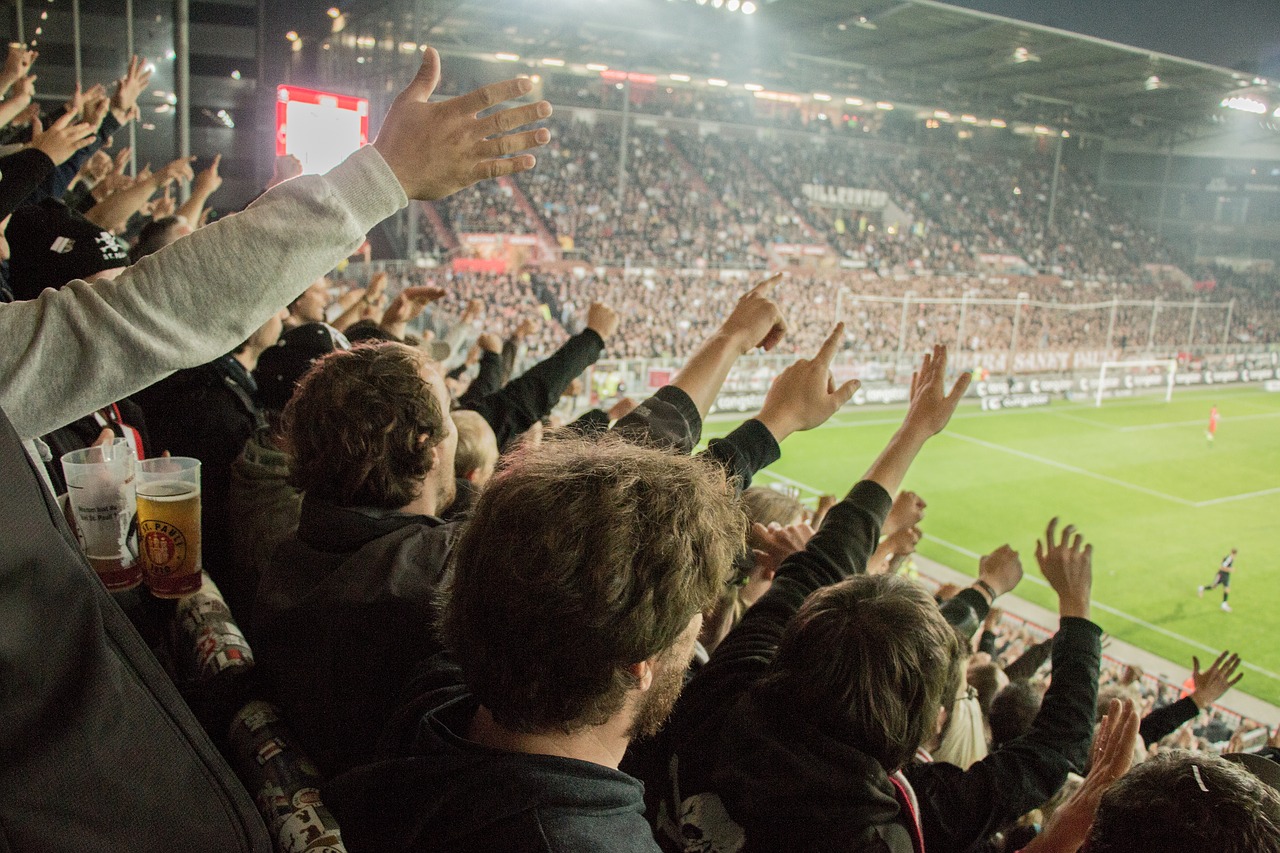
3. Enjoy the Atmosphere

Things like parents watching their kids on the field, cheerleaders or excited fans celebrating on the sidelines, and coaches and trainers calling out plays are an interesting part of the game. These moments can make for some great, unique sports pictures. Don’t be afraid to look around the crowd and see what else you can shoot.

stadium fans photo

Also, try to keep from looking through the images on your LCD screen. Not only does this risk you getting hurt if you’re not paying attention, you might miss out on the perfect shot. Use the LCD to ensure you’ve got the exposure and white balance set correctly, and then leave it alone while you shoot.

Add Finishing Touches in Post-Production

Whenever you can shoot in RAW to capture as much detail as possible. This will allow you to correct things like exposure, contrast, and color without losing image quality. Note that using the sliders will likely increase noise in your images, though, so be careful that you don’t over-do it.

You’ll probably have tons of images to go through, so choose the best ones to spend time on in post-production. Most of them will probably need a crop to focus in on the action and create a pleasing composition, but try to maintain the original aspect ratio to make printing easier in the future.

Customising cells in Lightroom’s Library module

Did you know that the cells in Library module (thumbnails of your folder/collection) could be customized to suit your different needs? 

Well, yes. You can. You can  customize not only how much info is visible, but in some cases, exactly which type of info is displayed.

This is mostly for all those users who like to maintain an organized work-space.

First off, let me tell you about the basic features and what they’re called.

The Content window is where Lightroom displays thumbnails. Each thumbnail, plus the grey border around it, is called a cell. There are two types of displays: Compact cells and Expanded cells. The difference between the two is that you can view more information in the Expanded cells view. But that’s up to your likes and dislikes. Some people like it when all the information is displayed around the image while some others don’t like the distraction of too many icons and symbols surrounding their work-space. 

If you’re not in Grid view, just press the ‘G’ key. It’s a keyboard shortcut that will take you to the Grid view from any part of Lightroom. The Grid View displays thumbnails of photos contained in the currently selected Folders, Collections or search results.

A screenshot of Library module in grid mode
  1. Visually shows the changes that the user has made to the photograph. for instance the first symbol shows that the photograph contain keywords. The second symbol shows that the particular photograph is part of atleast one collection. The third symbol [ +/- ] indicates that the photograph’s exposure has been adjusted since it’s import.
  1. Shows us that the metadata changes which were applied during import has not been written on to the file. Kindly note that if the picture is in RAW format, the metadata will be written on to the respective .xmp files. If the picture is in TIFF/DNG/Jpeg format, the metadata will be written to the file itself.
  1. Shows us the Image name (which is the filename) and the collection to which the image belongs. Notice the “18” in the background? That indicates that image is the eighteenth in the sequence in the currently selected folders or Collections .
  1. Shows us the file name as stored in the system.
  2. Shows us the flip over symbol which means that file is a virtual copy, not the original one.

Tip: If you hover the mouse over an icon and keep it still, Lightroom will display a label telling you what the icon means. It appears after about two seconds.

Closer screenshot of the Expanded cells.

The first cell is the most selected cell and the next 4 cells are selected cells (1), the bottom 5 cells are not selected (2). This feature especially helps while duplicating instructions from one image to another.

Closer view of the expanded cells.

Let’s look at no.3 –

The top left no:  Denotes the file index no,

The bottom left no: States the dimensions of the file in pixels.

The top right detail: Name of the file/image

The bottom right no: Focal length of the lens used. This all can be customized based on what you want to see.


Screenshot of customising cell details.
Screenshot of customizing cell details.

Lightroom lets you customise the layout of the cells so the display shows as much or as little as you wish. To customise the details around the cell press “Command + J” or “Ctrl + J” and the above window will open, where you can customise as per your requirements.

  1. Show Grid Extras.
    This is where you make a choice between Compact Cells and Expanded Cells. Unticking the “Show Grid Extras” box simplifies your cell display. Doing so removes the information displayed around the thumbnails in Grid View.
  1. Show clickable items on mouseover only.
    If you untick this box every thumbnail is displayed with arrows in the bottom corners that you click to rotate the image. And if the image is unflagged, a grey flag icon appears. With this box ticked, these icons are only displayed when you move the mouse over the particular image/cell.
  1. Tint grid cells with label colors.
    If you don’t like the colour labels, or you just don’t use them, untick this box to turn them off. Or if you prefer them to be subtle and in lighter shades, the menu on the right lets you adjust the intensity of the colour tint.
  1. The rest of the View Options let you customise what icons and information are displayed alongside the thumbnails. Lightroom lets you pick specific details that you want on the display and you can choose from an array of option by clicking on the drop-down arrow next to the buttons.


Screenshot of customising cell details in Loupe View.
Screenshot of customizing cell details in Loupe View.


The first information overlay displays the filename, the time and date the photo was taken, and the image size (in pixels).


The second overlay shows the filename, the exposure settings (shutter speed, aperture and ISO) and the focal length and lens used. This is handy for checking the camera settings when you are viewing your images.
The second overlay shows the filename, the exposure settings (shutter speed, aperture, and ISO) and the focal length and lens used. This is handy for checking the camera settings when you are viewing your images.

I hope this article was helpful. Leave a note in the comments if you have anything to share.