I suppose anyone who has used Photoshop for awhile finds themselves relying on certain tools more than others because they best fit the type of image processing they do. For me, one of those basic implements is the fade tool. It doesn’t produce flashy results. In fact, it’s pretty subtle. But I find I go to it so often, I actually memorized the keyboard shortcut (shift-control-F/shift-command-F). Trust me, that means something.Found fourth down on the list under the Edit menu, the fade tool has one basic purpose: to reduce the effects of anything you just did by adjusting a single slider. It’s a bit persnickety because you have to do this right after your previous action or the keyboard shortcut will do nothing (the menu item will be grayed-out). However, there’s a way or two around that and I will show you how to do that a little later.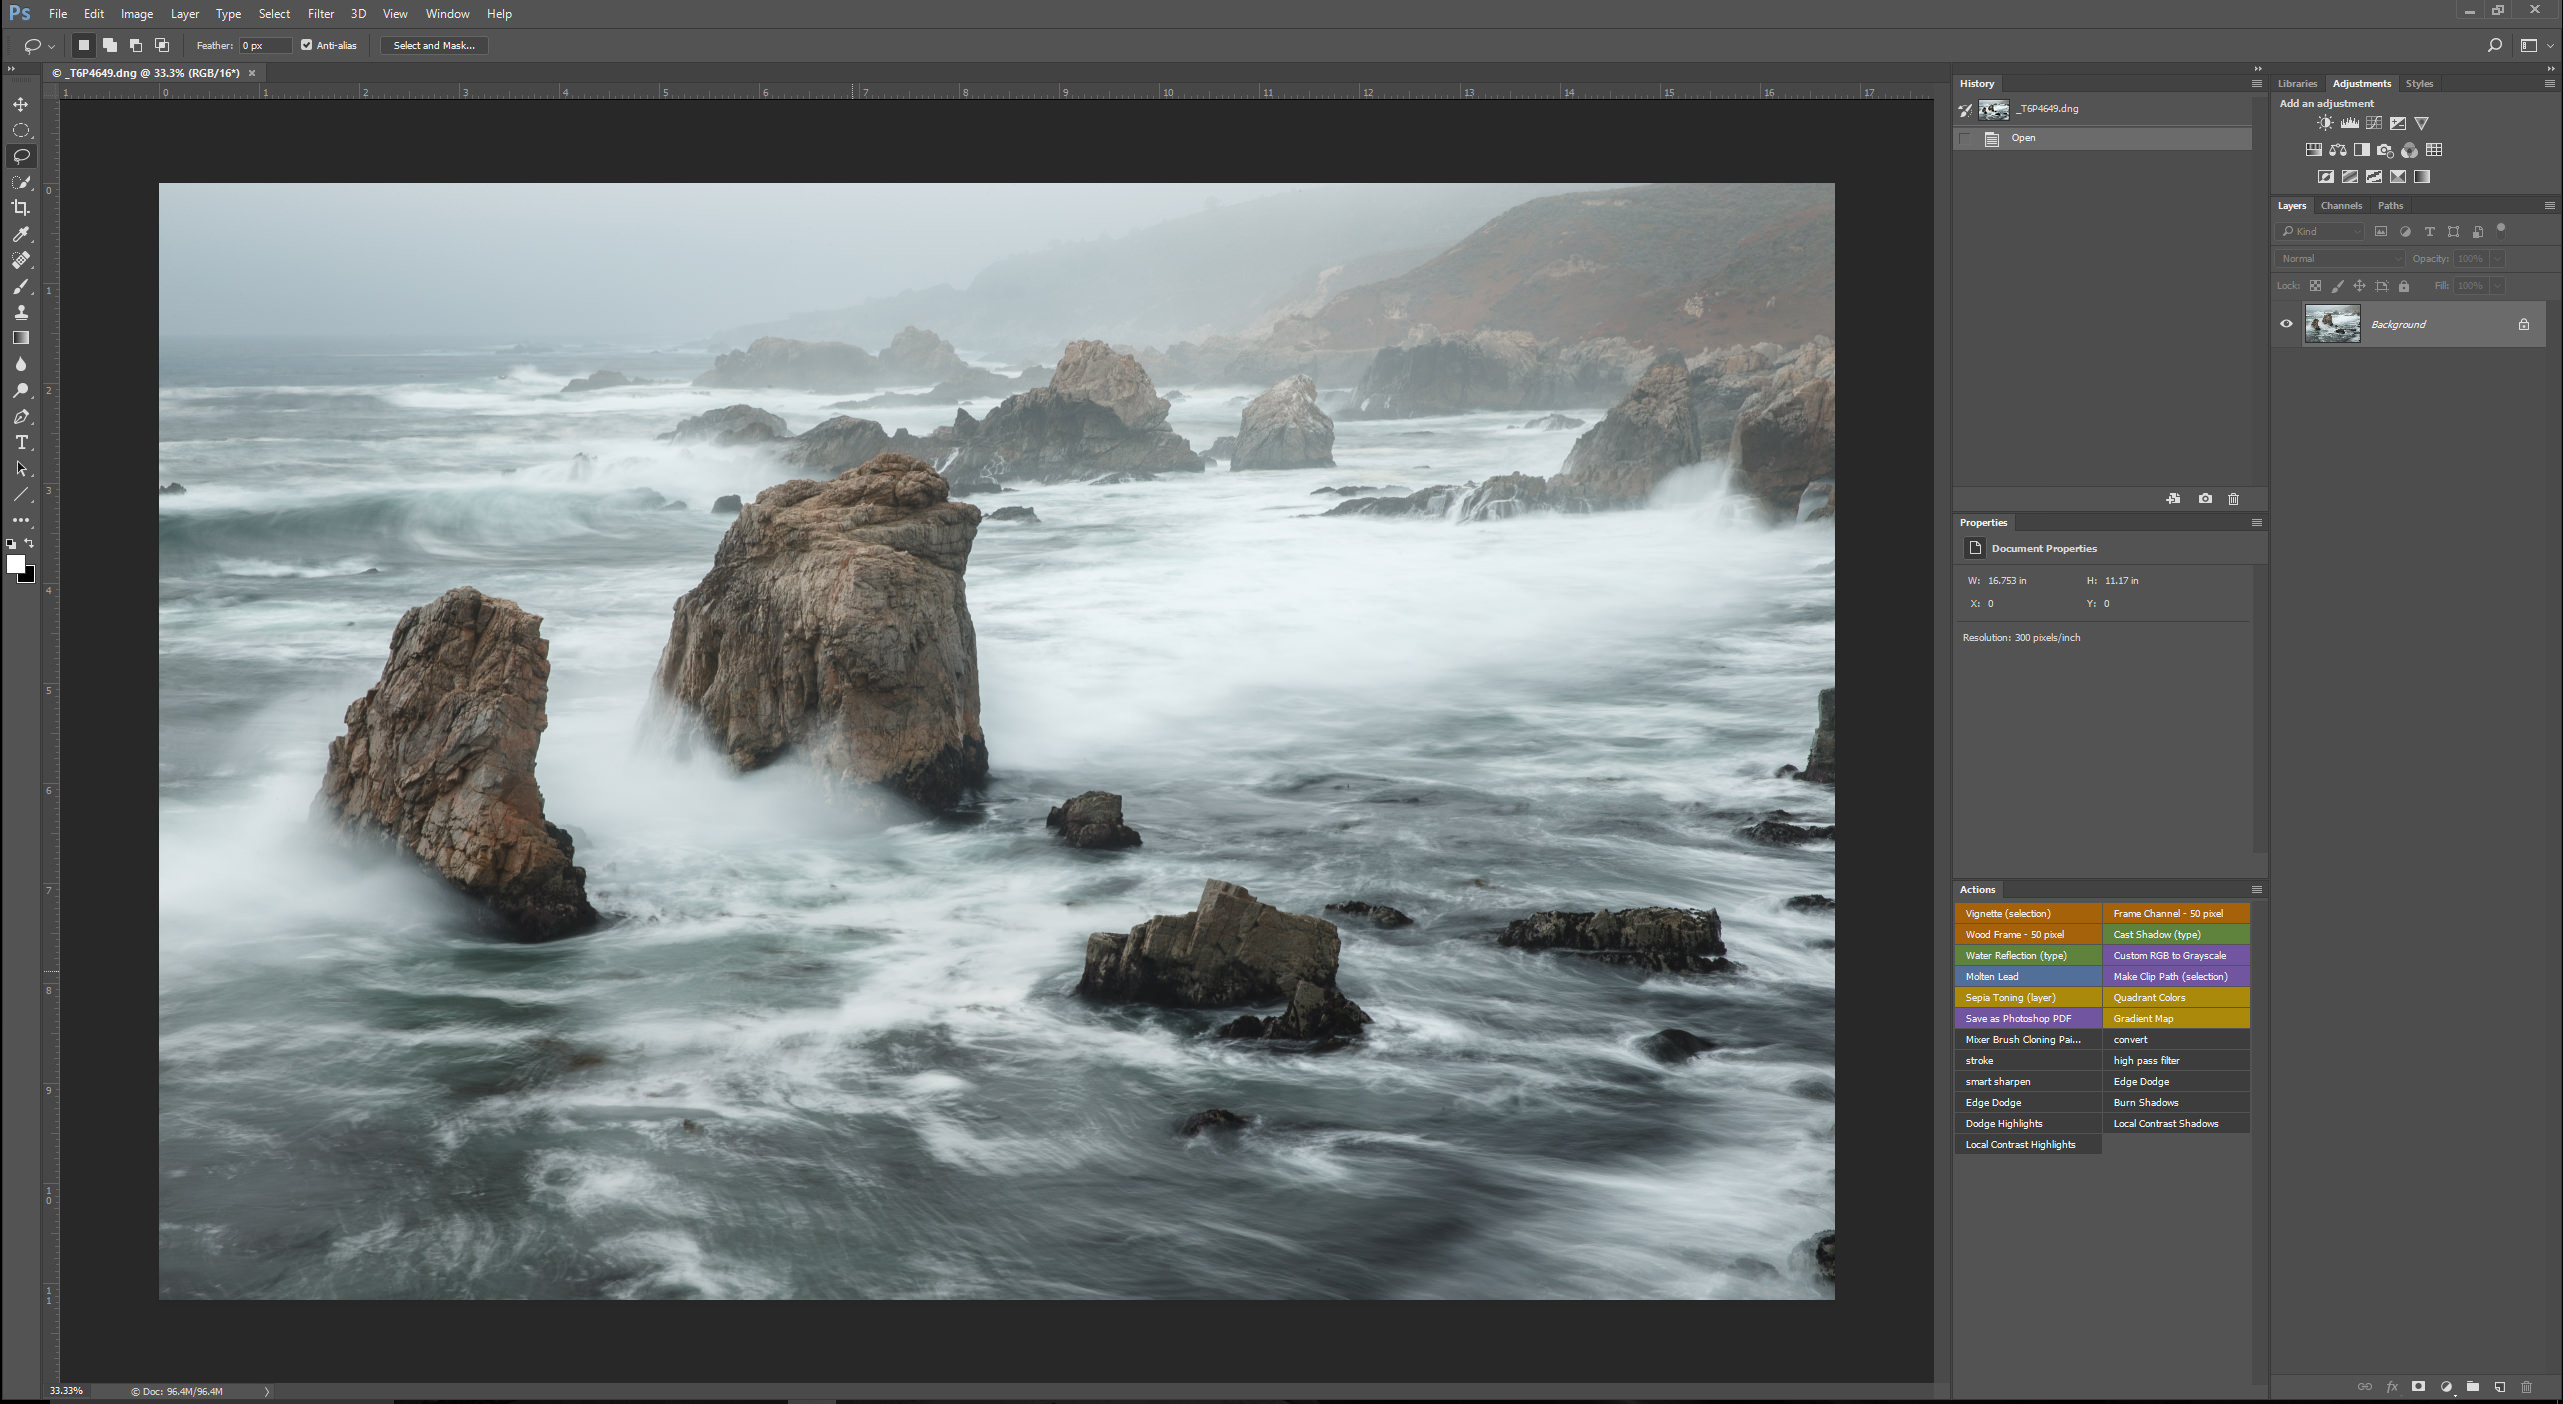
Fade to Black
Here’s a simple example of how I use it. I needed to darken the above image’s overall exposure with a curves adjustment, but when I did, the sky went too gray and the foreground water turned too dark. However, they still needed to be a little darker but not as much as the entire picture.Given that I have a layer mask, I could just grab the brush tool, guess at the amount I need to reduce the shadows, set the opacity to, say, 80% and start painting with black. Oops. That’s too much. Okay, so I hit control-Z/command-Z to undo that and try again. This time, I try 50% opacity, but that still isn’t right. Too dark. Too light. Guess again and re-brush. Repeat and repeat. Pretty darn clumsy.
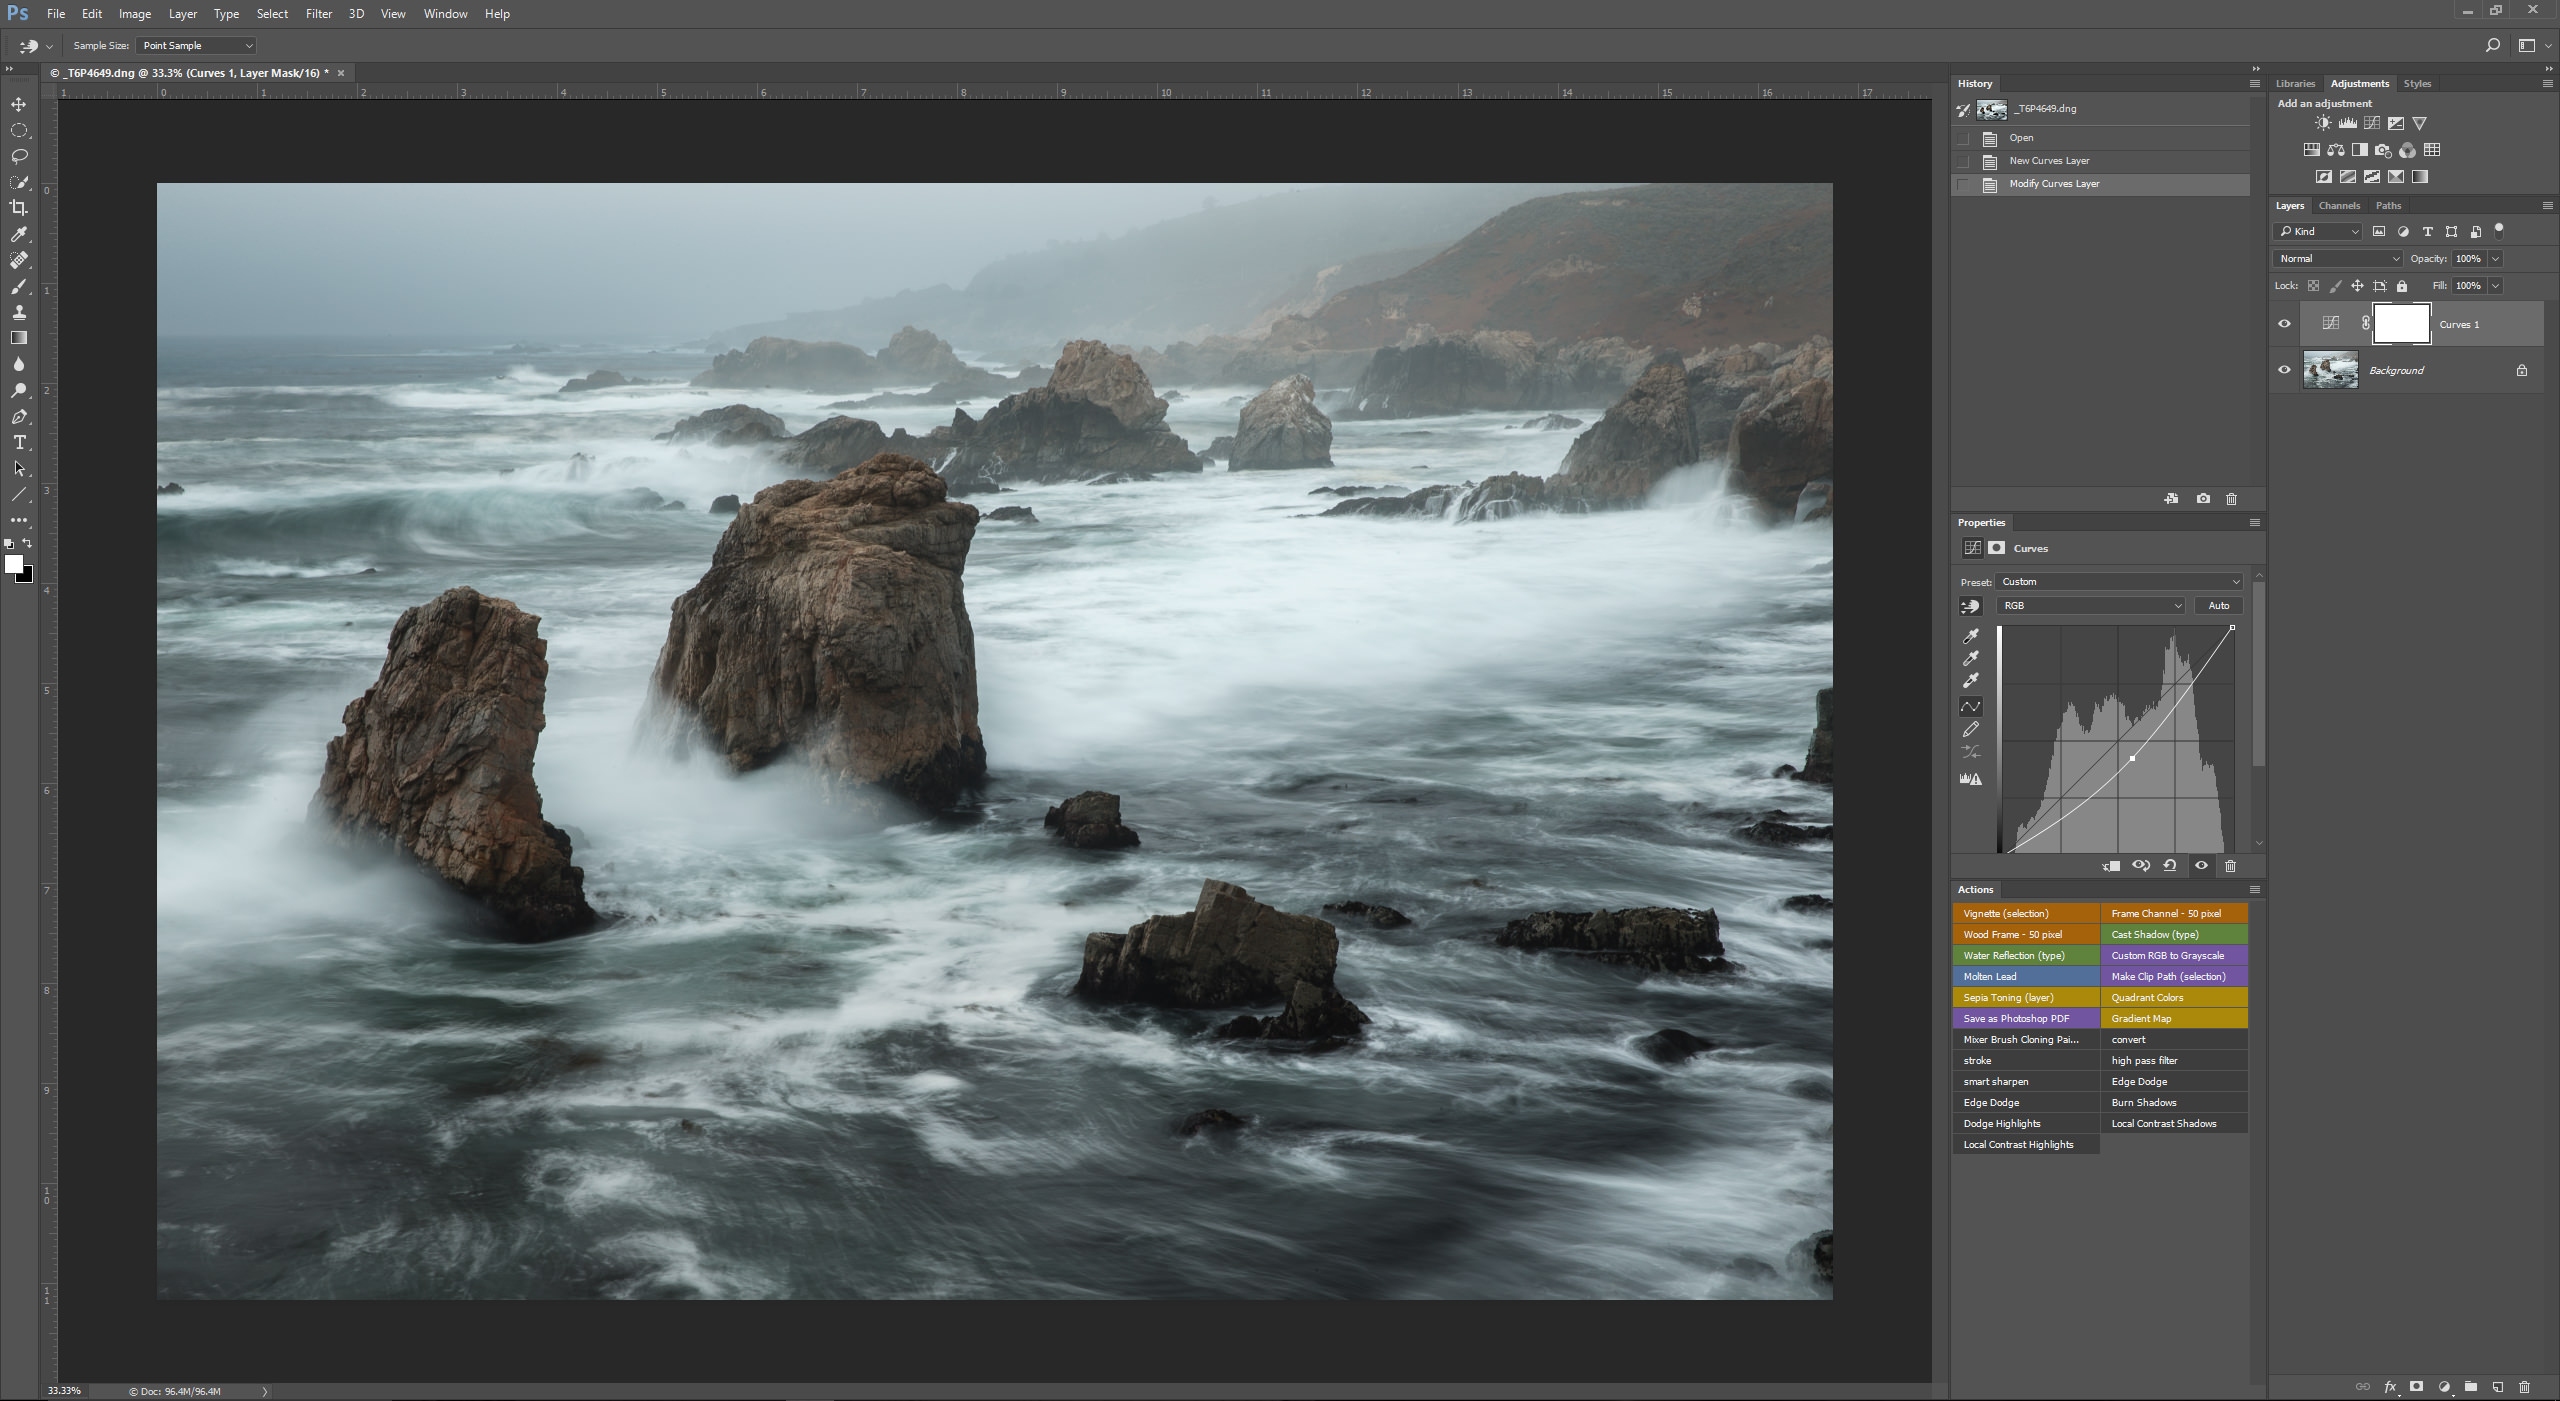
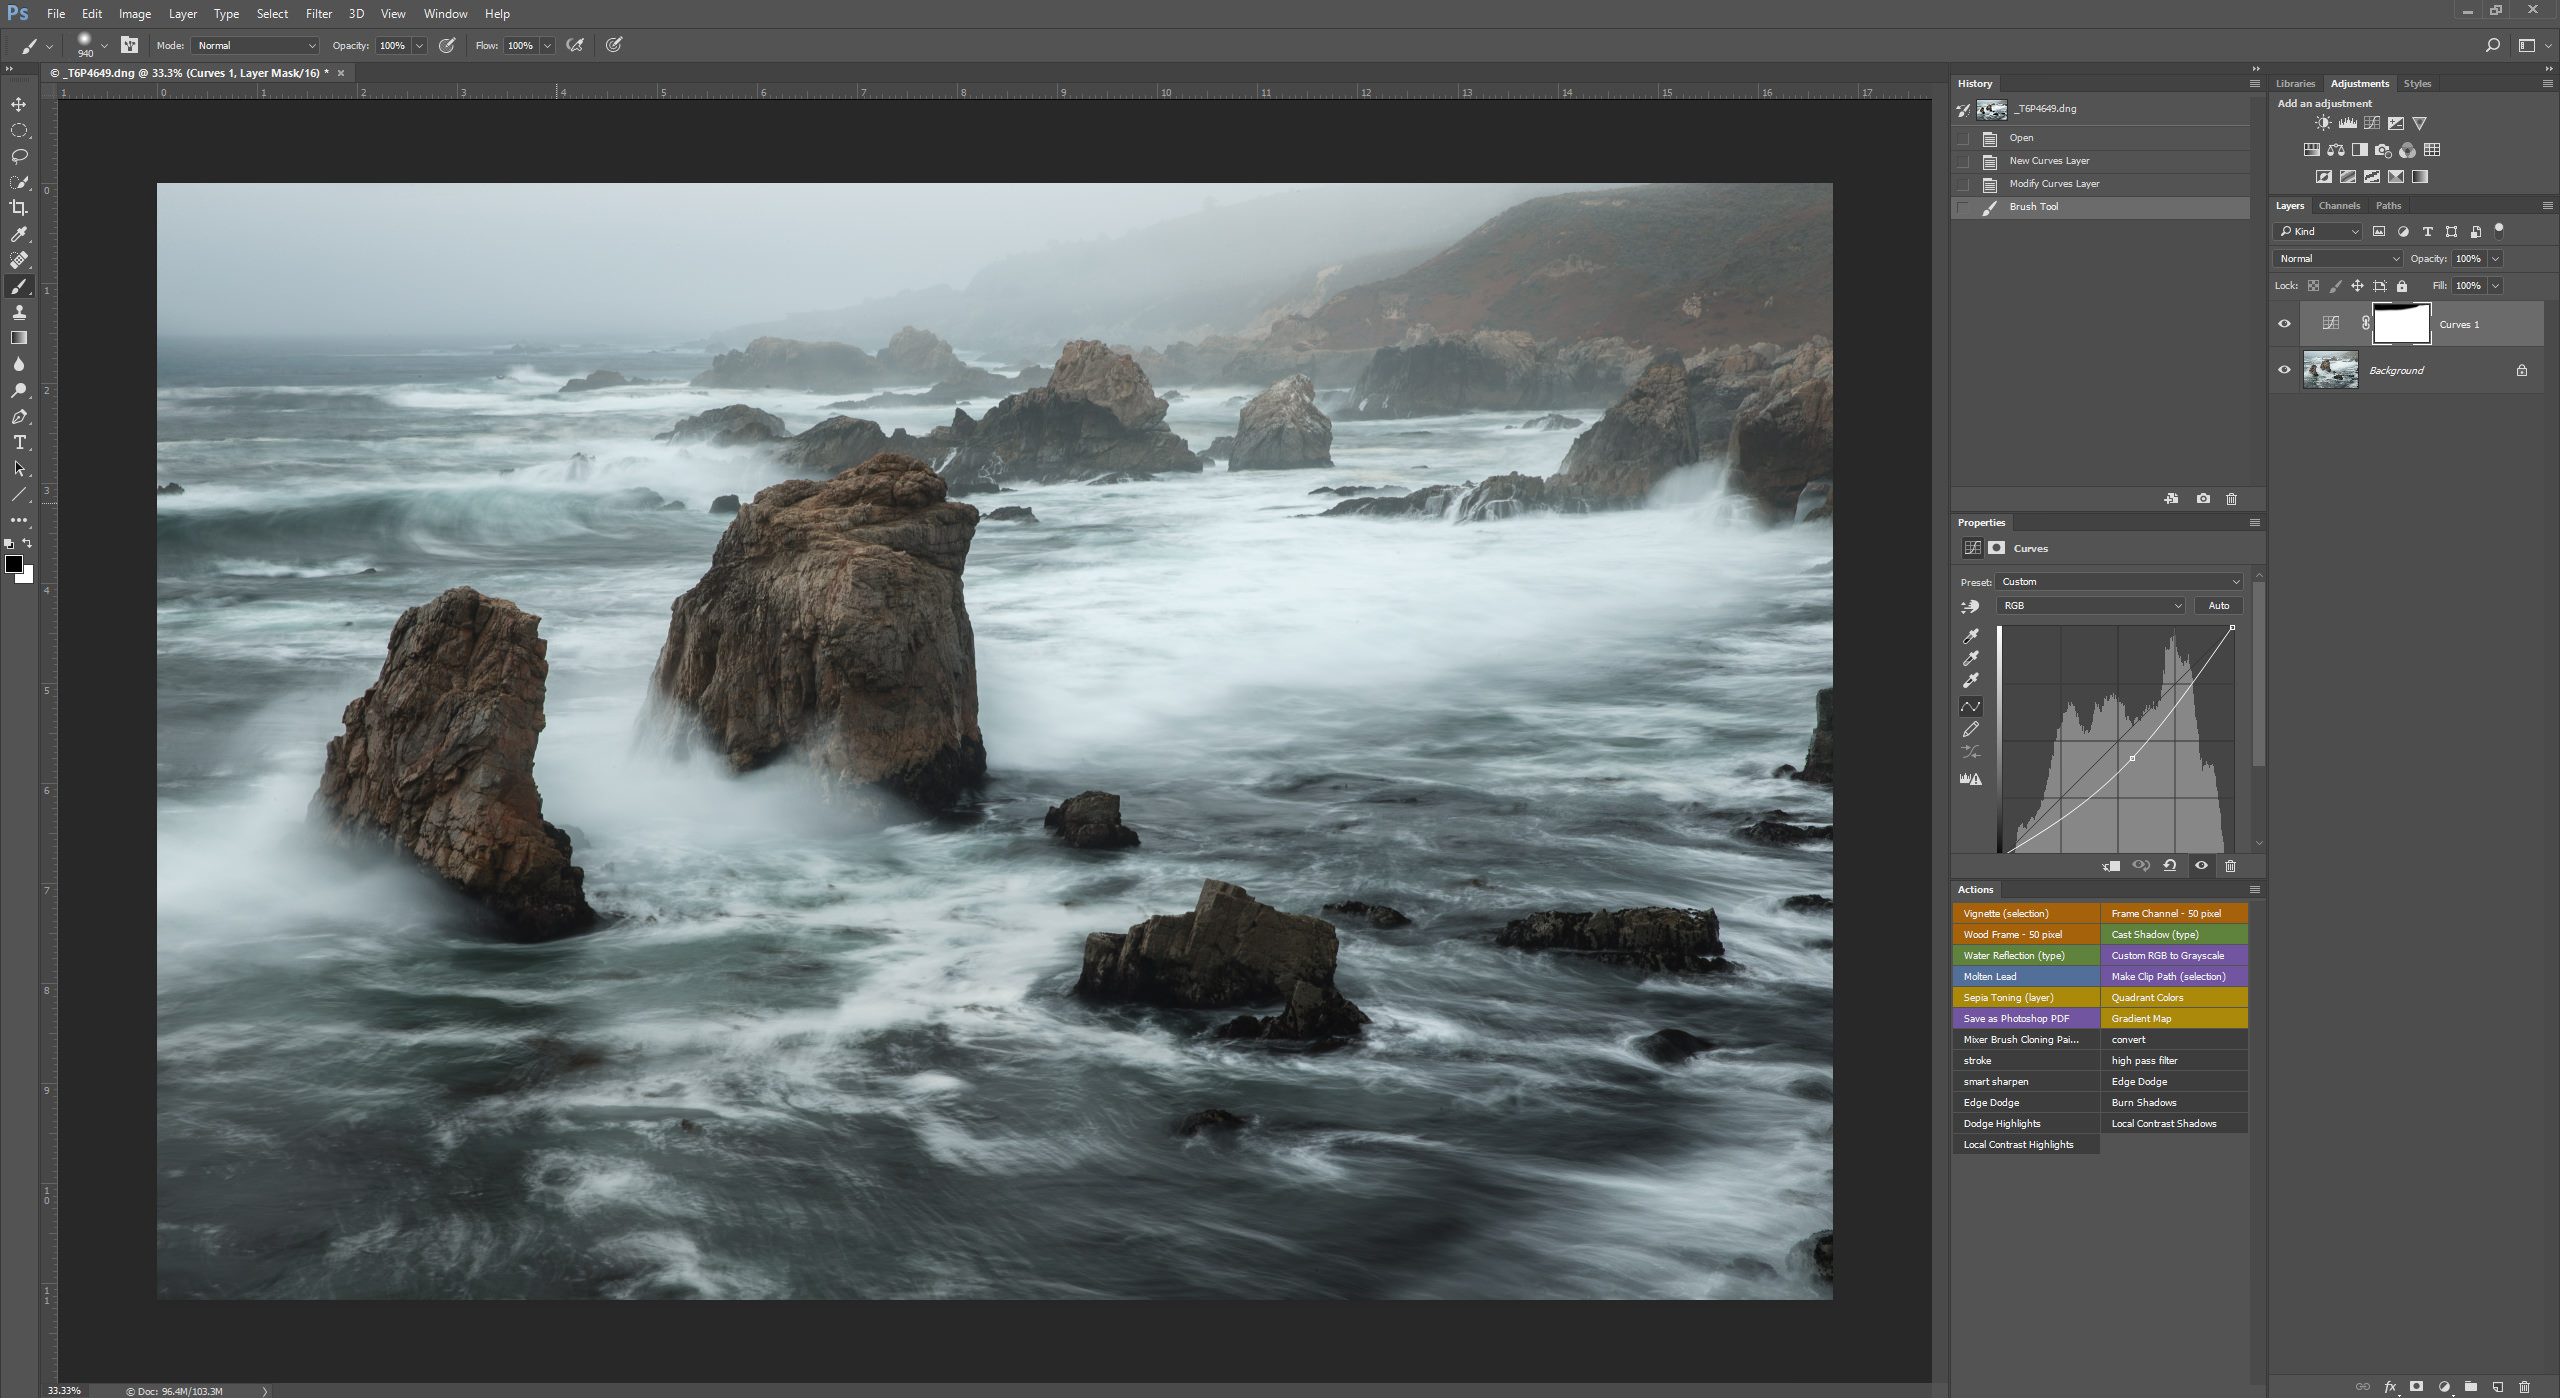
Or, I can save myself some work, and go to the Fade tool. I start by simply painting 100% black over the portion that I want to lighten, which will obviously eliminate the effect completely. Then I hit shift-control-F for the Fade tool where the slider will be set to 100%, that is, the full effect of whatever I just did. Then I begin moving the slider to the left and watch as the previously erased darkening in the shadows changes until I get the right look. The slider might land on only 18% or it might be 91%. Whatever works for the image.

I’ve backed off the black mask in the sky to 41% of the total while retaining the 100% curves adjustment elsewhere.
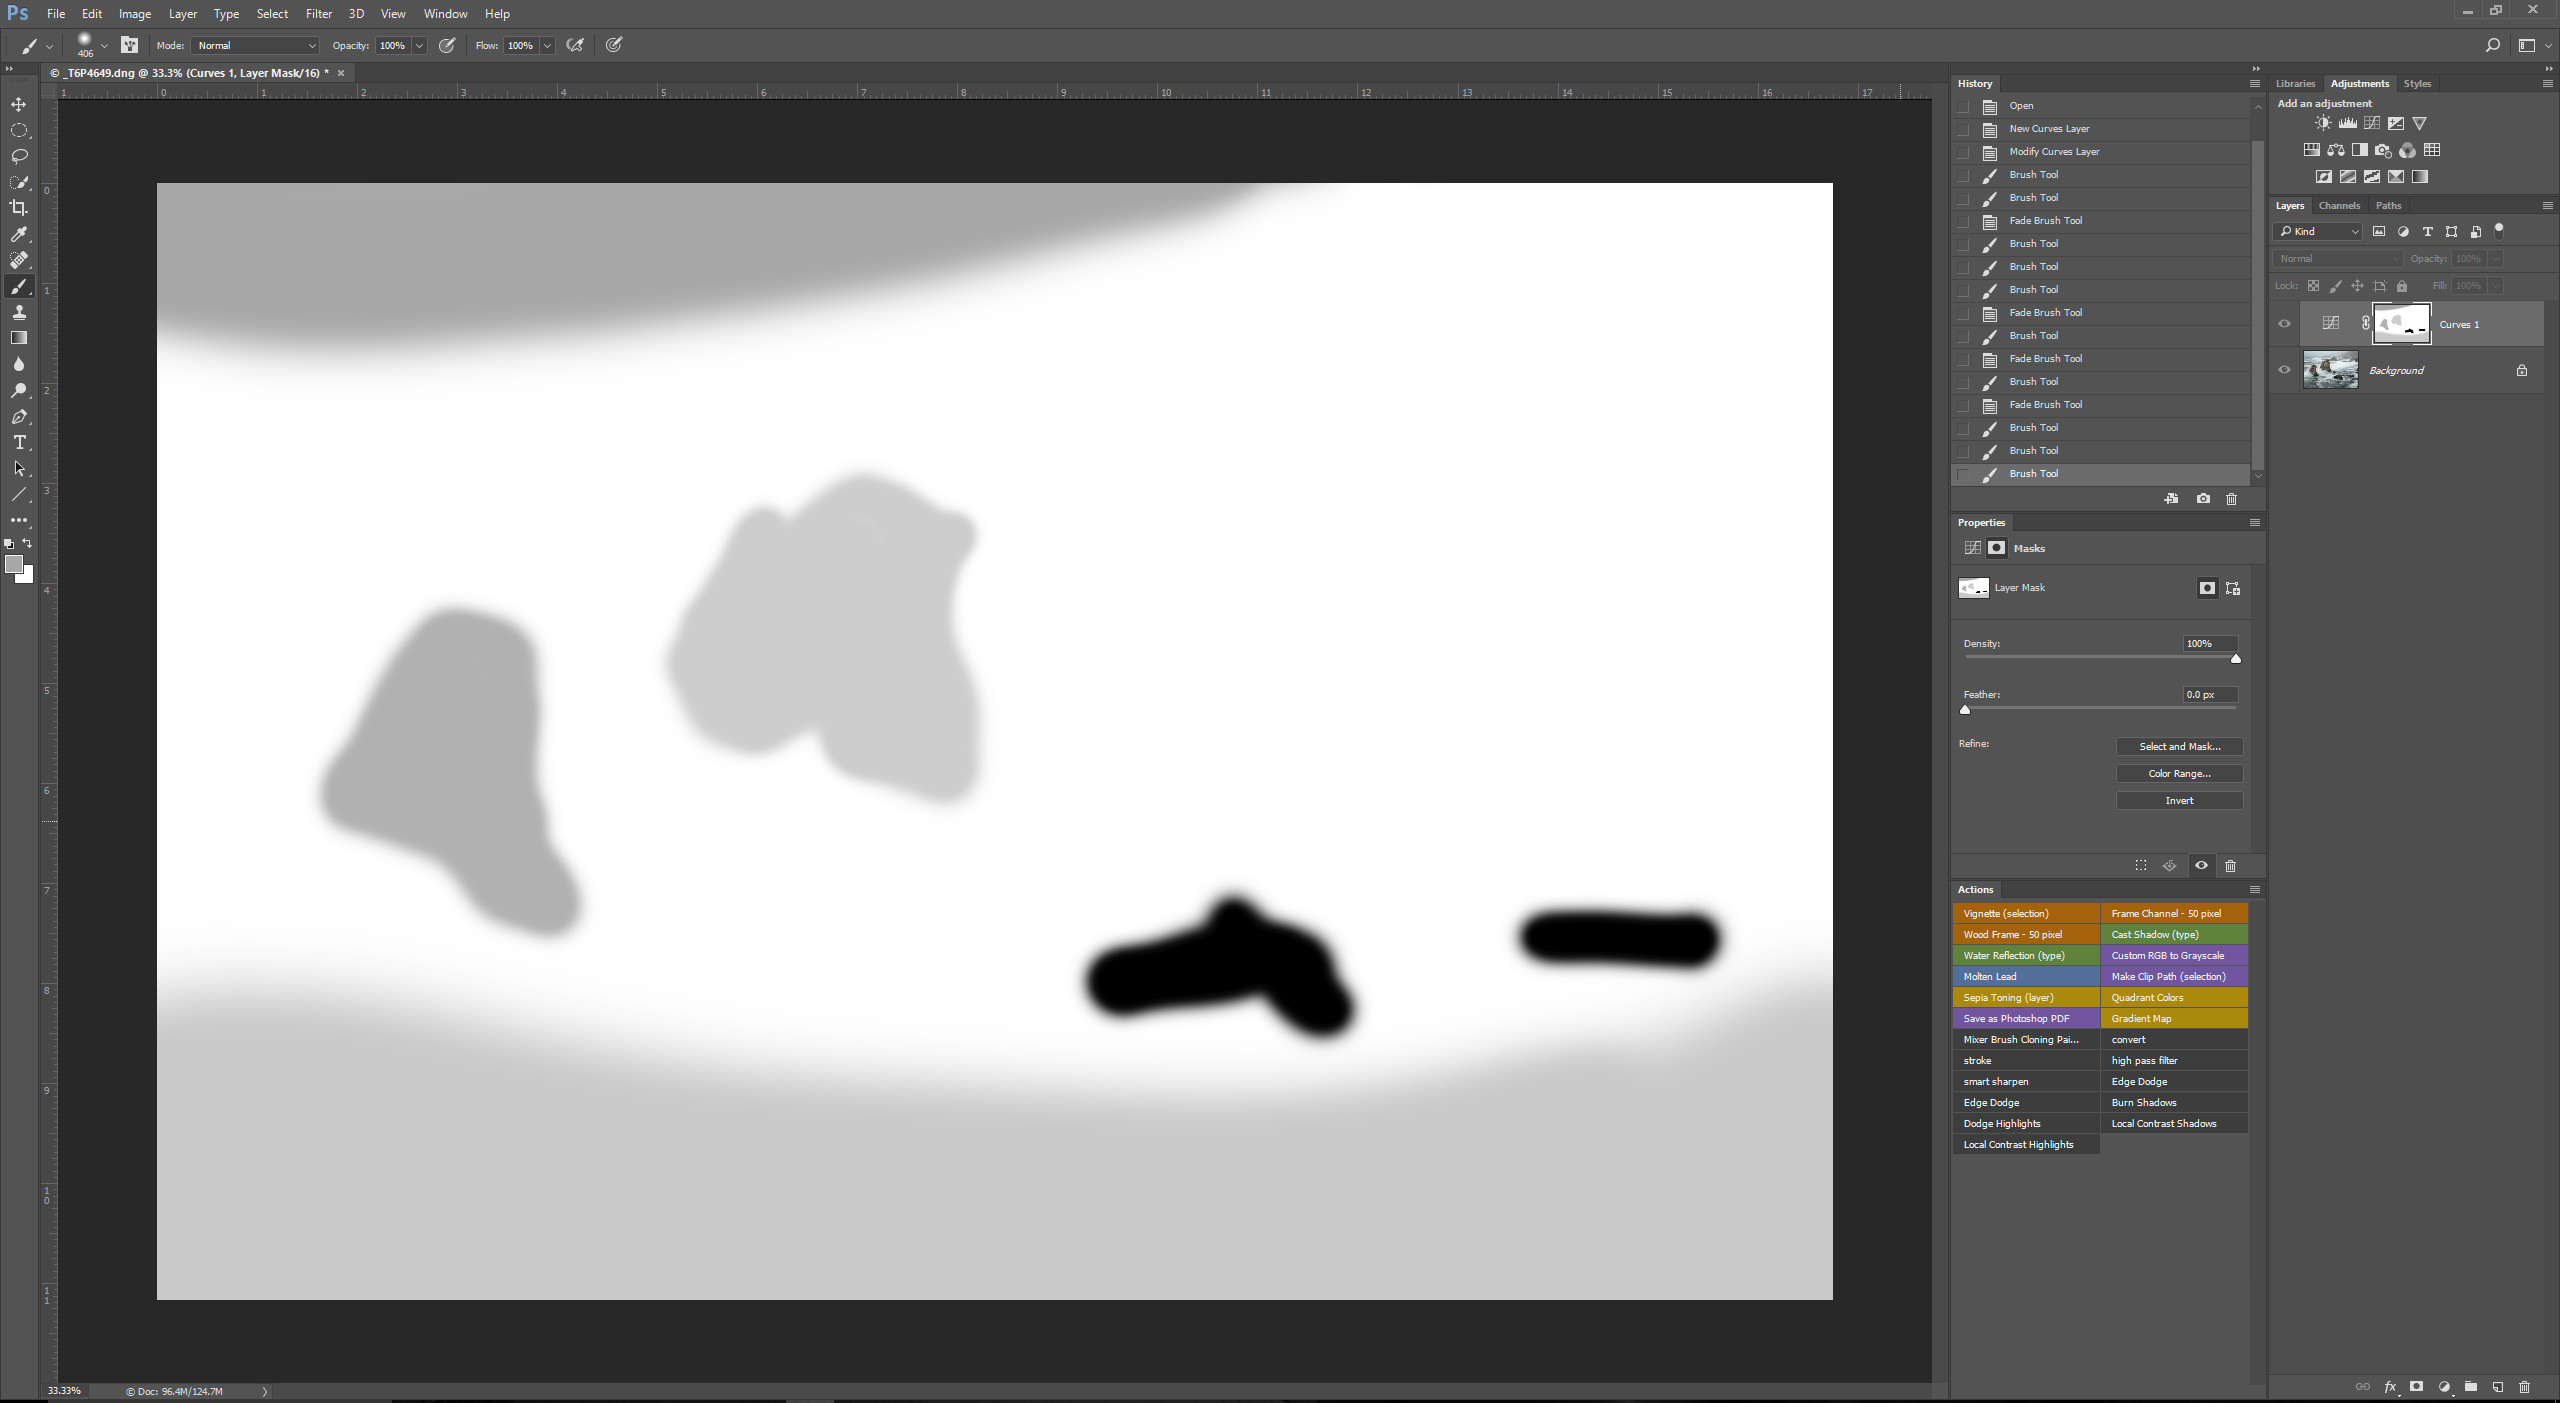
Here are all the other adjustments I made to the one mask.
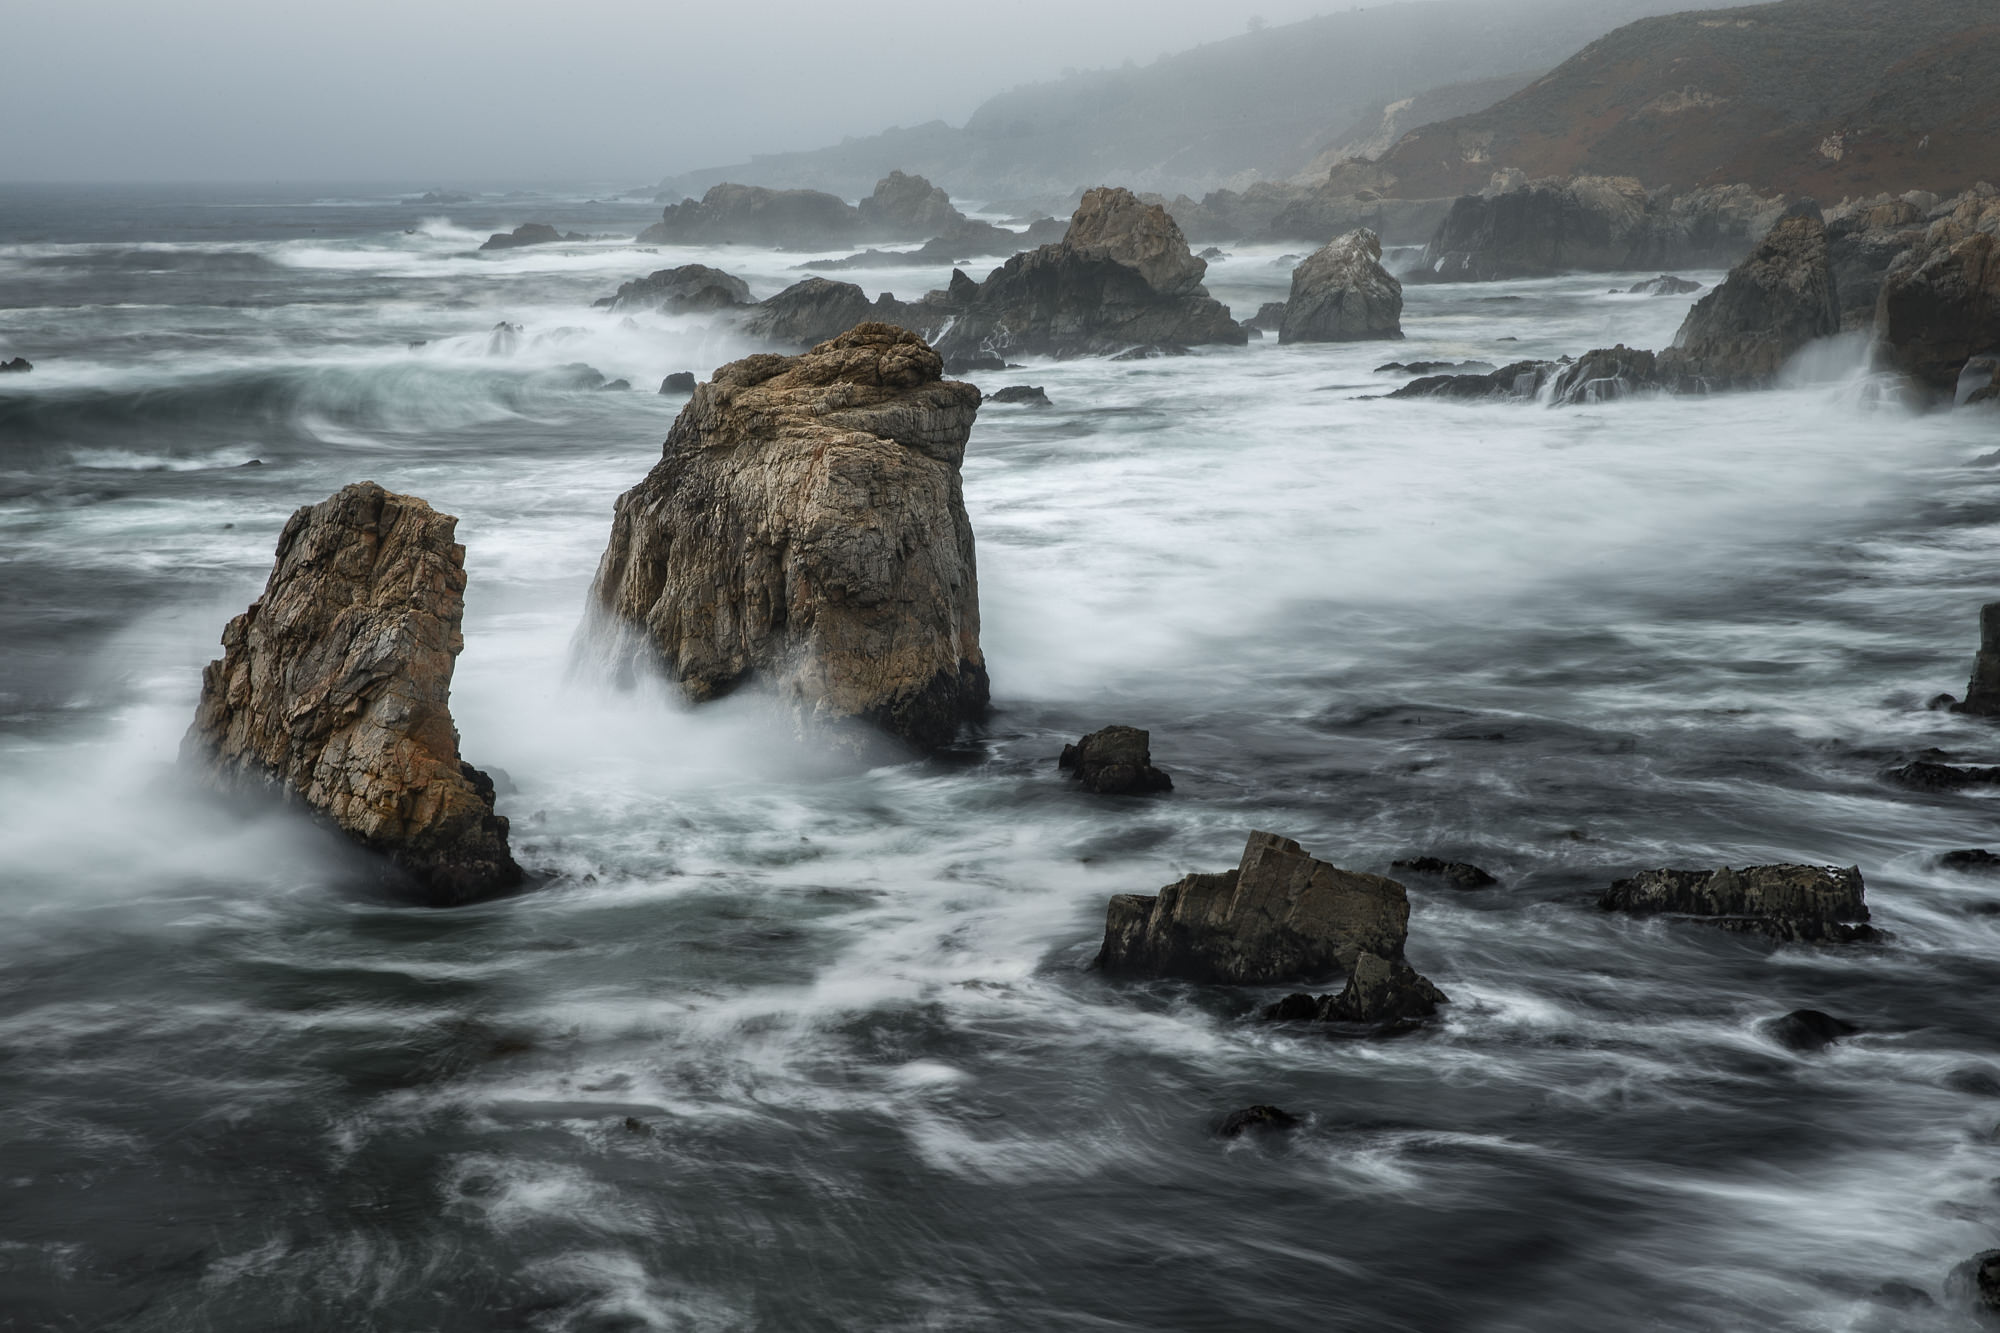
Garrapata State Park, California coast. Canon 1Dx, 24-70 f/2.8 lens set to 65mm, 2 seconds at f/22, ISO 100
Fade to Light
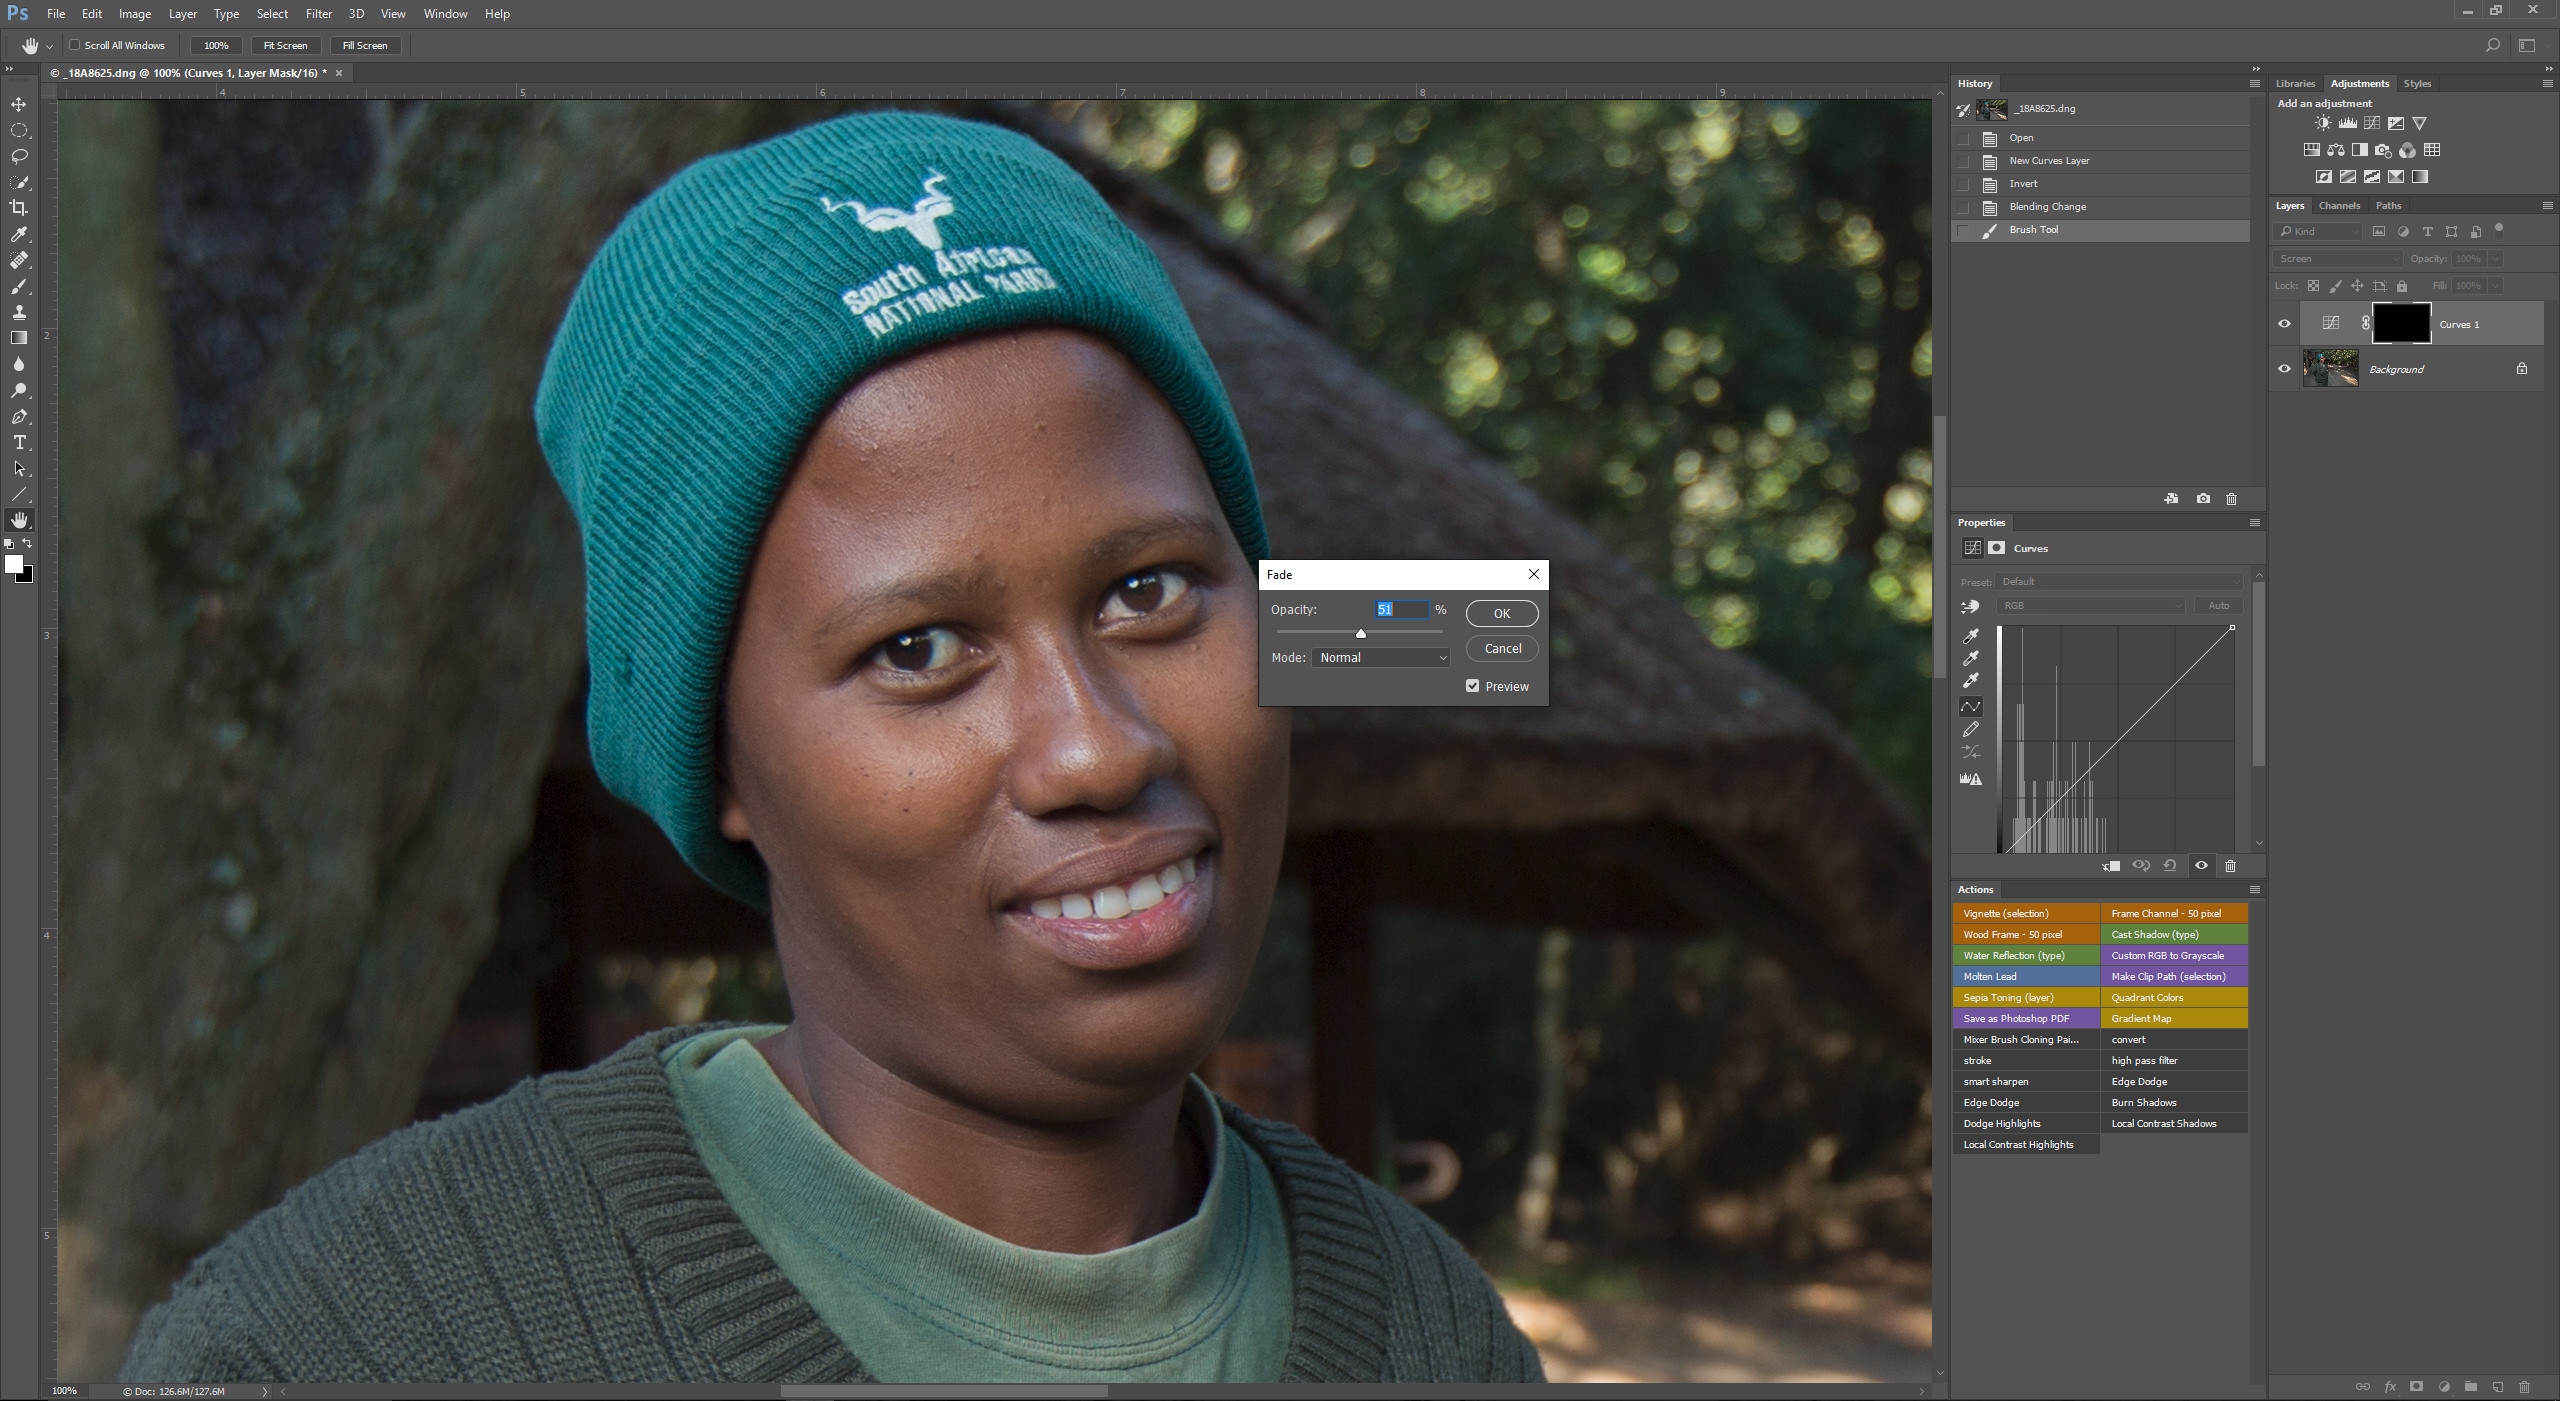
Another instance where I use the Fade tool a lot is when I want to lighten up a person’s eyes. For example, this environmental portrait of Siphokazi Titi who managed the incredibly remote Narina Bush Camp in South Africa’s Addo Elephant National Park. Again, there are lots of ways to do this, but typically I’ll create a new adjustment layer—doesn’t really matter what you choose, but out of habit I click on Curves—and then tap control/command-I to invert the mask to make it black. Next, I change the blending mode to Screen. You won’t see any change until you start painting with white over one eye. It will probably be way too much.
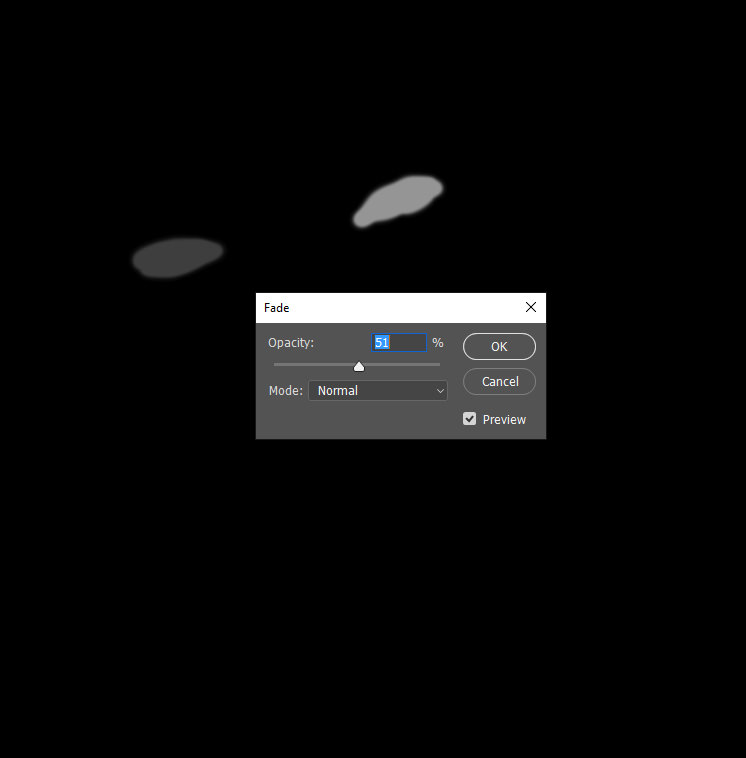
Not a problem. After the first eye is lightened, go to the Fade tool and change the adjustment until it’s right. And then repeat for the second eye, which may require a different percentage of fade (that’s why I do it one at a time). As you can see the screenshot of the mask, I lightened each eye by different amounts.
Cheating the Fade
Okay, so say you’ve done this not only with the eyes, but other parts of the picture, and then you realize you didn’t go far enough with the fade on the right eye. Supposedly, you can’t use the Fade tool once you take another action, but actually, there is a way. Simply brush over the one eye (or whatever part of the mask you want to adjust) with black so that you essentially wipe out the entire effect, and then pull up the fade tool again to readjust. Problem fixed without breaking a sweat.Another workaround is, say, you used the Fade tool to decrease part of an adjustment layer, and you decide you’d like to paint that same percentage of gray on another part of the image. Unfortunately, you can’t consult the now-closed Fade tool to see what the amount of fade was that you used. Simple. Alt/option-click on the mask which will now show you the mask itself. Take the eyedropper tool, click on the part of the mask you want to paint elsewhere. The paint swatch for the brush tool will now turn to that shade of gray. Alt/option-click on the mask again to bring back the image and you can now duplicate the effect elsewhere on the image.As I said, the Fade tool isn’t something that will transform your images into brilliant works of art, but it just makes life a little easier.

 Facebook
 Google +