Learn How to use Alignment, Guides and Rulers in Photoshopwww.sleeklens.com
For this Tutorial we’ll be looking into Alignments, Grids and Rulers in Photoshop, Alignments, Grids and Rulers will come in very handy in the future the more you use Photoshop on a professional basis, sometimes I will just use them as a little extra help (Rulers and Grids) even they are not necessary and sometimes I will actually need them and they are unavoidable.
So just a little tech note here, I’m using Adobe Photoshop CS6, if you are using a previous version it should be the same if memory serves me right.
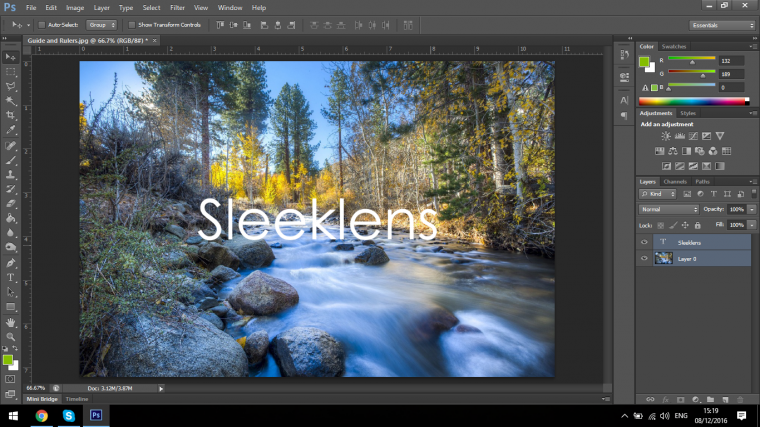
The first thing we’ll look at is the Rulers.
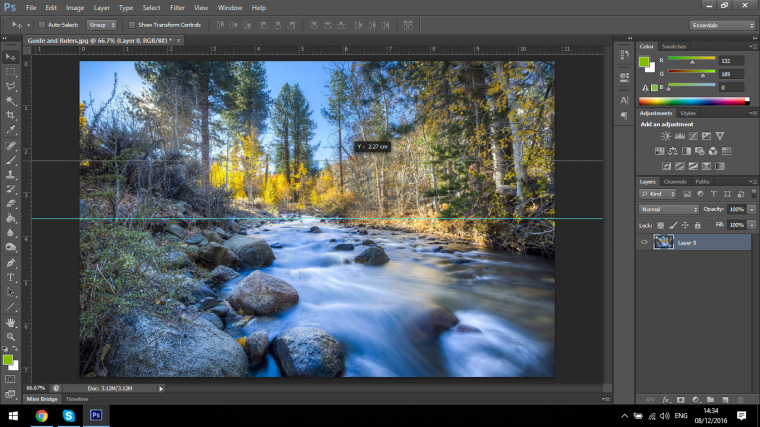
You can see those at the top of your image and to the left hand side, you can make the appear if they are not the by pressing Ctrl R and likewise doing this again will remove them.
When you right click on them you will be able to change up the different measurement options, CM’s, Inches etc.
If you now Left click on the Ruler and drag down you will see a guide line comes with your mouse cursor, you can use this for further measurements and alignments, I use them to make sure objects are straight and things like that.
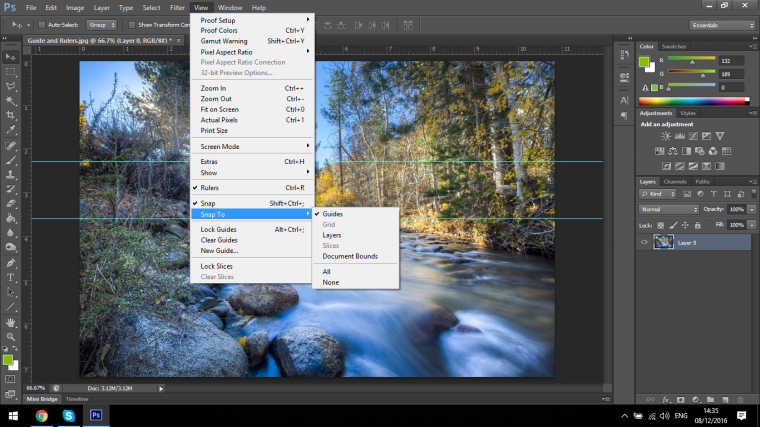
You can also go to View – Snap/Snap to… then your guide will snap perfectly to center points, layers and edges of images.
To make your Guides disappear you press Ctrl + : (Semicolon) on your keyboard.
You can also go to View again and below Snap to you will see Clear Guides and a couple of other options like lock, which locks them in place.
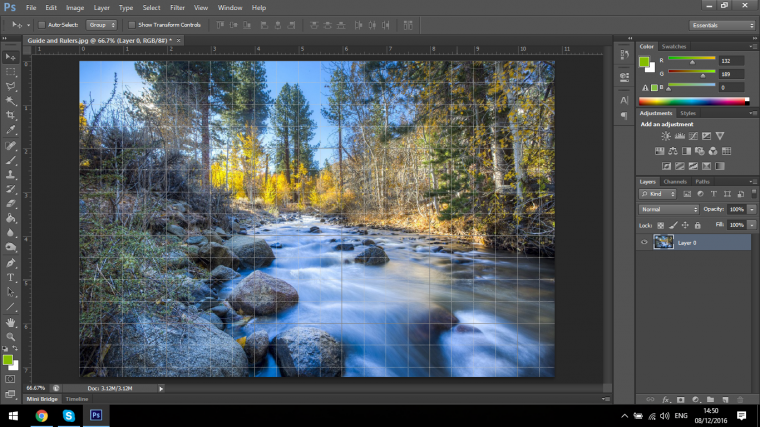
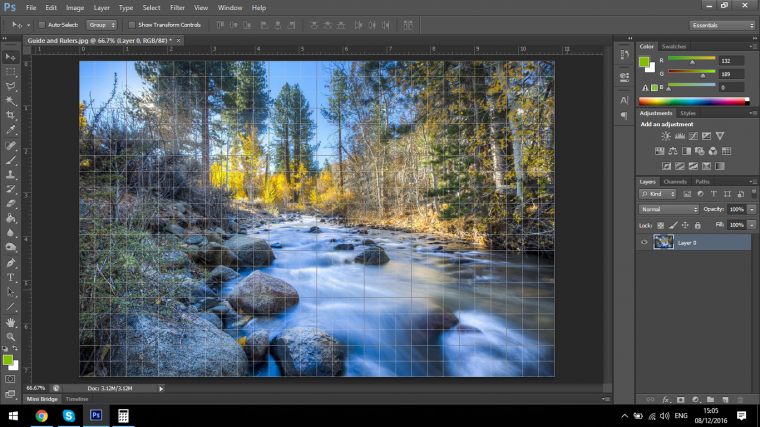
Ok so that’s pretty straight forward, now we’ll take a look at Grids.
You can make these appear by pressing Ctrl + ‘ (In the UK based Keyboard it will be an @ sign) US based and European it a “, I’m not sure what it would be on other keyboards but I’d image it would be similar.
You can alternatively go to View – Show and inside there you will find the options for the Grid Guides.
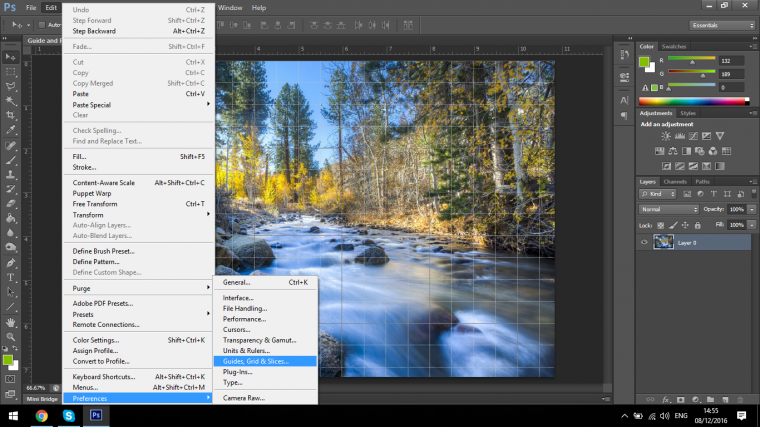
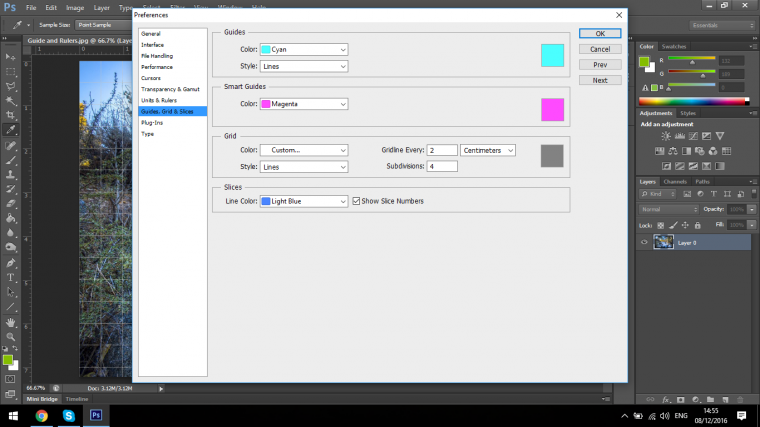
So sometimes like my image above the Grid will not match the canvas perfectly and will be a little out, the way to fix this is to go to Edit – Preferences – Guides, Grid and Slices.
Note: you will need to go to Edit – Image Size to find the size of your Image first or if you know that already then even better.
I know that my image is 1280 X 852, a nice even number… which is better again.
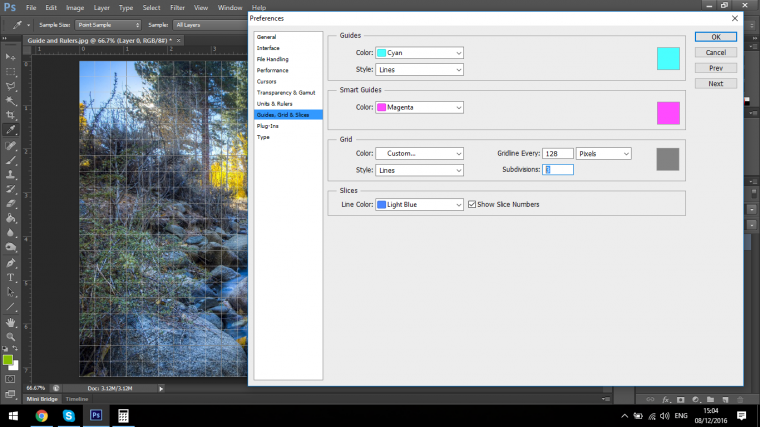
Then the Dialog Options Box will then appear.
Then in Grid you can change the size of the divides and the number of lines within your Grid, you can also change the metrics to so again, Pixels, CM’s, Inches etc.
You may have to polish up on your Mathematics Skills a little.
Ok so on to the last then, now we’ll be finishing off with Alignment.
Just a quick note here, if you haven’t already, you may see a little padlock on your original first layer, you will have to double click on that layer to open it up so we can edit it, for this just using the normal layer is fine but I would suggest for anything else other than quick exercises create a duplicate of that layer so you will always have a backup.
So do that and go ahead and create a new layer and put some text on it.
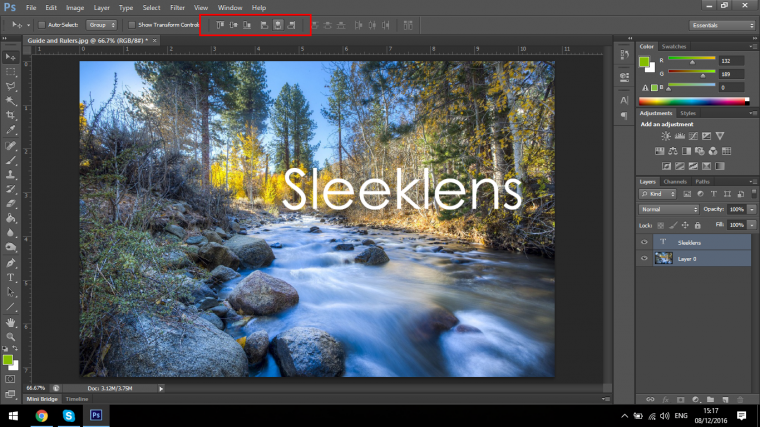
What you could do here is click on the Text and try to move it around to the center or wherever you require it with the mouse and just hope that your eye is good enough to judge, or! you can take the extremely easy and intelligent way out and use the alignment features.
So you highlight both the layers, click on the top the hold Shift and click on the other.
When you do this you will see the Alignment options appear at the top. (Highlighted in Red below)
When you click on these they will move the top image around, in this case the text to align with the Background layer, so the exercise I have for you here is to take 5 minutes and go over the Alignment options to internalize exactly how they work.
As usual stay tuned for more Tutorials coming soon and keep Photoshoping.
Graduated from college in 2002 with a degree in Art & Design, I started exploring my way in Graphic Design and Professional Post Production. Full-time freelancer since 2011.


 Facebook
 Google +
Comments (0)
There are no comments yet.