Not so long ago, major updates made to software produced by Adobe were mainly one per year (or even per two years) with the upgrades between versions in the old, but still beloved Creative Suite system. Since 2012, Adobe has implemented the subscription system as the main way of acquiring new licenses for most of their software; therefore, the Creative Cloud system (also known as CC) was born.
For most users, it became a hard to tell task, when it came time to guess if Photoshop (or other software available in the suite) was actually doing major upgrades, or if they were simple patches for fixing user reported bugs – but, Adobe decided to take a step further with the upgrade to version CC 2014.
In a Throwback Thursday fashion, Adobe guys decided to stick to what is widely accepted as tradition, which translated into another upgrade, a year later, to version CC 2015.
So then you may ask yourself: Is it worth the update? Certainly yes, although it could be a problem if you happen to work with a PC that doesn’t have enough resources, such as a decent amount of RAM – Adobe CC 2015 versions are now more RAM consuming since they feature a lot of “live tools”.
Let’s analyze some of the new features that Adobe Photoshop CC 2015 has to offer us!
Dehaze
Just as we were discussing at an earlier post, Dehaze adjustment is one of the amazing wonders that came with the new CC 2015 upgrade. Add or remove haze from your images while saving tons of time in editing.

This new adjustment can be found in Camera RAW properties, under the Effects tab; but remember, if you don’t upgrade Adobe Camera RAW to its new version (9.1 or above) the slider won’t show up.
Layer Blending options
Remember those days when you had to copy your effects layer several times in order to accomplish a desired effect? Well, not anymore.
Adobe guys thought of everything we need, and how to avoid messing things up when doing advanced adjustments. If you take a look at the Layer Blending mode options you will notice that now several options such as Stroke, Inner Shadow, Color Overlay, Gradient Overlay and Drop Shadow now feature the possibility of duplicating the adjustment made, without needing to duplicate the effects layer; and this can be applied as many times as needed.

Photoshop now becomes a versatile tool for creating advanced adjustments without needing to create thousands of layers in the process.
Adobe Stock
With the partnership made by Adobe with Fotolia, you can get access to Adobe Stock and get your hands on a content library with over 40 million images. Pretty amazing right?

This kind of feature is included in the Creative Cloud Photography plan by Adobe, meaning that you don’t have to pay an extra fee for accessing this service. For $9.99/month, I can say that is a great deal.
Artboards
If you know your way around Adobe Illustrator, you are going to love this – Photoshop CC 2015 now has a brand new tool named Artboards, which essentially helps users to create Layouts in a quick, effective way.
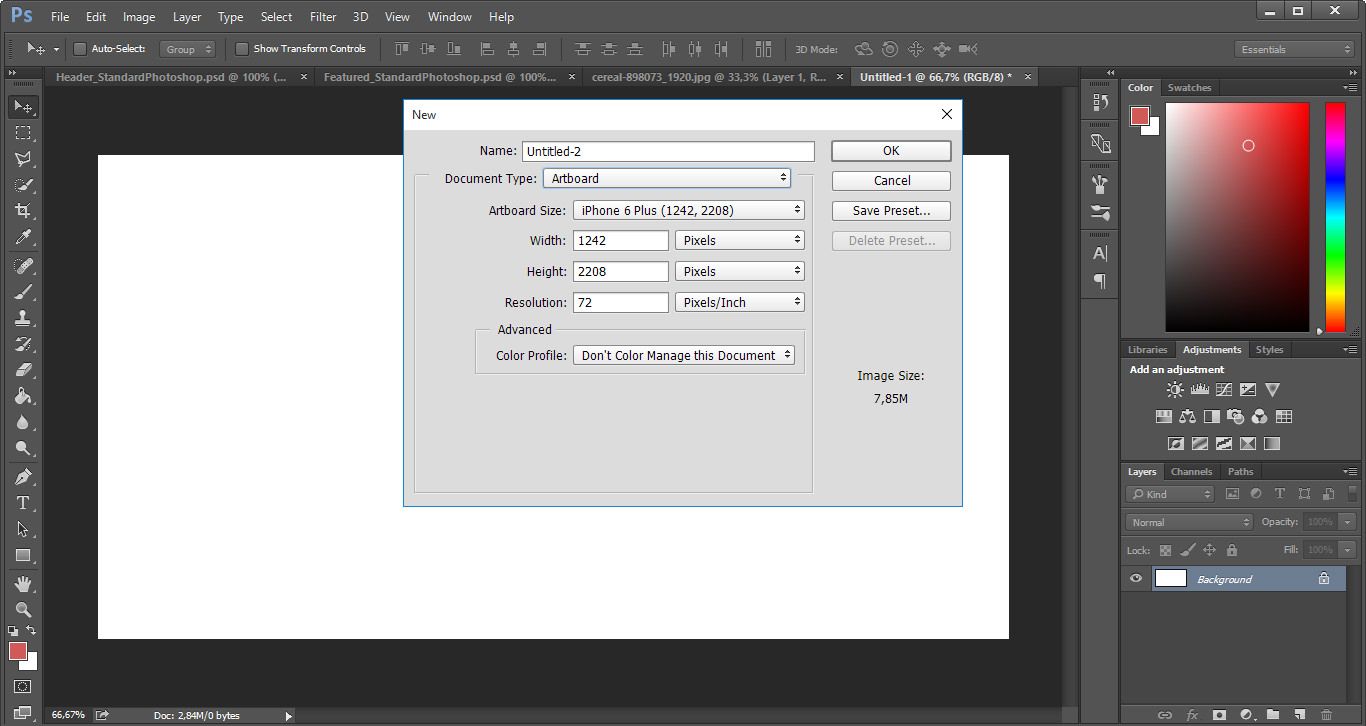
Activated via the Move tool, you can design multiple artboards from a template at once. Copying and sharing content between artboards becomes an easy task, where you can export each artboard independently or all of your artboards at once.
Content-aware updates
And if everything else we mentioned wasn’t enough, you are going to be amazed by the next update.
A well-known feature in Photoshop is named Content-Aware, and it is mostly used when erasing elements from pictures, as well as for sampling in some areas for corrections. Well, Photoshop decided to take it a step further with such a fantastic feature by improving its performance, in regards to affecting elements available on scene.
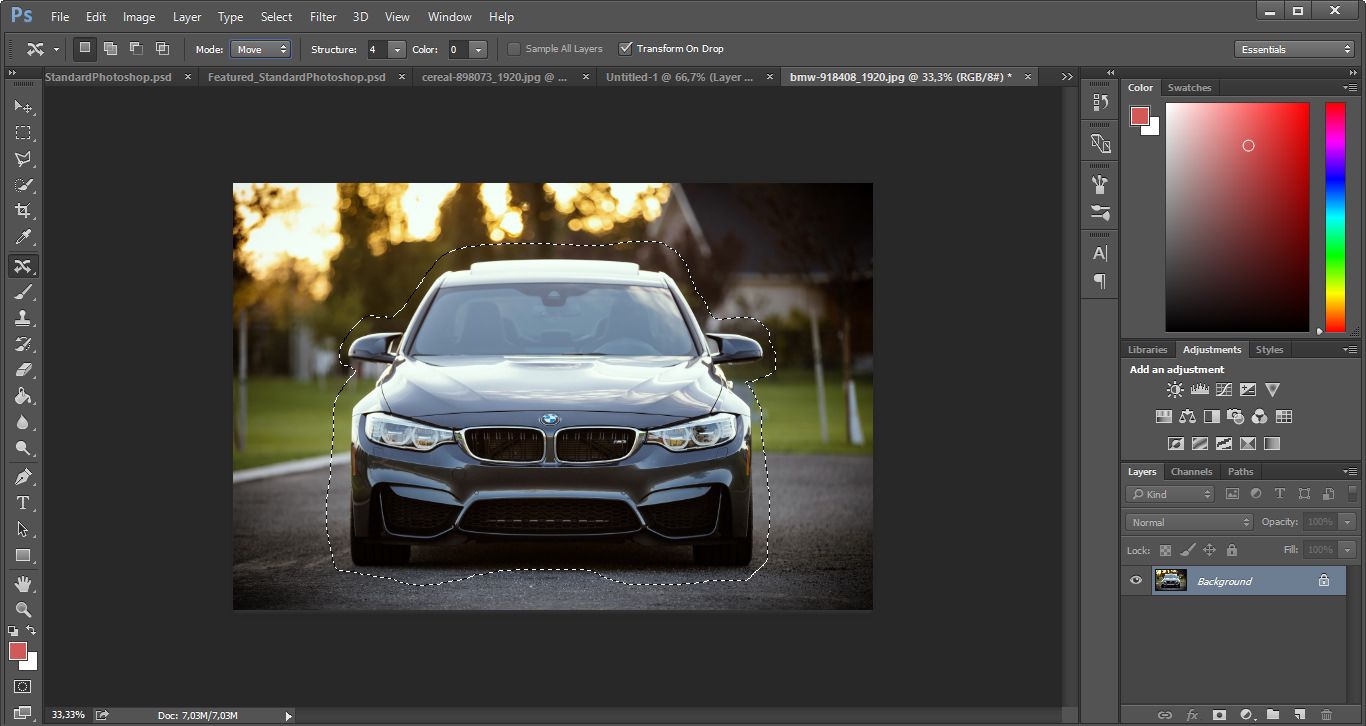
This fantastic tool is known as “Transform-On-Drop”, and works with the new “Content Aware Move” tool; where the handles will now appear after you select and move an object in the scene. These handles allow you to rotate, scale, flip or skew the item.
Then, once you’ve applied your transformation, Photoshop will update the location of the new object, remove the old object and fill in the result with content-aware blending.
As you can see, there are way too many aspects in which Photoshop has improved and there is still a great deal for us to see. Are you going to miss this chance of updating the performance of your editing software?


 Facebook
 Google +