In this episode of the Sleeklens Photography Podcast, we talk about easy smartphone photography tips.
Subscribe to the Podcast for the latest Episodes | iTunes | Stitcher | RSS |
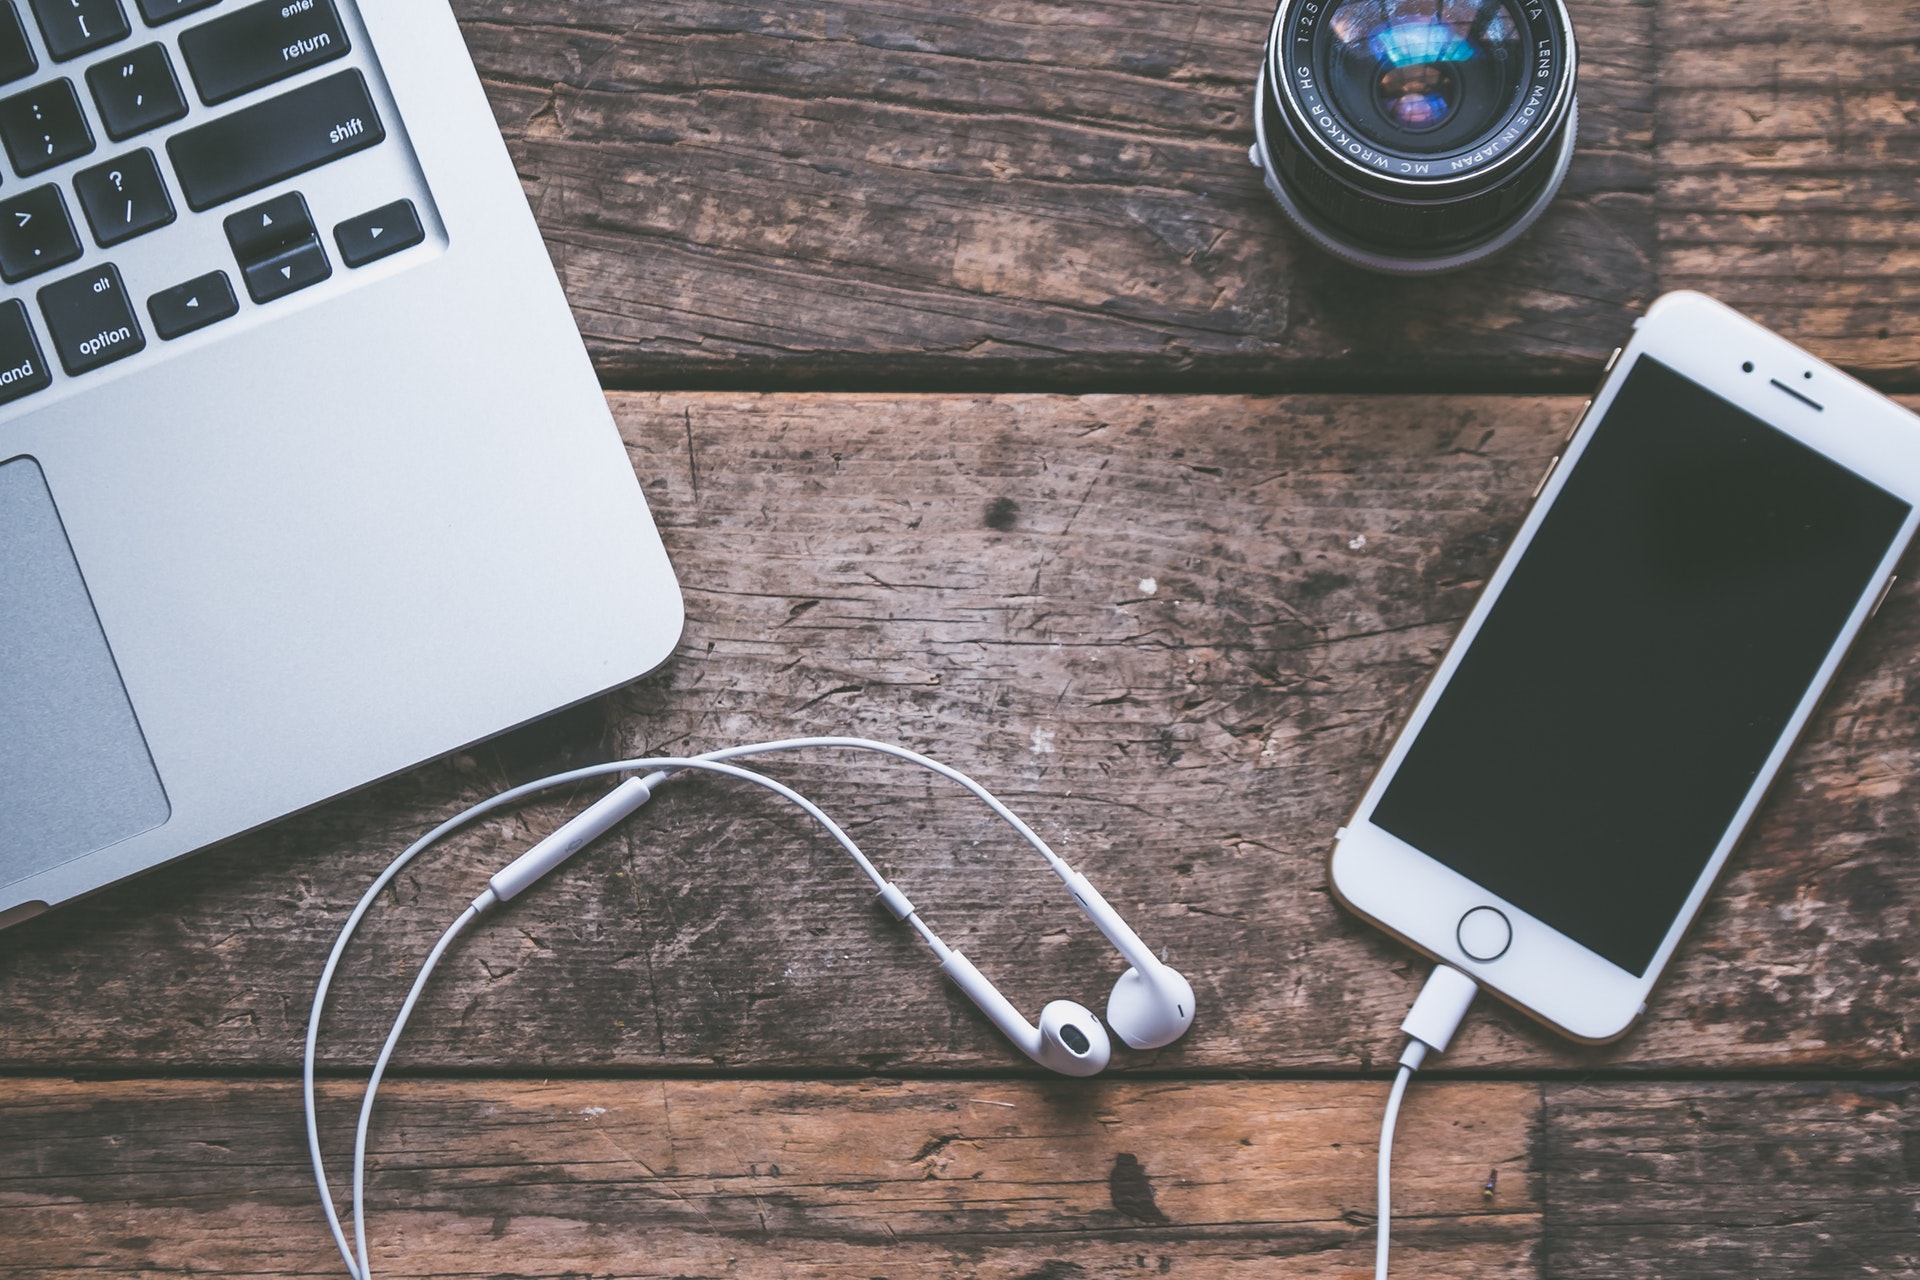
Smartphone photography is kind of a big deal these days. Many people are quickly ditching their big cameras and carrying their Smartphones around. I actually answered a question by one user who wanted to know which the best Smartphone editing app is so she can leave her camera behind and just take her iPhone with her to help take photos and edit them on the go within the app. Since this is happening more and more these days, obviously DSLRs and high-quality cameras are much needed but it’s becoming a big thing when people want to travel light, therefore wanting to carry small cameras with them and that’s usually their phone because they have it with them most of the time anyway.
As such, these tips are going to be just some simple things that you can do to try and get some different and more creative photos while at the same time making your photos generally better overall. However, these tips are going to concentrate on some basic features which are found in iPhones because that is what I am familiar with. But most of these features can be transitioned over to an Android device or any other kind of Smartphone that you might have. A lot of these features are found in most smartphones as well and you can check your device to see whether they are there even when you hear me talking much about iPhone. Some of these tips are going to be very simple but others are likely to be some things that you haven’t noted. These features include:
Table of Contents
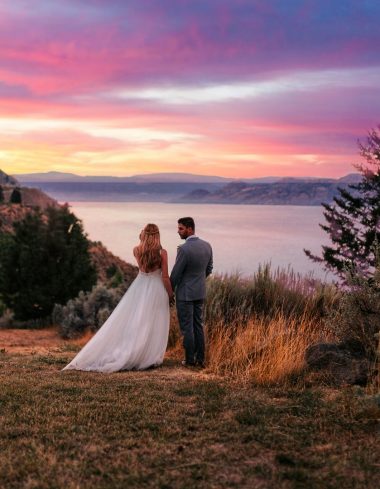
This a really a simple thing that a lot of people forget but you can easily and almost instantly improve your photography without changing any settings by just working on your composition. One of the main composition rules out there is called the rule of thirds. This rule has to do with spreading your frames into two lines going vertical and two lines going horizontal and this is basically cutting your image into nine squares. This gives you some points of interest to put a subject on. So, when you look at the intersecting lines, maybe you’ll put your subject in the bottom left corner and that will kind of create a rule of a third that’ll give you a lot of negative space on the right side.
The iPhone has a feature that allows you to put a grid on your phone thus giving you an automatic rule of thirds and you can kind of play with it that way and obviously the lines do not show up in your final image but you will be able to see them when working with your camera just to help you position your image that way. The rule of third is one of the widely known features when it comes to composition but there are also other rules out there including leading lines (that’s maybe having a walking path going up to an object and that can create an instant interest in your photo). You can even use symmetry just to make sure that everything is perfectly symmetrical from left to right, basically looking like a perfect mirror image of each other. If you flipped it into halves, you’ll have a lot of symmetries there. The basic rule of thirds, basic composition strategy will definitely improve your photography without changing your settings whatsoever.
This goes along with the composition. The beauty of being able to use a small camera such as an iPhone or any other Smartphone is that you can easily get into different places that you might not be able to if you were using a big DSLR. One of the most popular angles that get this kind of a low angle looking up at a subject and what it creates is some sort of more dominant and impactful image. As such, you are able to bend down low and position the camera very low when using a Smartphone and still see that large screen which is much larger than the LCD screen on the back of the DSLR. So, you’ll still be able to see your image and again just because the phone is so small, you are able to get down low without any kind of trouble positioning it thus being able to go down to many different places.
If you go to the opposite side of going down low, it means you can hold it up above your head and kind of fire a burst mode of shoots. If you are trying to shoot at a crowd or a concert, you can just hold the shutter button and get a burst mode of shoots and select the best photo from that which will look a little bit less intrusive if you are holding a small iPhone or Smartphone up in the air as opposed to a big DSLR camera.
On the iPhone, there is a camera app which is normally known as ‘Camera’ and when you click on it, then that is your native or inbuilt camera app on the phone. What is exposure lock does is when maybe you are shooting into a bright window and so your subject is going to be completely dark because the whole image is exposing that bright window. The way to collect this is to kind of move out of the way and find a different kind of composition that is not directly pointed at the window or you can use the exposure lock. The way to do that is to click and hold on your subject on the screen and the camera will kind of lock itself in that different mode, the focus-exposure lock, meaning it won’t move the exposure not unless you tell it to do so. Once you’re locked in there, you can scroll up or down the screen and as you scroll up, it will kind of lighten the image and as you scroll down, it will somehow darken the image. With this feature, you can easily play with more lighting effect depending with what you want without letting the camera to do any evaluative metering when it comes to finding the right exposure for the photo. This feature also works well when using videos on your phone using any mode. If you find that some of your videos are a little dark, you can use the exposure lock and focus lock as a really great way to haze the exposure a little bit without having the camera do all the work.
Now that we talked about the native camera app in the phone, let’s just say that you’re fed up with it and don’t want to use it either because there are no many features in there and you want to use something different, what could you do about it? Well, I will encourage you to look at different apps that I’m going to discuss but some of the best apps that I like to use
are those which allow you to control almost all the image settings as you would in a DSRL camera.

One of my best apps that I like is called ProCam. This is a great app that does both videos and regular stills and you are allowed to change the ISO, the aperture, the exposure and even the ratio of the image among other dozen things. You can even out this app as a shortcut widget on your phone so that you do not have to go to your native app intuitively but instead use this one for your photography. The app also allows you to edit the DNG files right inside it which means you will be editing the raw files that you just took. This feature makes it a great app to use. You can also export it and eventually update it in another program such as Lightroom or even export it to your desktop and edit the photos in Lightroom just to give you better results as you would just using the JPEGS.
The next tip is kind of a fun one. Let’s say you are out in some bright, sunny situation such a beach and you’re trying to take photos of a family but realize that the sky is really blown-out and doesn’t look like you’ll get an appealing photo. What you can do is take your sunglasses and put them over the camera lens and this will help darken the exposure, trying to make it a little bit more balanced. This works best when you have polarizing sunglasses. We all know what polarized filters do to a regular DSLR and polarizing lens in the sunglasses work exactly like that. It darkens up part of the image while leaving the bottom part of the image a little bit brighter and allows for more neutral exposure. It also cuts down the reflection as well. As such, polarizing glasses can actually help while taking pictures like those. That’s a really easy way to get great shots with your sunglasses when exposed to excessively bright light.
Natural light is a big key when it comes to getting really great, well exposed and creative images. A lot of people stick to using the camera flash but this is not really powerful no matter the technology or colour tones in the flash feature and thus does not match up to what you would get when using the natural light for your photography. One thing that is really interesting especially in a sporting event is that you’ll see multiple flashlights pop-up and that can be a lot of different things and also some people might have DSRLs which have flashes, most of the little popup flashes you see are from Smartphones or iPhones.
What people don’t understand is that although they think they need those flashes, the fact of the matter is that they are damaging their photos. These flashes normally ruin the exposure since they can only travel so far. The little, tiny dot can’t transfer as far as to where the object or action is and if it were to go far, the truth of the matter is that it can go beyond two feet. The best thing will be to put the flash off and try to get the best natural exposure and this way you will get better-looking photos. The truth is that you might see a little more noise and movement in the photos but at the end of it all, you’ll have better-looking results that when you use the little tiny flash.
Using a panorama mode helps to mimic the wide angle lens. This is kind of good when taking a group photo but can’t get back far enough to capture everybody in the frame. Normally what happens in such a situation is that you try to squeeze people together or try to shrink the frame. However, you can use the panorama feature on your phone to do a makeshift widening effect. Using the panorama, you have to go from 180 degrees from left to right although it’s not a must that you get the 180 degrees. You can move slowly from far left and pan over the group and get the whole group in the shot and then kind of pan away from the right and then we can crop in later on in the editing and get kind of a makeshift wide angle lens and also get everybody into the photo. This is a really quick thing which I use a lot, especially when shooting real estate photos using my phone.
To do this, you just need to plug your earphones into your phone and then set your camera very far away from you. On the headphones, you have a little ‘volume up/down’ locker which you can use as a shutter release when maybe you want to take a photo and you don’t have anyone to help you, you can plug your headphones and do a little bit of selfie action. Some wireless headphones also allow you to use them a shutter release locker but it depends on the maker and the model. However, most of them work just the same since they have the volume up/down locker. You can also do that with a small headphone since they all act like a wireless shutter release.
I personally don’t like editing on the Smartphone especially if I don’t have to. If I can save the photos and transfer to my laptop or PC later for editing, I would prefer this to editing on my phone. However, there are a couple of great photography apps which allow you to edit your photos on your phone. The first one is known as Snapseed by Google and its updated regularly, something that is really great. It offers a number of pro-level features including transform, blurring, colour adjustment, and blemish removal among many other cools features and functions that allow you to take control of your photo. Many people normally do take photos using their phones and then transfer them to their iPad as their main editing source using Snapseed. This is a really good app if you are the kind of people that like sitting down in front of their computer to edit photos.
VSCL is also another great app that you can use for editing on your Smartphone. If offers some great filters and other features, some of which are free and others premium. The app also allows you to transfer your photos directly to social media thus making it a great and convenient option if you want to edit your photos using your phone. The other option is the Instagram. Many people think that when you edit your photo on Instagram you have to post it. However, you really don’t have to. When you open a photo on Instagram and start editing and then push the next button after you are done editing, it is saved on your phone before you post it on the social media. As such, you can cancel the whole process after pushing the next button which allows you to have the photos on your phone but not posted on to your Instagram account. Instagram has some great features although they don’t have a lot of filters such as VSCO dust you can do the usual fine-tune edits using the well-known features as you would find in Lightroom.
Next, you can use Lightroom but use what is known as Lightroom mobile. This is a mobile version of Lightroom which allows you to edit your photos which are taken using your phone. The great thing about Lightroom Mobile is that it has almost the same features as the main Lightroom software but these are layered differently to suit the smaller screen of the phone. Once you edit your photo, your files can instantly be transferred back and forth if the Lightroom in your computer is synced up with your phone. This allows you to edit your photos on your phone and if you can get back to it, then you can access it through your computer. That’s a great feature if you have your phone and computer synced together.
Lastly, we will touch on one of the most interesting and better options when you are trying to get the best photos using your phone. This involves exporting your photos as a Digital Negative file (DNG) and editing it in Lightroom on your desktop. You will be able to see more of the image and also have more features as you are used to and also enjoy better-known adjustments and also use the presets that you’ve downloaded or bought. It is a really well-known place to edit your photos and actually if you have the time you can export your photos as DNG files for editing.
The featured item of the week is not an actual item but a really cool technique for getting really fast edited photos if you are in a hurry. There is a feature found in Adobe Lightroom known as import preset. This feature is found in the Import module and is a section on the right-hand side known as ‘Apply during import’. There is a little box under that called “develop settings”. In that ‘develop settings pull-down menu, you will see all your well known presets that you’ve installed on your Lightroom catalogue. Any preset you have installed in your preset module will be seen in that develop setting panel. Whether it’s a popular setting that you’ve applied to your preset module, Lightroom will apply it to you while importing back to your computer. As you import your photo, just change the ‘develop setting’ to the preset that you regularly apply to your photos and allow Lightroom to apply that and when you get back to your computer, you can see that all the presets were applied on all your images and you can only do some fine-tuning adjustments. This makes for quick photo editing session and is a really cool feature that many people do not know about.

Please verify your software version before proceeding.
 I’ve verified my software version


 Facebook
 Google +