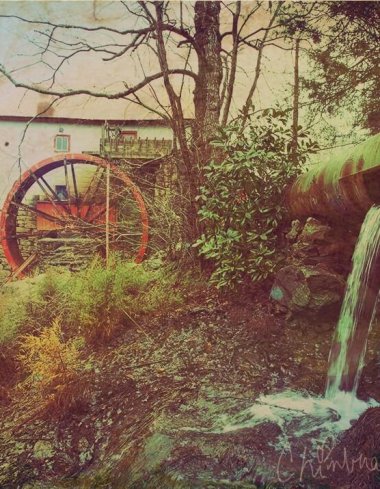
In this post, we shall be talking about landscape editing tips or tips for editing and taking better landscape photos in general. We’ll look at a big group of tips here and some of these are stuff you might think about when you go out to shoot some landscape photos but others are smaller ones that you might think are time wasters for lack of a better word. However, these are really important tips especially for those of you who don’t do research for their landscape photos, which is our first tip.
-
Doing your research on landscape photos
By doing your research, I don’t mean going to Google images and possibly typing a place you might be visiting. That’s obviously a good one to incorporate but you need to actually do a detailed research for your landscape photos and that’s a big thing. What I mean by that is actually using a couple of different tools that we have talked about before and these are Google maps and Google earth. Google Maps is a really great web version of Google maps which allows you to get directions and see satellite views and street views among others. So, if you’re going to a location, number one, if you don’t know exactly where it is, Google Maps is a good way for you to get directions. In addition to the directions, you can see street views to get a better idea of your location. I use Google Maps if I am going to a spot that I’m not familiar with or haven’t been to before but the main one is Google Earth.
Google Earth can really not only give you a better idea of what you are going to be shooting but also some really awesome spots around where you’re going to be shooting. For example, if you are going to take some photos of the Eiffel Tower in Paris and you want to get some normal classic shoots that everyone gets but if you fire the Google Earth app and you type in there “Eiffel Tower” and you get a nice street view of that and can shoot the normal shoots that everyone gets. However, there might be some locations around the tower that you might want to take some photos of. This app gives you some great ideas of not only the actual spot that you’re going to be taking photos of but also different places around there. You might see something from the satellite and consider them to be a good spot and as you zoom in, you might decide to get some photos while visiting the tower.
You can also, this is probably the best tool you can use for Google Earth, basically get a calendar view of what you are looking at and actually change the time of the day depending on where you are at, might not work for all spots or locations, but for most locations, you can change the time of day and get really awesome views depending on the overcast skies and you can get some advanced views if you are going some three months out you can probably get some nice idea of the shadows that are going to be cast on a certain direction, where the sun is rising and stuff like that.
These are great tools especially if you’re going to a spot you’ve not been to before or are not really familiar with.
-
Time of day when to shoot
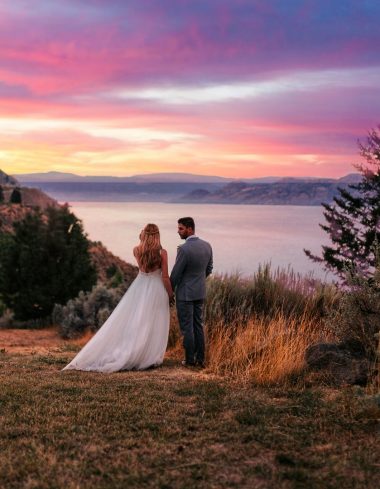
This is another great tip that many landscape photographers talk about. I have done another post on why you should shoot in the golden hour but basically, when shooting landscape photos, the lighting is key to great photos. Great light is most likely to equal great photos depending on you knowing the basics of photography, all your exposure settings and composition etc. What I would recommend is for you to shoot in the early morning if possible, in the evening and at night. A lot of people don’t like advice because it’s like the easy answer to get out of taking great photos. However, if you do any one of those time frames, you are going to most likely get some great photos. Early morning shoots are really great for having an atmosphere to your photos as it typically adds some haze to your photos depending on where you are and you get some nice side light depending on where the sun is rising. Evening shoots you also get that golden hour, you also get that nice side light as well and it’s a little bit warmer and you can actually go to a location that seems like boring and take a nice photo with the Milky Way and a bunch of stars in the background and this makes it look like a better photo because typically people don’t see those types of photos. A lot of people with cameras these days really like those kinds of photos because they see photos that are typically taken from a small cell phone or Smartphone and those phones can’t typically handle those kinds of photos. Basically I’ve pointed out three times of the day and none of those is midday sun. You aren’t going to get great photos especially if it’s a sunny day with no clouds in the sky but you really are looking for that side, warm and natural light and choosing the main time of day will give you some very nice photos.
-
Get a good quality tripod
This is a tip I have struggled with a lot because I feel like I’m addicted to tripods. When it comes to tripod, going to your local store and grabbing one that is worth $20 won’t work the magic for you but you will need to get a nice, solid metal tripod that typically would be easy for you to carry easily. If you’re one of those landscape photographers who only take a camera with them but don’t use a tripod, it is good to understand that although free-hand photography is good, using a solid tripod opens up doors to a whole lot of opportunities for your photography. A good example will be compositing. I want to do compositing of different frames (maybe this is not a HDR technique) when you go to a location, it’s going to be hard to do that if you’re free-handing it because typically with that sort of location and idea, especially when you take your photos to Photoshop and try to composite the frames together. Maybe if you’re shooting in the golden hour and you have to wait for 20 to 30 minutes without moving your camera at all and then you see a better sky in the background and you take another photo and then take these two photos to Photoshop and composite them together, you will have a very difficult time doing that if you’re trying to handhold your camera and don’t have a tripod.
It might seem cumbersome and a little bit of pain to carry your tripod around but you are really going to love the type of results you get when you have a solid, quality tripod. Quality is undoubtedly one key feature to look at when getting a tripod and although it might seem like a waste in the beginning once you acquire one, you start playing around with it and see the results, you’ll realize how great a tool it is. If you’re looking for a nice tripod, you can visit Sleeklens.com daily deals section on our website where we have great discounts via Amazon or go to sleeklens.com/photograph-deals and you’ll find it there as well. There are numerous tripods there at varying costs and you can type your price range and see what kind of a deal pops up.
-
Pay attention to the weather
This is a big one and might fall under the research you’re doing but if you have to take better landscape photos, you must pay attention to the weather. The weather can play a different effect to your photo. If you have an overcast sky, then you will have a lot less contrast in your photo and a little bit better time getting the right exposure. If for example, I’m taking a portrait of somebody, I always try to stay away from harsh shadows and instead opt for an overcast sky or partly cloudy so I can block out the sun from giving the shade or something like that. However, if you want dramatic sky then you’ll need a stormy sky or something like that so depending on the type of mood you want to put forth in your photos, you’ll really need to pay attention to the weather and that’s a big thing.
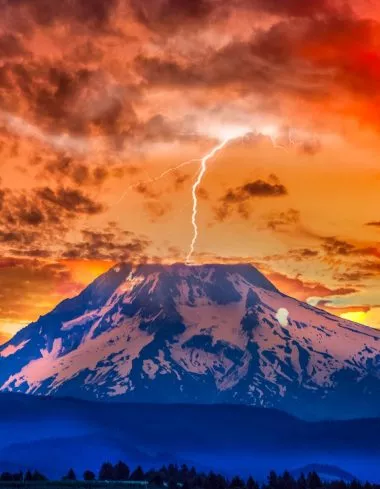
There are a lot of different weather apps out there and you can put on your Smartphone but the one I like to use is called Storm but unfortunately it’s only for iOS, for iPhones and the like. This is a really great app because my main interest in that app is to track lightning strikes and so if you are one of those lightening hunters or want to try it sometimes and want to get out and want to go out and capture lightning photos, you can see where the lightning strike in your area as it shows a 100 miles radius but it’s a really good app as it shows lightning strike real time. This is a niche topic but this is a really cool app and I like it. You can also toggle along layers for cloud layers and other stuff.
-
Don’t settle for easy
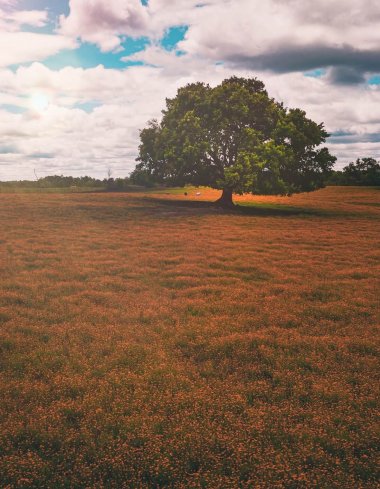
This tip will definitely call out those who are lazy basically because landscape photography is not just about pulling alongside the road and capturing a photo and getting back in the car and driving off. It’s about being adventurous, going out and taking a great photo that is typically not what people are used to see. An example of this will be let’s say you’re driving on a mountain range and there’s a pull off where you can get out and shoot the sceneries. That’s great and you can see a lot of different photos taken from that overlook because that’s an easy spot to find. However, trying to find different angles, times of day, weather conditions and things you can do with special effects such as compositing using a nice tripod or even going to the site and finding a path you can go down or hike half a mile or so makes for great landscape photography. If you settle for easy you just capture the same kind of photos everybody sees on the internet and it’s just going to get lost in the crowd and you don’t want to do this.
If you want to find some great photos, don’t fall for easy. Depending on the type of day you want to shoot, you may want to shoot in the morning and obviously it may feel great to stay in your bed and not have to go out and take some photos in the morning if you are the kind of people who like staying in bed but again that’s easy. If you really want to get some awesome shots, get out of bed and go get some great photos.
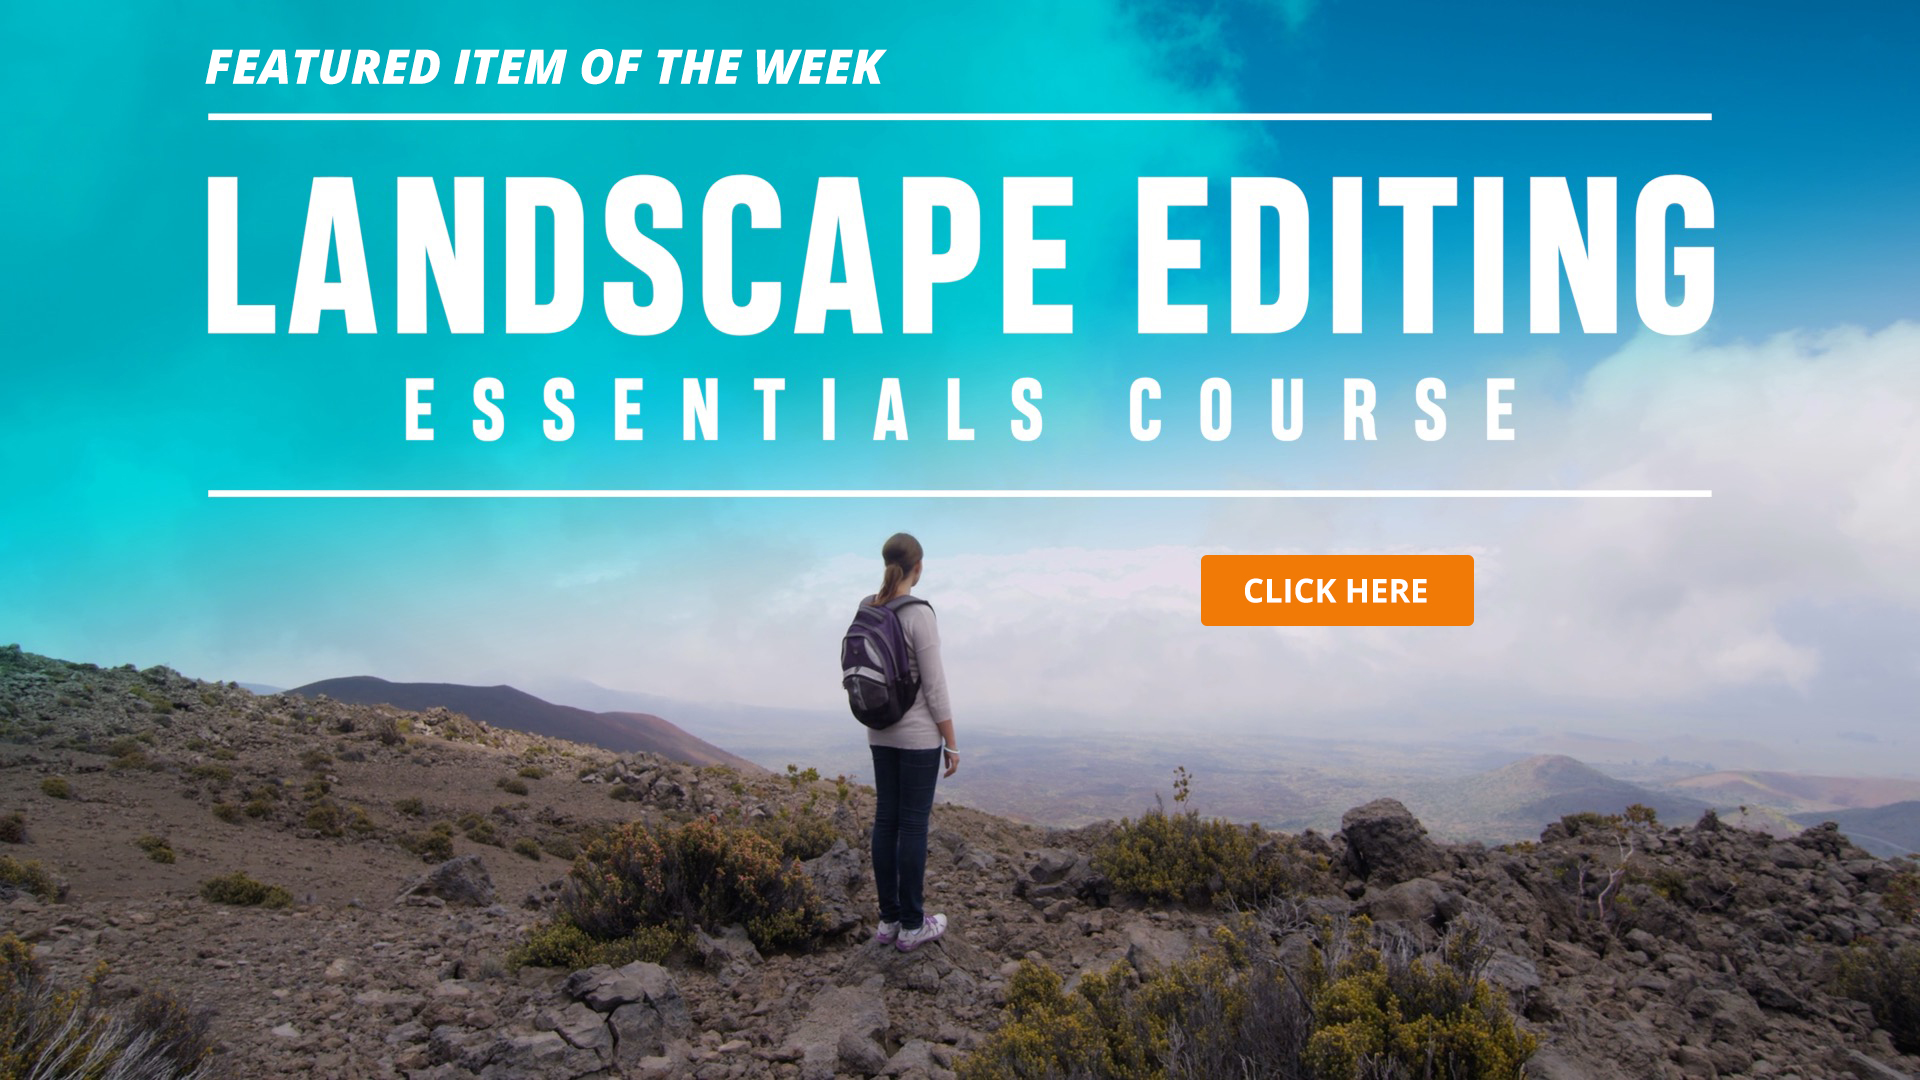
Featured item for the week
Those are just a few simple tips for getting better landscape photos. As usual, we have a featured item for the week and this is going to work well with these tips. The item is the brand new video course that we just released called landscape photography editing essentials course. It’s an essentials course thus a smaller course than usual but its 2 hours long with 8 videos and you get all the photos used so you can follow along with the videos as well. The types of things we cover in this course are first of all basic landscape adjustments (the type of adjustments that typically made to every landscape photo) which might have to do with a refresher, different ways of doing some of the things you’ve done before but it’s a really great way to get over the basic overview of basic adjustments that you need to do to almost any landscape. Next, we go over dodging and burning and that’s a really great technique that a lot of people don’t use in utilizing their photos but it can really be great for bringing out a lot of details in your photos. We are not just going to look at the traditional dodging and burning but we are going to use color with that as well to bring out certain areas of your photo. We’ll then look at creating a mood, not just snapping a photo and doing a quick edit but really thinking about the mood you want to convey. The course covers how you can edit with different difficult lighting situations, as far as how the lighting is being cast and using HDR techniques to bring out as much of the details as possible as well as manual compositing and that’s a really big one.
We will show you how to take photos that are not shot in the same scene and how to composite a brand new sky into a photo and add some different effects like reflections, removing distracting elements and even adding some custom lighting effect as well. The last videos in the course are complete start to finish guides showing you how to edit nightscape photos, seascape photos and sunrise photos as well. You will learn how to make great photos using some simple tools found in Lightroom and Photoshop from start to finish. If you want to see some different methods for editing your landscape photos and maybe some great techniques you haven’t thought about before, check out this landscape editing essentials course.
SaveSave
SaveSave
SaveSave
SaveSave
SaveSave
SaveSave
SaveSave
SaveSave
SaveSave
SaveSave
SaveSaveSaveSave


 Facebook
 Google +