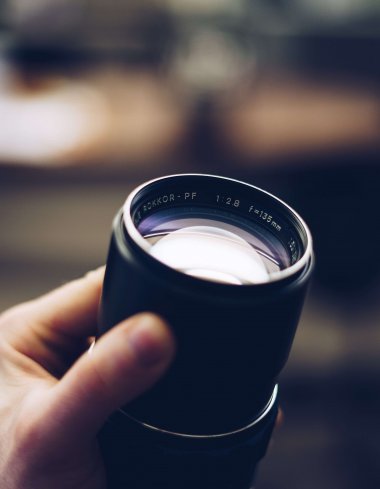
This post will be all about the social media and especially the quality of your images that you post on different platforms. By this, I’m not talking about whether they are in focus or not even though that’s important. I will be talking about the best settings you need to use to get the best quality possible on three different types of social media platforms. First I’ll go over Instagram because that’s a big one when it comes to photography because that’s how you share your photos and feeds and everything is in photos and obviously that’s a huge one. I will also talk about Facebook although I don’t like sharing a lot of photos there personally because Facebook does really compress and downgrade the photos and no matter what settings you use, they still don’t look as good as they do on your computer but there are some things you can change. I will also talk about Pinterest because this is very special as it doesn’t technically matter about the photo quality as far as whether it’s 100% quality jpeg or something like that. Actually, the resolution does matter when it comes to Pinterest to give more visible eyes on your work.

Instagram
What are the best image settings can we put to get the best quality? Now, whether you are basically in Lightroom or Photoshop (Lightroom is what I usually use to export all my photos, and the settings will be different compared to Photoshop) most of the time, you can get the same image quality in both using some of these exact settings. For Lightroom in this particular example, we are going to talk about exporting them to Lightroom. What I urge you to do is take these settings, put them in your export dialogue box in Lightroom and save export preset for that setting so that way you can call it Instagram if you want to and that way you’ll always have these exact settings and you can click on the export presets, and it’ll export those same settings every time you want to put a particular photo on Instagram.
First, let’s go over a couple of basics here. To begin with, the image format needs to be jpeg. That’s very standard when it comes to any kind of social media platform. So, make sure you choose jpeg, but I think a couple do accept PNGS and TIFs, but you really aren’t sure what you can get with those. So, just stick to jpeg because that’s a universal format for photos and obviously the color space I always keep it in Adobe RGB as this keeps everything nice and gives a good color game. The resolution is also important, and I normally keep all my resolution at 300 whether the images are going on the web or getting printed. A lot of people don’t prefer that because it obviously does make them load a little bit slower and the image size will be a little bit larger, but you can use 100 or 72 which will be the old norm when it comes to photos being online. I always keep mine at 300 and haven’t had a problem with loading speed but if you are kind of getting these going in and out all the time, then the image size might be a little tough to handle depending on the kind of system you have because you need a lot of storage if you keep exporting tons of images on jpeg all the time. Most of the time people are fine with that since a 5-MB image can’t crash any system.
So, the first thing is to make an export preset and change it to a jpeg format and Adobe RGB for the color space and a resolution of 300 as this works really great. When it comes to quality, you have a little quality slider when you choose jpeg, and this ranges from 0 – 100. I’ve tested a bunch of different values on that slider and found that around 73-75 for the quality does really make a big difference. I usually keep mine at 75 rather than go all the way to 100 because if you were to go that far, you would realize that even though your images look great on the computer, they might compress when you upload them to Instagram and if you have a poor quality, they don’t touch it that much. I don’t know the specifics or back-end of Instagram when it comes to uploading photos but I did do a lot of testing at 75, and it looks like the sweet spot when it comes to the quality of the image. I also don’t do a full resolution image although there is an option to do a full res jpeg but depending on the kind of a photo I have, I either make a long or short edge at 1080 pixels wide depending on whether I’m dealing with a horizontal or vertical image. So, if you are dealing with a vertical image, you want that short edge to be 1080 pixels and if you’re doing a horizontal photo such as a landscape, same thing 1080 pixels and that’s what I keep as Instagram vertical or Instagram horizontal and depending on what photo I’m putting on there, I can choose each preset and it automatically gets the ratio perfectly. This is what I personally do as far as the sizing goes. The last box I do uncheck is the “Sharpen for” checkbox. The “sharpen for” checkbox is usually set to screen, and I go ahead and uncheck that because the difference between a compressed image where it’s sharpened for the screen and where it’s not sharpened at all is most likely, you have done your own sharpening. There is a lot of difference there if you were to sharpen for the screen and not sharpen and then compare the two on Instagram, they both look a little bit muddy.
When it comes to getting your photos on Instagram, the platform does not allow you to add them directly from a computer browser, but it’s always done with the phone or iPad. A lot of people have different ways of doing it. Some might take a photo from their Lightroom catalogue and email it to themselves or airdrop it for themselves using an iOS device or something like that but there is actually a different way of doing it, but I use Dropbox or Google drive as this is the easiest way to do it. I usually set my destination to Dropbox folder on my computer which is automatically synced onto the cloud. So, I export my photo whenever I do my export presets and make sure my destination is set to a particular folder in my Dropbox account, and as soon as I hit the export preset, it syncs to the cloud and all I have to do is download the photo to my phone and upload it to Instagram. This seems to be the easiest way of doing it instead of having a bunch of emails come to you with a bunch of attachments. For those of you having trouble figuring out how to do it, this is one great approach to take, and I prefer it over emails or sharing through some other file drop methods.
Facebook
How do you make your photos look better on Facebook? At the beginning of this post, we mentioned how Facebook does a terrible job when it comes to displaying your photos. You could have a really amazing crisp, sharp photo shot with a gear that cost USD 1000 but as soon as you post it on Facebook it’ll look as if it was taken with a really cheap point and shoot and it can really make your photos look bad. However, there are some things you can do to make them a little bit better although they are not going to look crisp or perfect at all, but they’re going to look a little bit better than they normally would.
The best setting for this is to have your jpeg image, and this should be the case always. Sometimes I feel weird talking about jpeg because it should be understood but you never know, people might change to any other format and wonder why it doesn’t look good on Facebook or why it takes almost 30 minutes to open one particular photo. Jpeg is good, and quality of 85 seems to be fine because if we do a quality of 100, again Facebook will take the jpeg and crunch it to a whole lot more than what I thought. I’ve done a little bit of comparison of back and forth and found that around 85 doesn’t seem to be compressing it that much but as soon as I get above 85, it gets really compresses is but when again I go below 80, the quality becomes softer which leaves 85 to be the ideal quality.
Again, when it comes to the long and short edge, I do not upload the full lens, but at times I will upload a screenshot if it’s taken long to upload but the long and short edge will usually be around 2084 pixels wide if it’s a horizontal or vertical image and color space will still be Adobe RGB, and then I’ll sharpen for the screen. I tested two photos, and when I sharpen for the screen, Facebook actually kept a really nice sharpening, but when I use the same kind of method that I did for Instagram, and didn’t sharpen at all, you can easily tell the difference as the unsharpened one looks a bit muddy. This is weird because you figure out that both platforms will handle the images pretty much the same because Facebook has acquired Instagram a while back but they do it differently. The resolution is 300, and I usually keep it around there for most of my images, and I still don’t have a problem with them loading and if you’re loading many images, let’s say you’re a wedding photographer and would want to put for example, 80 to 100 images for your portfolio, then you can change the resolution to around 240 or a little bit lower than that but personally I don’t go below 240 to avoid making them very pixilated.
That’s basically it for the settings. It’s not too terrible, and I don’t have to talk about getting the photos on Facebook because they do allow you to upload as many images as possible and that’s a pretty easy one.
Pinterest
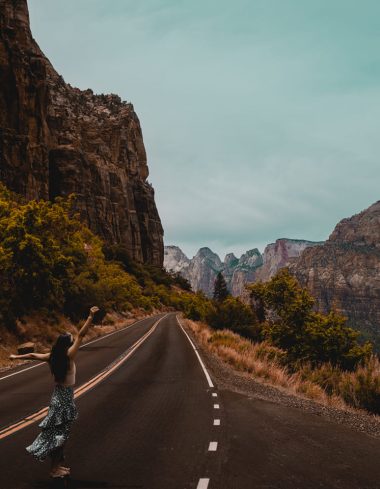
Pinterest is not one that I have settings for except that I have settings for the resolution and that basically means how your photos should be orientated. When uploading photos on Pinterest, many people will just throw their photos in there and if it’s a landscape orientated photo, it will be more horizontal and will show up and be like a normal photo. Some people will upload more vertical images, and one thing I’ve found is that if you upload more vertical images, even more, vertical that an actual camera would take. Let’s say you had a vertical image and you threw it into Photoshop and maybe made it a little bit longer and added some text at the bottom or just made it a little nicer, you will actually get a lot more view and the reason is that if you add more vertical images your Pinterest account if you have a blog or something, the images take more space on the screen when people are viewing them on their desktop and especially on the phone which means you are basically taking more of the screen. As such, that keeps people’s eyes on a particular image and so, what I recommend for the resolution is to have 1080 pixels wide and 1920 pixels high. This is going to be a very vertical image.
You might be wondering how to show up your image nicely in there but you just need to put your image in a document on Photoshop or any other kind of photo editor and drag it in there and then change the orientation a little bit and then play with it a bit by adding some text or adding a name for it. Just be a little creative because most likely regular photos, that is, landscape orientated ones will actually be a bit lost in the crowd when compared to the more vertical images. You can play around with any kind of the settings you want as far as quality is concerned on a jpeg but the main thing to take away from that is making a more vertical image. That’s what I would recommend for that.
With these settings, you can get a little bit more exposure because you like the way the photos look whenever you upload them. You can try these settings and see how they work for you.
Featured item of the week
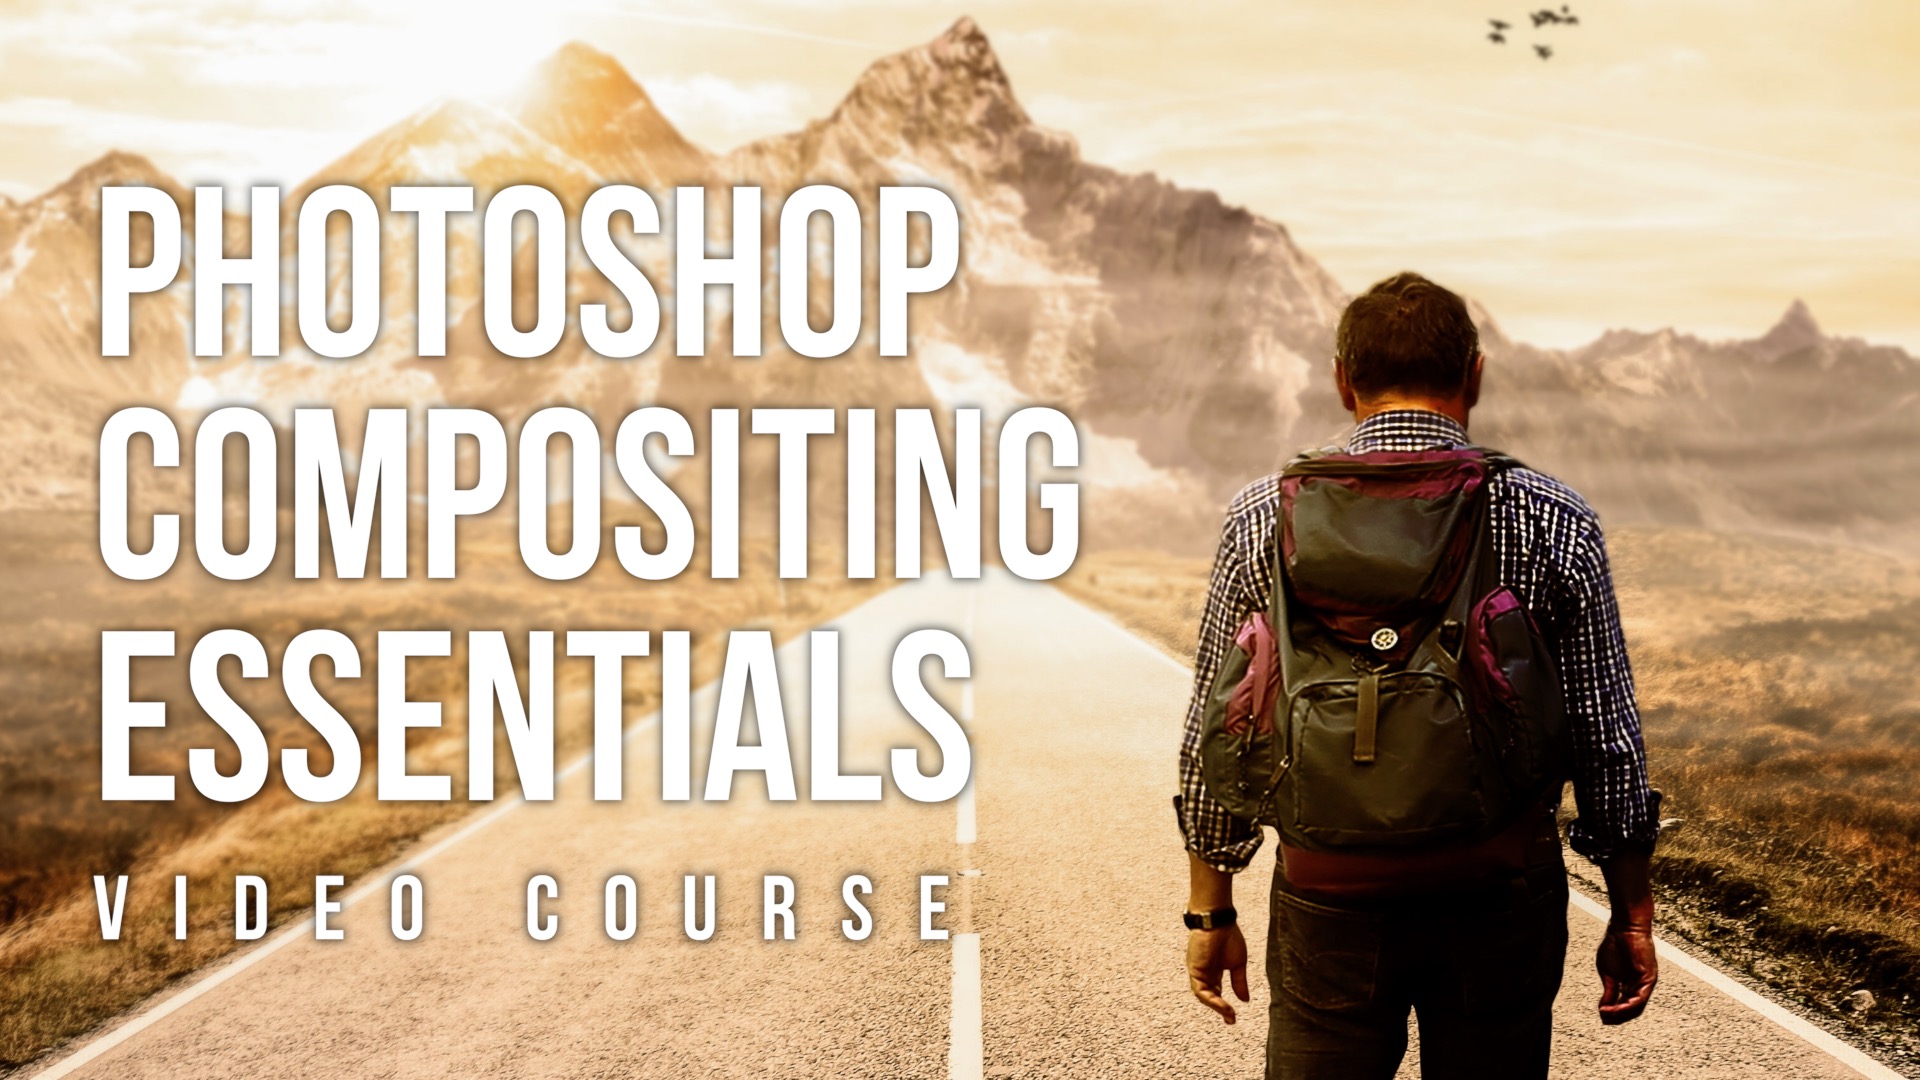
The featured item of the week is a brand new video course that we just released known as Photoshop Compositing Essentials. If you’ve ever wanted to make things out of nothing in Photoshop, this course will ideal for you. In this course, we walk you through start to finish on three different types of photos and adding pieces to the photos just using stock images. The reason we chose stock images for the course is that that’s usually the ones which are more accessible to everybody. You can actually shoot your own photos to use in this kind of a composite, but I chose the stock images because they are more accessible. In this video, we go through different types of compositing, and by this, I mean taking images and adding different elements, people, color cracking and the like to make them look more cohesive and natural. We take three different kinds of simple compositing techniques, that’s photo called warplane and put a plane on a different kind of a creative setting, and this is really awesome.
We also take another photo called the “walk”, and in this, we get a little bit more advanced and will put a person in the image, create a different environment around that person, add different effects such as fog. In the last photo, we go probably more advanced than any kind of a person except you are in the industry if compositing. This photo is called “Sail away”, and this is a really nice photo of a guy on a boat with rain coming down, cool little background and everything and we take you from start to finish using all the images from the course. You can download the images to use for yourself, and you can follow along as well. The course has 12 videos in total and 3-and-half hours. Throughout the video, you’ll learn a lot of easy techniques and understand how to use them better when using the course. You will learn how to create different weather elements in Photoshop, how to blend everything in together using a bunch of different layer masks, selection tools, perspective tools and stuff like that. If you’ve ever wanted to do Photoshop compositing, this is going to be a really great experience for you. You can check this out on the site under the course section.
SaveSave
SaveSave
SaveSave
SaveSave
SaveSave


 Facebook
 Google +