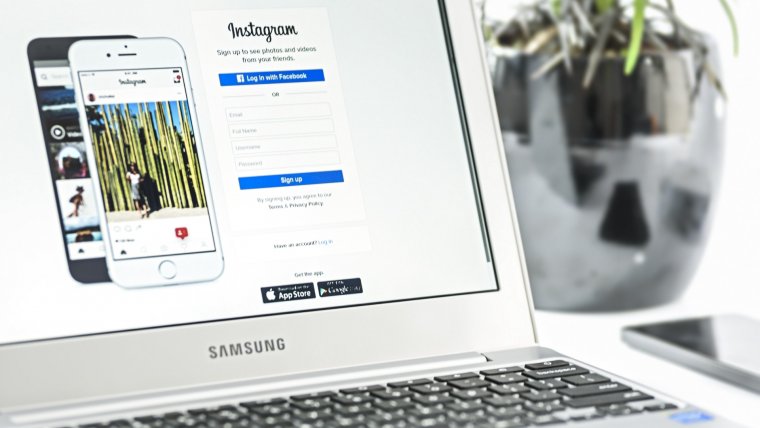
Ways To Manage Instagram Image Compressionwww.sleeklens.com
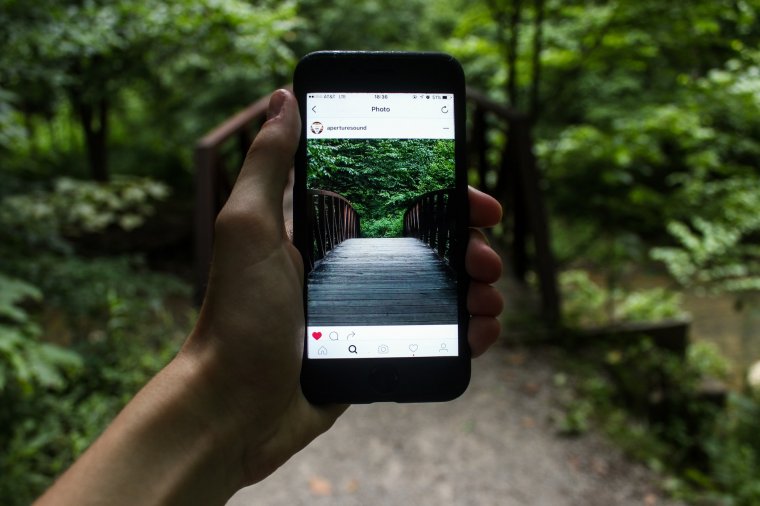
Have you ever taken some amazing high-quality shots with your camera and then when it’s uploaded to Instagram it looks as if you used a phone? Welcome to the guide where we tell you how to upload high quality photos to Instagram. This can be considered as Image compression. For those who are not aware as to what image compression is, here is a quick rundown. So, let’s start.
It is basically cutting down the image size without taking away or degrading its quality. This often allows for more use of storage space on given memory space or disk. However, if you have a keen eye, you can often see where the images lose its quality when being uploaded to a social platform like Instagram. The quality will look good on cameras and on your phone, be it an iPhone or Android when viewing it but when uploaded all that quality and resolution seems to just disappear. In this article, I will be giving you some advice as to how you can manipulate and work around this problem. These tips should have your Instagram images looking as they did on your camera or phone and wow your viewers.
Table of Contents
1. Try to Reduce File Size
File size plays a huge roll in Image compression, so the bigger the file the more the image is compressed. This ultimately strips away some of the data that is deemed irrelevant, leaving you with a degraded image. To avoid this it’s best to cut down your file size before you send the image to your phone or try uploading or posting photos to Instagram using the app. You can cut down you file size during post production in many different ways than one. For example, noise can actually add some size to an image or even the image size itself. Try to toy around with a few of these things to cut down the image size-wise or if possible, do the necessary adjustment in camera for the best results.
2. Export From VSCOcam
I found where if a photo taken by your DSLR camera is exported from the VSCOcam app, it tends to hold its best quality. If you are not sure what VSCOcam is, here is a quick summary to make sure you know. VSCO is basically a photo editing app which is available for free in your play store or app store. It is equipped with many different photo editing presets that make your life so easy if you are trying to follow a certain look or aesthetic on your Instagram. It also has preset for sale to match your aesthetic or photo editing needs. In my opinion, one of the best photo editing apps to have on your mobile device.
3. Resizing & Cropping
Scaling your photos manually in Photoshop is another option that will help you to manage how much your images are compressed. Keep in the mind that the scale and format of your pictures will also affect the file size which thus affects the amount of compression that takes place. I often adjust the pixel dimensions in Photoshop by having the width at about 2000 pixels (which is quite maximum) at a certain aspect ratio and let the pixels for the height adjust itself. This will resize the photo and reduce it to more than half the initial size while still holding the best quality you’re looking for.
Pro tip: Always remember the UI color of Instagram
4. High Pass Filter
While the High Pass tool in Photoshop is not technically a filter for sharpening, it gets the job done. Using this tool ultimately sharpens your original picture from corner to corner leaving you with a crisp, detailed vertical image. It is not something hard to do if you were like me and not savvy on the tools in photoshop. Here is a step by step rundown of how you can effectively apply a high pass filter onto any image.
– Create a Copy of your background Layer
– Change the Blend Mode to Soft Light
– Go to the Filter Bar at the Top of Photoshop
– Then Scroll Down to Others & Click High Pass button
It will then bring up a preview of the image in a gray color but don’t mind that as it will disappear once applied. Try to keep the radius anywhere between 1.2 and 1.5 because things tend to look a bit crazy once you go above those values. However, this is completely up to you and vary depending on how crisp you would like your image to look. After all of that is done, you can simply merge your layers and save as you usually would with any other JPEG. This may affect your file size but in a more positive light. This step is promised to have you blown away by its results when posted on Instagram app. You will be able to even zoom in on your image and not lose much of your image quality.
These tips and tricks should help you in the process of creating the perfect Instagram with great quality images. When you compress an image, it has its own pros and cons in photography. Sadly some social media platforms make it a bit annoying when trying to upload photos or your work to these platforms. Nonetheless, there is always a way around obstacles.
Lastly, thanks for reading the article. Do share it on social media or tell other people!


 Facebook
 Google +
Comments (0)
There are no comments yet.