Using Photoshop to Make Light Rayswww.sleeklens.com
Today with Photoshop we’re going to be looking at a really cool technique to create light ray effects for your images. These are awesome and I really enjoy using them to add some real drama.
These will also simulate what expensive lenses can do so, you are not paying crazy money to get shots like we’re going to create.
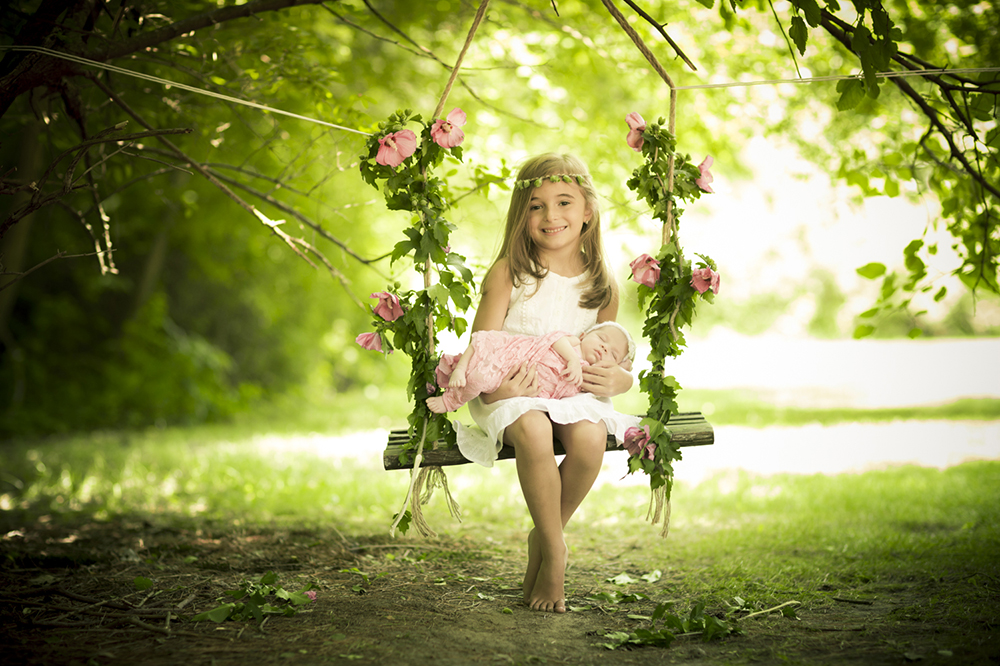
For this tutorial I have chosen an image from the Sleeklens gallery, which I think will work really well.
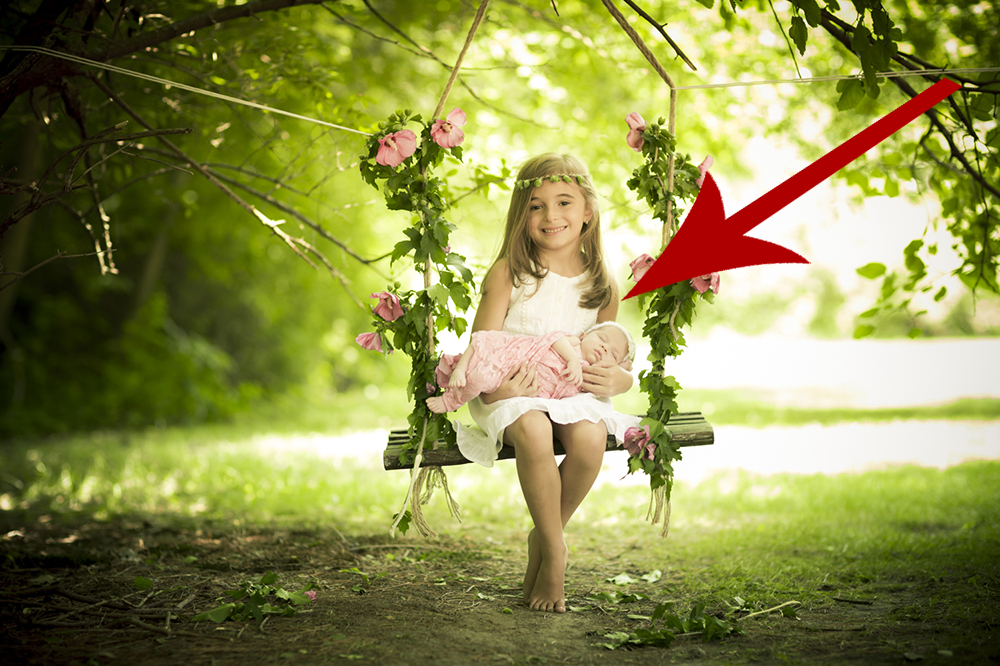
So in assessing this image to start with, you’ll want to look at where your light source is coming from.
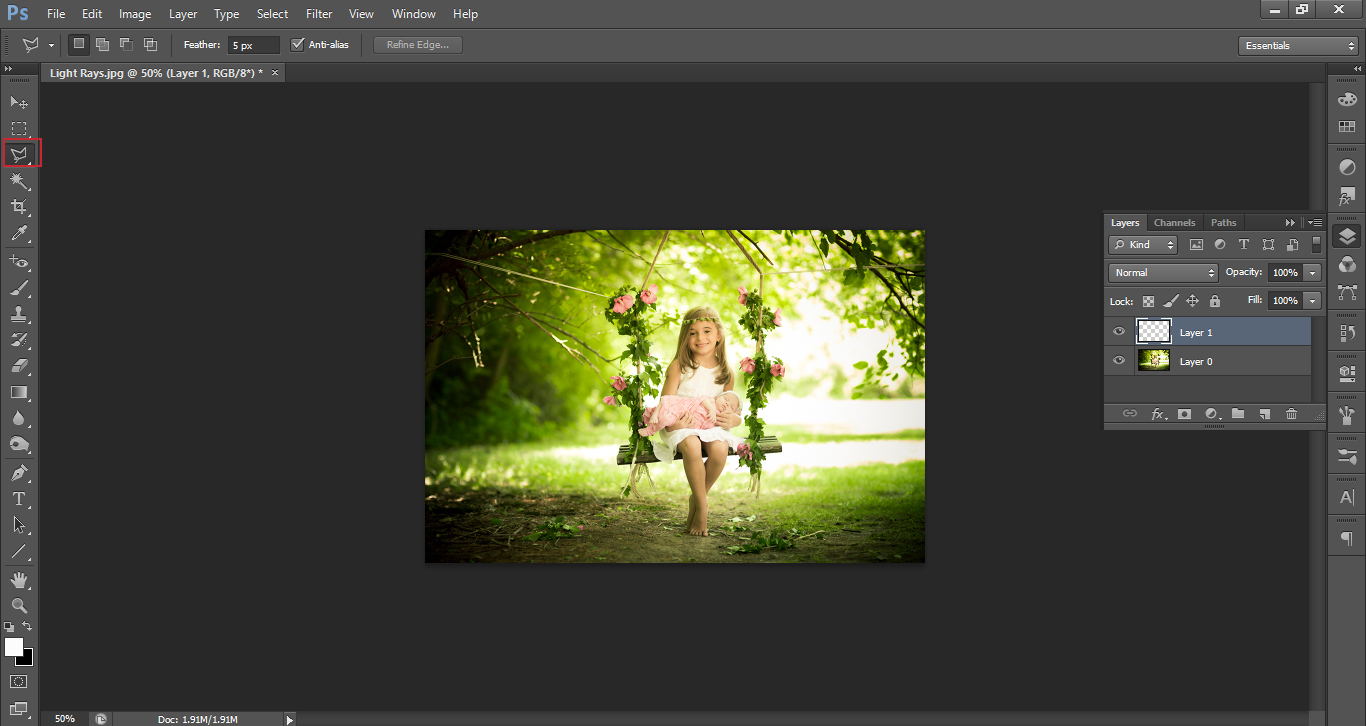
Once you have figured that out and are happy with that, then we will move on by creating a new layer.
You do this by opening up your Layer panel on the right hand side, then clicking on the New Layer icon at the bottom, second from the right.
You can also use the Shortcut Ctrl+Shift+N
Then click on OK.
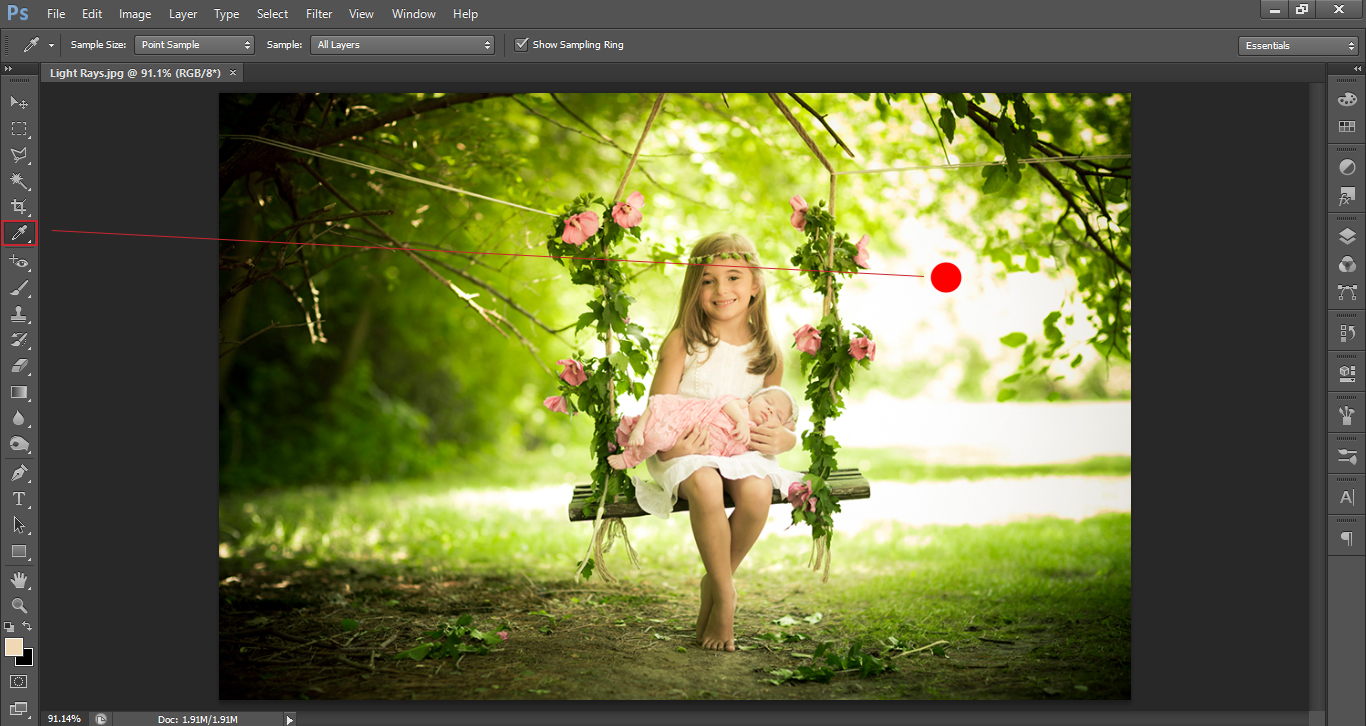
Now there are two ways you can do this, you can use just white or you can click on the Eye Dropper Tool
Then, click the Eye Dropper on the Light Source to give you the actual colour of the Light.
I prefer to use the actual colour of the light, though you can just use white if you wish, and experiment with which one makes you happiest.
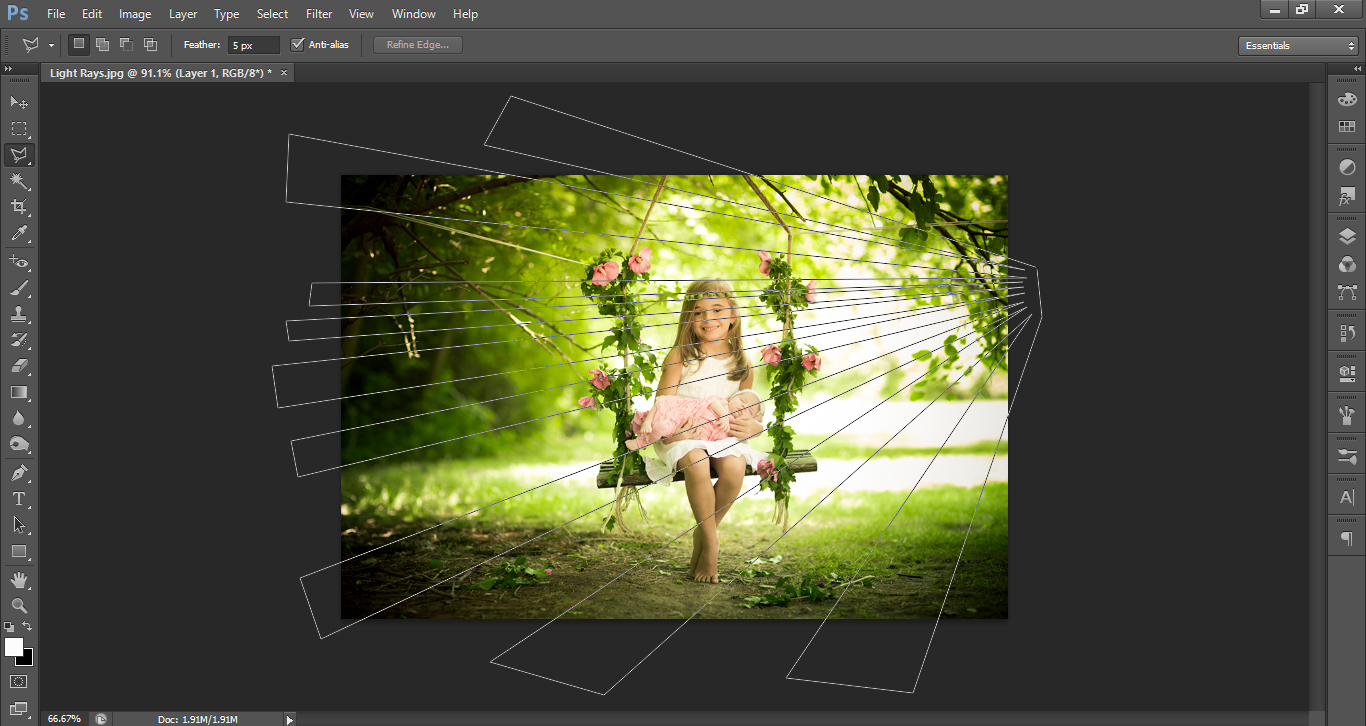
Now that we’re in our new layer, you’ll want to click on the Polygonal Lasso Tool
The keyboard shortcut for this is (L).
Or, you will find it 3rd down on the Right hand Tool bar.
Now, use this by clicking from the light source out. Using the selection tool, you’ll want to draw the broad and basic shape of the light rays coming out of the sun.
This is where your creativity can take over! Draw as many or as few as you want, make them as big or as small, it is totally up to you.
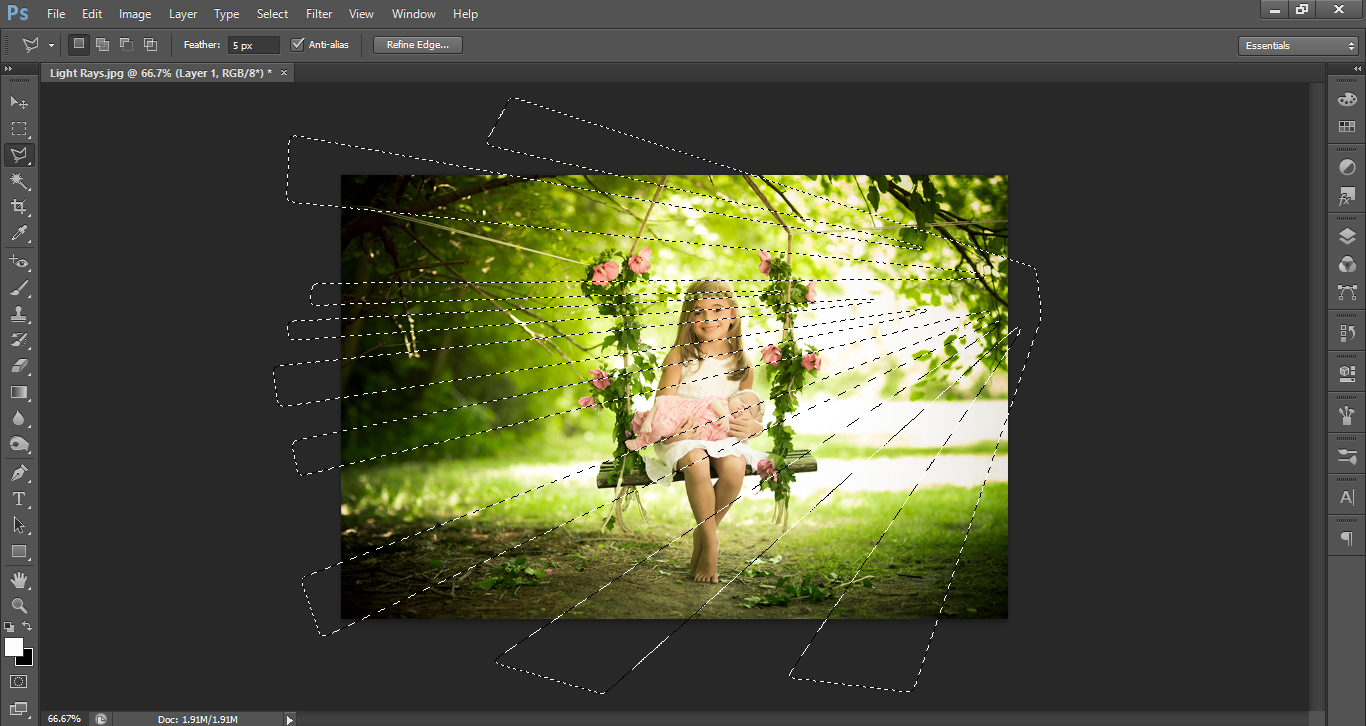
Once you have drawn your shape, make sure to click the point where you started before closing the selection.
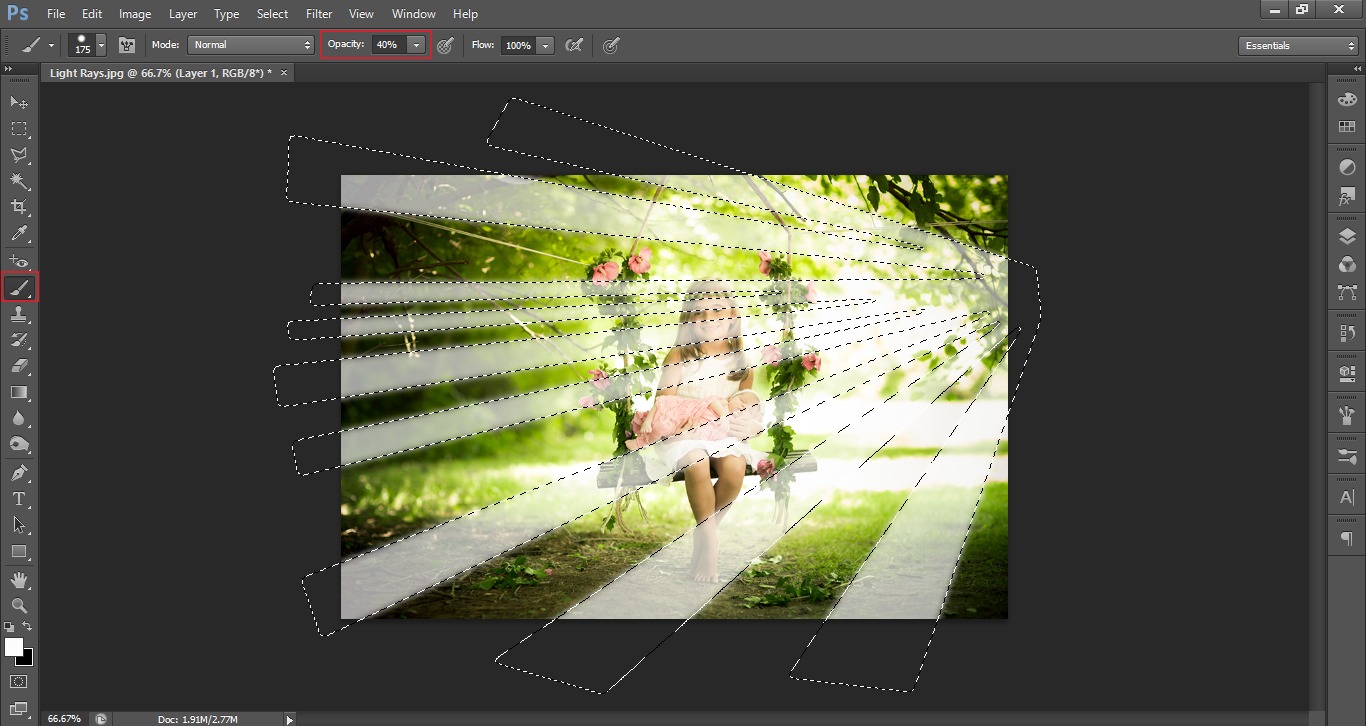
Next step is to click on your Brush Tool (keyboard shortcut B).
Then, paint over the selection with an opacity of around 40% with a hard or soft brush, it really doesn’t matter, so don’t worry if you don’t know what that is yet. Perhaps save those words in your head for future reference.
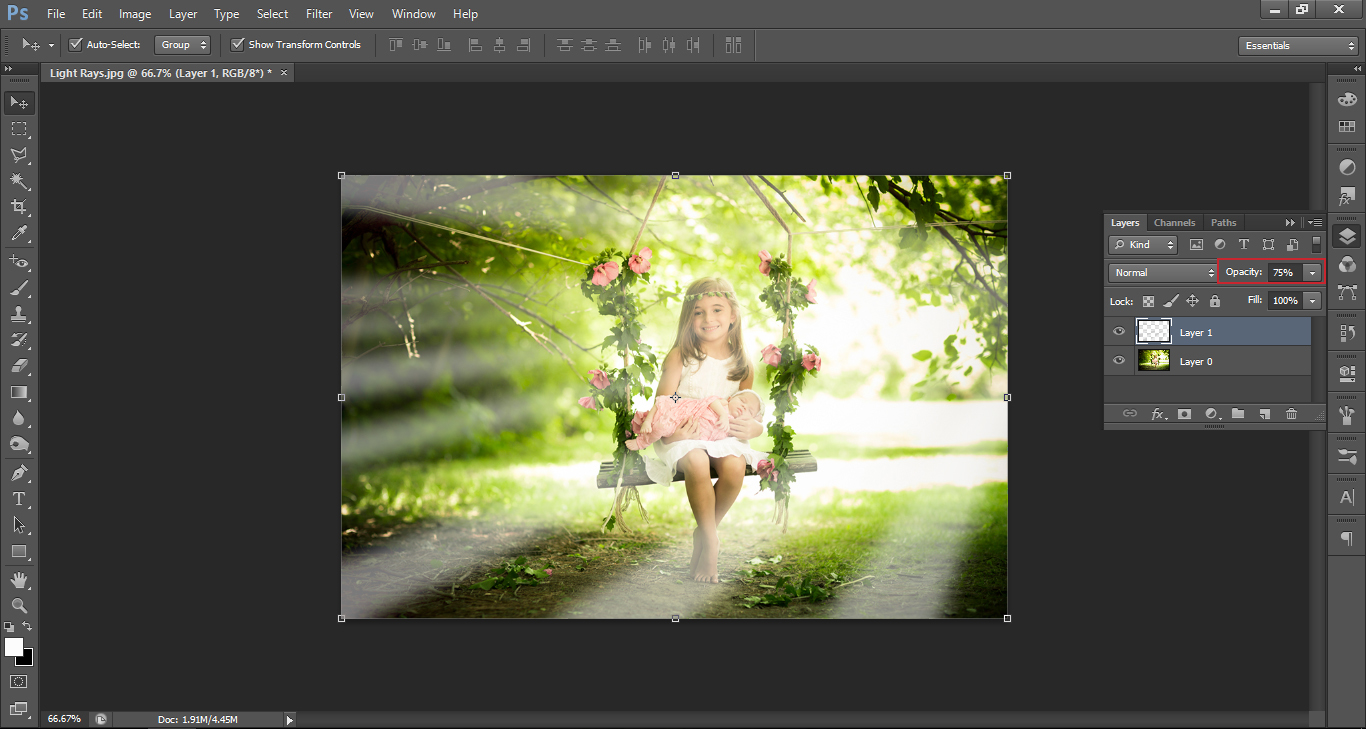
The opacity is indicated at the top of the picture below under View.
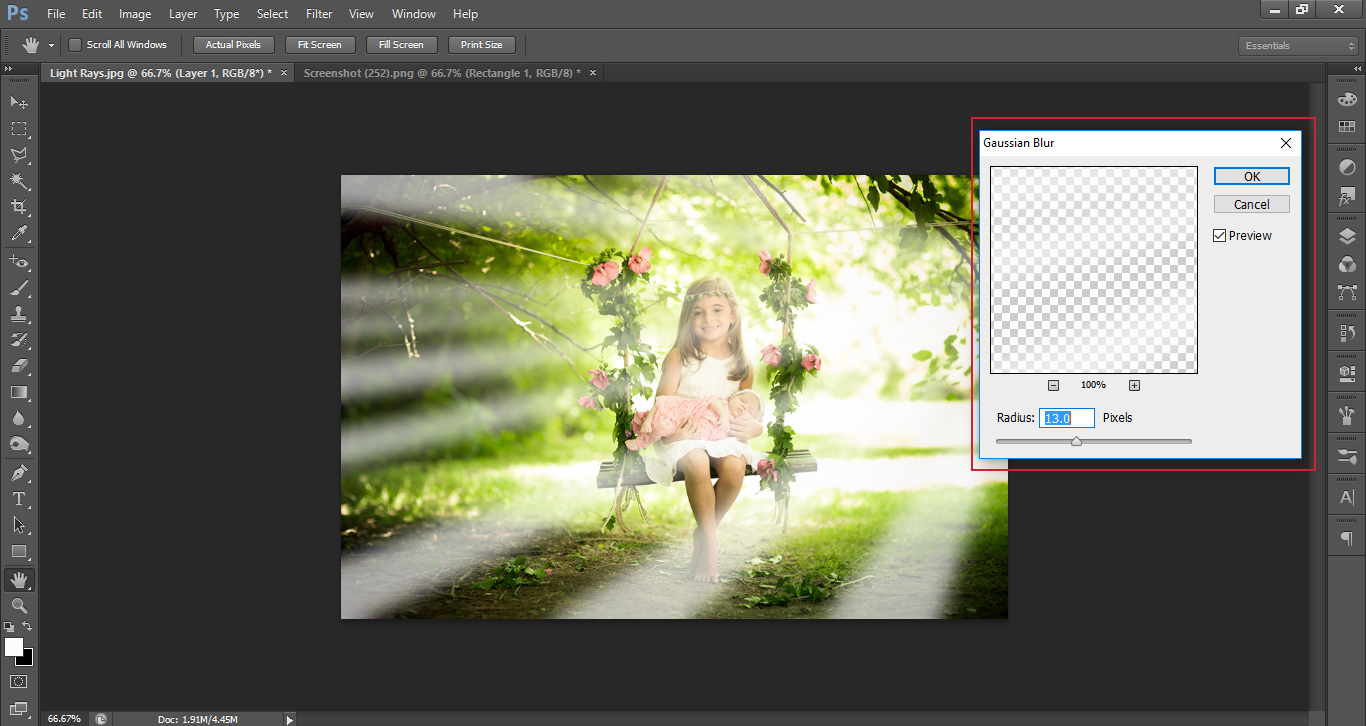
Now Deselect.
Once you have Deselected go to Filter – Blur – Gaussian Blur.
Set the Blur to around 13, you’ll want the Blur to blend in, but also want it to still remain as a stream of light with its own shape.
Then, set your Layer opacity to about 75.
Now it’s time to resurface what we talked about a short while ago, remember how I was talking about Soft and Hard Brushes?
Now, I’ll show you what those are.
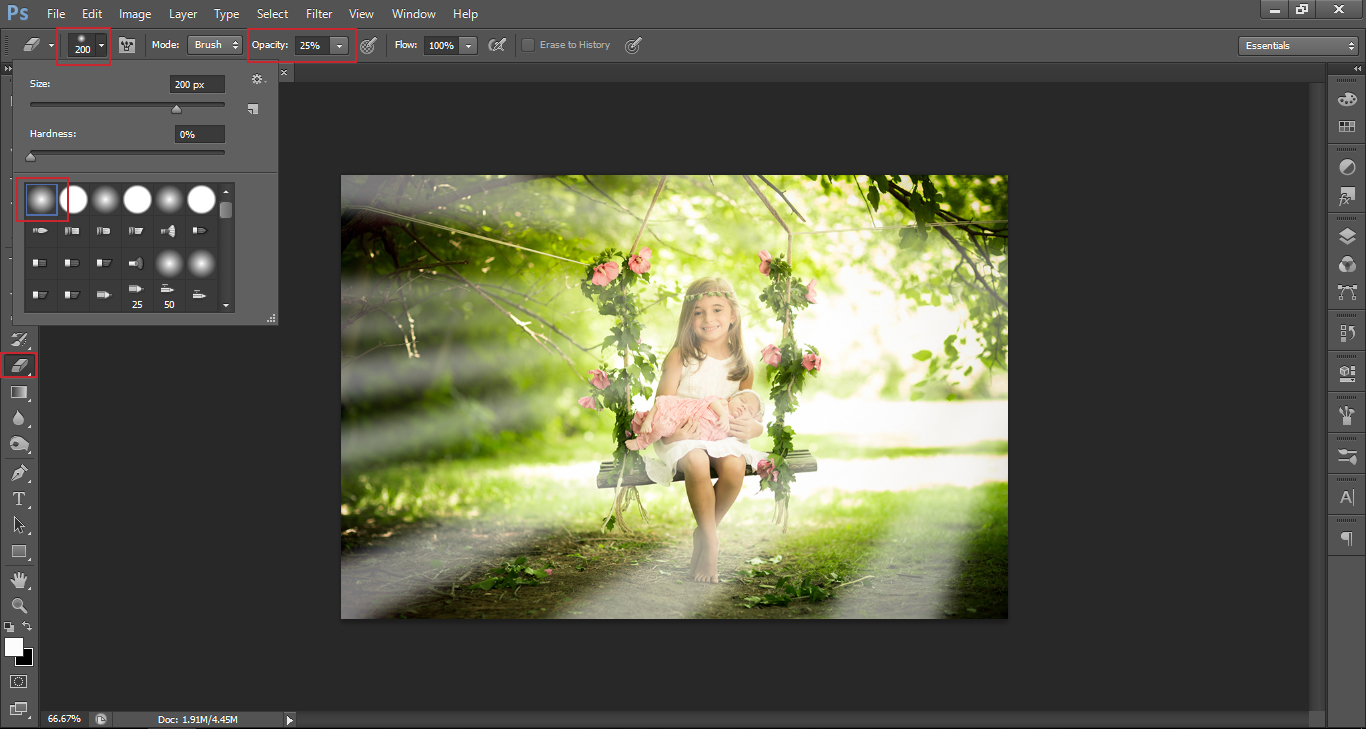
Click on your Eraser Tool (E) Set the Opacity to 25% as indicated in the Diagram below.
You will also notice the Brush drop down in the diagram.
This is where you will find all of the different types of brushes.
The first brush indicated is a Soft Brush and the one right beside that is a Hard Brush.
There are literally thousands of brush types out there, probably a lot more. We have our own range for Lightroom and I’m sure similar Photoshop products will be added, so keep an eye out for those, if you’re interested.
Make sure you choose a Soft Brush for this.
You may also need to drop the opacity as you see fit.
What I now want to start doing is going over and erasing the outer areas of the light, weakening the beams to give them a gradient effect, so they will be stronger at the suns end and weaker further out.
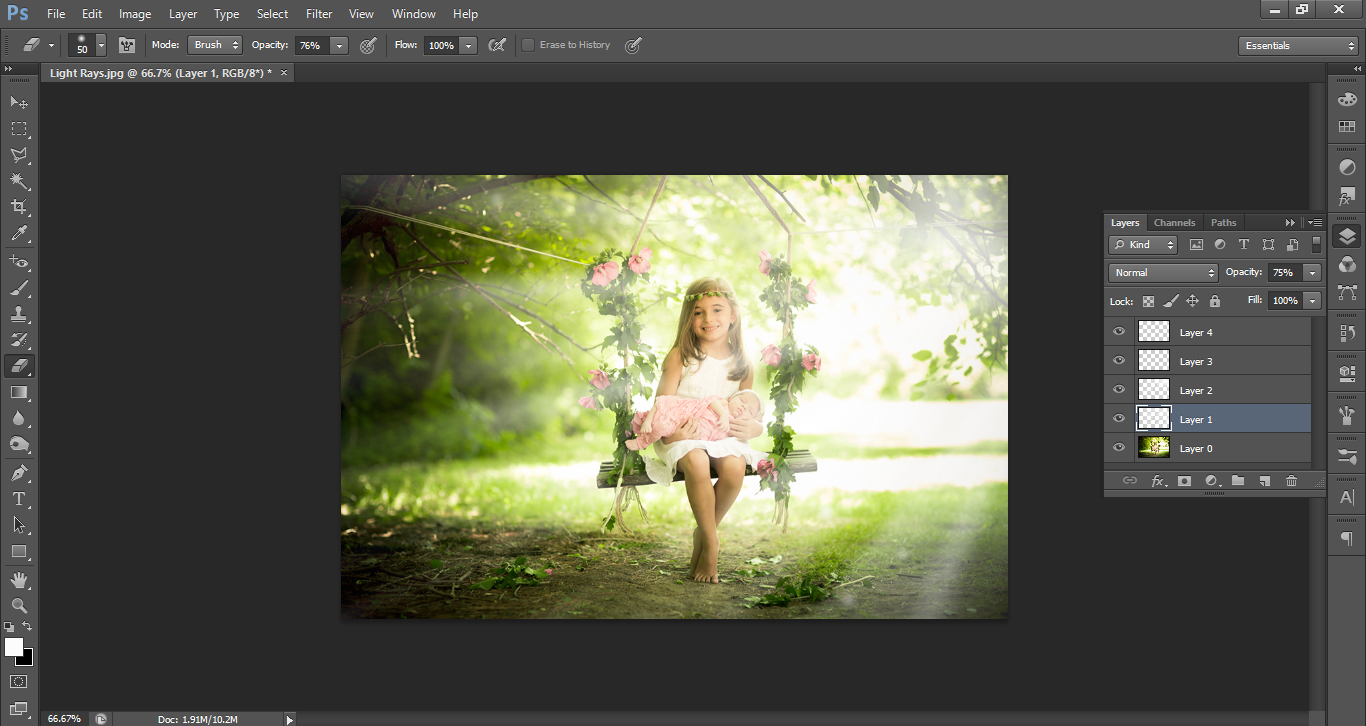
Then repeat all the steps on new Layers once or twice more, but each time less and less Blur will be used, right up until the point where a strong beam will be visible.
I recommend you keep the Strong Beams at a very low number, one or two well placed ones will make all the difference.
As a finishing touch, I will go through my layers and on one side of the Girl erase out some of the light to darken the shadow side.
Your final image should be subtle, that’s the key.
Graduated from college in 2002 with a degree in Art & Design, I started exploring my way in Graphic Design and Professional Post Production. Full-time freelancer since 2011.


 Facebook
 Google +
Comments (0)
There are no comments yet.