Rain Photography: Tips You Need to Knowwww.sleeklens.com
The beauty about photography is how diverse it is and how you can use it to find the beauty in almost anything you do on a day to day basis. As photographers, we often capture things that the normal individual walks by daily without even noticing it.
Photography is not limited to the time of day or the location in which you are in, though, the only limit in photography is your imagination (and if your memory card is full). Today we’re going to talk about creating amazing images in the rain.
Rain photography is not the most popular niche among photographers, obvious reasons. But you can’t knock it unless you give it a try.
Table of Contents
Rain Photography Tips: Protecting Your Camera Gear
Bring a Raincoat
Unless you want to be crying over your DSLR or mirrorless camera, I would suggest making the right preparations to protect your gear from bad weather. Water and electronics clearly don’t mix well, so try to be safe rather than sorry. You can consider wearing a raincoat that will cover both you and your backpack or consider exploring the different camera bag options online.
More and more camera companies are making their products to protect your valuables from the bad weather, including snow and rain. These items are very affordable and will save you so much heartache in the future. If you’re not currently looking to invest in weatherproof gear right now, then you might consider a cheaper option, like walking with a gallon sized plastic bag to help you protect your gear. It doesn’t sound like the safest or the best option, but I can assure you if used correctly, it will get the job done.
Invest in a Lens Hood
If you’re clumsy like me I’m sure there’ve been a few times where you bump your lens hood on to something or even left your lens hood on and forgot to put the lens cap on, or is it only me? Your lens hood can now serve as a preventative measure for your lens. With rain falling and potential water catching your lens, it can be difficult to dry off your lens and continue shooting with a clear view. Not to mention the possibility of getting continuous rain drops on your lens, hindering the flow of your shoot.
This little piece of plastic comes in hand in many ways more than one. During rain photography, a lens hood will protect your lens from getting water droplets on it. It also helps protect your lens from being damaged if you bump into anything.
The hood will most certainly prevent falling rain from intervening, especially if the camera is being pointed straight or downwards. Depending on the type of lens you’re buying the hood for, the prices may vary. However, I do recommend buying a hood that will fit most, if not all your camera lenses. The hoods may vary in shape but nonetheless they should both get the job done. The prices may vary depending on the lens it’s being used for and should cost anywhere between $8-$24 dollars on Amazon.
Carry a Microfiber Cloth
In the event that anything on your camera ends up getting wet, It’s always helpful to keep a microfiber cloth on your person. This cloth will help to clean the front of your lens and any other equipment well.
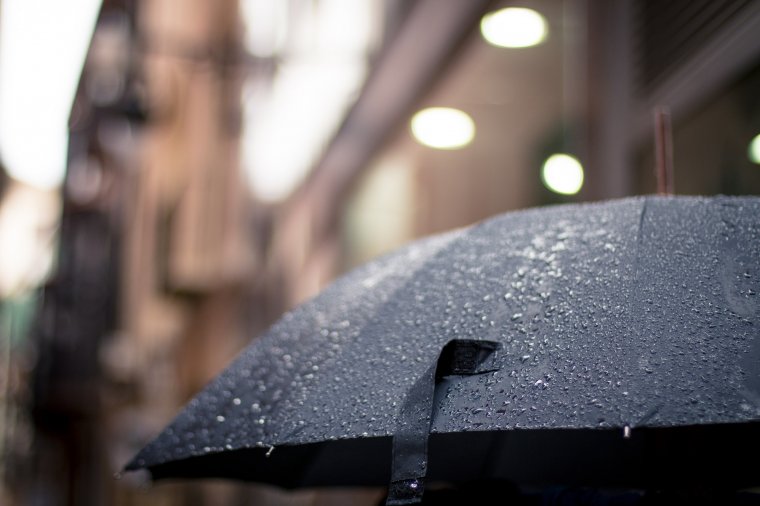
Use an Umbrella
This simple tool can do great wonders, especially when planning to shoot with a tripod. There are different ways in which you can be innovative and clamp on your umbrella or umbrellas onto your tripod to help with stability. It may sound difficult to hold an umbrella with one hand while holding your camera and shooting with the other, but nonetheless with a little practice, it can easily be done.
I would, however, suggest you take some time and practice while at home before heading out to shoot. A small problem you might encounter is with the size of the umbrella in comparison to the size of the lens you’ll be using. For example, if you plan to use a telephoto lens but use a small umbrella, you may find that your lens is getting wet while you stay dry; limiting your movement in composing a shot.
Look Into Sports Housing
Even though it may be more pricey, it’s a smart investment if you plan to shoot in the rain often. Most DSLR accessories that venture into unknown territory like Underwater Photography tend to come with a hefty price tag. However, it’s the best choice as it allows more freedom when shooting in harsh weather conditions and won’t let you down. Therefore if you want to forget about the elements and not have to worry about your DSLR incurring any damages by mother nature, I would strongly recommend investing in a sports housing.
Rain Photography Tips: Camera Settings
Shutter Speed
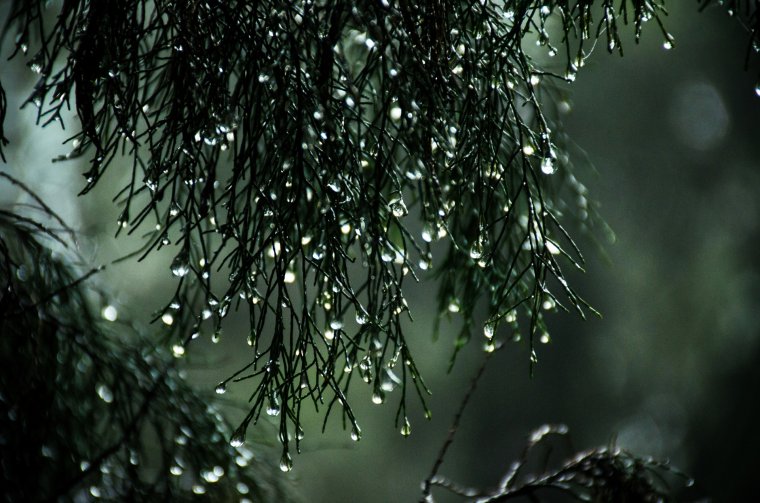
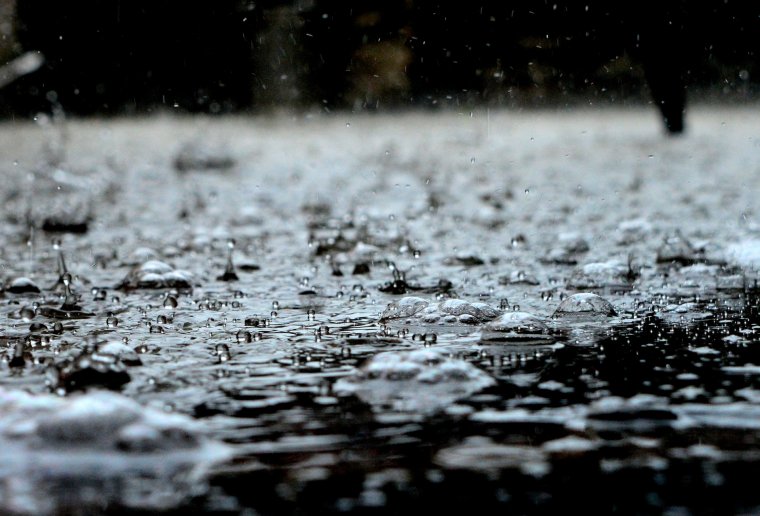
As you know the shutter speed can play a huge part in the sharpness of your subject in an image. During rain photography, this can subjective to your style of shooting or what you’re looking for. You have the creative option of shooting at a high shutter speed to see individual raindrops frozen in your image, or you can select a slower shutter speed for a more creative shot. I usually recommend starting off at about 1/250 and from that point, you can decide if you want to go a bit higher or a bit lower to about 1/125. Doing anything be 1/125 may result in some very blurry images.
Focal Length
This is the last, but one of the most important tips. When doing rain photography, you want to make sure you have the right focal length for the shots you’re looking for. I usually recommend either shooting at a wide angle with a 24mm f/2.8, or you can look into shooting with a 50mm f/1.8. I use the 50mm more often because it’s always perfect for low light conditions and helps me capture some amazing shots without compromising my shutter speed or ISO too much. This would probably be a challenge with the 24mm, but it all depends on the time of the day you intend to shoot and what you’re looking for in your rain photos.
Rain Photography Tips: Preparing for a Shoot
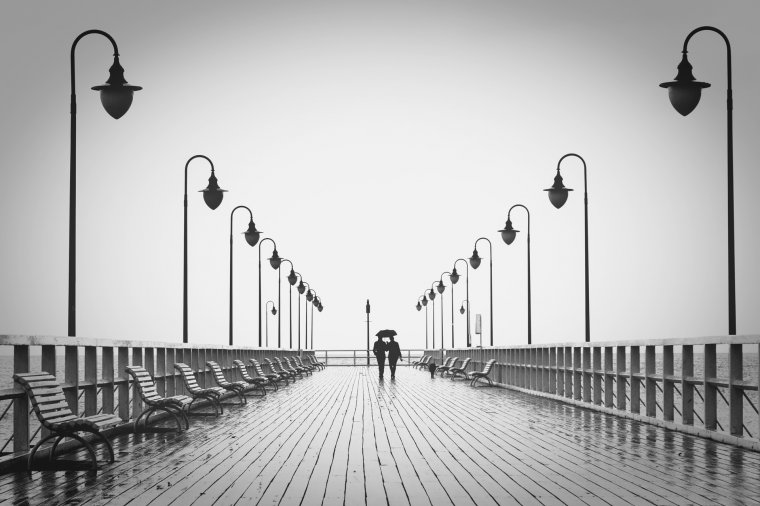
Embrace the Rain
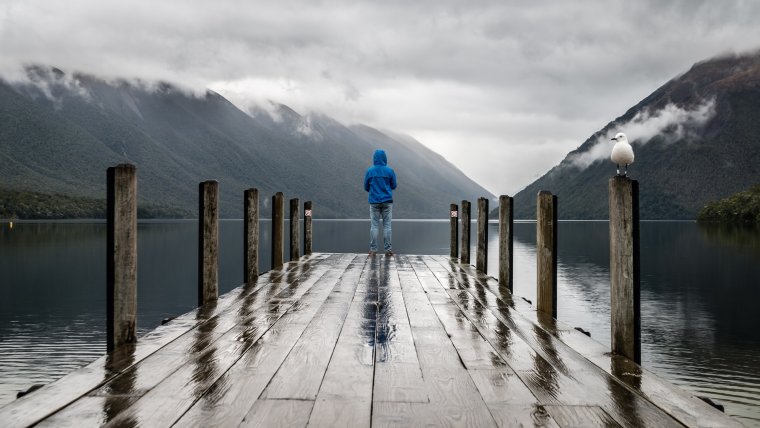
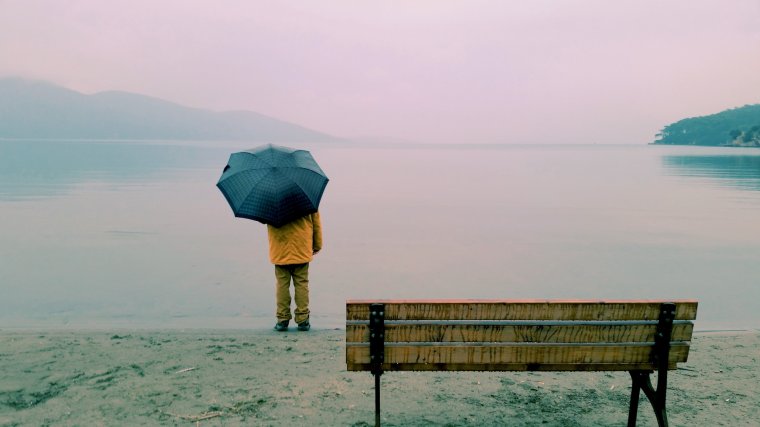
A rainy day does not mean a terrible day for photography. On the contrary, rainy days are always overcast, which means lots of clouds and diffused light! As a professional portrait photographer, I’d much rather have light rain during a photo shoot than the bright summer sun. Also, the wet backdrop provides a unique look. Instead of avoiding the rain, why not embrace it and take advantage of the beauty a rainy day brings? Take a stroll around the local park, walk along the pier, or explore a new neighborhood and see how the rain changes how it looks.
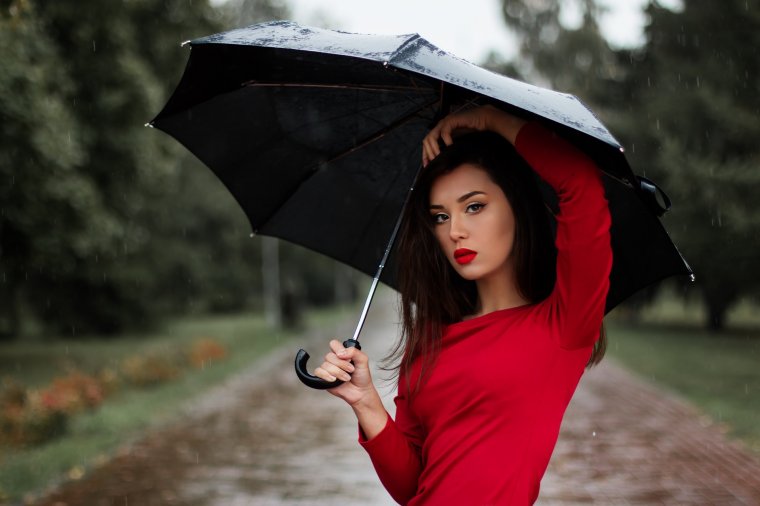
Prepare the Subject/Client for Inclement Weather
It’s always a good idea to check the weather forecast before you plan to take photos outdoors. If there’s a chance of inclement weather, you’ll need to communicate with your client about what they need to bring. Having the proper attire for rainy weather will prevent a lot of stress for both parties. Encourage them to bring a colorful umbrella. Umbrellas serve a dual purpose: protection from the rain and it can also be used as a prop!
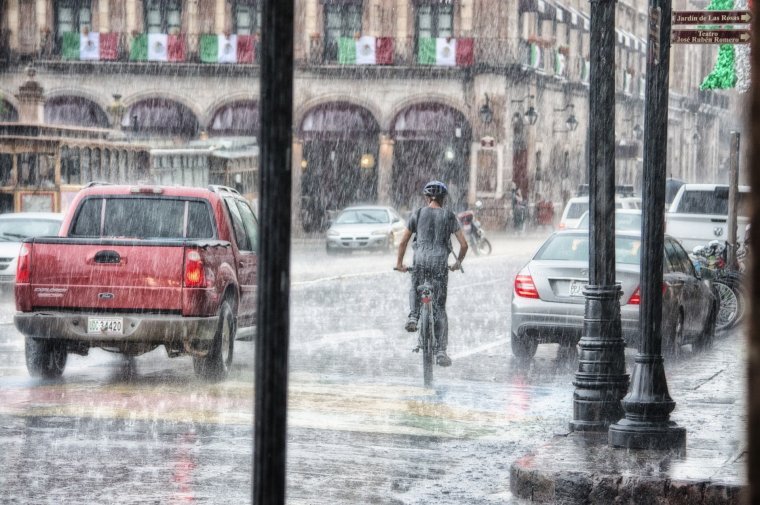
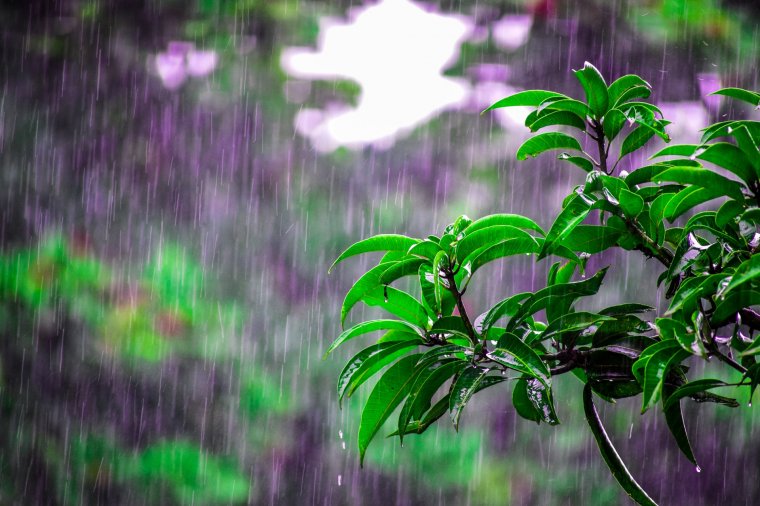
Take Advantage of the Naturally High Color Saturation
Have you ever noticed that colors are extra bright and vibrant on rainy days? A good example of this is when you drive during the night, the street lights and headlights from cars seem to be more colorful than usual. This effect is the result of light reflecting off of the water that collects on the surface of everything. To take full advantage of this effect, you can have your subject/client wear colorful clothing and bring colorful props.
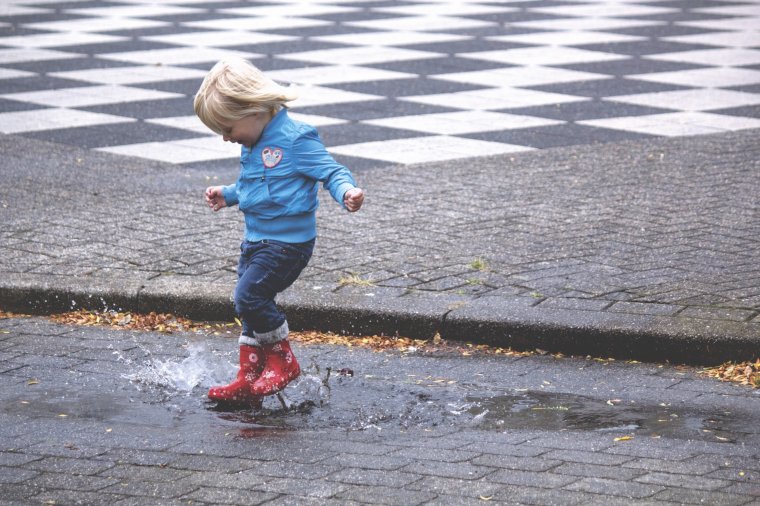
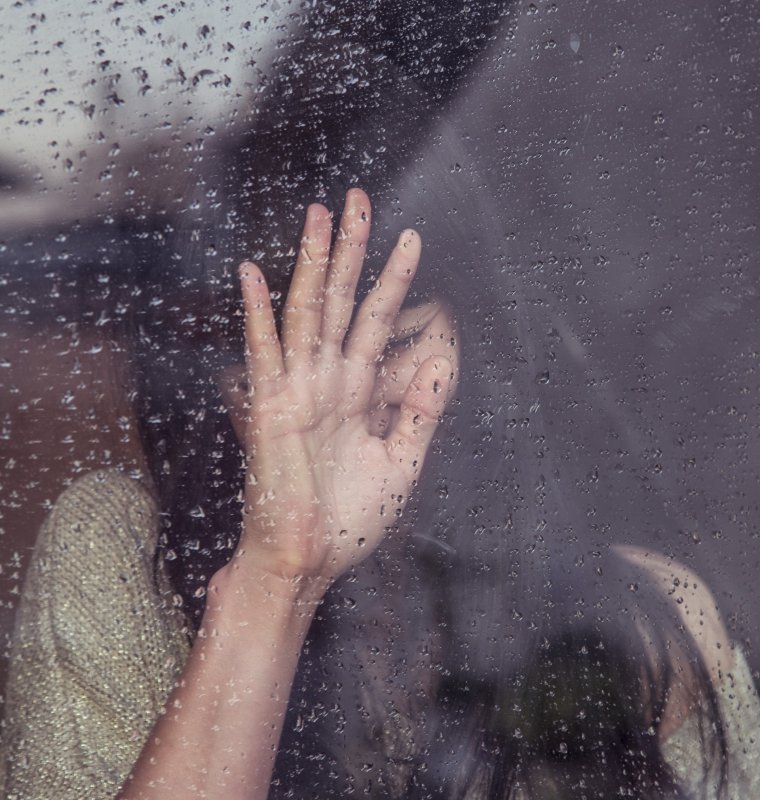
Look for a Reflection
Water itself is a very reflective thing, which can work to your advantage. During the rain, water will eventually start to collect and form a puddle, which can be used as a creative tool—be it for reflections or splashes. Look out for these puddles and exploit them, as they have the potential of creating some really amazing photos—especially in a city filled with lights. You should also look out for reflections on wet concrete as well.
Have a Backup (Indoor) Shooting Location
Sometimes, even when you and your client is fully prepared for a rainy day photography session, the heavy rain just becomes too much and there is nothing you can do about it. In these cases, a backup (indoor) shooting location is exactly what you’d need.
Ideally, the location would be indoors. Some possible indoor locations are public places such as libraries, shopping malls, or community centers. If you can’t think of an indoor location, outdoor areas with cover (either natural or man-made) would work also. The goal is to have more options to reduce the amount of stress on the day of the photo shoot.
Rainy Days are an Opportunity to Get Creative!
Remember that wet weather does not mean you’re destined for a failed photo shoot. By being prepared and proactive, a photographer can be able to overcome a wet day – and make it a vibrant and successful photo day!


 Facebook
 Google +
Comments (0)
There are no comments yet.