This is a bit of a hobby for me that I like doing, when I first started realising the full potential of Photoshop Ideas started flying around my head on how to put it too good use.
Then I started discovered Instagram which I’m sure everybody knows.
So I started to follow a lot of Photoshop Professionals and Photographers in my personal Instagram account and I started to see these amazing pictures that Photographers had made of them in wonderful exotic places.
I started thinking to myself some of these Images would be really awesome to re-create with Free Stock in Photoshop to practice my skills and build an interesting amazing Portfolio.
My idea was this.
Re-create scenes inspired by Photographers using stock I have gathered or taken for my self, I also wanted them to look realistic.
Usually with Photoshop Manipulations there will be a lot of effect heavily used which is not what I want to do with these images, I want someone to look at them and think it’s an actual real image.
I got inspired by a lot of Storm Chasers images which brings me to what we’ll be doing today.
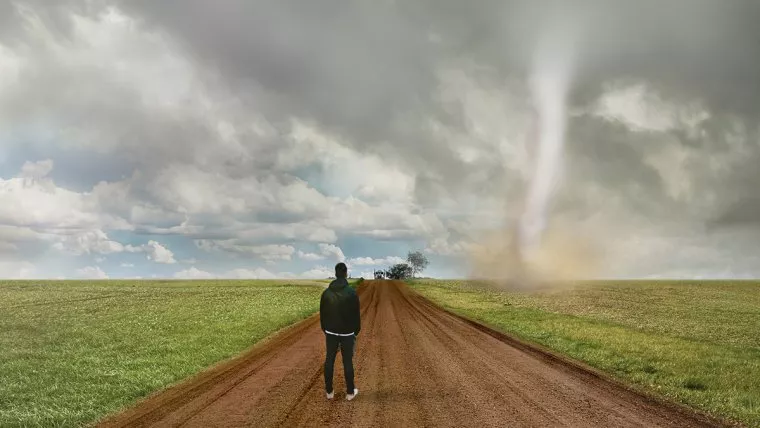
So for today we’re going to be re-creating a Tornado scene, and I must say I am glad I’ll be sitting in my comfy chair looking at a screen than a real Tornado, to thanks to Photoshop I can.
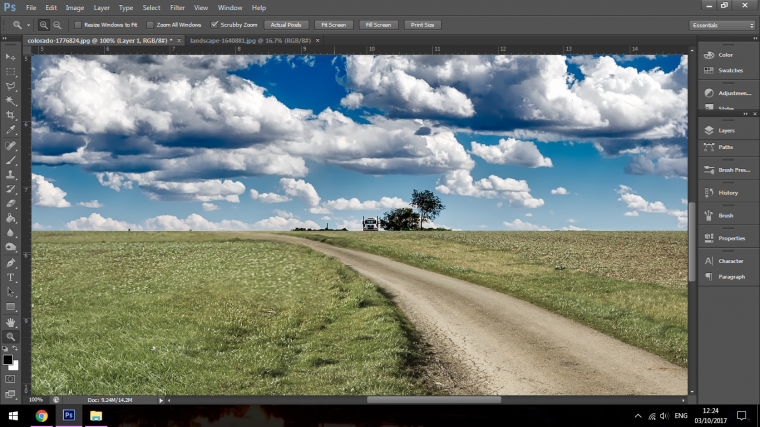
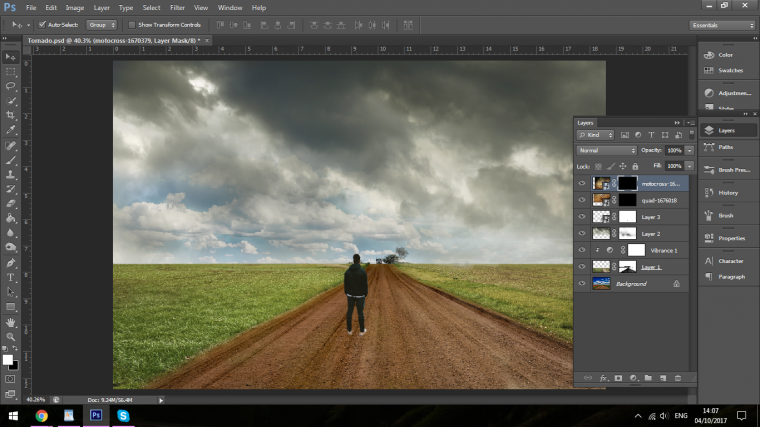
To start with I’m going to gather some images of landscapes that I would like to use, I’m going to look for sort of American Mid-West looking images.
Something like that image that I have below.
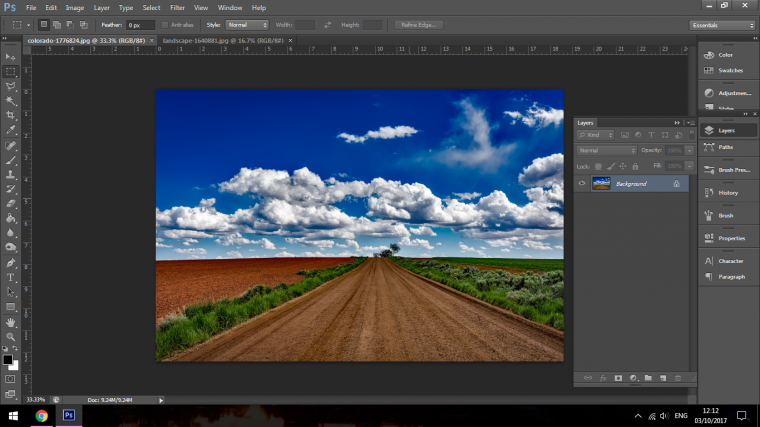
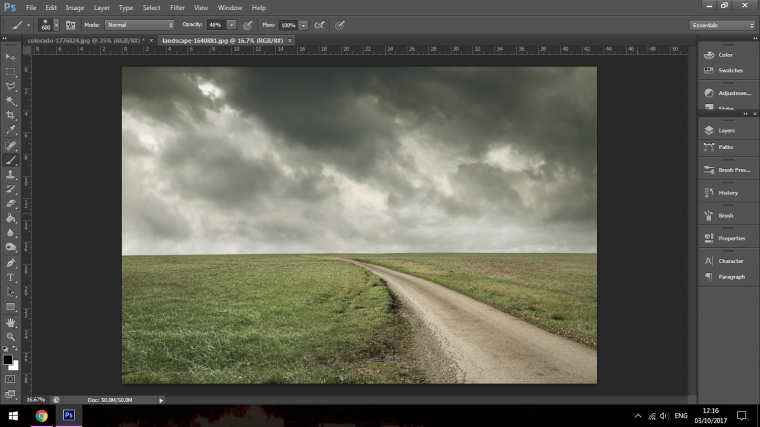
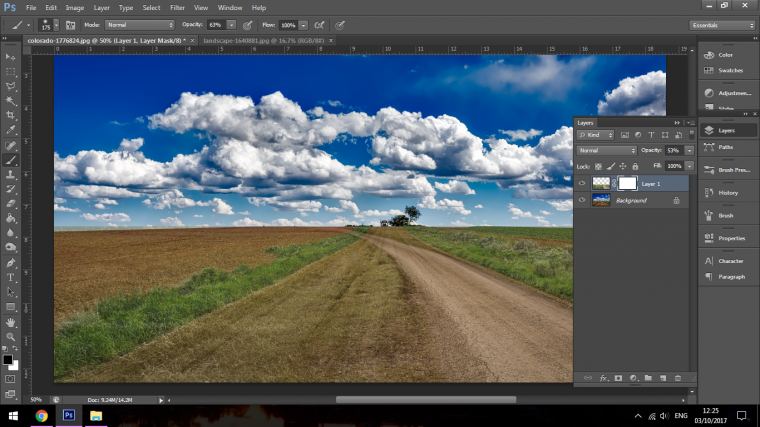
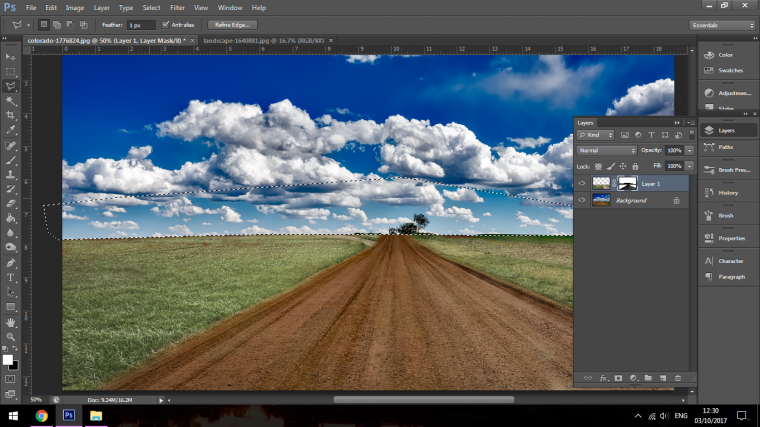
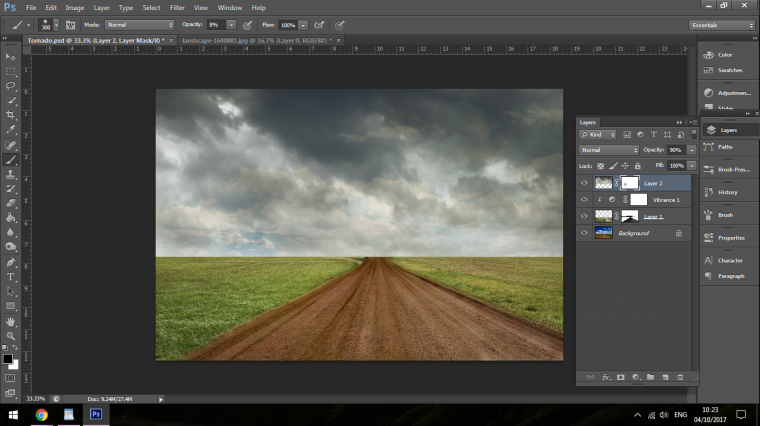
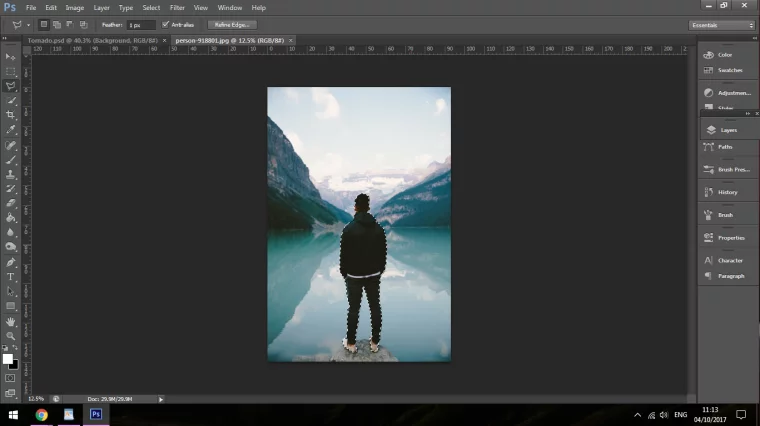
So we’re starting off with this image below which looks like it’s a nice pleasant day which wont work for the over all effect but what we can do is to blend it with another image like the more stormy image below.
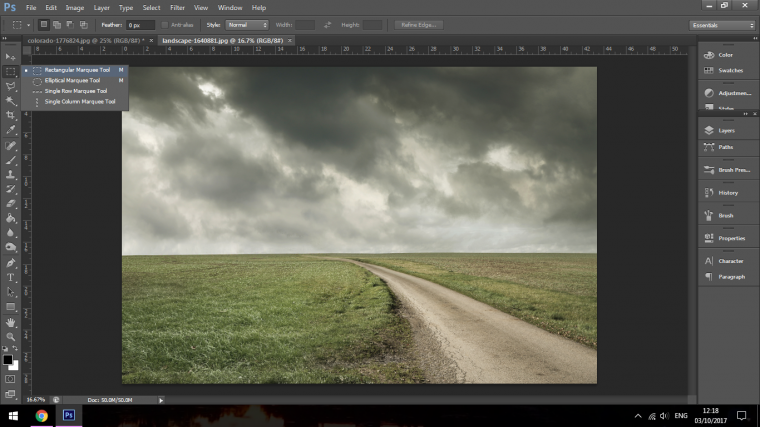
With this, the first thing that I’m going to do is to make a selection of the Grass and path area.
I grab my Rectangular Marquee Selection Tool.
Then I click and drag over the area that I want to select.
I then go to File – Copy
You find file in the top bar to the left hand side.
Now I’m going to Paste it into my original image.
Key in on your keyboard Ctrl + T to activate your Free Transform Tool so you can resize and re position your cropping image piece.
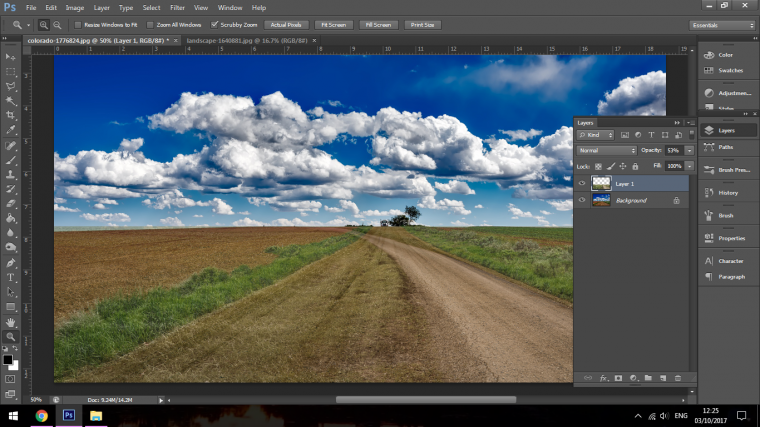
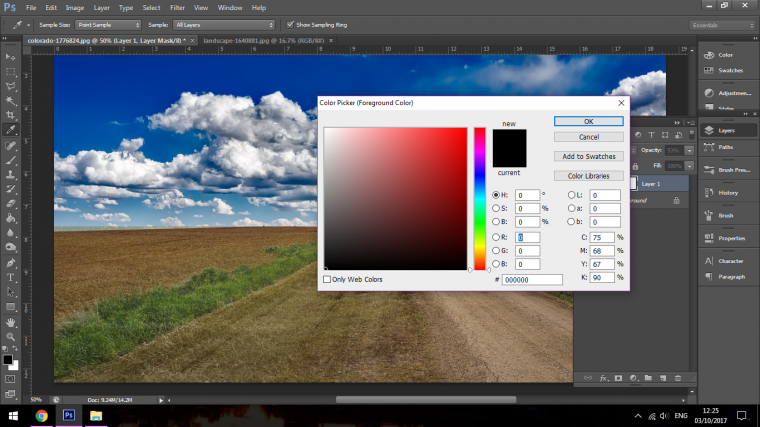
Next I will go over to my right hand side and open up the Layers panel as you see below, in there you will find the new layer, click on it and drop it’s opacity so you will be able to see both images blended together.
Then we will create a mask for this layer and start to blend these images so they look like one realistic image.
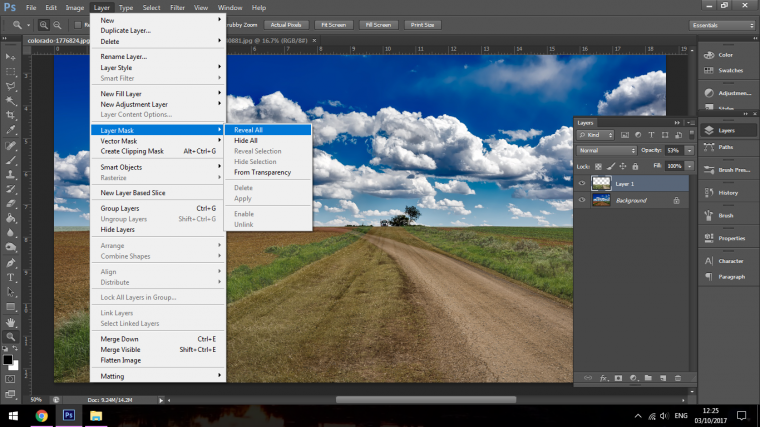
Go to Layer-Layer Mask – Reveal All
Once the mask has been created in the layers panel you will now see a little white box beside your image thumb nail.
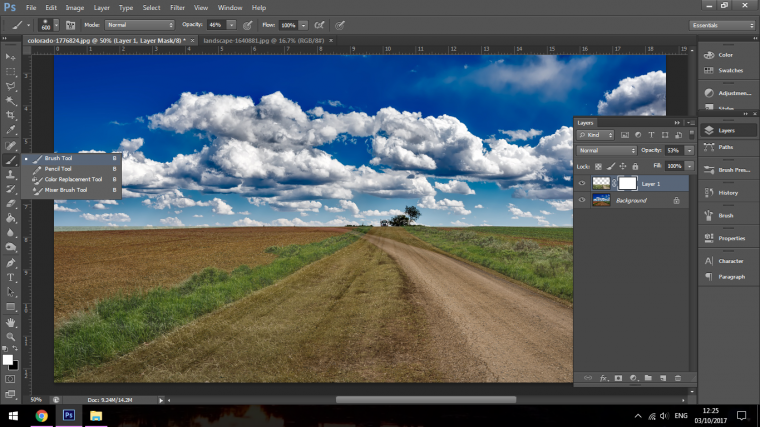
What you can now do is click on that little white box, and when you now paint on to your canvas using a standard paint brush you will start to hide which ever parts you paint over.
When I do this I will zoom in and out as I need using the keyboard (Holding Control keying in Plus and Minus)
And on the top bar you will see under filter and view the opacity options for the brush, I will also change these back and forth depending on the area that I’m working with, this part is hard to explain so I’m going to leave this up to your own experimentation with the opacity option as you work.
If you feel that you have made any mistake switch your brush to White and you will be able to bring the hidden areas back.
Before you start, below File and Edit in the top lift hand side you will see a little drop down box, it will have a circle indicating which type of brush you are using, choose the first, this brush is your soft brush and it will be best to blend with.
This will take a little bit of time and trial and error so work with it and have fun.
An option you can do if you feel you want to match the background up a little better is you can grab the Polygonal Selection Tool and click along the edges to follow the contour of the original Image.
Once you’re happy with the selection that you have created you can then use the masking technique to paint it out to make it look a little bit more uniformed.
The grass that chose to use was a little bit saturated, if you don’t know what saturation is the definition of that is in simple terms is that the colour has been drained out of the image a little bit all the way up to the point were it will be completely grey.
So in essence it’s when you colours are being greyed out.
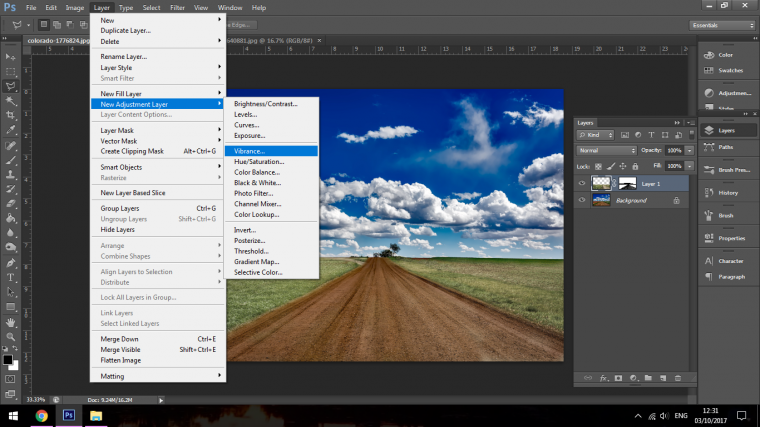
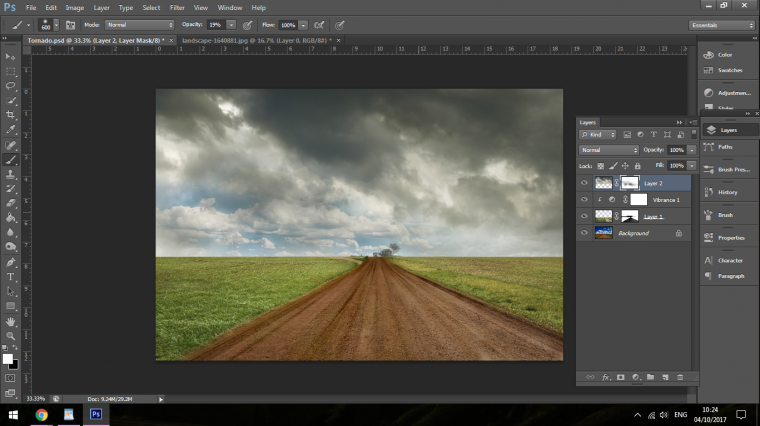
To fix this I’m going to add a little bit of vibrance and I’m going to increase the Vibrance until I feel the grass matches the vibrancy of the rest of the image.
I do this by creating a new adjustment layer then I go to vibrance.
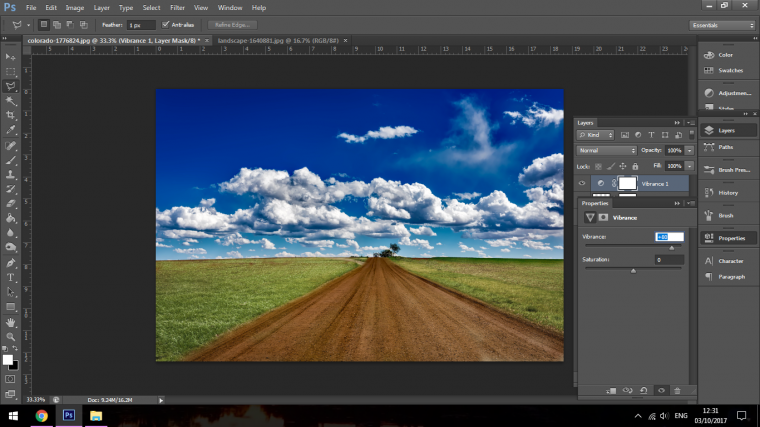
You should see the vibrance panel appear on the right hand side of your Photoshop desktop.
Using the slider I slide to the right, this will increase the vibrance.
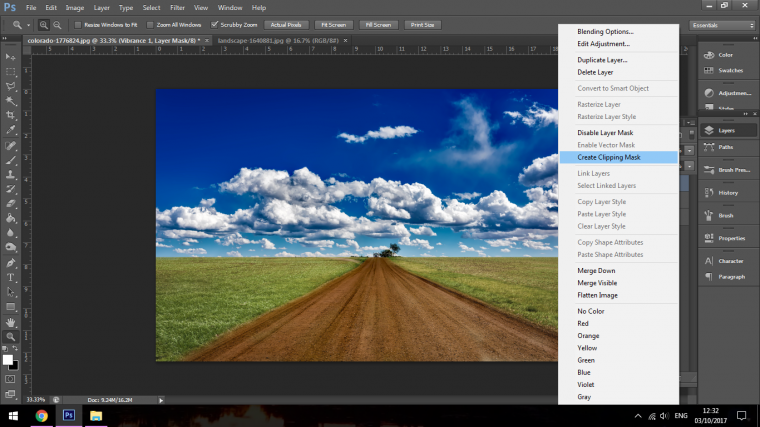
Then I will Right click using the mouse on the adjustment layer and click on Create Clipping Mask.
What this does is it pins that adjustment layer to the grass layer so only that grass layer will be changed, at this point I can go back by double clicking on vibrance and either sliding the slider more to the right or more to the left to decrease depending on the image.
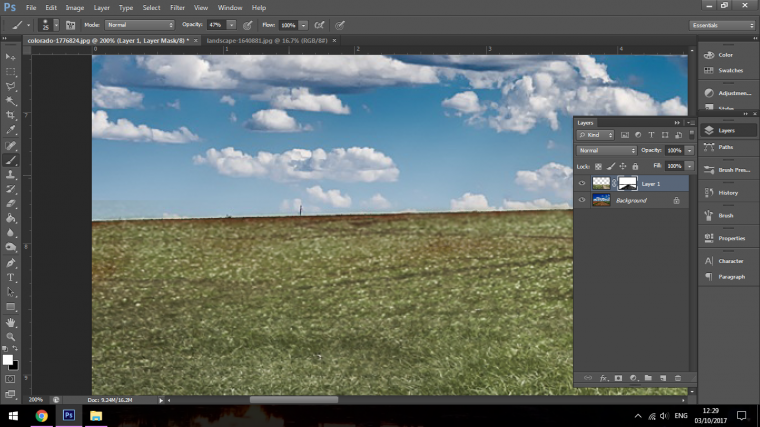
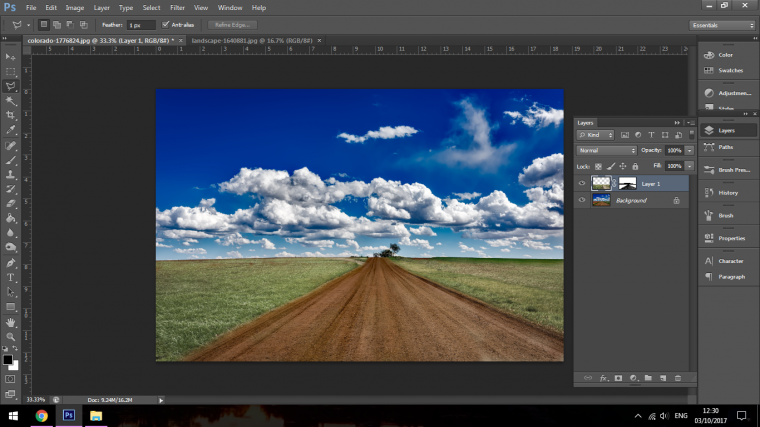
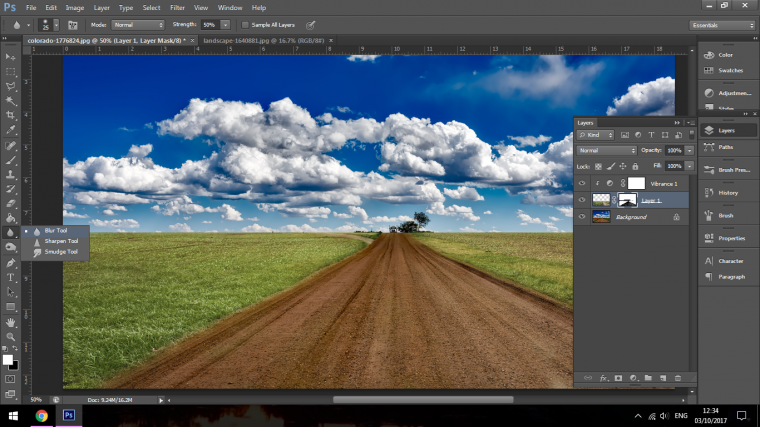
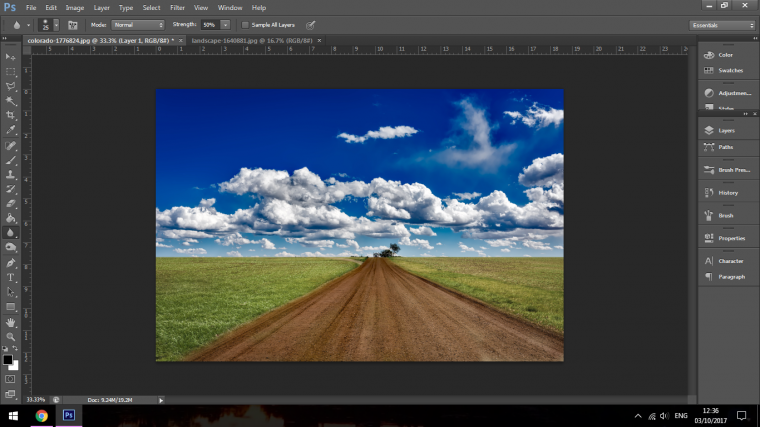
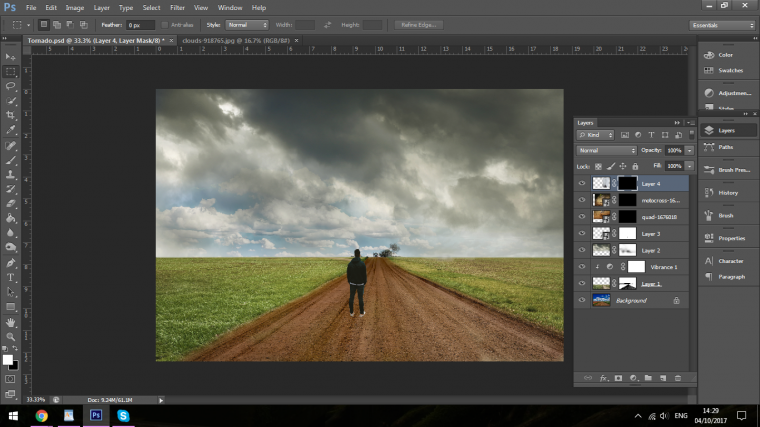
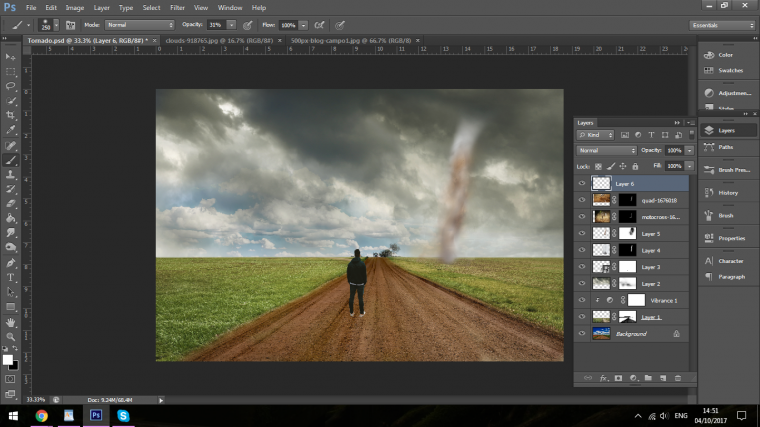
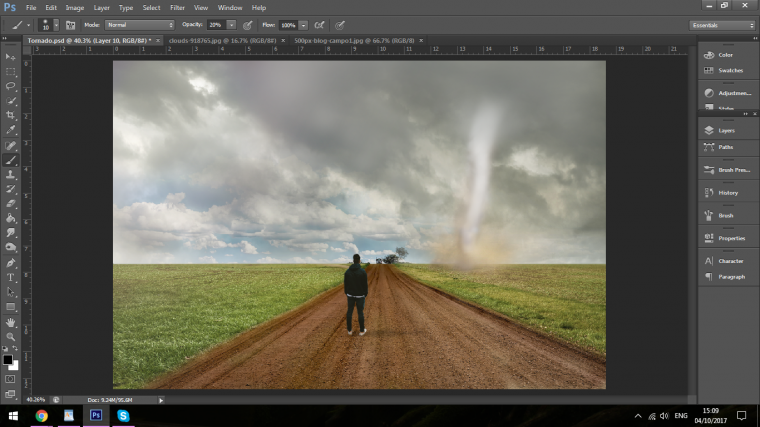
Now our image should be looking something similar to the image I have below.
Modified but still very realistic.
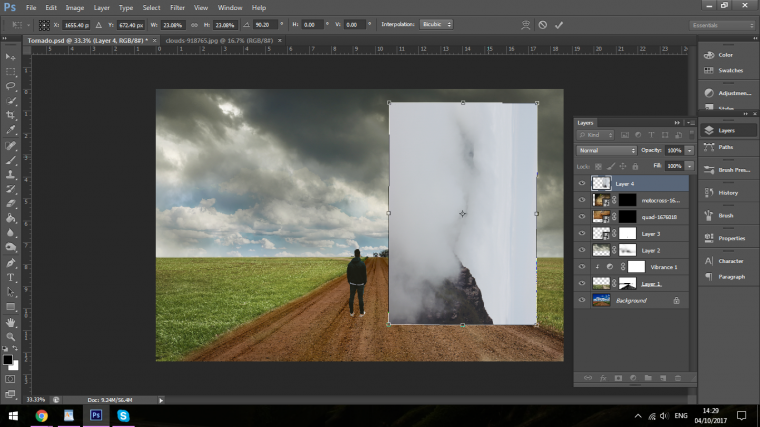
Next using all the steps that we learned we are going to make a copy of the sky in the saturated image were we got the grass from.
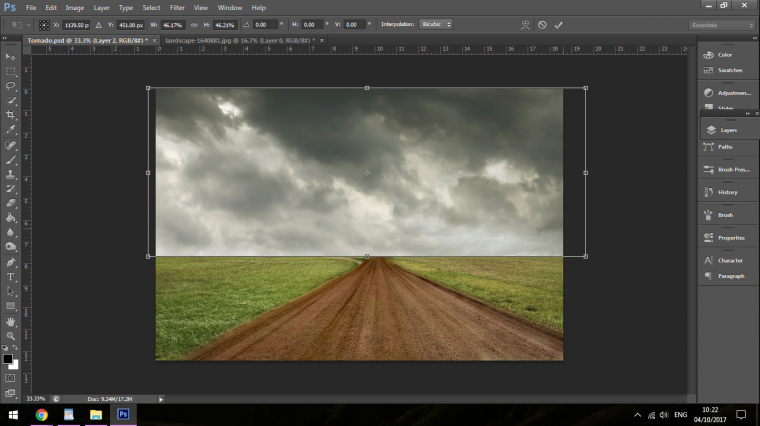
Then I’m going to position it how I want it using Free Transform.
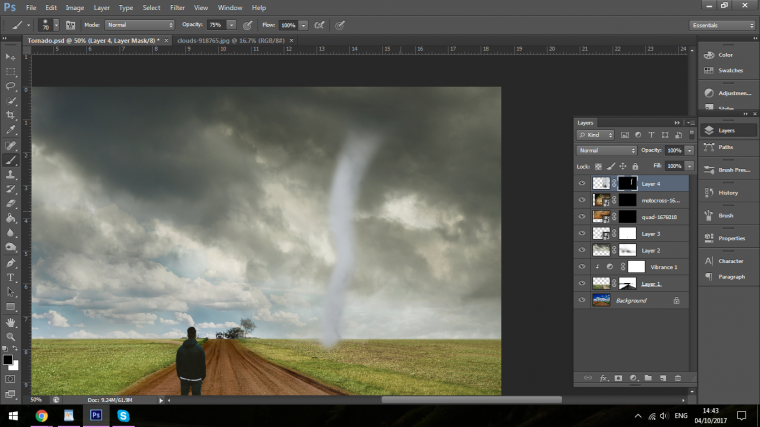
Once I’m happy with the position I’m going to create a mask and start to blend it in keeping in mind where I would like to position the tornado.
I’m going to have my tornado just off to the right hand side so I’m going to keep the sky on that side a little bit more dark.
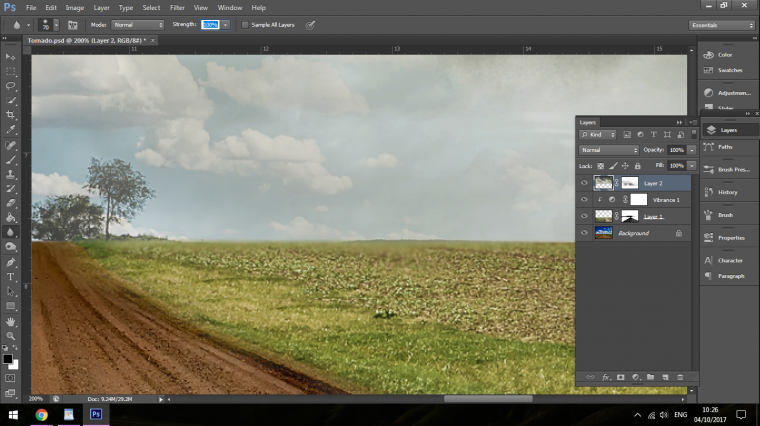
Once I have that complete I going to then go along the edges again with the Blur Tool to add distance and a dirty but very subtle dust effect.
Ok as is we’re looking good, so at this stage is you want an nice picture of the country with a bit of a dark sky you can stop here ha ha.
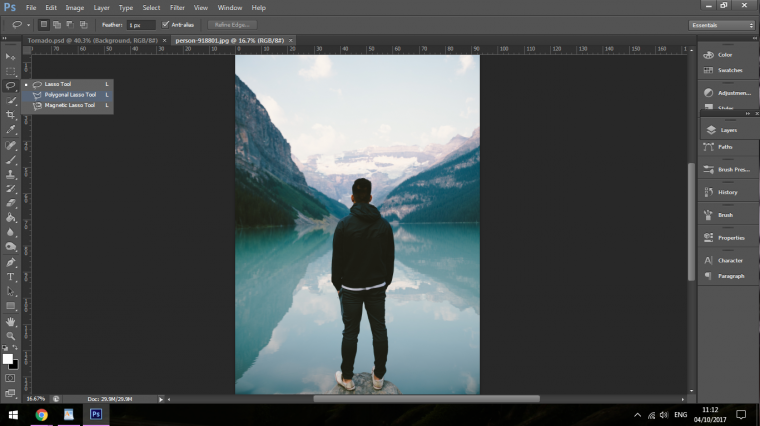
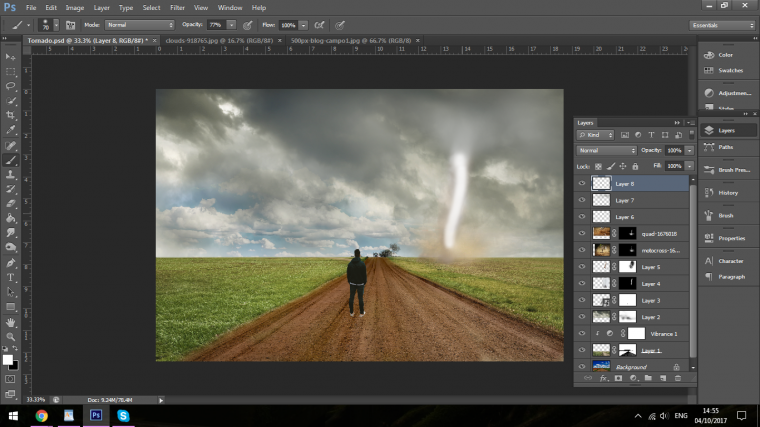
But me, I’m going to add a curious person that’s maybe a little bit too brave for his own good!
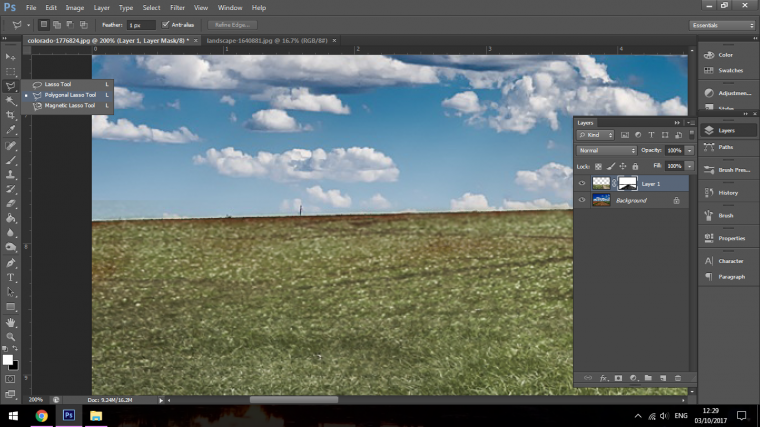
So I’ll choose my Polygonal Tool for this.
I’ll zoom right in and start to click along the lines, make sure to check your feather options, you find this option just under Type and Select on the top left hand side of your screen, I have my feather set to 1 pixel because my starting image was huge, it was around 4000 x 2000 or whatever.
Normally I would leave my feather options to around 0.5 px
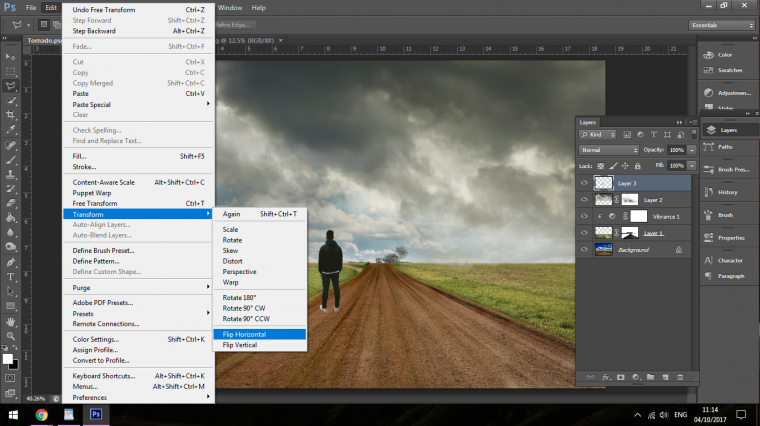
Once I complete my selection I will copy and paste it into my main image.
For this my model was facing the other way so I went to edit – Transform – Flip Horizontal.
One thing I would like to mention is that it would be a good idea to convert your image to a smart object once it has been added to you main image.
You do this much like we did when we Created the Clipping Mask.
But instead of choosing that option we choose Convert to Smart Object.
By doing this you will be able to rezise the model with out any lose in detail.
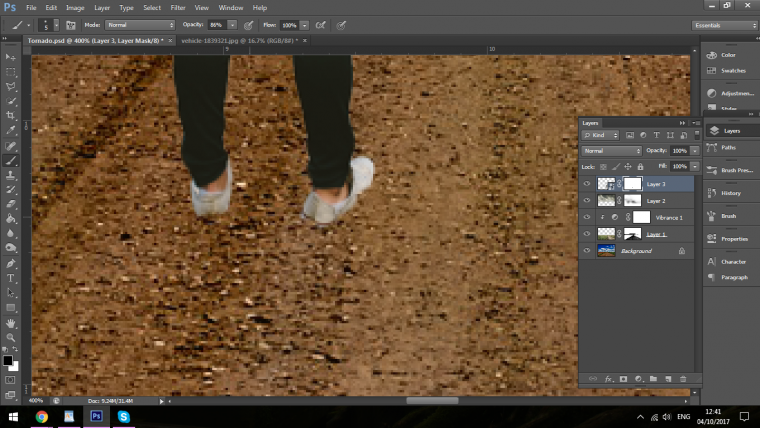
So first things first with our model, I’m going to create a layer mask and start to blend in his feet a little bit.
All I do here is just create little bumps at things like that in the shoes to create a gravel looking effect like He is buried in a little bit.
Now we’re going to create the Tornado.
First I’m going to create the top and the bottom of the tornado where it’s touched down so I’m going to try to make it easy on myself at first and look through what Pixabay has to offer in terms of stock images I can use for this piece.
I looked up all sorts of images from dust clouds to stormy clouds.
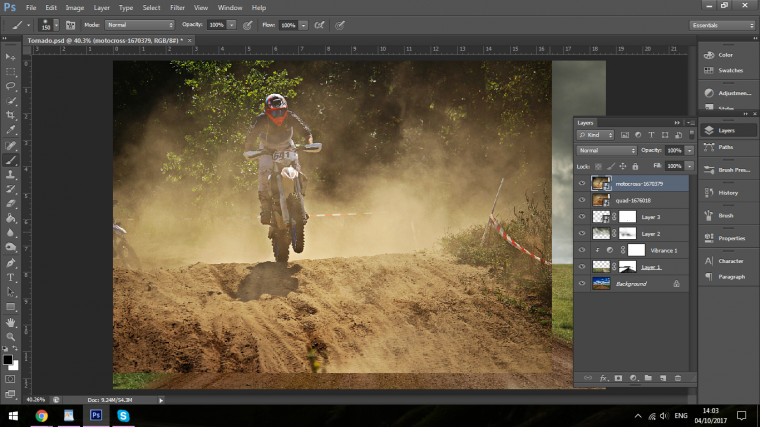
I came across a few images with the correct colour of red dirt in them, I’ll use these to create my touch down dust.
So what I do is I copy and past the full image into my main image, you can use a few image for this if you’d like.
Next I’ll take each image or just the one image depending on how many you used and position the most of the dirt and dust over the area that I want to have my tornado.
Now take each one and create a layer mask for it.
When you do that you will be able to then click on the layer mask thumb nail and key in Ctrl I
This will invert the layers to make everything invisible.
Ok cool, now we can move on to the funnel of the Tornado.
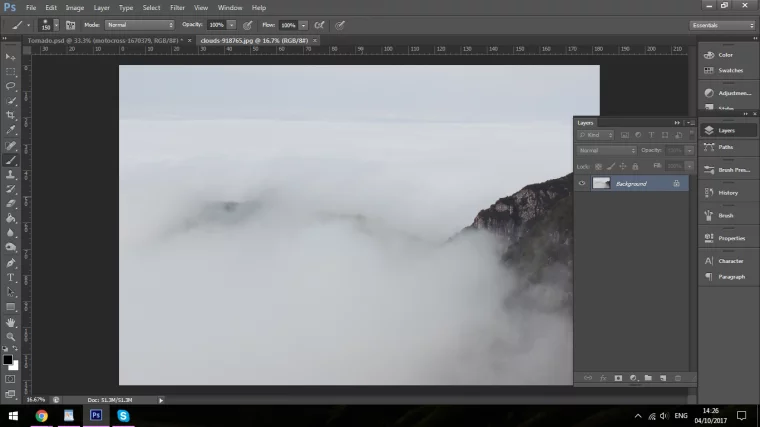
What you need to get for this is some what of a smooth looking cloud.
Something like the image that I have below.
I tried to get an image that had that sort of ridge line in the mountain, I got lucky here with this one, but this is the type of image that will suit best.
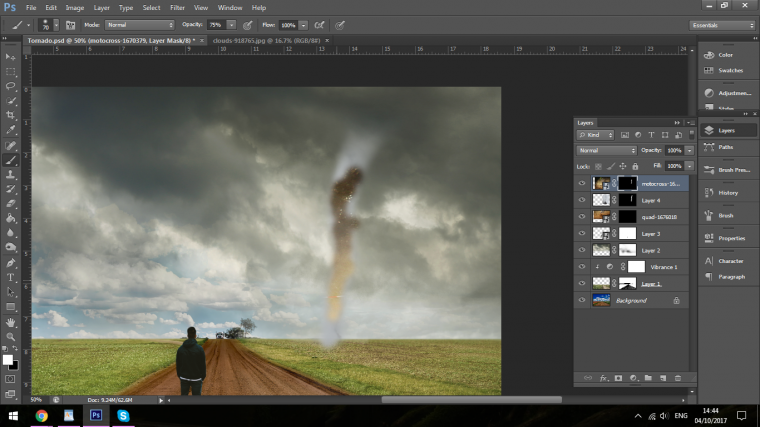
I rotate the image while placing it to represent the tornado slightly.
The main work will create the tornado so don’t worry if you where unable to find an image with a ridge, like I said I got real lucky with this image.
Ok so now the real work will begin, there’s not much I can really say here as this will come down to the image you have chosen and your Artistic vision, but don’t worry, have fun, with reps perfection comes.
So now I’m going to start to paint back in using the Brush Tool on my Tornado image.
While I do this I will change the size of my brush and the opacity.
When I’m happy with the spout I will start to add in some of the dirt areas.
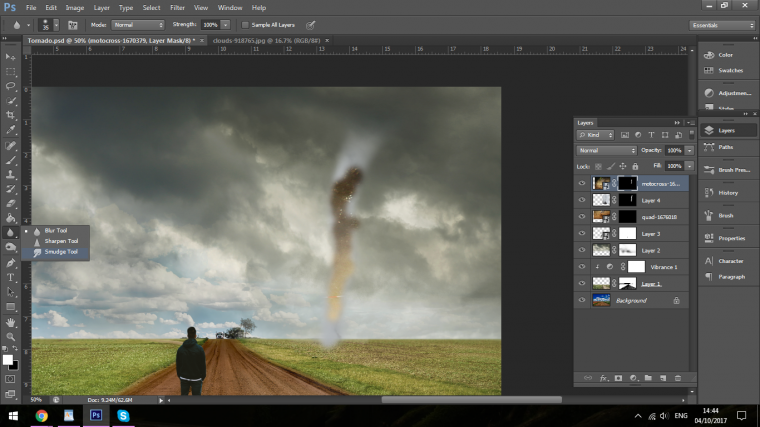
I use the Smudge Tool to create some streaks to make it look like it’s moving, I do this by clicking on to my actual image thumbnail first.
You will have to go back and forth doing this from image thumbnail to mask thumbnail depending on what you’re doing.
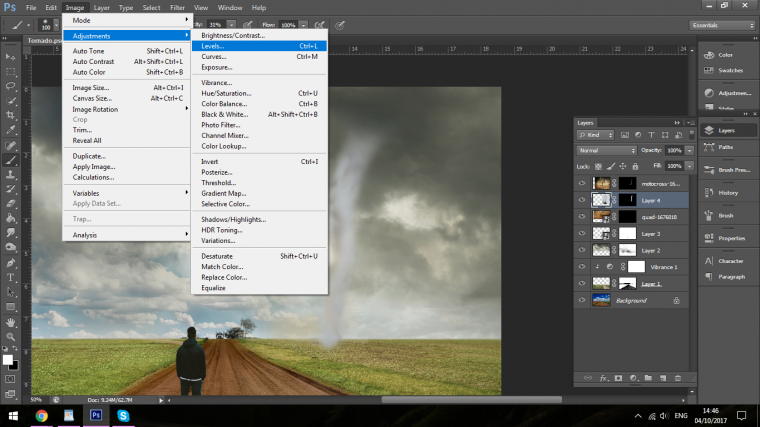
I also play with Levels to brighten the spout a little.
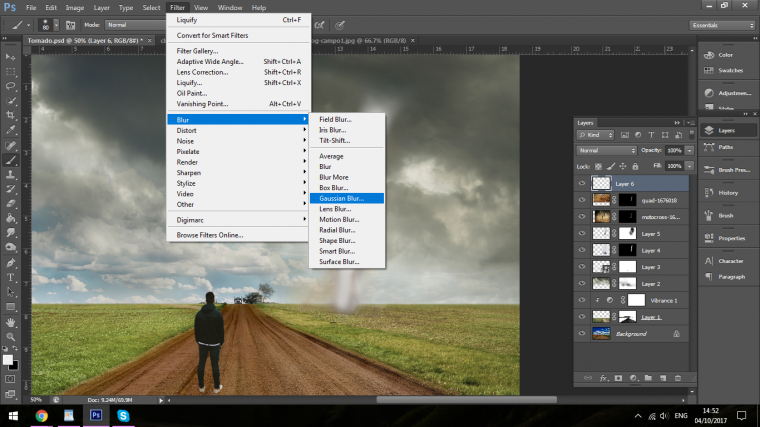
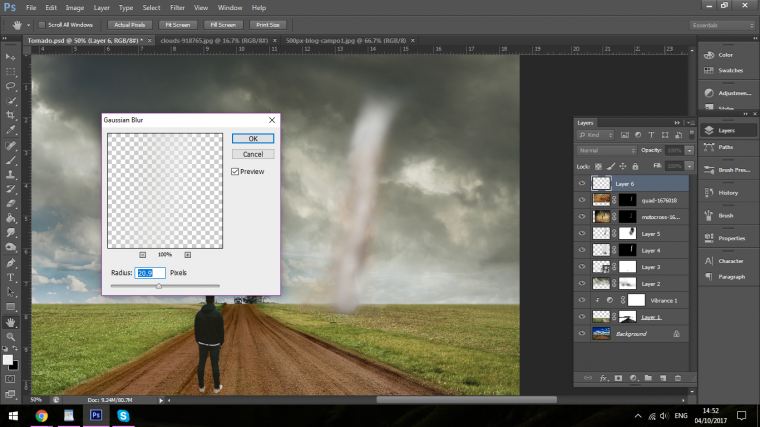
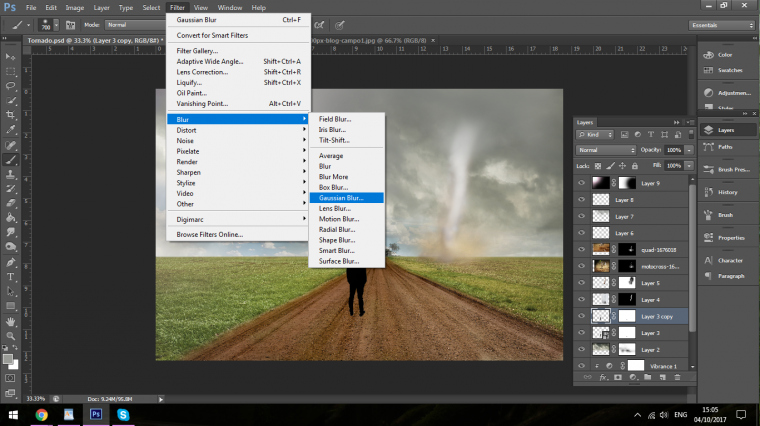
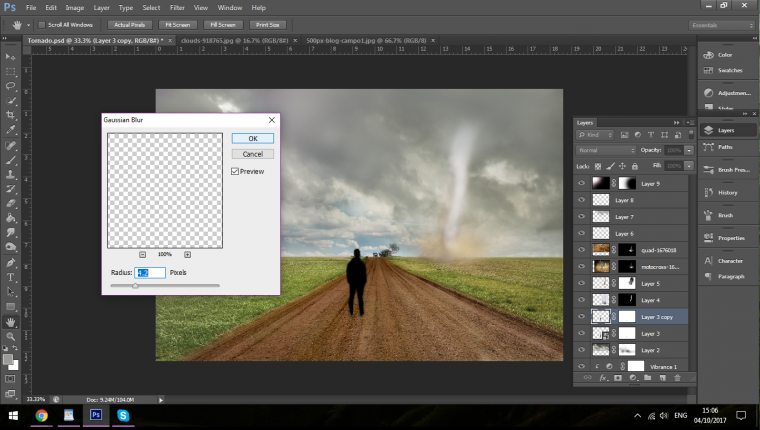
As I go along I work back and forth, I use Gaussian Blur a little to create movement.
By this stage things should be starting to come together, I think I took probably about 10 minutes of back and forth’s with this, I was always zooming in and out, playing with the masks painting white on it to reveal and then hiding areas I was unhappy with again using black.
I constantly change my opacity for the brush also.
Then I stared to create new layers and painting on the with white to further highlight the spout.
Then I would add a Gaussian Blur to it and drop the opacity of the layer.
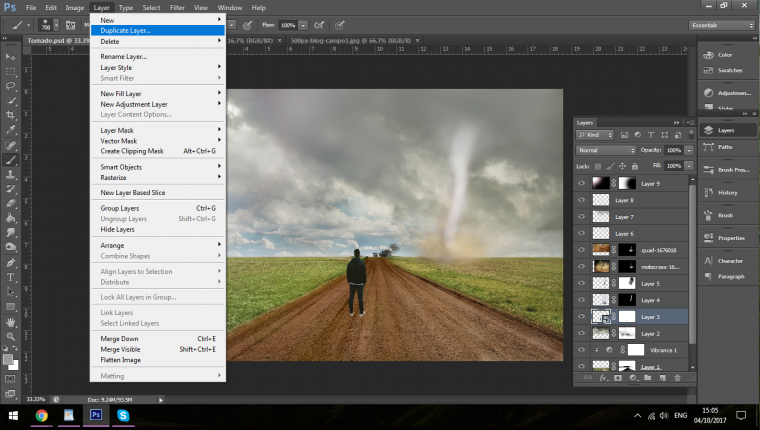
Now I wanted to create the shadow, so of our model, so I duplicated his layer.
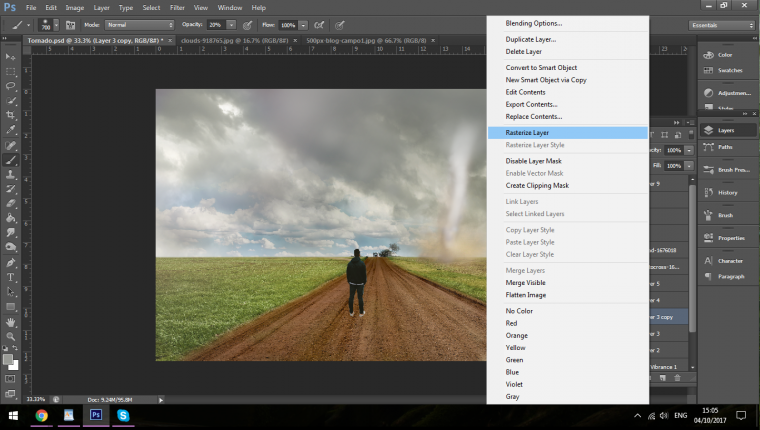
I then right clicked on the layer and chose to Rasterize Layer.
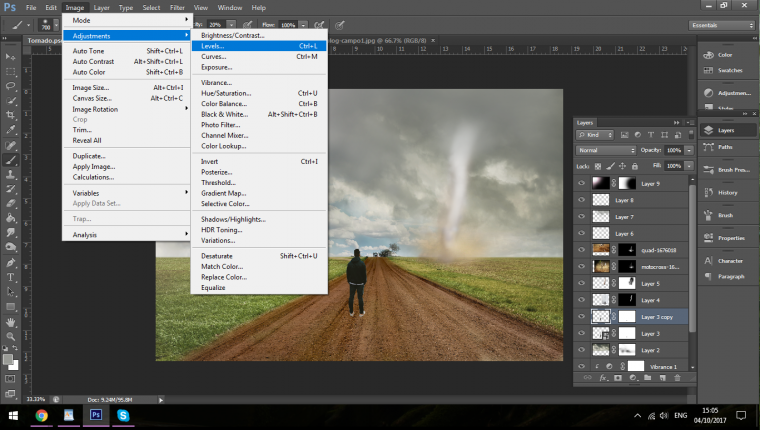
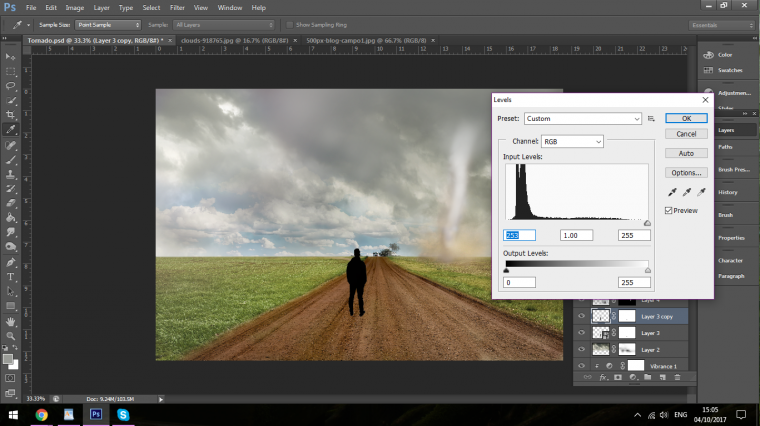
Then opened up Levels
I moved the slider on the left hand side of the Input Levels all the way over to the right hand side
Then using Ctrl T I activated my Free Transform Tool and rotated my shadow, I then dropped it’s opacity and gave it a Gaussian Blur effect.
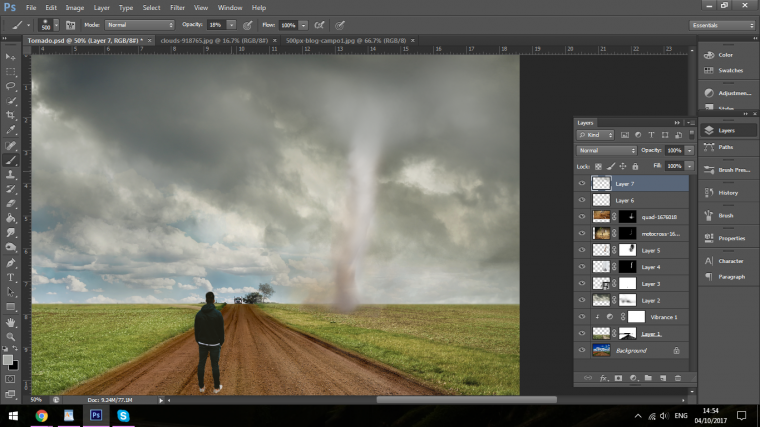
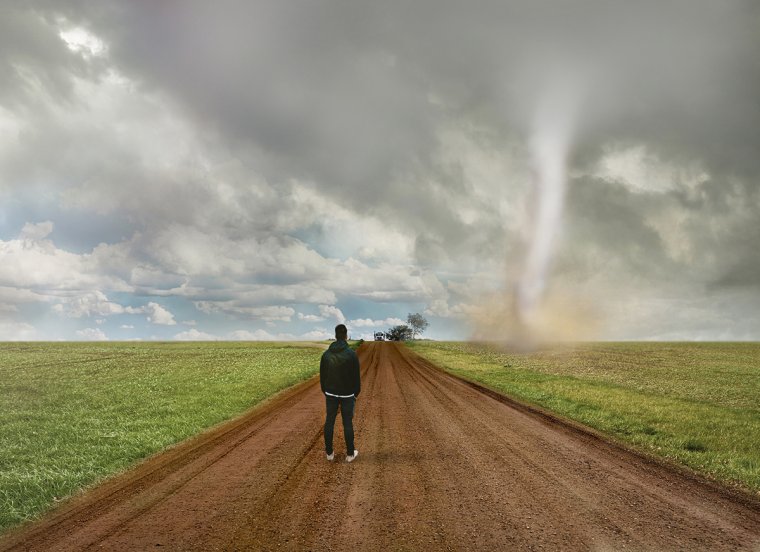
And with all those back and forth’s and trial and errors my final image was complete.
Graduated from college in 2002 with a degree in Art & Design, I started exploring my way in Graphic Design and Professional Post Production. Full-time freelancer since 2011.


 Facebook
 Google +
Comments (0)
There are no comments yet.