My All Time Post-Processing Mistakes and How to Fix Themwww.sleeklens.com
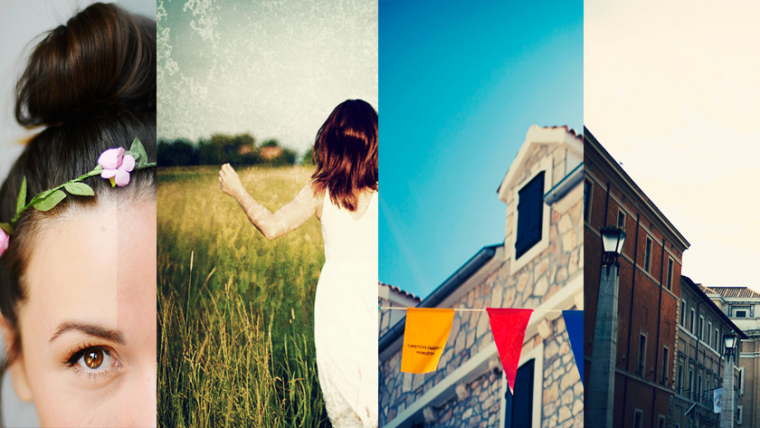
When I first started photography, I didn’t really know what I was doing. All I knew I had a DSLR with a big lens attached to it and that I should post process in Photoshop (CS2, mind you). So, like any other average beginner, I took far more than I could handle. Today, my processing is pretty much clean and simple with a hint of the dreamy/filmy layer. However, it wasn’t always like that. In this post, I’m gonna share with you some of the processing mistakes I wish I hadn’t done. Also, I’m gonna show you some “before & after” photos; they way I was processing at the time and how I’d do it now.
Table of Contents
New layer! New what?
Yes, I never bothered to post process using layers. Not that I didn’t want to, rather I never knew it existed or bothered to explore more. Being a total noob, all I wanted was to get that photo out there, as soon as possible. So, I would do what I knew best – image > adjustments. I’d choose a variety of different tools and, yes, you guessed it, apply to the same base layer. Little did I know how handy and vital is layer option to post processing.
Oversaturation and contrast boost 24/7
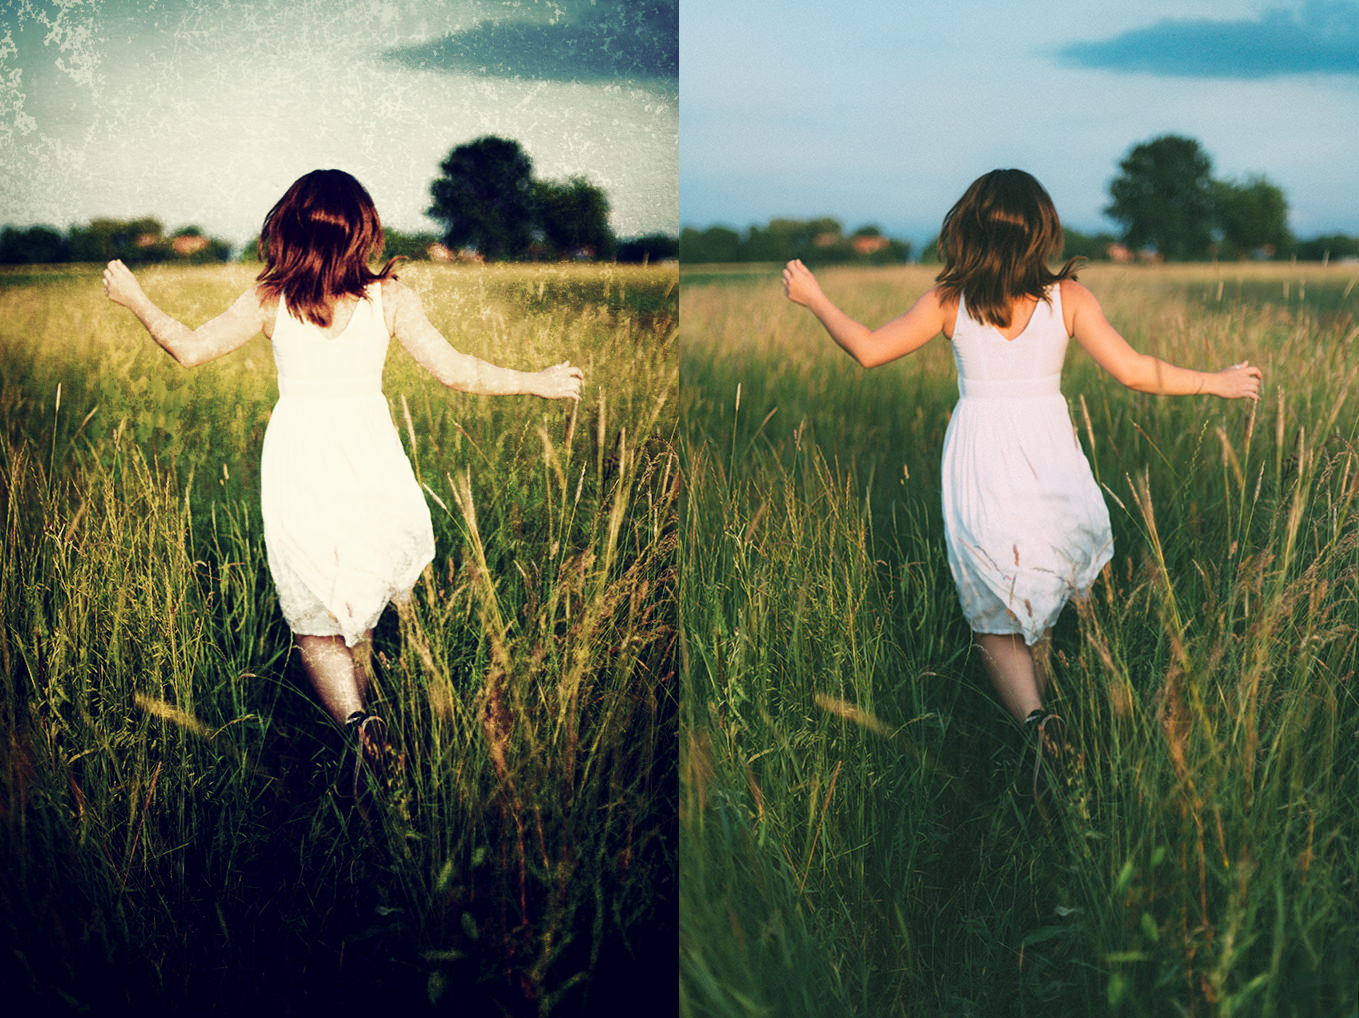
It didn’t matter whether or not the frame (its tones and exposure) could actually handle extra contrast. There were so many soft, simple scenes that I literally destroyed with overly dynamic and saturated processing. Just because the latter worked great on the photo that I saw online. That was the problem; not examining how your photo makes you feel or which enhancement would improve the final image. I just pumped up the contrast because “Sally“ did it to her sunset photo and it looked great and on fire! My advice would be to study the image you take and choose the processing style according to the emotions in the photo. And, take advantage of the shadow/highlight manipulation option. I didn’t.
On Wednesdays, we applied sepia textures and strong vignette
Well, if you haven’t applied a texture to your image yet, what are you waiting for? For a while, it was my favorite thing to do. I remember that being a part of my “editorial“ phase (dressing my friends as emo teens with wings). I wouldn’t just use soft and simple ones. Oh no, my faves were the scratchy, vintage, sepia textures. Now, I’m not saying all textures are bad. Like everything in life, there is a time and place for everything; advertising, book covers, etc. However, under the influence of popular textured images on Flickr, I gave in. Actually, I ended up purchasing many, just to get that vintage, fairytale sensation to my photos, too. It made my photos look out of sense and tacky.
And the fake vignette phase? The darker the edges, the better. It doesn’t matter if the entire photo was flat out white. Those dark edges were a must. Again, made my photos look confusing and a dread to look at. Now, if I simply had to use them, it would be for portraits with muted, darker background. Basically, where it would blend in all nicely.
That one time I got framed
All those digital photos I put hideous frames too are still well remembered in my mind. Don’t know what I was thinking, adding virtual frames and genuinely being happy about it. That’s not even the worst part. Adding a title in bold, white font was the cherry on top. Now, it would be cool to do that while actually showcasing your work in some art gallery but, for my Flickr gallery? How about no.
Urban Acid, Cross Processing, and Warm Summer action…together?
If there has been something I definitely learned the hard way, it’s applying action after action onto the same image. Whenever I wanted a certain look, I’d use an action for it. You know how, sometimes, you want your photo to be cool and warm at the same time? I didn’t color correct it, I would slap on two different actions; warm and cool. Isn’t it amazing when your model has pink skin? It sure was for me.
Alien Eyes
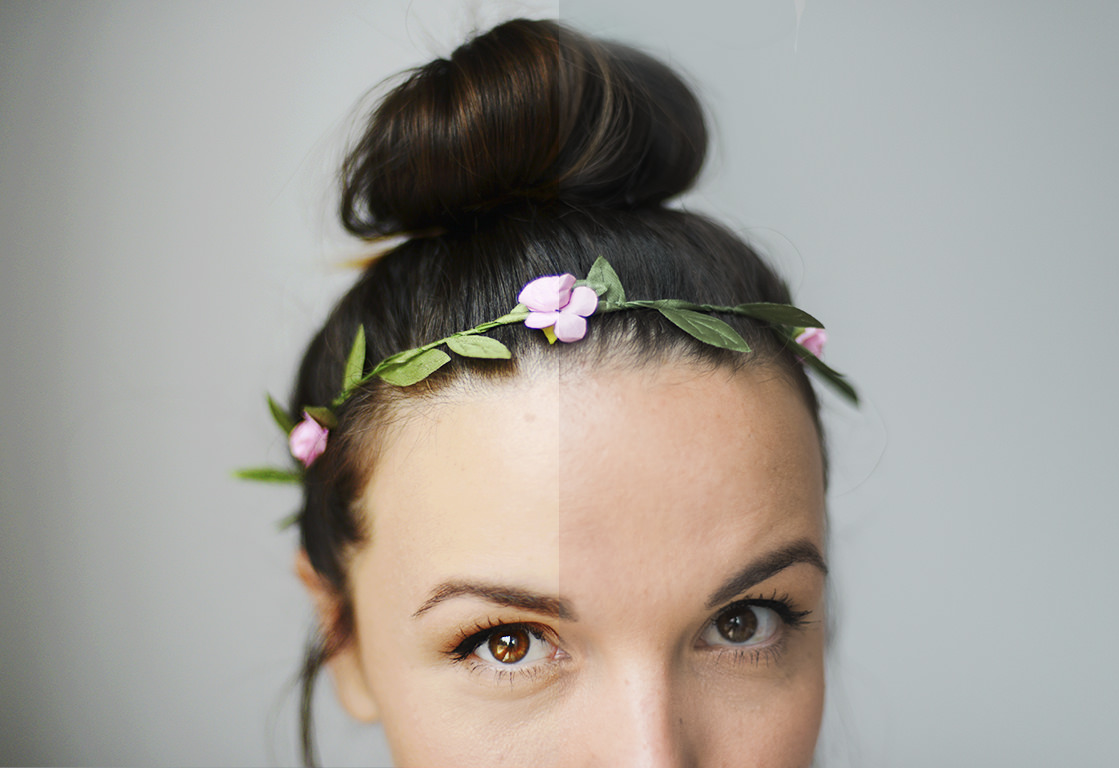
I understand photography comes in many different forms of expression and post-processing. From heavy, almost science-fiction to barely moving the levels slider. One thing I was doing to all of my portrait photos, was adjusting the eyes. If one had light blue eyes, I’d make them super crystal light blue. It looks fairly unnatural but, like everything, we don’t see our mistakes at that point. Otherwise, we wouldn’t make them.
These little mistakes were mistakes, in my opinion, something I wish I hadn’t done. There is no universal rule telling us what photography is or isn’t. Who knows, maybe in two years, I won’t like what I’m doing now. Photography, go figure.
I hope this guide can be useful as a learning experience to you all, and see you next time!
My name is Ines Perkovic. I am a history professor, blogger and photographer from Croatia who likes to capture the simplicity of life imbued by God’s daily blessings. When it comes to my passion for photography, I can’t really tell for sure what first triggered it. Maybe when I got my first digital camera (3mpx) that was later on used all the time. I believe I was 18 at the time. I’ve always been interested in art. Back in the days, it was drawing and painting. Who knew I would continue the passion in such a different way. As the time passed, I’ve developed a style (with lots of trial and error) and met some extraordinary people who became one of my biggest inspirations. I am a Nikon girl. Right now, I shoot with a D800 but my first DSLR was D80. I love Photoshop and filmy post processing. My dream is to shoot film, as well.


 Facebook
 Google +
Comments (0)
There are no comments yet.