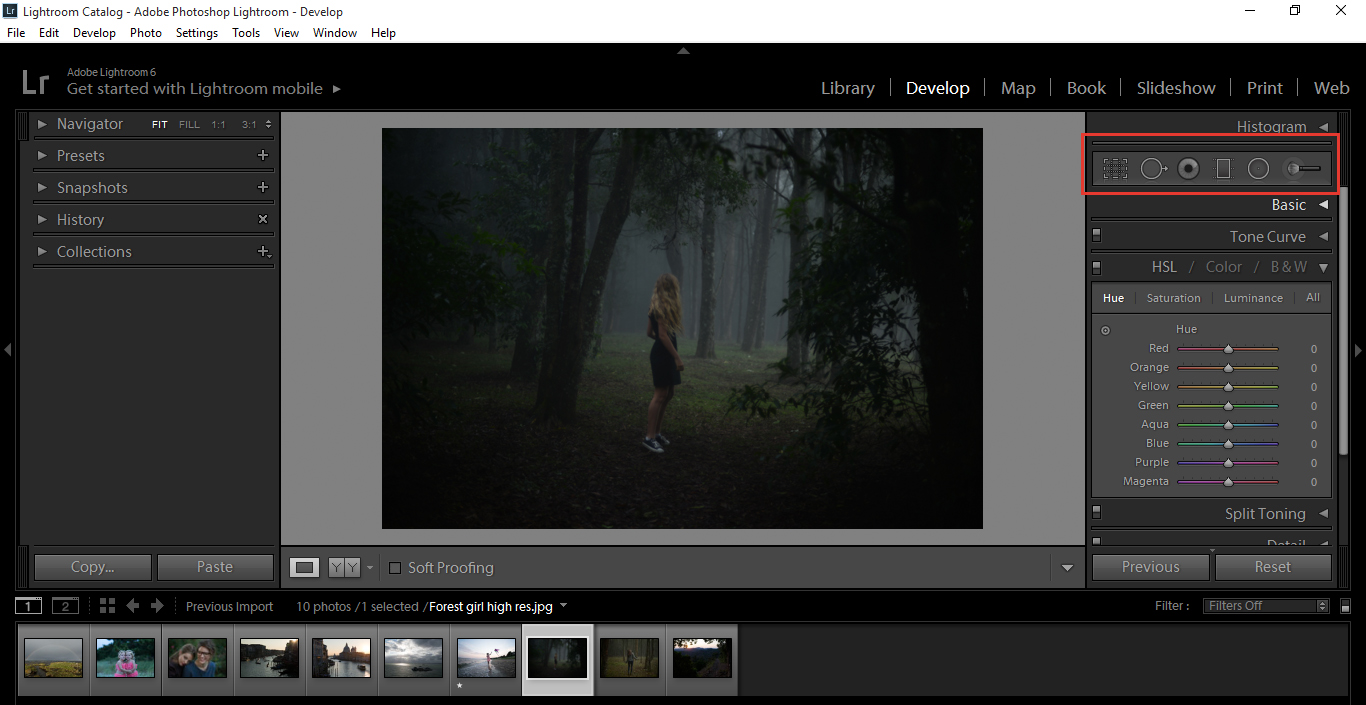
Today, we’ll be taking a look at the Tools that Lightroom has provided for us and what they do, so listen up because we’ll be covering a lot in this Tutorial.
All of these Tools effectively enhance what our Filter and Brush Presets do, so if you don’t have the patience to painfully edit your photos you can pop over to our Presets page and take the easy way out.
This tutorial will essentially teach you how to prepare your images for adding our awesome Sleeklens Presets.
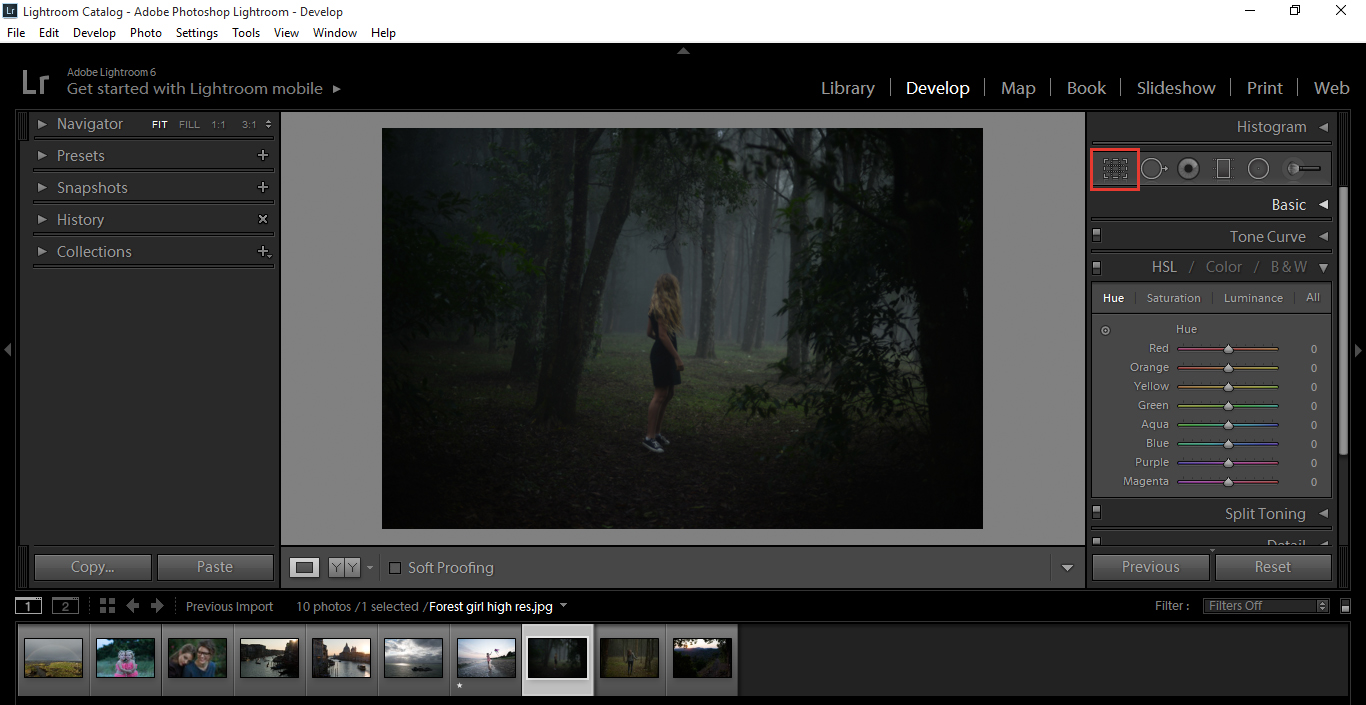
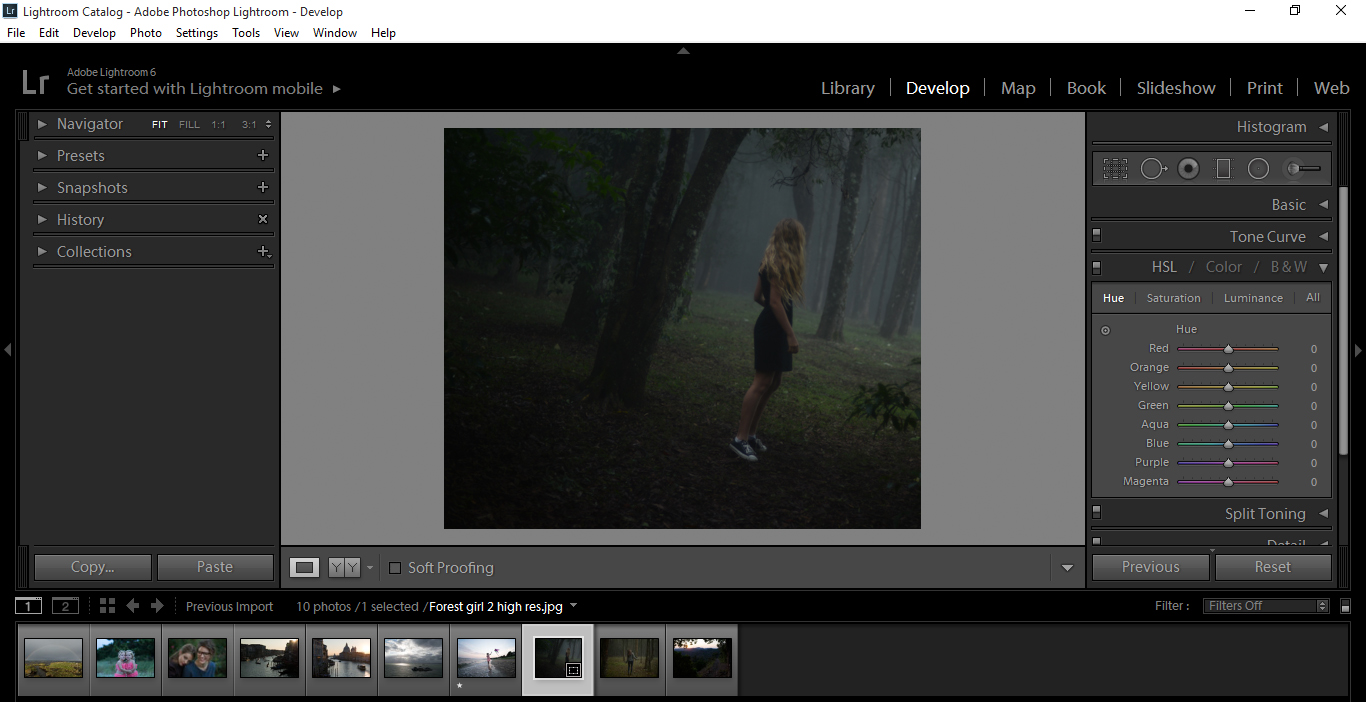
The first Tool we’ll be looking at is the Crop Tool
You can open up the Crop Tool by clicking or simply using the keyboard shortcut (K).
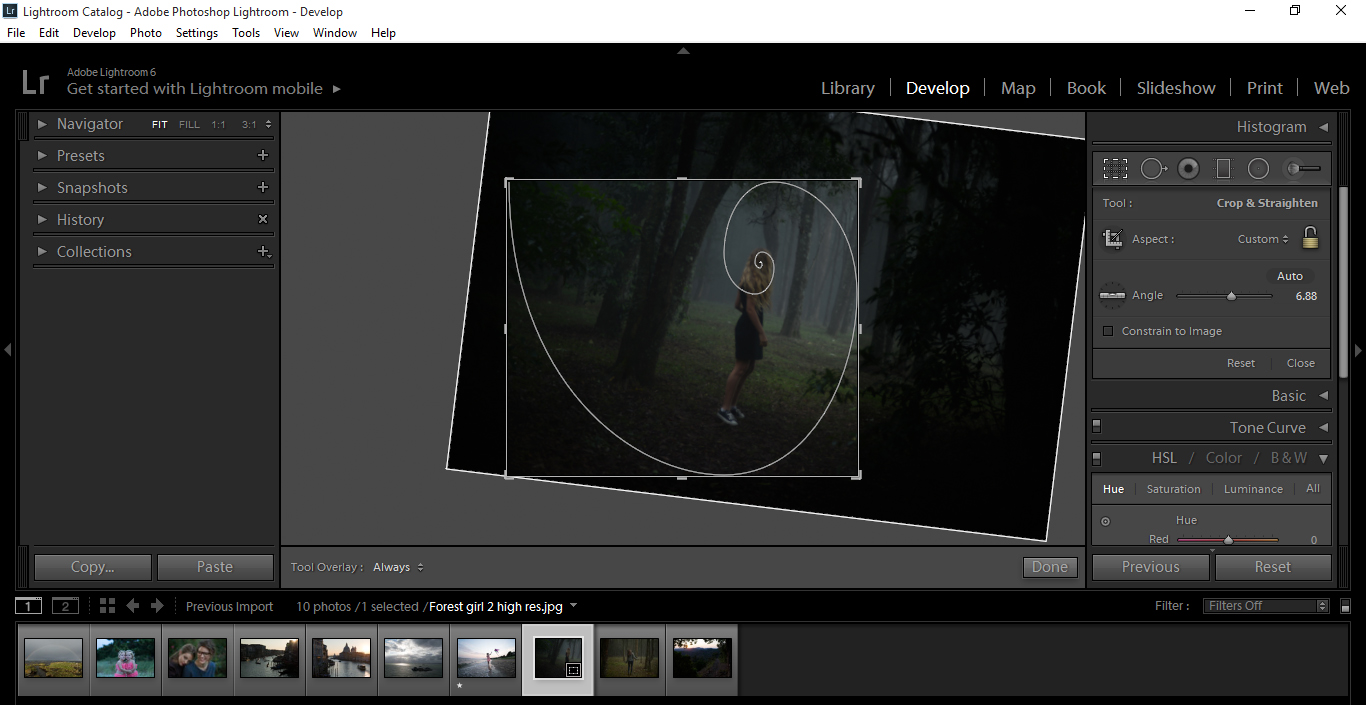
You can use the crop tool when you want to Focus in on a particular area. Right now we have it split into thirds, that’s what the faint white lines across your image is indicating. By pressing (O) *and Shift+(O) to flip, you will be able to change those to different grids, such as a Spiral, Cross hatched Lines and Smaller Squares, so if you had a pin point area of vanishing point you could use the Spiral and set it to that point.
You can also use the Angle Slider to adjust and rotate your image. You may want to give it a dramatic feel or simply just straighten out a bad shot.
To use it, just click and drag, adjusting the edges of the grid as you see fit. To keep the grid proportional, hold Shift while you click and drag.
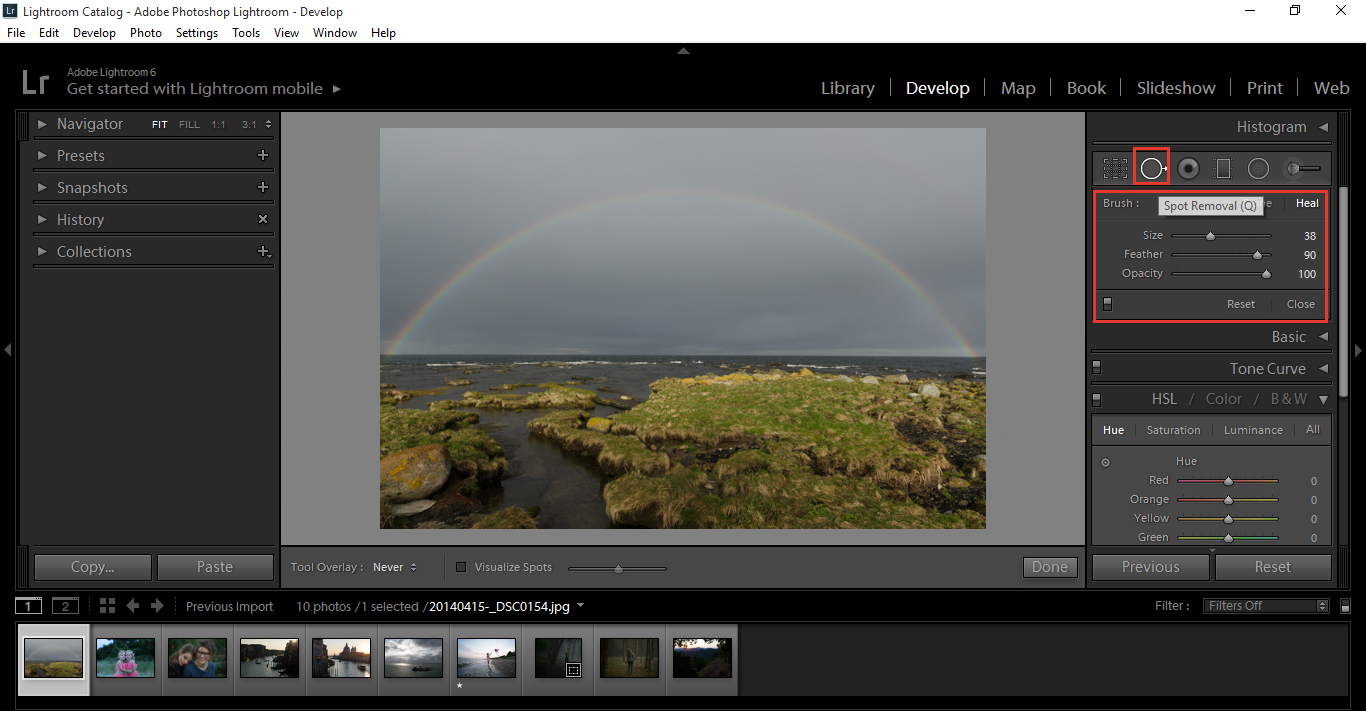
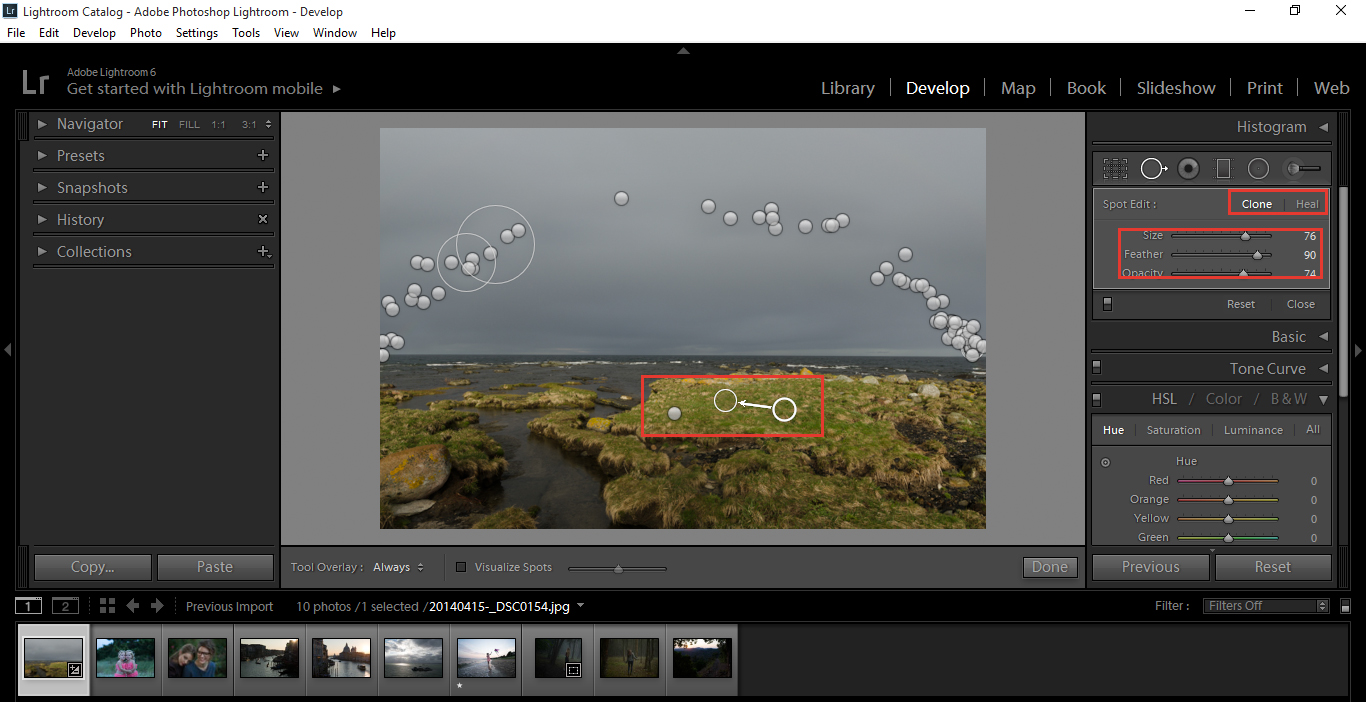
Next up, is the Spot Removal.
We use the Spot Removal Tool to mask or paint over areas we don’t look the way you like. So, say for what ever reason I didn’t like the rainbow in the picture, I could use the Spot Removal Tool to get rid of it,
The Spot Removal Tool will take a sample from another similar area in the image and paint it over the area you do not like.
You can access this by clicking or also pressing the keyboard shortcut (K).
There are two options for this process, Clone and Heal. With Heal, you can simply just paint onto the image. You can also do this with Clone, but with it you can also click on an area, and using the circle indicating where you have clones, you can move it around to sample another area until suitable.
You can re size your Brush as you go along, using the Bracket Keys [ ].
The use of the Feather and Opacity options are as follows. Feather will fade the edge outward so you will not have such a hard edge, so it’s good for Blending as is Lowering your Opacity. Opacity is similar, but more transparent and focused inward.
Next, is the Red Eye Tool.
The name basically says it all. If you have an image with those horrible red eyes, this tool can correct that. So, you just click on this tool and then click on the Red Spot in the Eye. It’s that simple.
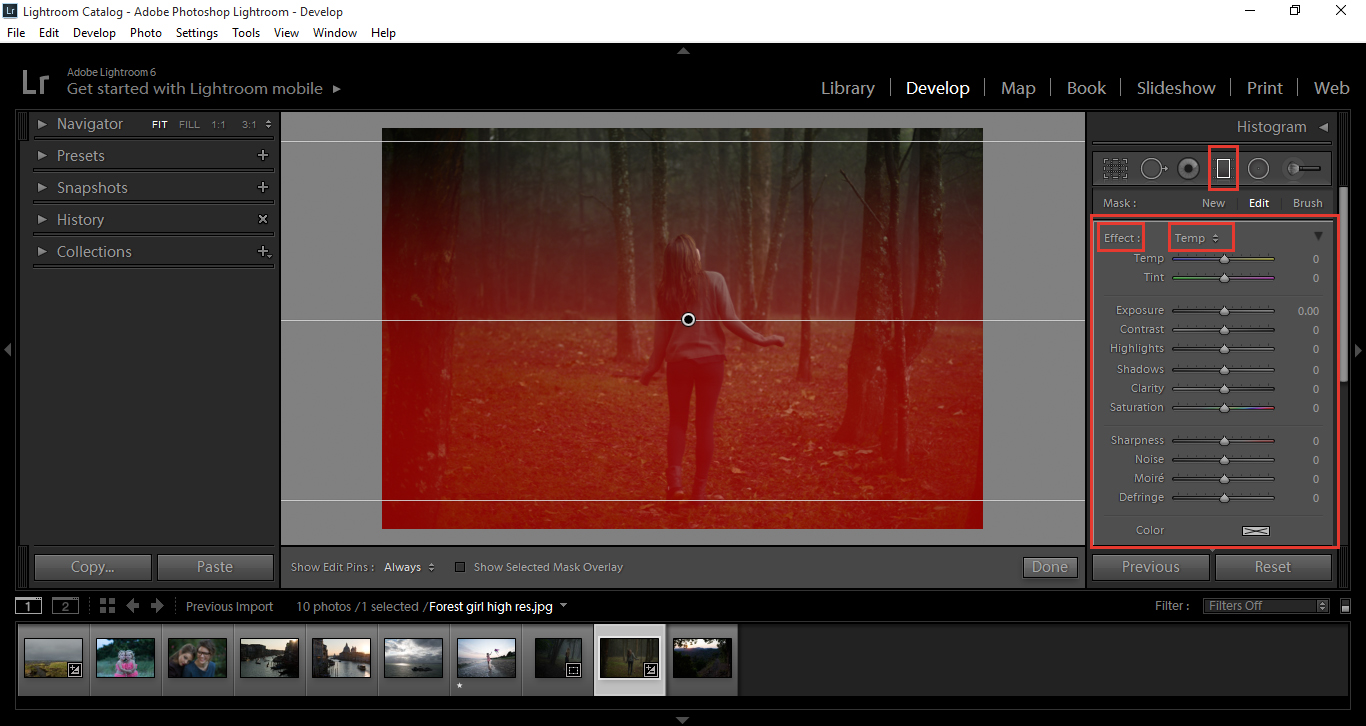
Next, is the Graduated Filter.
The keyboard Shortcut for this tool is (M).
If you need to, by hovering over Effect (Highlighted) and holding Alt you can Reset you settings.
To use this Tool, you just click and drag over the area you wish to affect. You can hold Shift to keep it straight, then you can adjust as normal making it larger, or simply re position it.
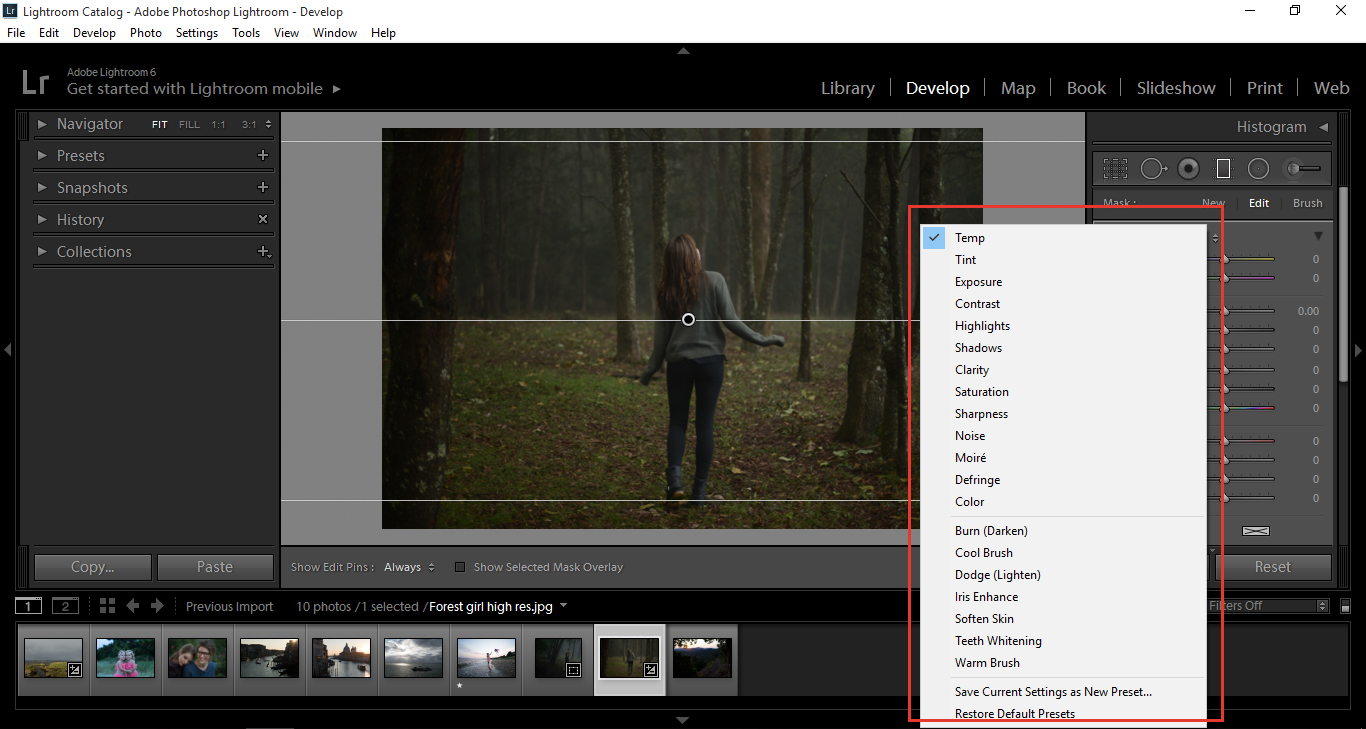
The Sliders on the Left can be played with as you see fit, to change the Filter. You can also click on the Custom box indicated with *Temp on our image above, there is a load of Lightroom Presets in there to choose from. Some are ok, they do the job as they say, but our Preset line goes above and beyond these.
So, moving on.
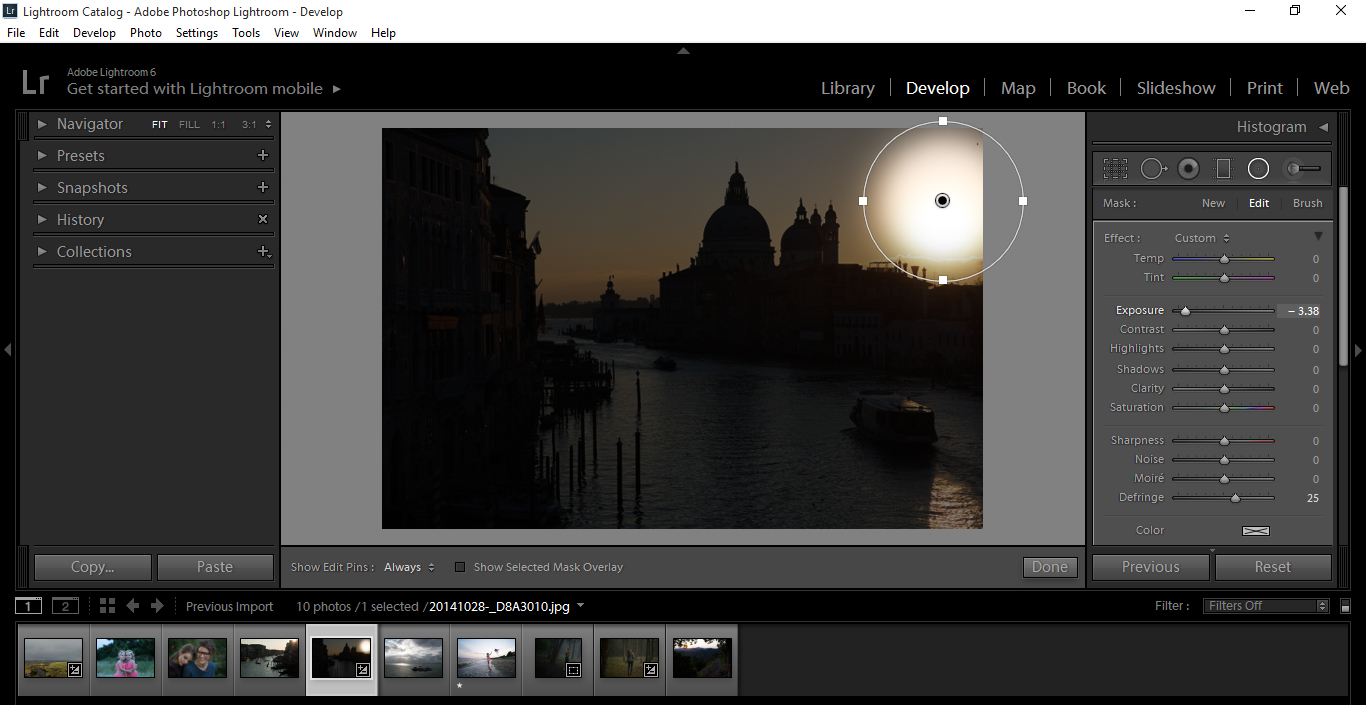
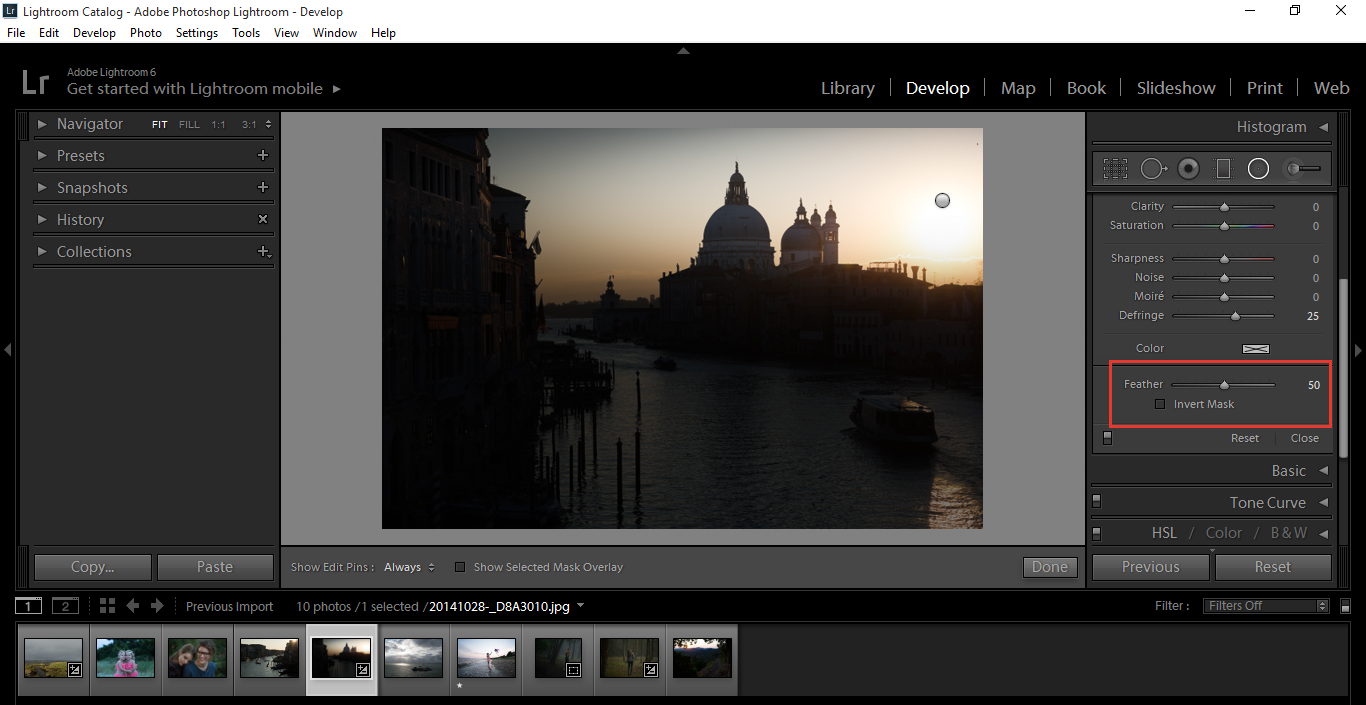
Next, is the Radial Filter. (Shift+M)
Think of this as adding a Spotlight to your image.
This works more or less identically to the Graduated Filter. Like the Graduated Filter, at the bottom of your settings, you can use the Feather Slider and Click on Invert to reverse the effect.
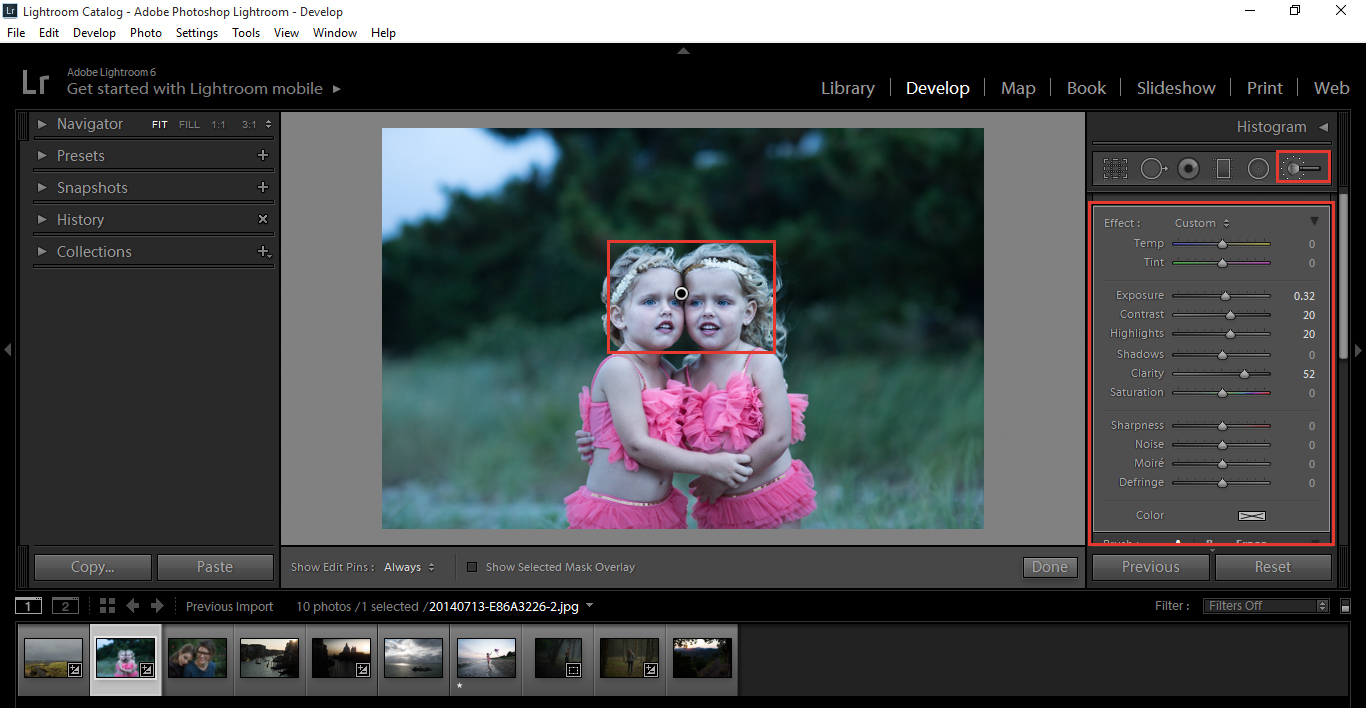
Last but not least is the Brush Tool. Keyboard shortcut (K)
It has the same setting as the previous two Tools, with the same Sliders etc.
And, as before you can use your Bracket Keys ([ ]) to re size.
So, let’s say you wanted to Brighten up certain areas or Saturate, etc. You can use the sliders on the right to do this, so for Brightening I would use my Exposure Slider and paint over the areas that I want changed.
You can also use Lightrooms Custom Presets on the Brush, but our Presets take care of this and more.
Increase or Decrease as you see fit using the Alt key to flip back and forth fixing any mistakes.
That’s just a quick overview of the Tools, to show you a little bit of what they can do, Practice and play around with tools in this Tutorial to really get the most out of them.
Graduated from college in 2002 with a degree in Art & Design, I started exploring my way in Graphic Design and Professional Post Production. Full-time freelancer since 2011.


 Facebook
 Google +
Comments (0)
There are no comments yet.