How to Turn Day into Night Using Adobe Photoshopwww.sleeklens.com
Hey everyone out there in Photoshop land, today we’re going to be looking at how to turn Day into Night Using Photoshop, and at the end we should have a nice looking realistic image.
Don’t forget to check our awsome Photoshop actions here
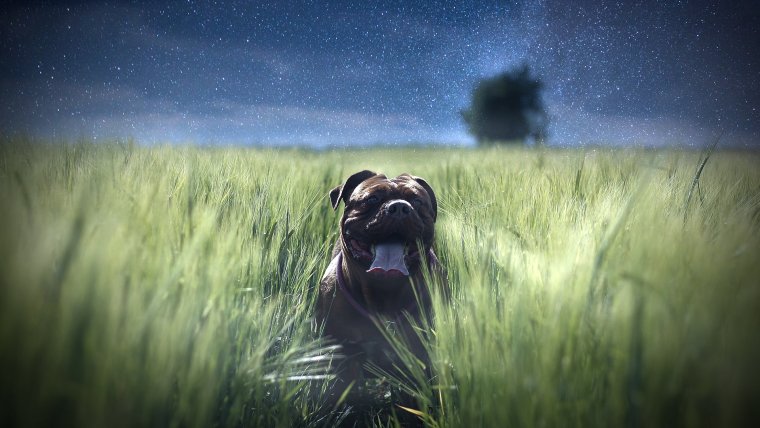
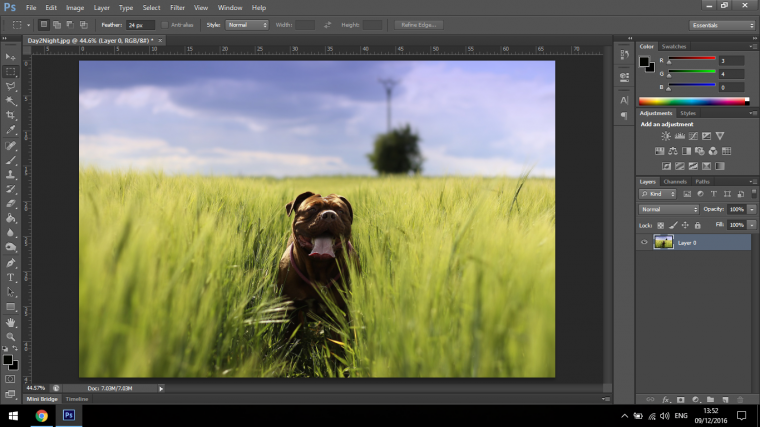
So for this tutorial I want to go with a funny image of a dog running in a field with the tongue hanging out that I found on pixabay, pretty funny.
This is where I get all my images for free, you can too so pop over and have a look and join in with this tutorial and work along with me, if you know of anymore please feel free to drop them in the comments below.
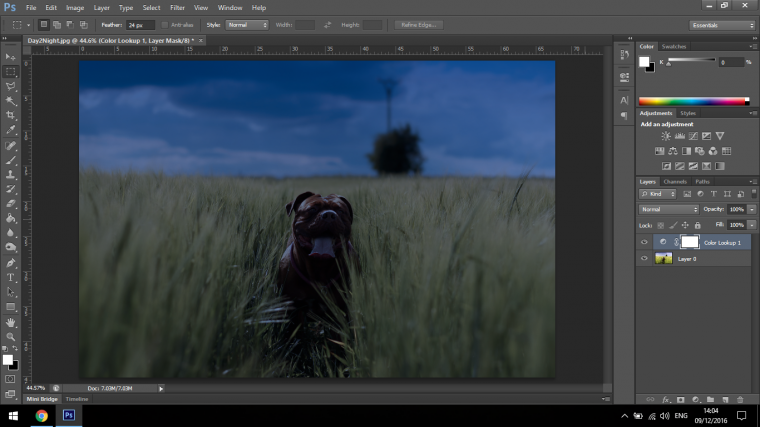
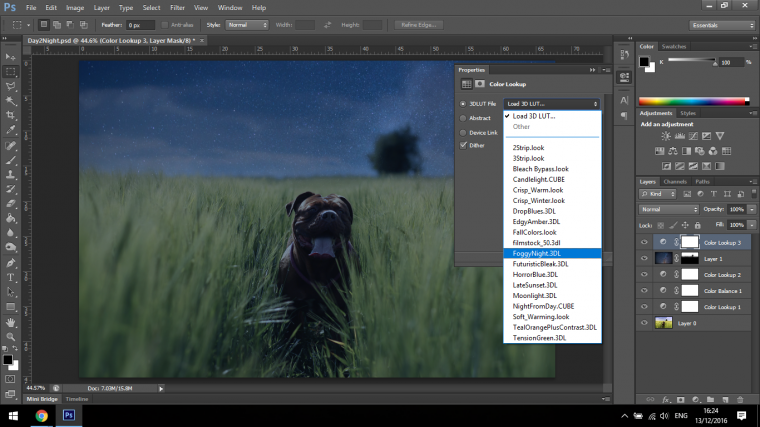
First thing you will need to do is click on Colour Lookup in the Adjustment Panel, if you do not see it you will be able to find it under the Window Option, it will be second down ‘Adjustments’
Under Colour look up it is on the second row at the last, it looks like a little grid, if you are having trouble pin pointing it, just hover over the icons and the name will pop up.
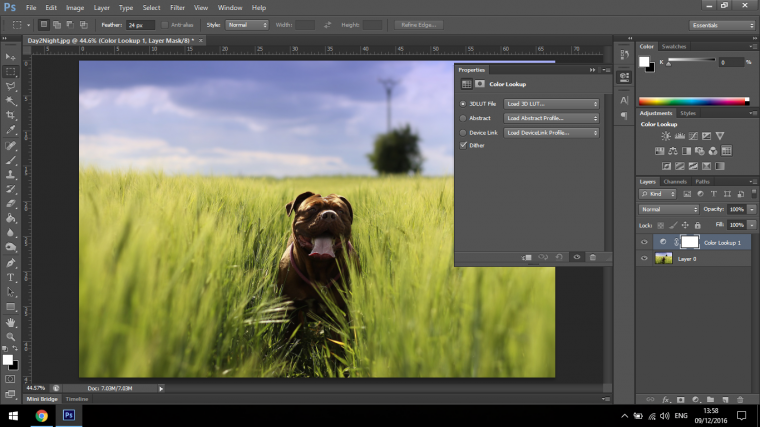
Then click on the drop down box and choose NightfromDay.CUBE as indicated in the example image below.
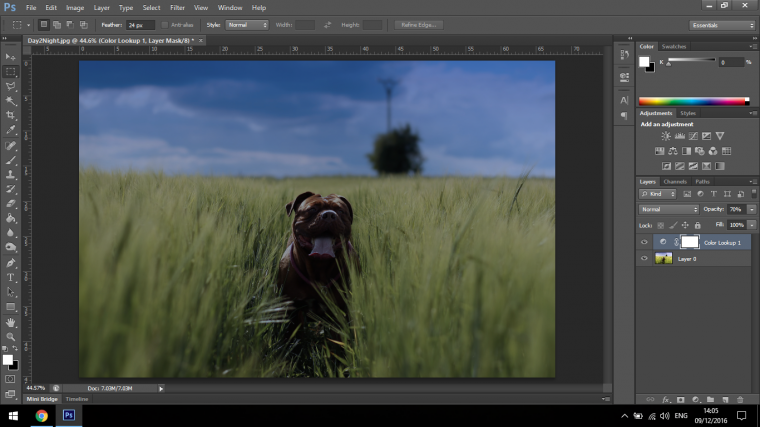
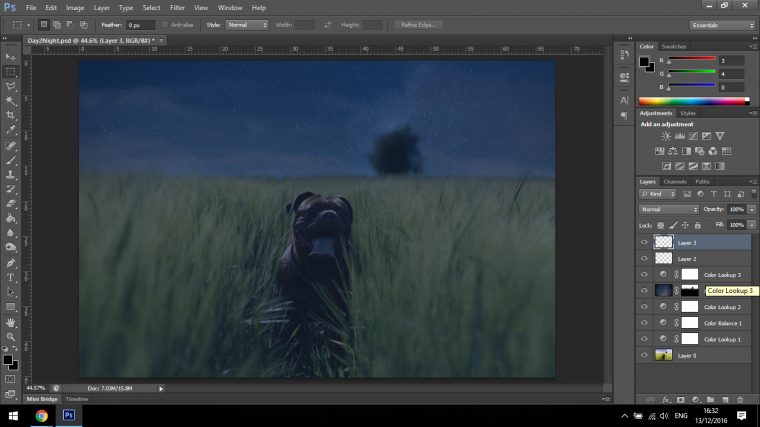
Next lower the opacity of that new adjustment layer to around 70% give or take, just to what looks good to you or similar to mine.
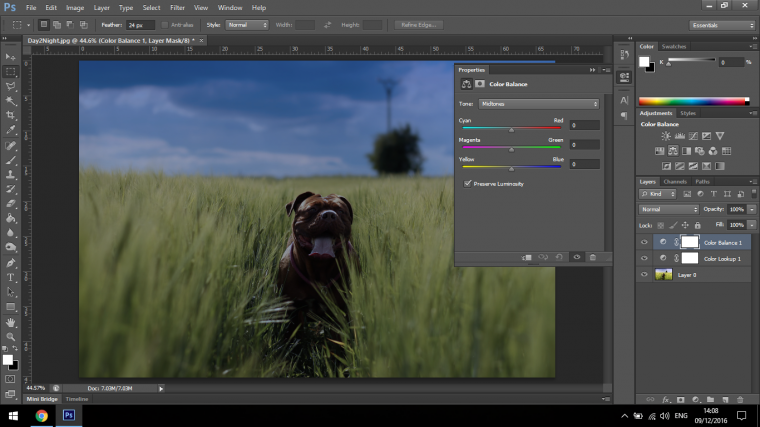
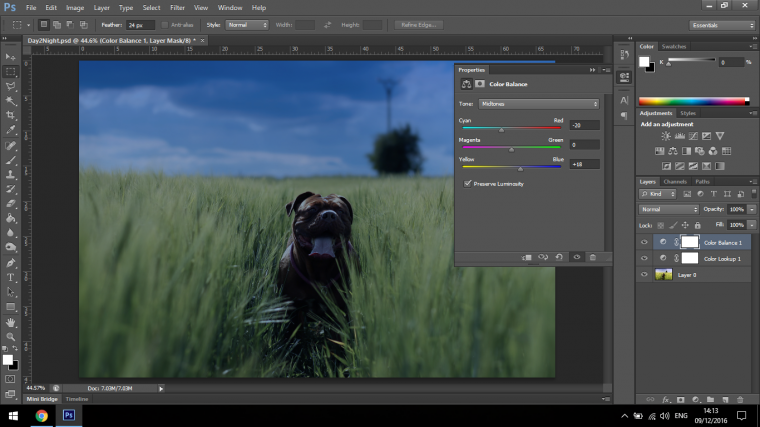
Ok so in the same place you got the Colour Lookup you will find Colour Balance, it’s the second on the second row that looks like a set of scales.
So once you have found that and it is open like the image above you will see three slider bars, the top one is Cyan, move that to about minus 15/20.
Leave the middle one, we don’t need it as we are dealing with Blues here.
Then move the bottom one to around the same as the Cyan on in stead of a minus move it toward the Blue which is a plus (or to the right)
Now we’re going to add another Colour Lookup (remember NightfromDay.CUBE) well this time we’ll go for FoggyNight.3DL and drop that layers opacity to about 20%.
Also just a side note, feel free to explore these Colour Lookup filters and choose which ever one you think look s best, there is a few good ones in there, they’re not as developed and our Sleeklens Presets but for this they do the job very nicely.
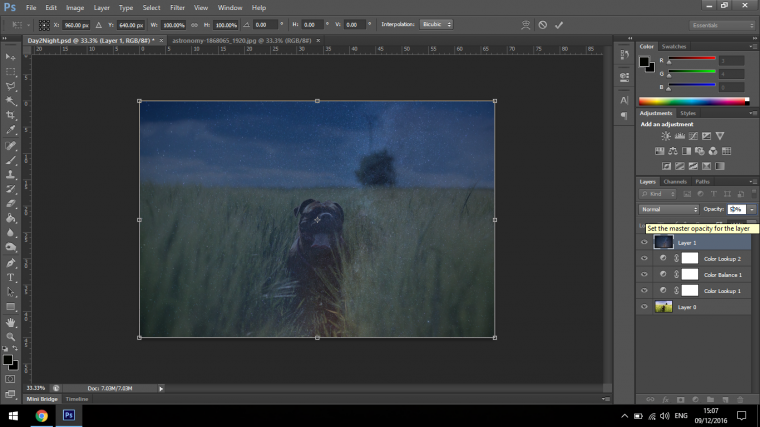
Now we can start to add in stars a night scenes, again I got mine from Pixabay.
Once I opened it up in Photoshop I selected the image, copied and pasted it on to my file that we are currently working with.
Note that you may need to adjust the size of your image that you just pasted in it may be way bigger than our current Night and Day image, you can do this by choosing Edit Free Transform (Ctrl T).
Once you are at this point then bring the opacity of the image down so you can see both images, so round 50% say.
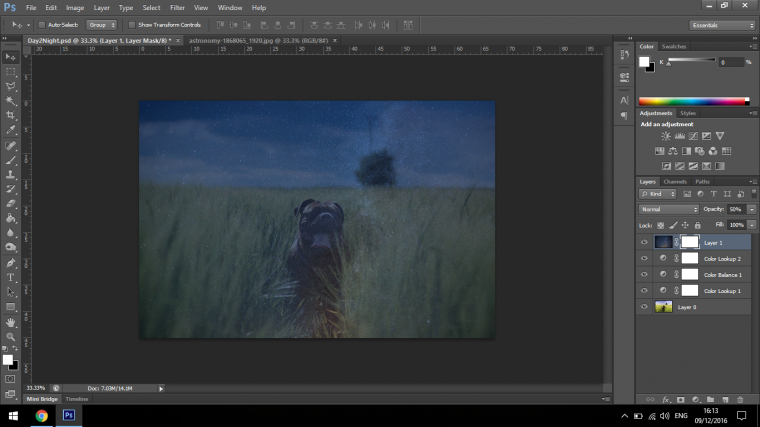
Now up we have to create a Mask, at the bottom right hand side on the image above us you will see (where the time is displayed) 7 Icons, you will recognize them because one is FX. (The second one in)
The one I want you to click is the next one over that looks like a dark circle inside a box.
When you click on that you will notice on your Stars image layer a white box will appear next to it.
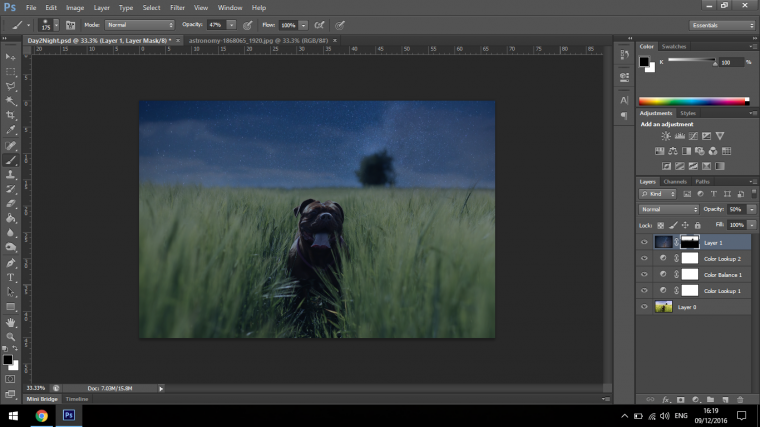
This will allow you when using the Paint Brush using Black to non destructively erase out the Stars that you see in the Grass, Dog and Tree.
If you make a mistake you will be able to bring the Stars back if you switch to the opposite, meaning use White.
Take a little time with this and don’t rush it because some images will be a lot harder than others, so it really depends on what you are using as your initial image.
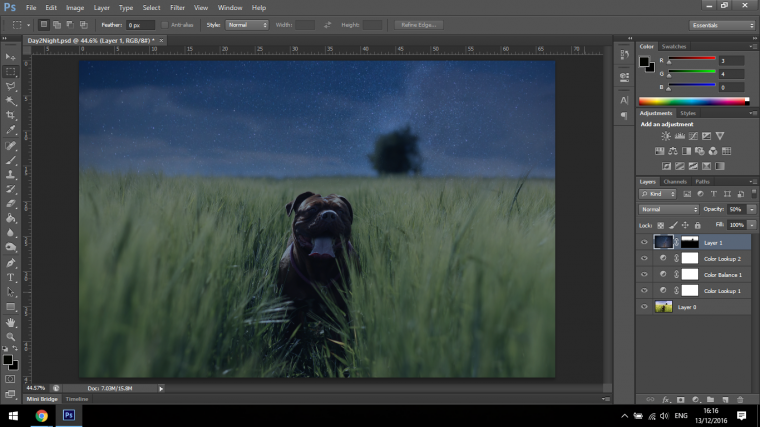
Let’s take things a little further…let’s see what else we can do to improve the look of our overall image.
Your image should be looking pretty similar to the image I have created above.
If you want to you can play around with your Blend Modes and see if you can any better effects, I just kept mine at Normal, but you don’t have to if you find something better. (you can see it in the Layers box beside Opacity, if you click on that lots of options will appear)
The next thing we’re going to do is to add another colour look up.
Remember this is the option in the Adjustments area above my Layers, looks like a grid, second row and last on the right 🙂
I’m sure you’ll have remembered.
The one that I’m choosing to add is the Foggy Night Option.
Then you can work with the opacity, I’m going to drop it down to about 50%, I may change it but I’ll start there at least, I like the blue casting so I’ll remain open, you can do the same, if it looks good to you then keep it, these are adjustable layers we are working with, we can always get back and change them at a later time if we need to.
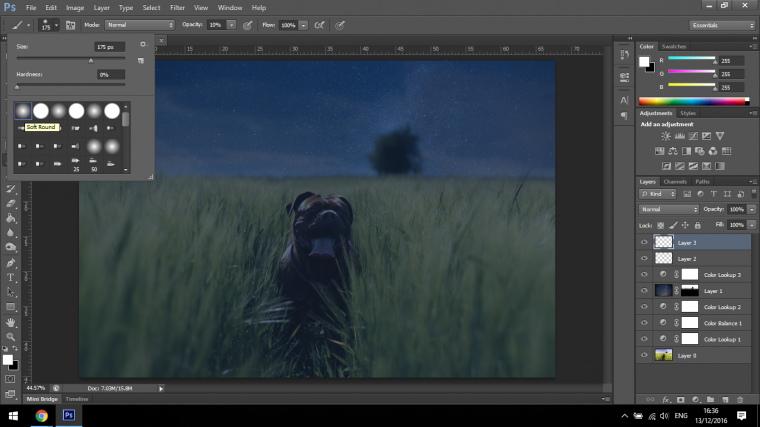
Next create two new layers that are on top of everything else as seen below.
In these layers (you are going to take the top one first) then press B for Brush, make sure your Brush is on the soft Brush option and that you have white selected, once you have this ready then drop the opacity of the Brush to about 10%.
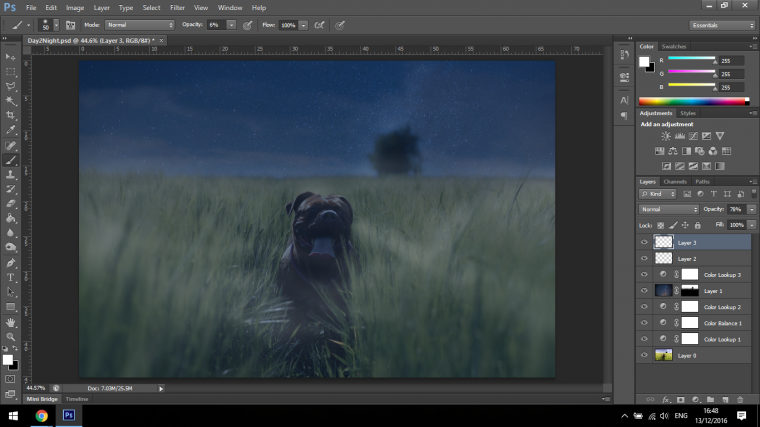
Note that I may even have to drop the layer opacity and add a little Gaussian Blur (Which can be found in Filter – Blur) the effect that we are trying to achieve here is a little misty fog.
It will be a very subtle effect on my screen, but you can look for Photoshop Brushes that simulate fog effects, so if you’d like feel free to have a look on google and see what you can find out there.
Now it’ time we added a little bit of Vignetting to the image, we actually have these built into a lot of our Presets, this is how it’s done in it’s basic form.
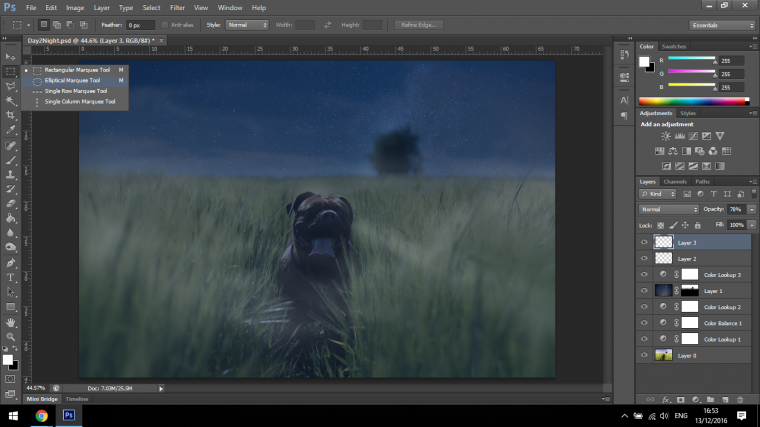
Grab yourself the Elliptical Marque Selection Tool.
The create a selection that is similar to mine, and don’t worry it might take you a few tries to get it just how you want it.
Best way to do it is to drag from the top left hand corner, then use the arrow keys on you keyboard to adjust.
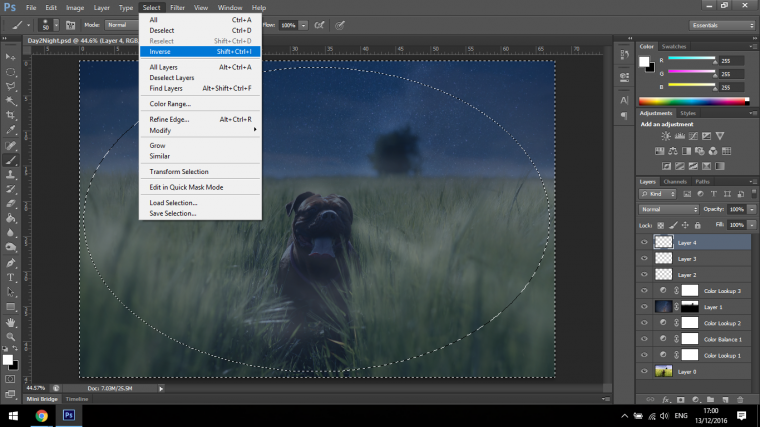
Next create a new layer again, and inverse the selection by going to Select – Inverse.
Now with a Paint Brush, just fill in the area on the outside of the Vignetting, once this is completely filled in you can then add a Gaussian Blur and drop the opacity of that layer if you have to.
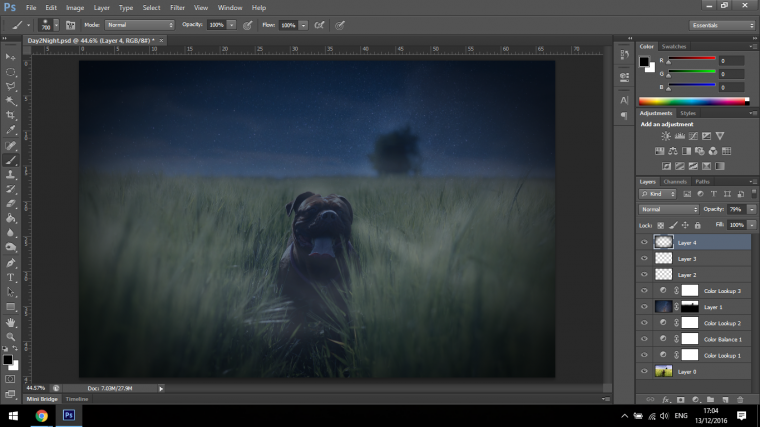
Right so at this stage you may have to go back into your Adjustment layers and mess around with them for a little while, dropping opacity here and there and so forth.
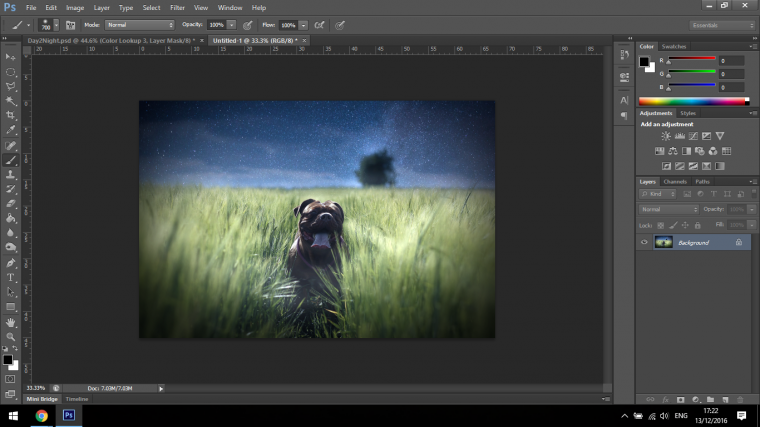
Ok so I took a few minutes and I ended up with this piece below, that I’m pretty happy with.
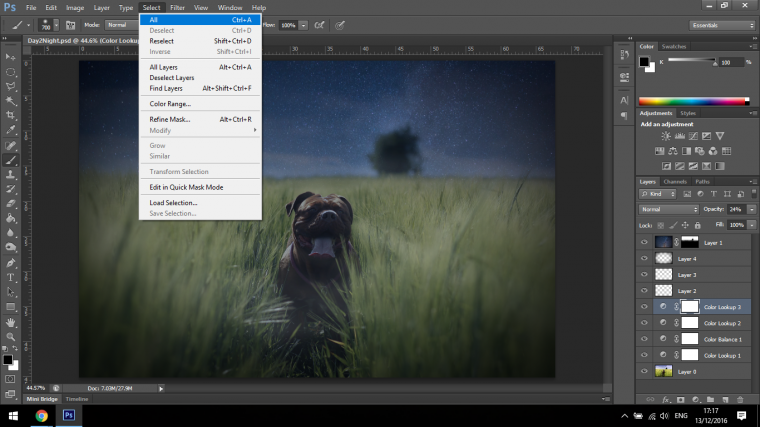
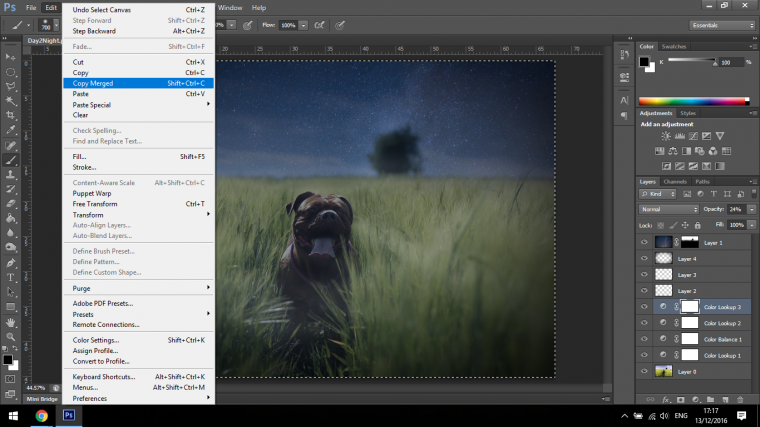
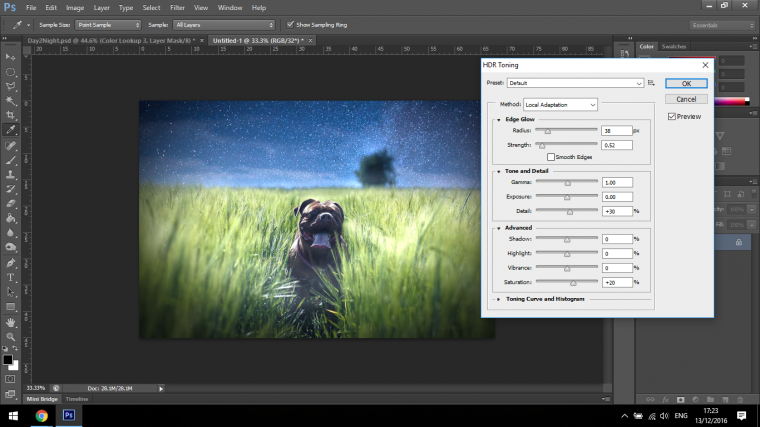
Ok so one last thing we’ll do to really bring this to life, first I want you to select all the copy merged.
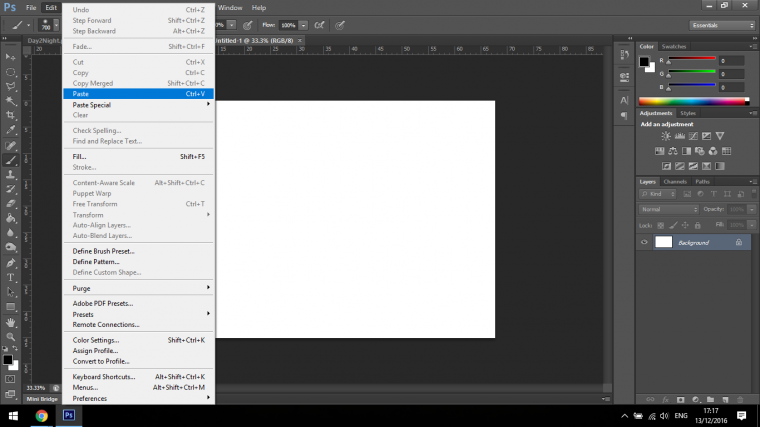
Create a new document and paste it in there.
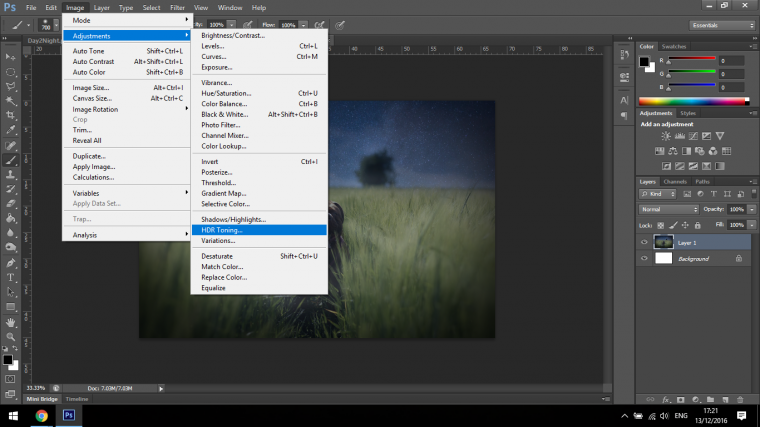
Then the last thing to do it to go to Image – Adjustments – HDR Toning.
You will then see a few option that you can have a look at, play around with the Sliders, I will have to come back to the subject of HDR Toning at a later as it’s a whole different topic.
Graduated from college in 2002 with a degree in Art & Design, I started exploring my way in Graphic Design and Professional Post Production. Full-time freelancer since 2011.


 Facebook
 Google +
Comments (0)
There are no comments yet.