How to Repair Old Photographs using Adobe Photoshopwww.sleeklens.com
Hi everyone,
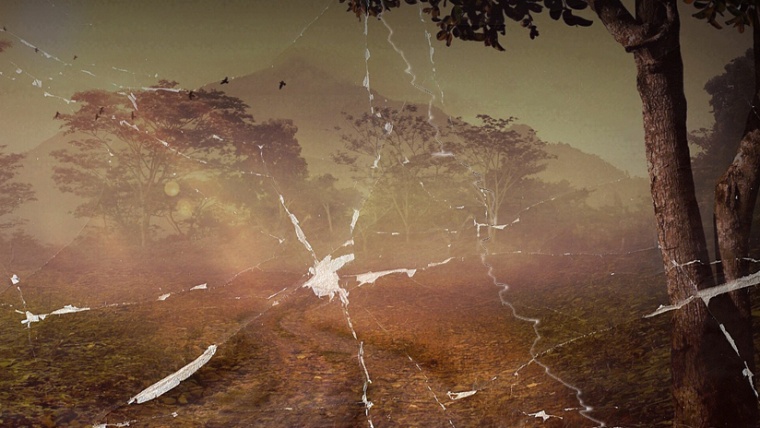
Today I have a cool little project for you all to have a look at. This tutorial can be very useful if you have a family member’s birthday coming up, and you have any old family photos that are in bad shape from laying around in the attic or in some box in a corner for years.
It’s an “outside the box” gift, and a nice personal one too.
So we’ll be looking at how to fix those and bring them back to their original state using the power of Photoshop. We’ll be checking out how to clean them up by reattaching the ripped parts, rebuilding the broken areas and correcting the colours.
This will be a three part project as there is a lot to this, and we’ll be going through a good amount of what some would consider the cream of the most useful and most used Photoshop tools.
So with that all said, lets get going.
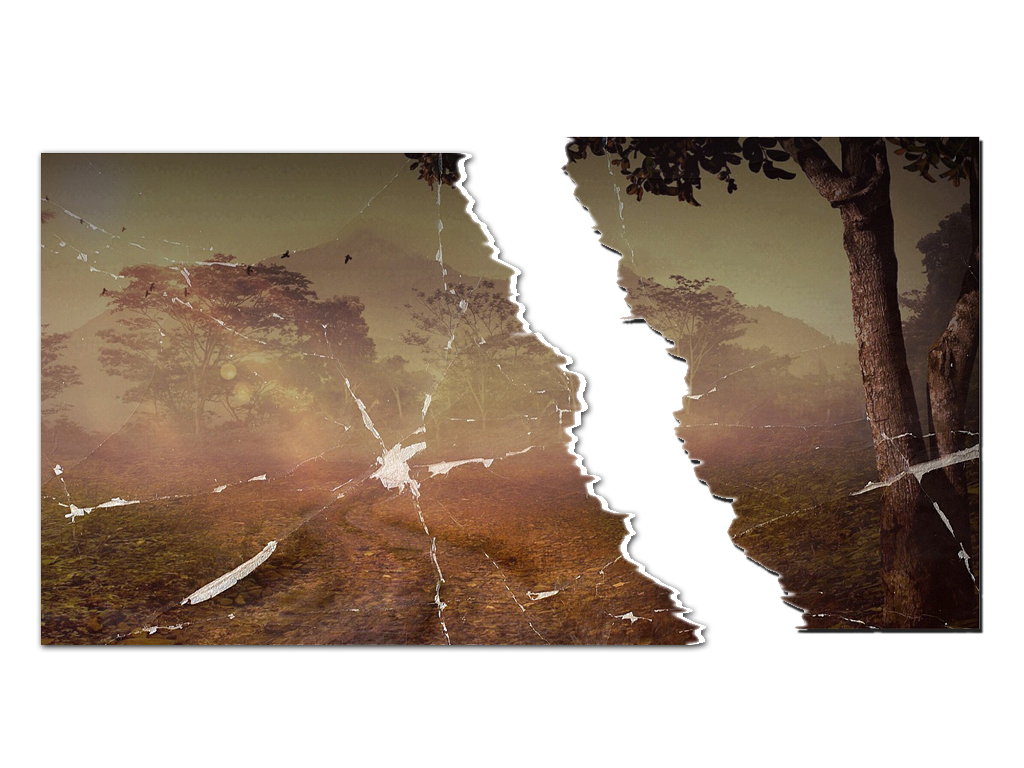
Once you have your photo chosen, what you’ll want to do is get a good copy of it scanned. If you don’t have a scanner, you can get it scanned at any print shop or library. You will want to make sure to get as good of a copy as possible, the more details in there the better, as it will really help with the overall finished product when you go to get it printed out.
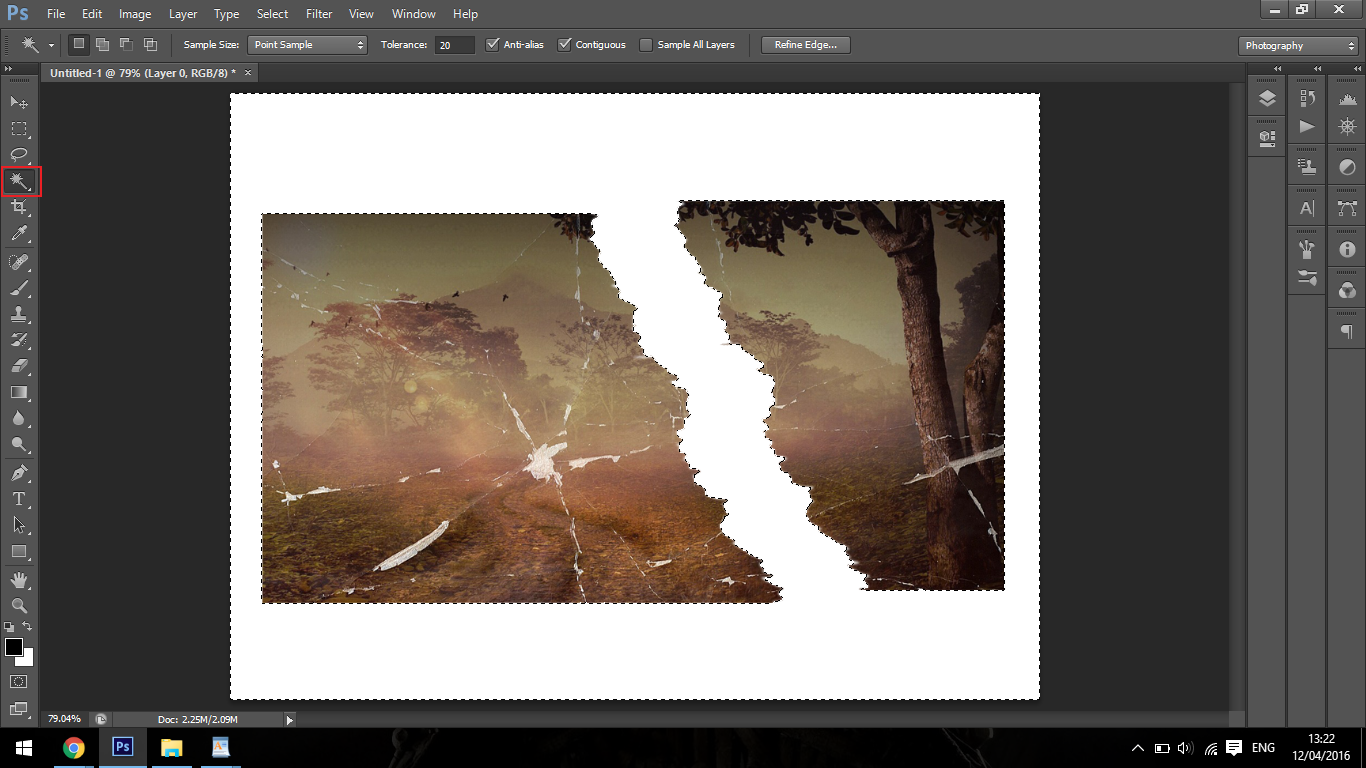
When getting your scans done, it’s also a good idea to add a few pieces of white paper on top of the photograph parts. The reason for this is, once you have your photograph scan loaded into your computer with a white back ground it will be really easy to use the magic wand tool (shown below) to cut the photograph out into it’s individual pieces for you to join them together, which is the first piece of the puzzle.
To use the magic wand tool, all you have to do after selecting the tool, is to click on the white back ground and then go to Select – Inverse
Once you have done this, you can then refine the edge by going to Select – Refine Edge.
You can then use the Shift edge slider to make the selection neater.
Once you have your selection complete, go to edit copy, then edit paste and that will create a new layer containing your selected pieces, while keeping the original scan below intact in case you need it.
At this point it’s probably a good idea to save your file. You can save it as a PSD file, which means Photoshop document. This means that you’ll have all your layers ready to be edited at any time, so you’re saving the work you are doing right now.
I do this after every major action I take, and I would advise you to get into the habit of doing something similar. I can’t tell you the amount of times that I didn’t do this, only to have my laptop to freeze or crash, losing an hour or so of work! So, for that reason I strongly suggest that this is one habit you’ll want to pick up for sure.
If you learn only one thing from my tutorials, That’s the one which you will want to remember.
So anyway… back to our tutorial.
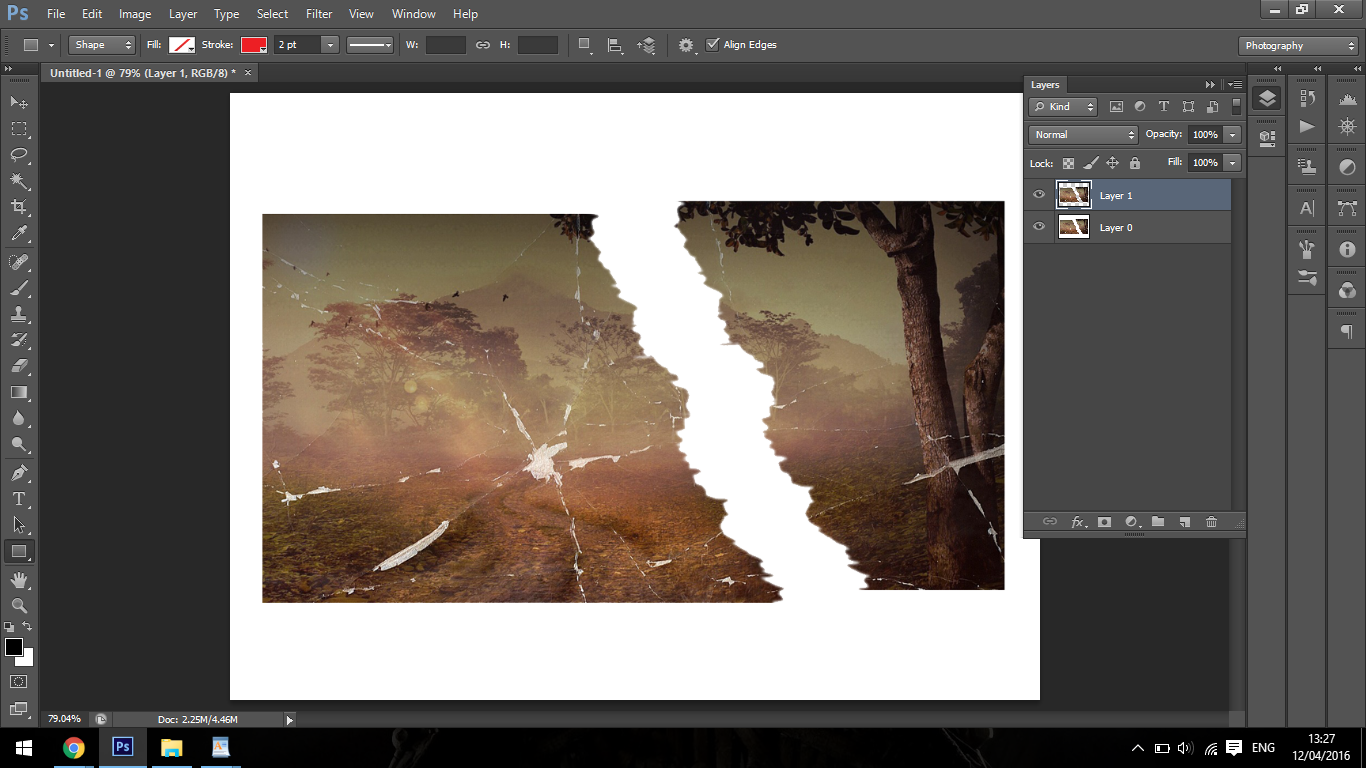
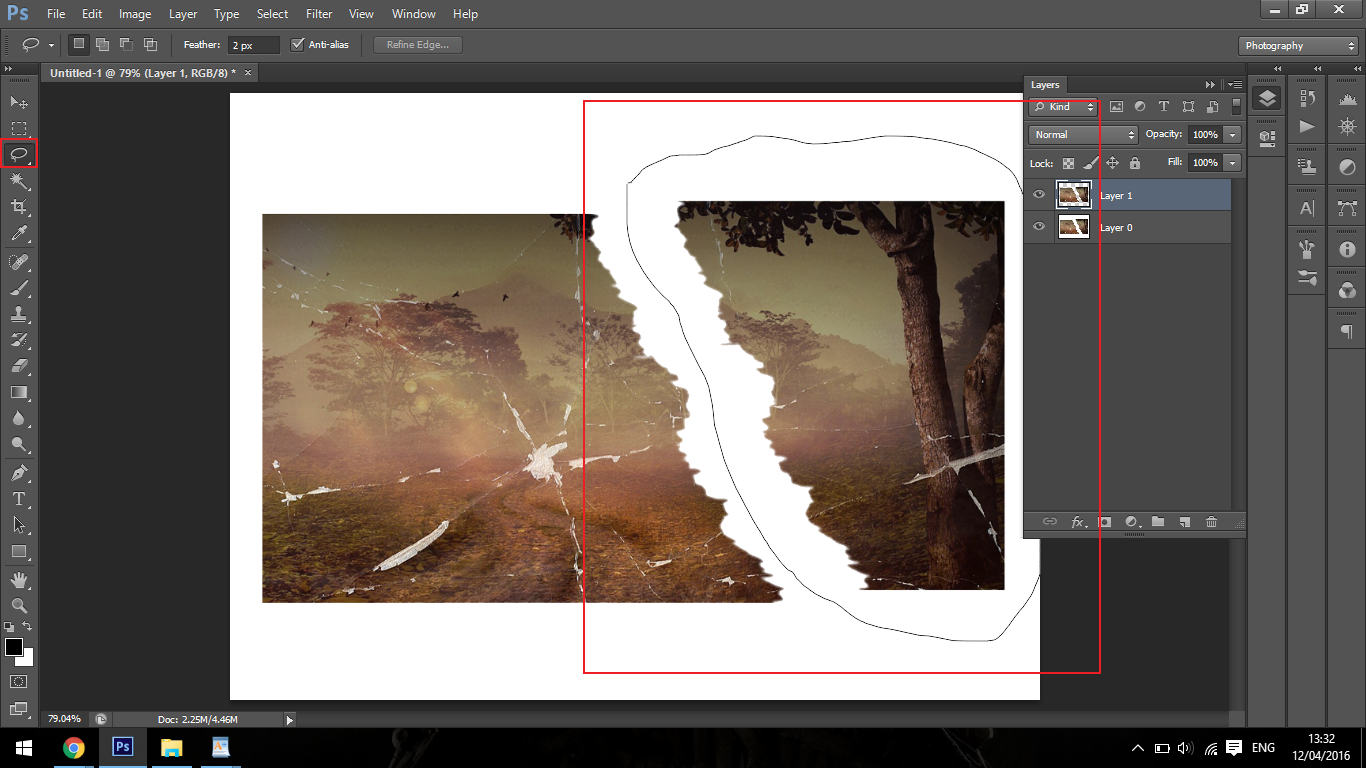
What you’ll want to do now is to cut each individual piece and add them to their own separate layer.
Grab your lasso tool (shown below), draw a selection around the piece, then go to edit – cut and then edit paste.
Do this for all of your pieces.
Using your move tool (keyboard shortcut V) to select that you can now click on the layer and move the individual piece on that layer. Now, just like you would with your hands on a physical photograph, try to piece the photo together matching up the lines as best you can to create a whole image.
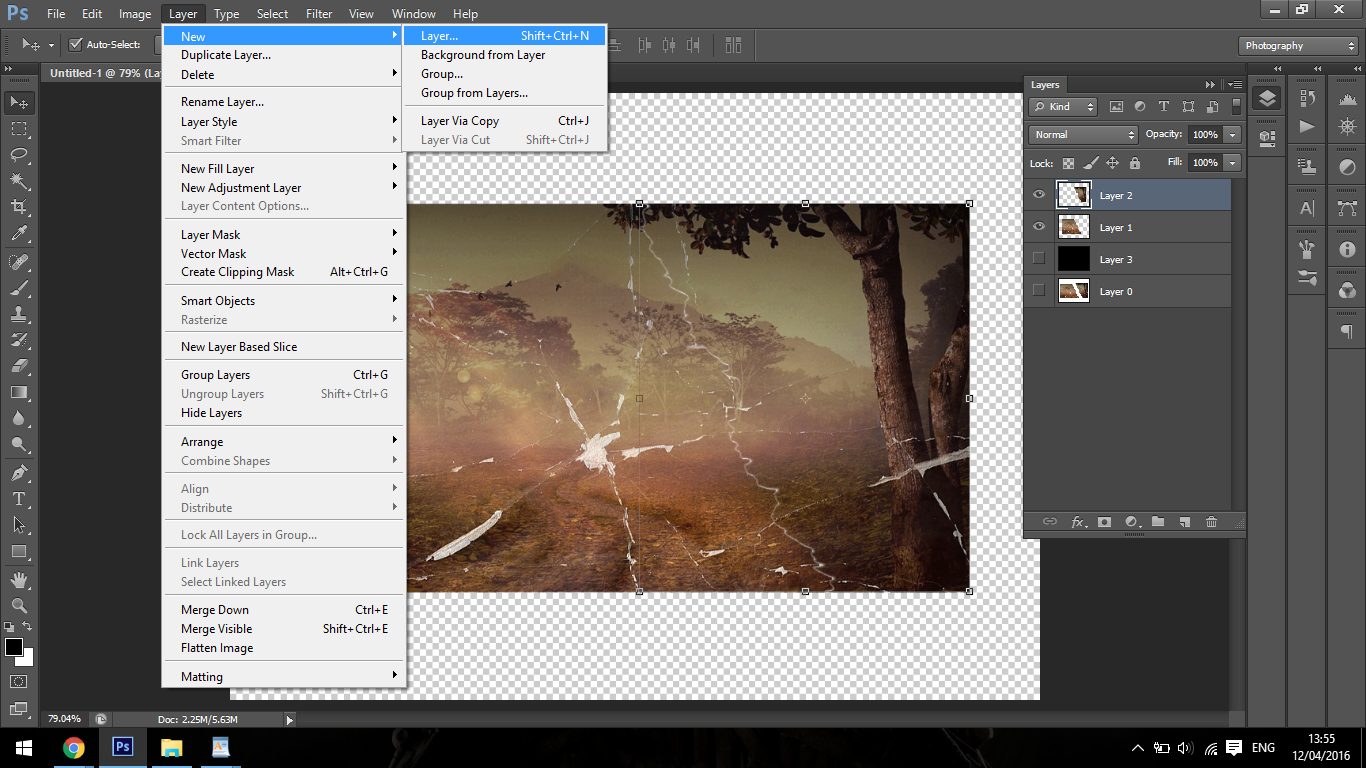
One more thing that I want to add at this point is, make sure that the top tear is on top, that’s important. You can do this by juggling the layers around by just clicking and dragging the stacking order, it’s super simple.
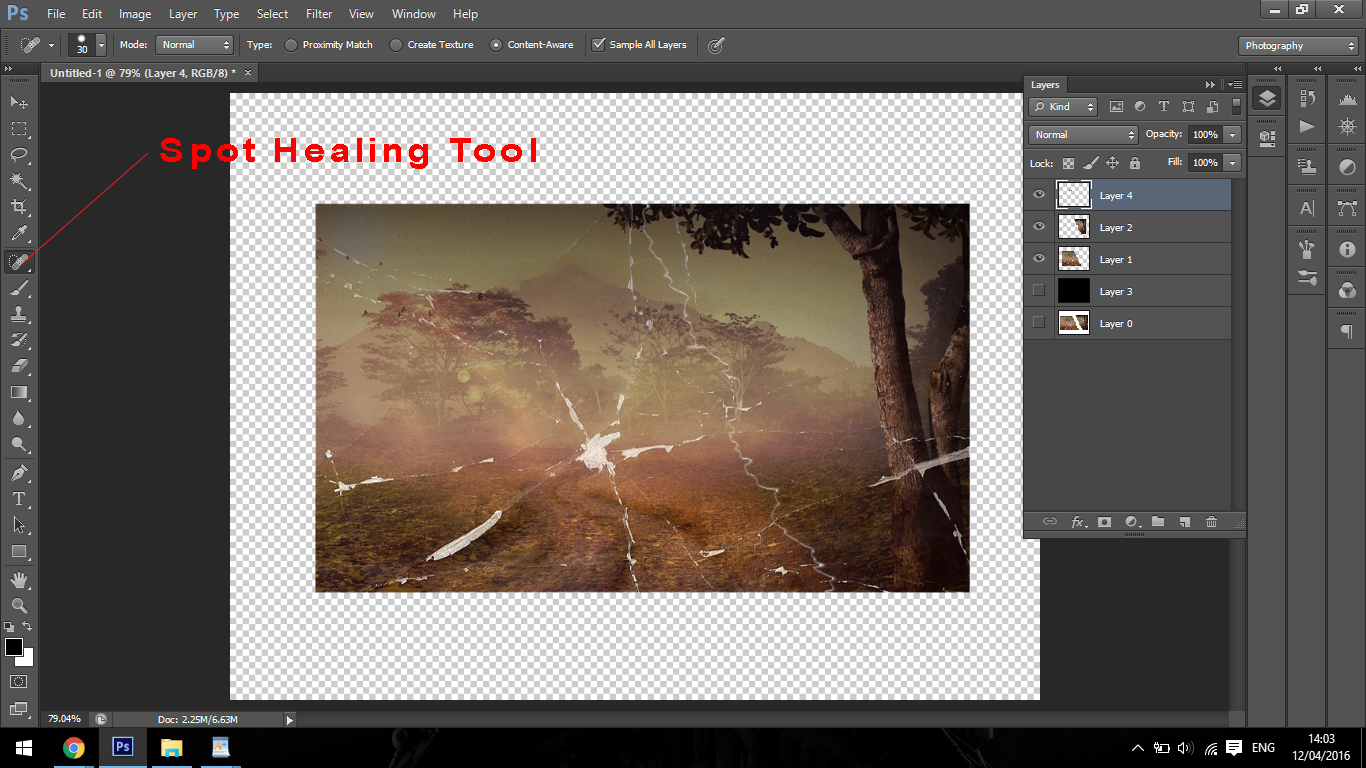
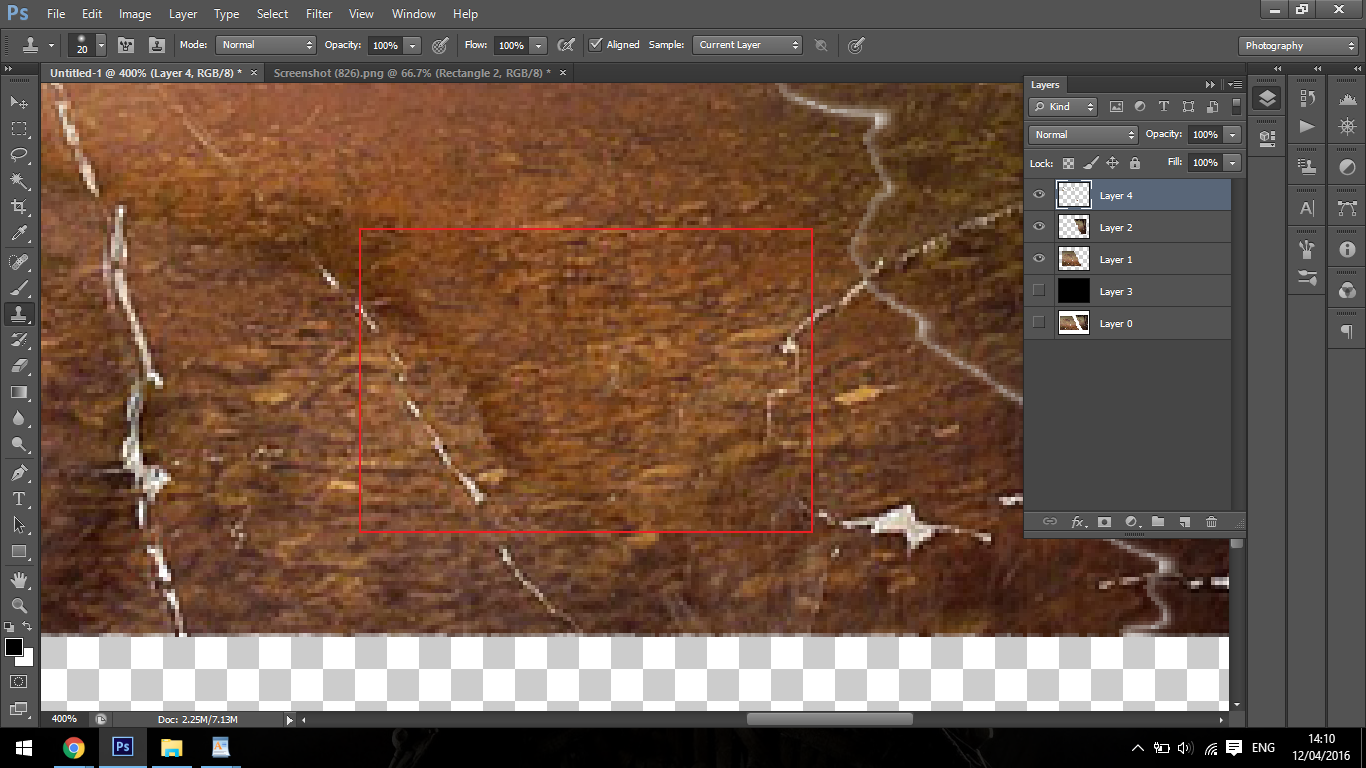
Then, create a new layer (Shown below).
Now click on content aware and sample all layers.
This means that you will be working non-destructively and the layers below will not be touched. All of the changes will only appear on our new layer here.
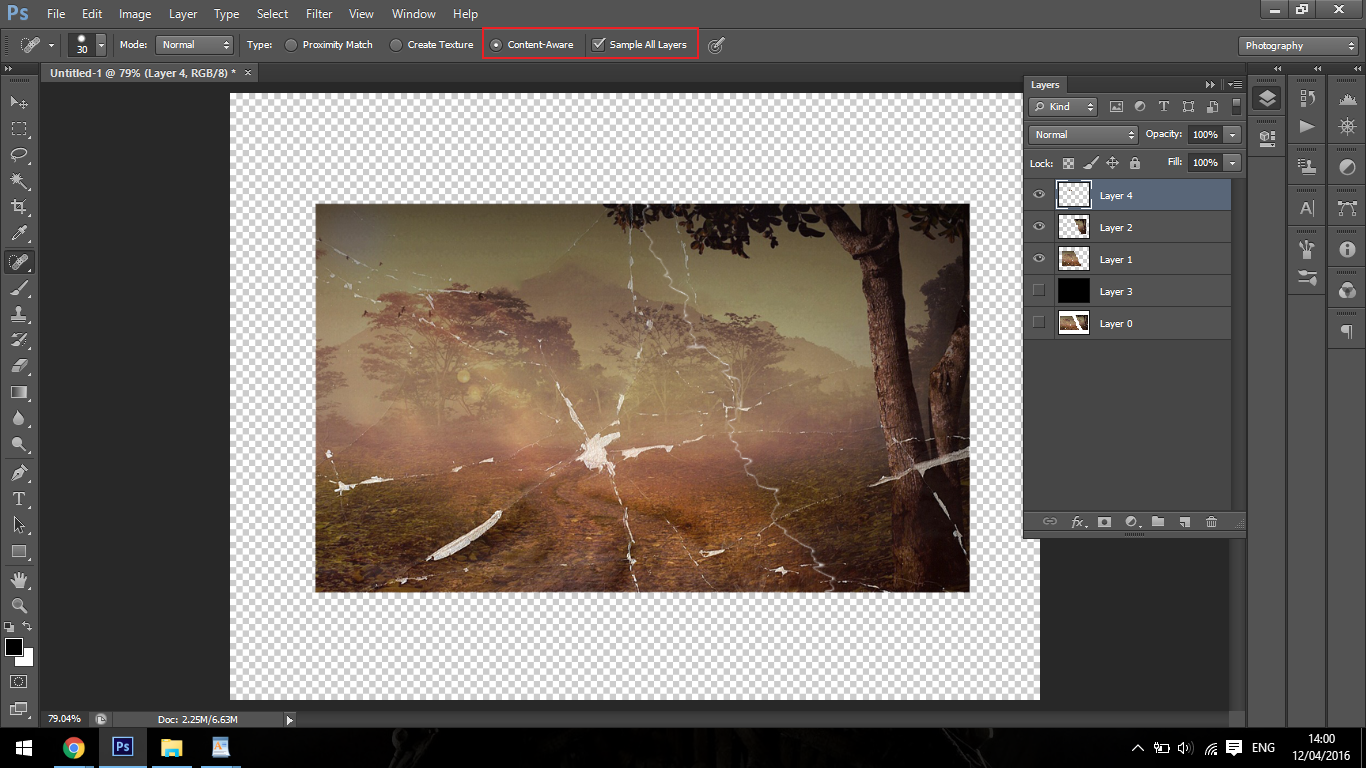
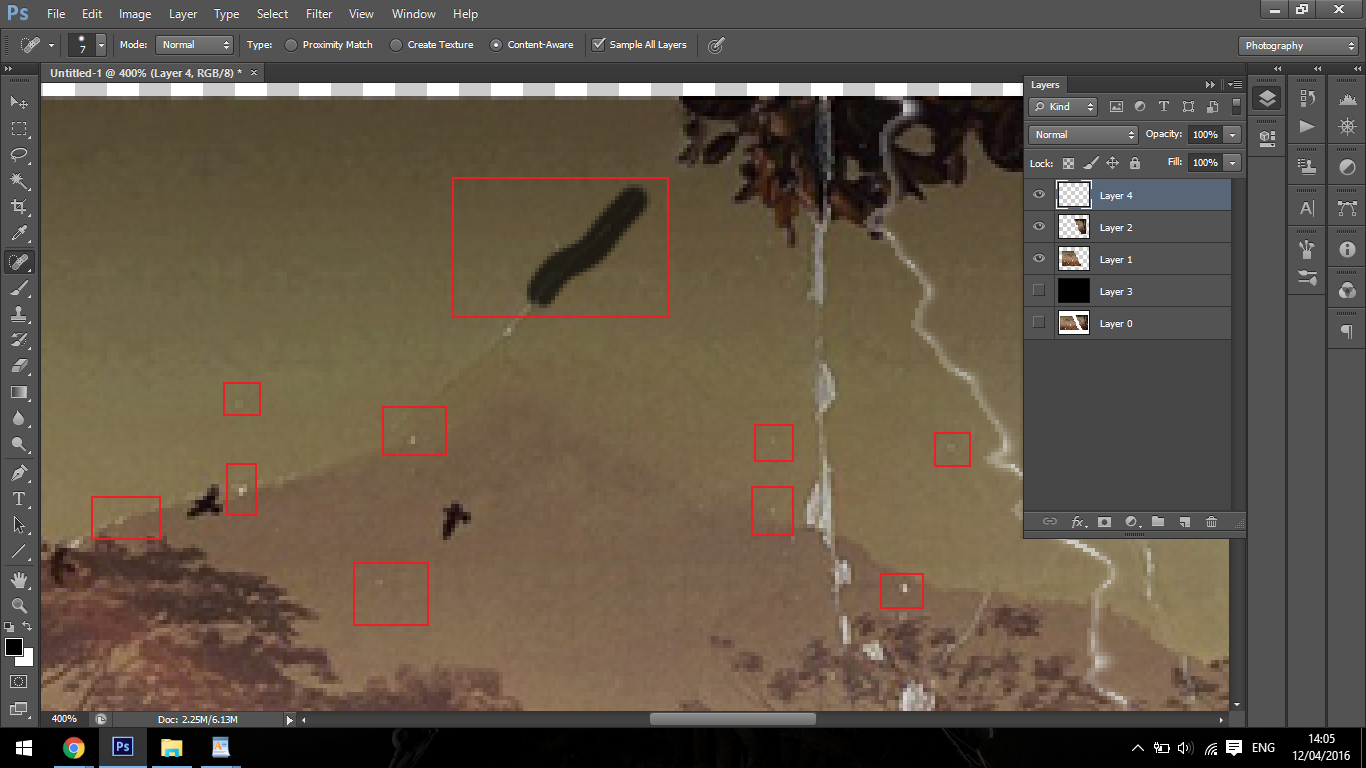
So you’ll want to look for some of the less complex areas, like the tool is called, spot healing, so we’re looking for small blotches and blemishes such as the areas detailed below. Try to get rid of as many of these types of blemishes that you can with your first pass, making things easier for the other tools that we’ll be using later.
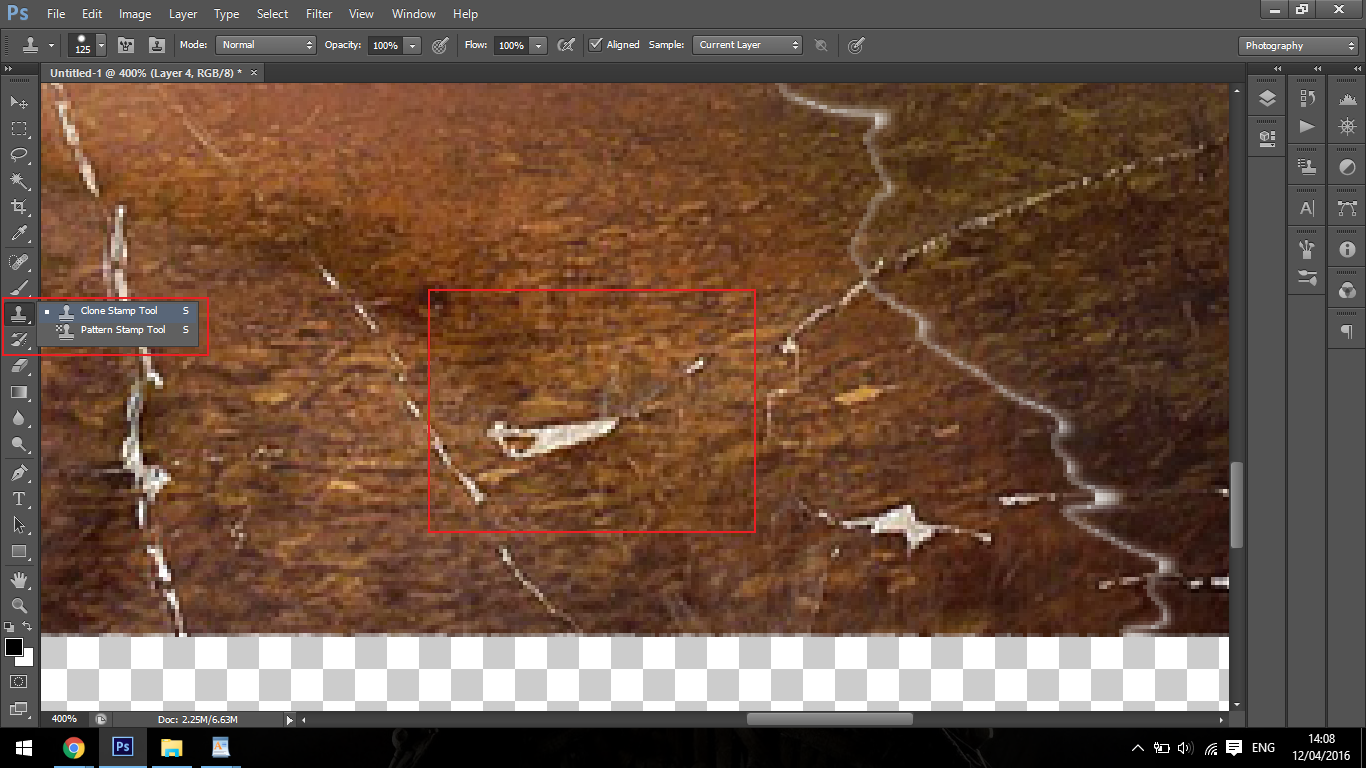
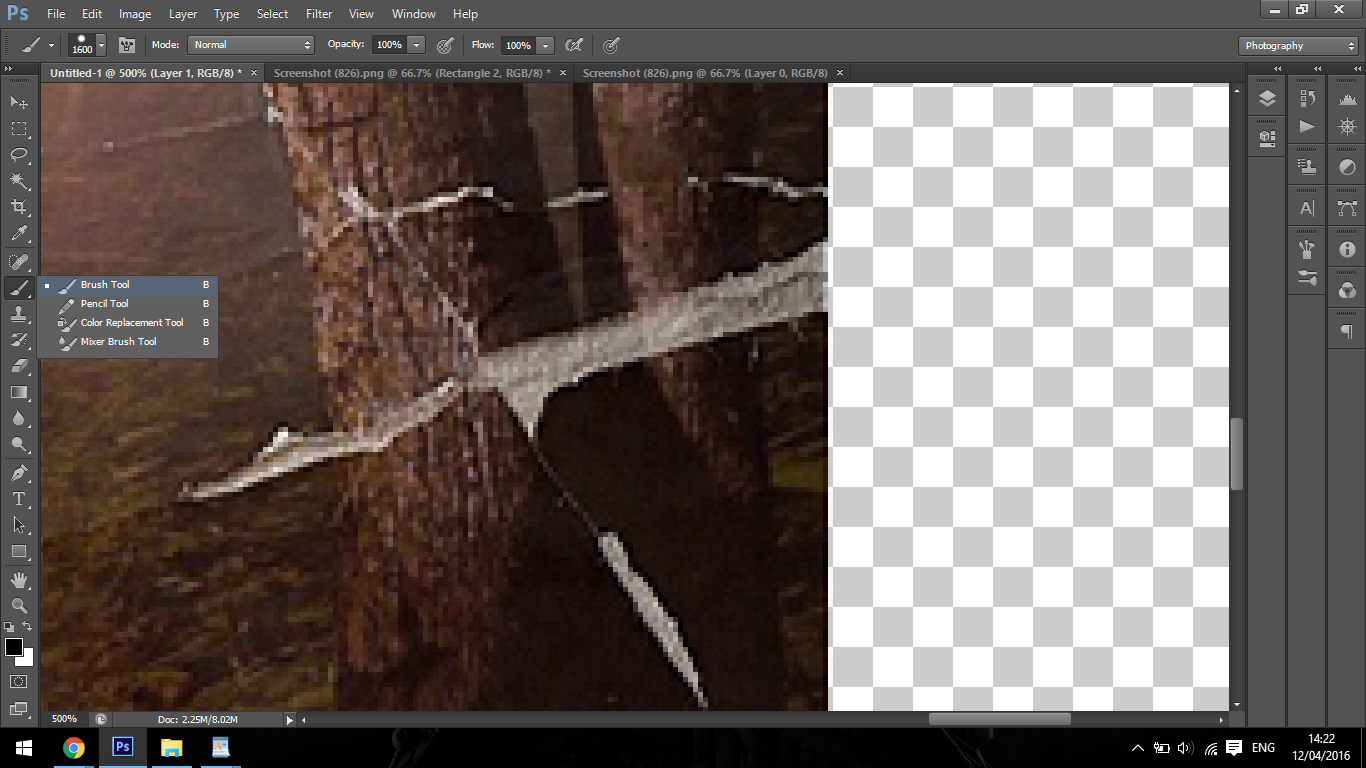
Once you have made a few pass overs with the spot healing tool, getting rid of as many of those little spots as you can, the next tool that we’ll be using is the Clone Stamp Tool (Keyboard shortcut S)
Work with the Clone stamp tool on a new layer, just like we did with the spot healing tool. It works similar to your spot healing tool, the different between the two is that the spot healing tool is more automated and the computer decides which area that is to be sampled. With the clone stamp tool you’ll be able to decide on the area that’s going to be cloned, allowing you to paint that on as if you were just using the Paint Brush Tool.
Add a new layer for each new tool and switch between.
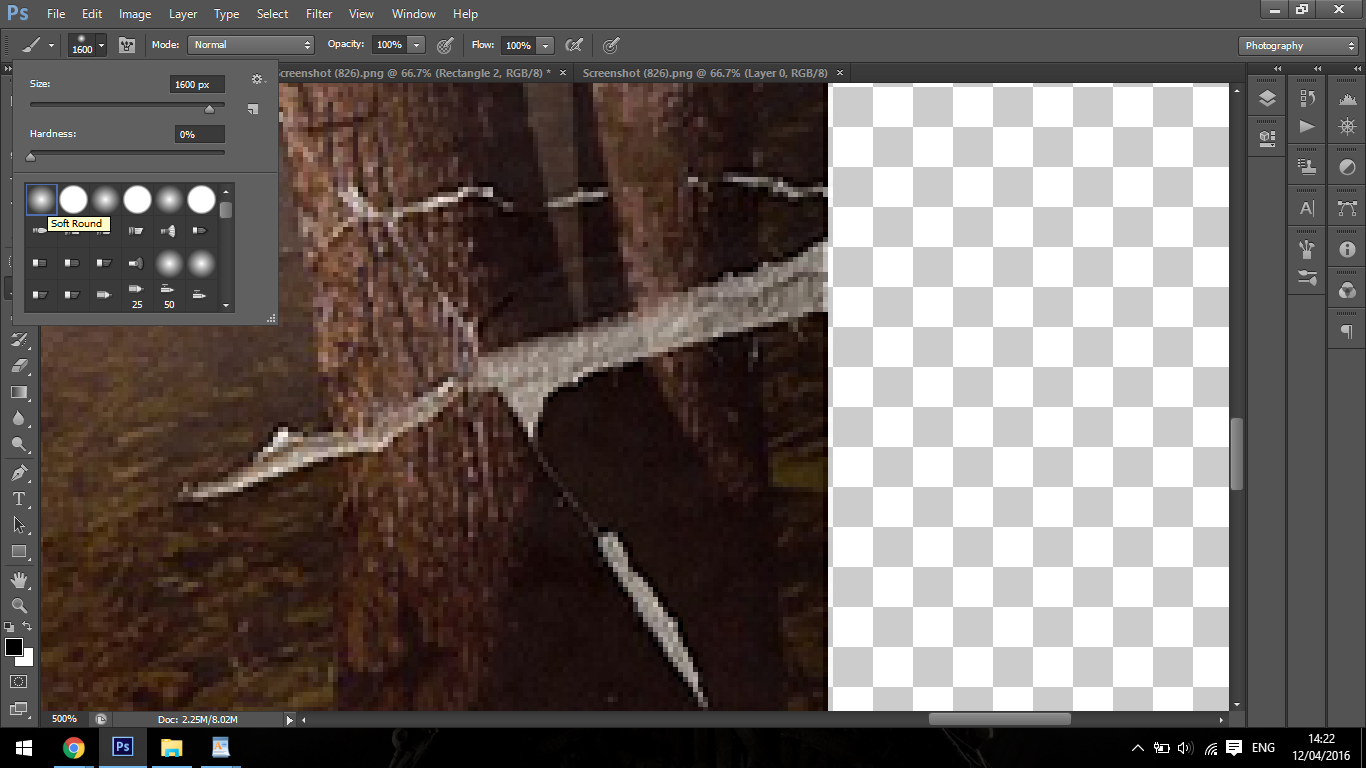
You use the Clone Stamp tool by first holding down Alt and clicking on the area you want to sample, then you paint over the areas to be edited. While doing this you can use your bracket keys ([ ]) to resize your brush as you go along.
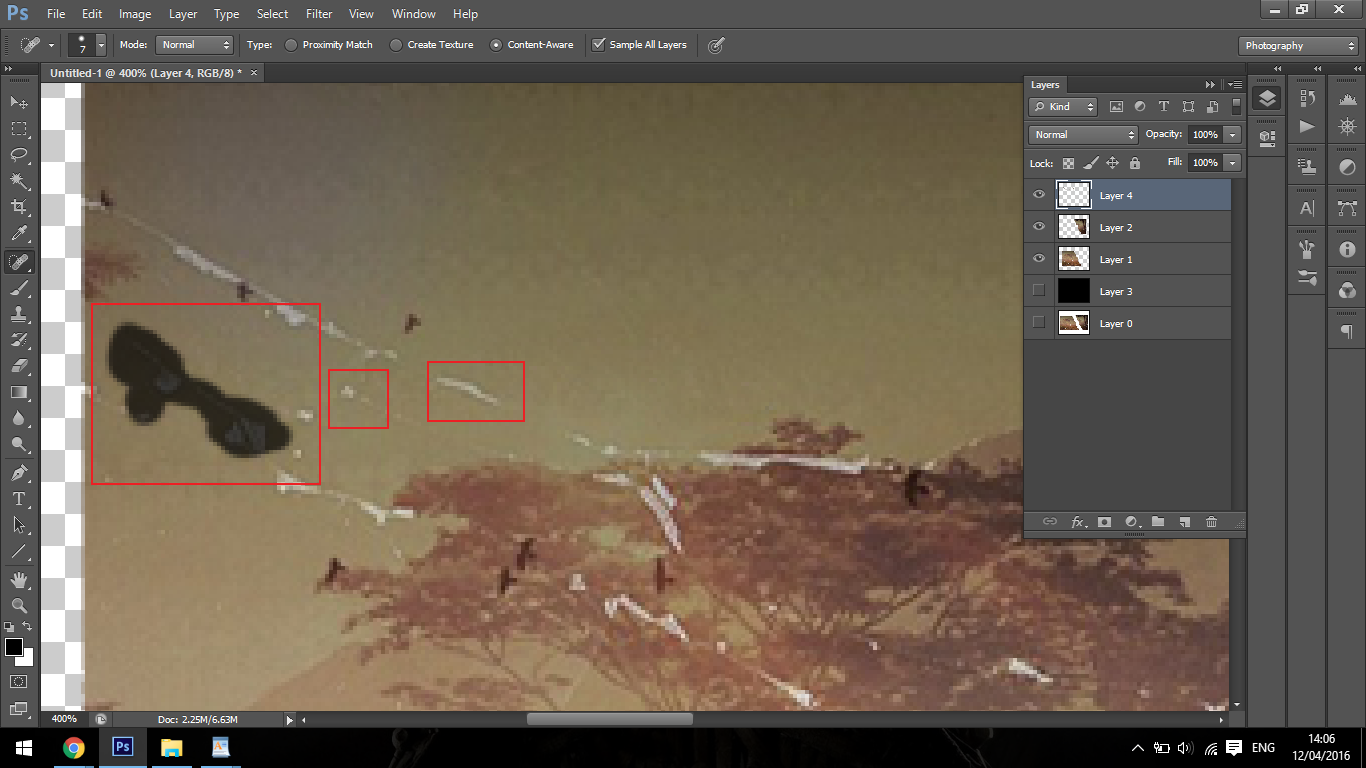
If you take a look at the image below, you will see a few examples of the type of soft areas that you would use the Clone Stamp tool to fix as well as the types of areas where you would select to paint over.
To give a simple explanation for the clone stamp tool it’s this, you are using other areas of the picture to paint over other areas.
I think that explains it ha ha at least in my head it does, but anyway I’m sure all you smart people out there get it, I mean after all you found Sleeklens, right? 🙂
You will have to use your imagination while rebuilding because a certain amount of artist painting vision will have to be employed here, if you have ever drawn or painted this will be right up your street.
One last thing on the Clone stamp tool, make sure the areas you sample are as close if not identical to the areas you want to sample, this is crucial for realism.
As you keep working through this more and more the areas will be created for you to sample, you will want to continuously sample over and over again.
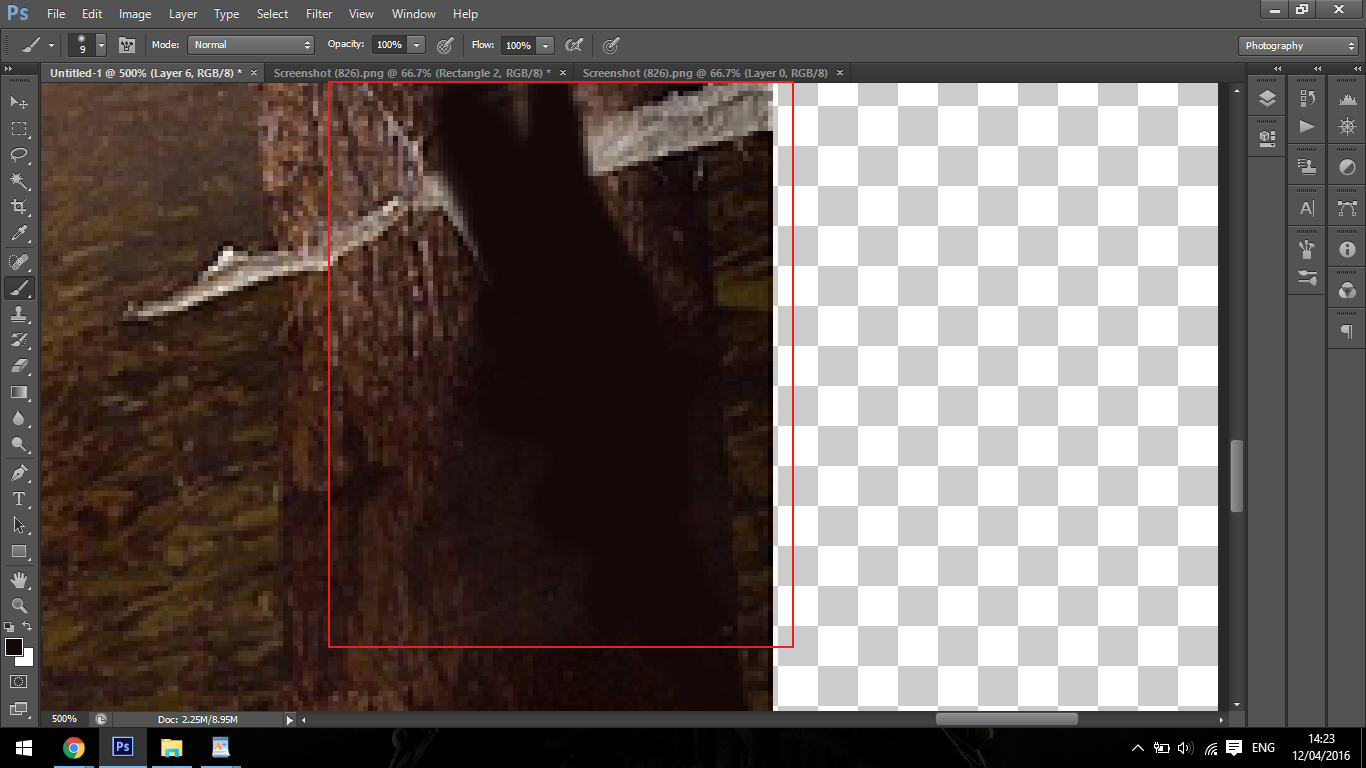
Next up, lets take a look at how to use the brush tool with a soft edge brush, which is your last resort, you will use the Brush tool when you can’t clone an area because it is just too badly damaged or complicated.
Holding down Alt again you will be sampling colours this time using the Brush tool and painting directly on as if you where painting for real.
This will be difficult and it will take time so be aware of that, any experience as stated back in your School art lessons will be really valuable here!!
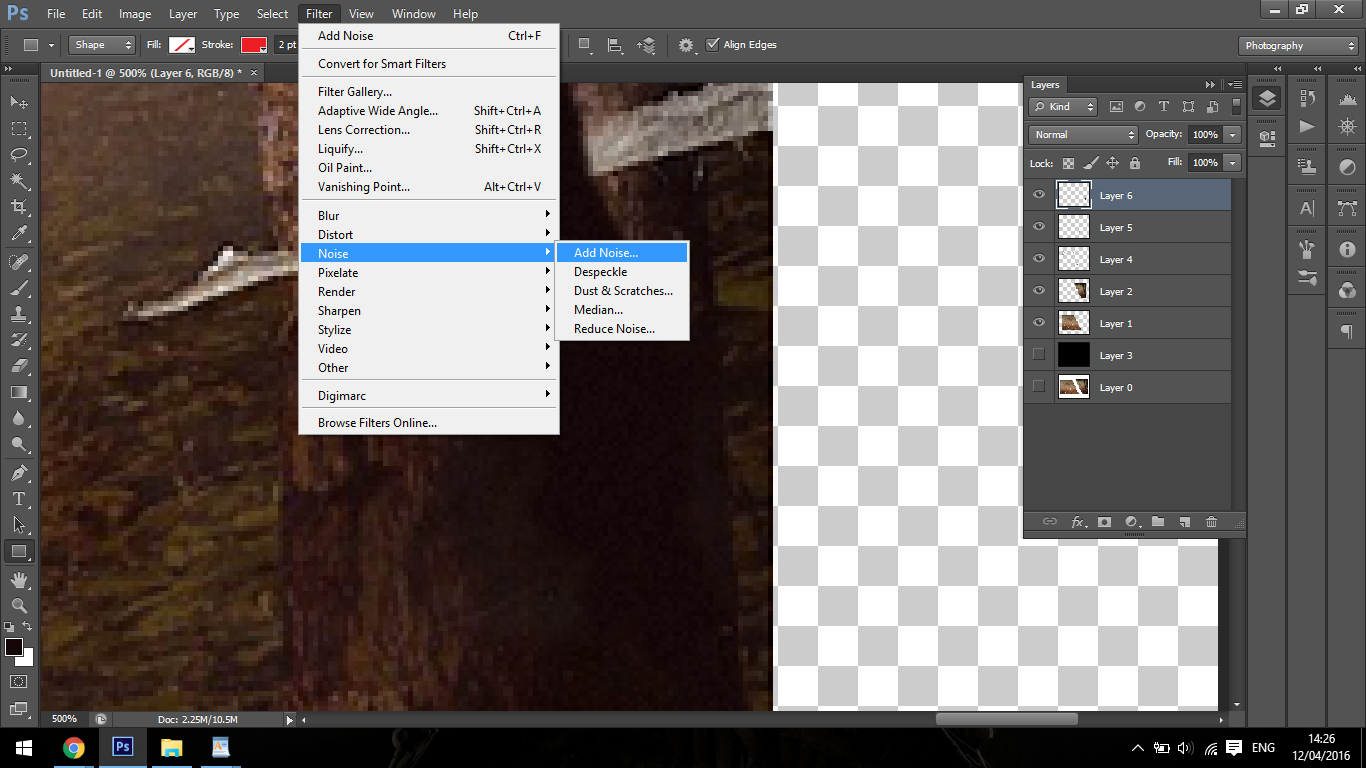
Now if you are looking closely to your image you will notice that the brush tool has painted on the colours very smooth, which will look unrealistic, so to add some texture you will have to add noise to that.
Go to Filter – Noise – Add Noise the use the slider to match the grain of the photo as best you can, the closer the better.
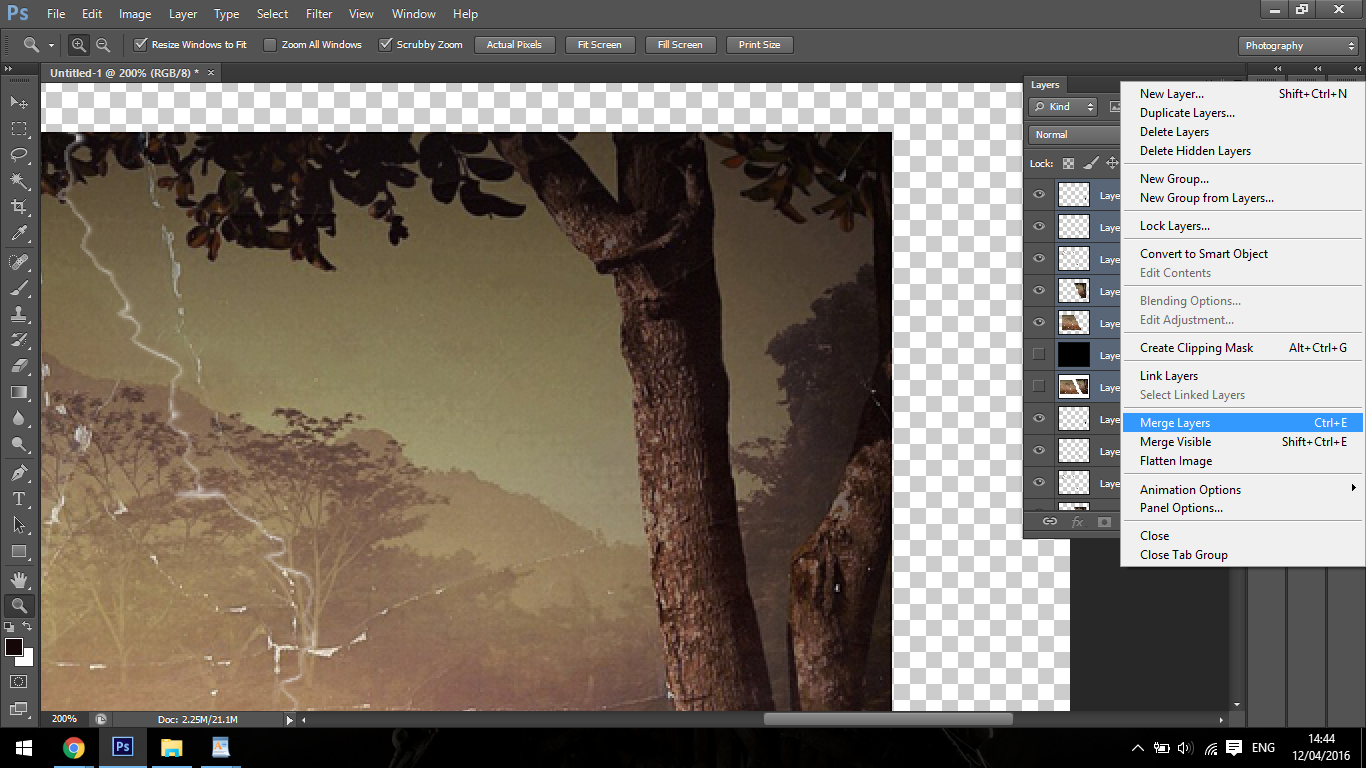
On quick note, I joined all the pieces by going to layer duplicate then I merged them.
You can do this by clicking on the bottom layer, hold Shift then click the top layer to select them all.
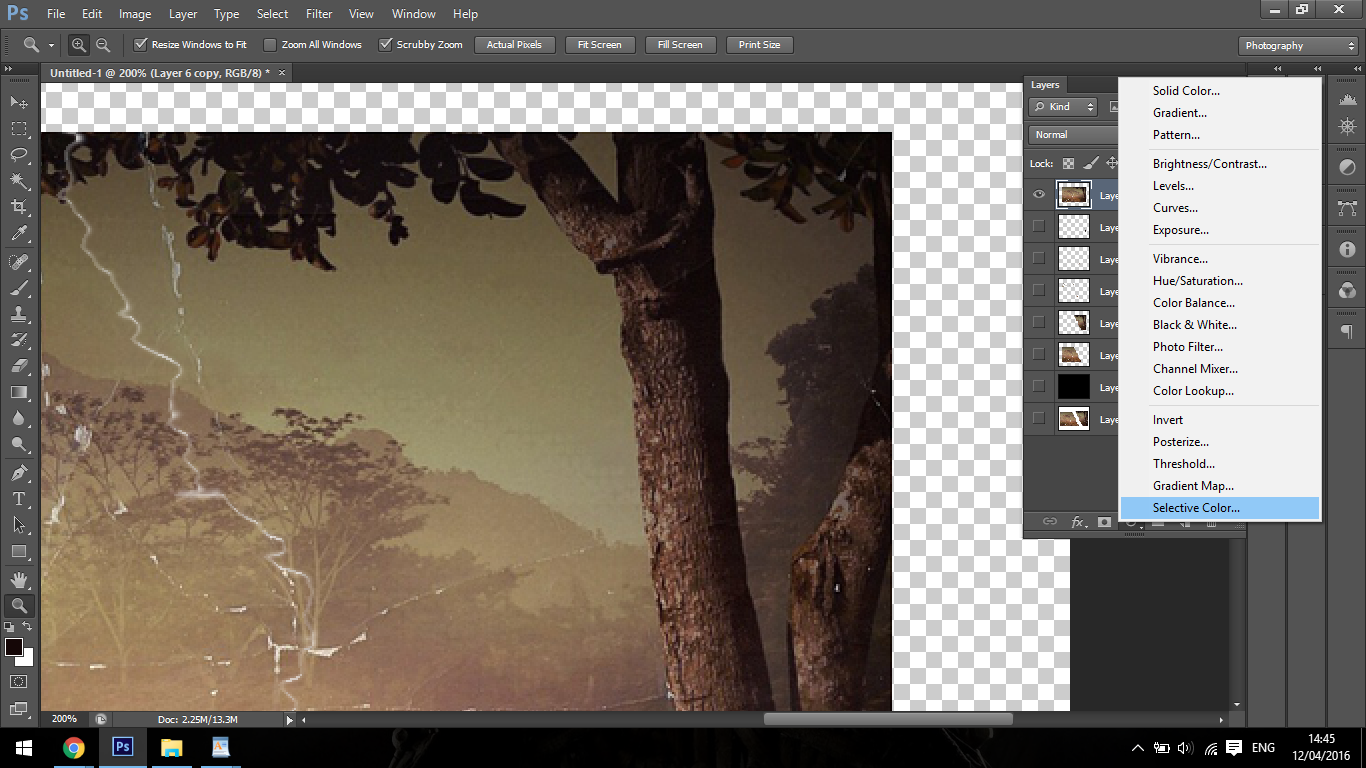
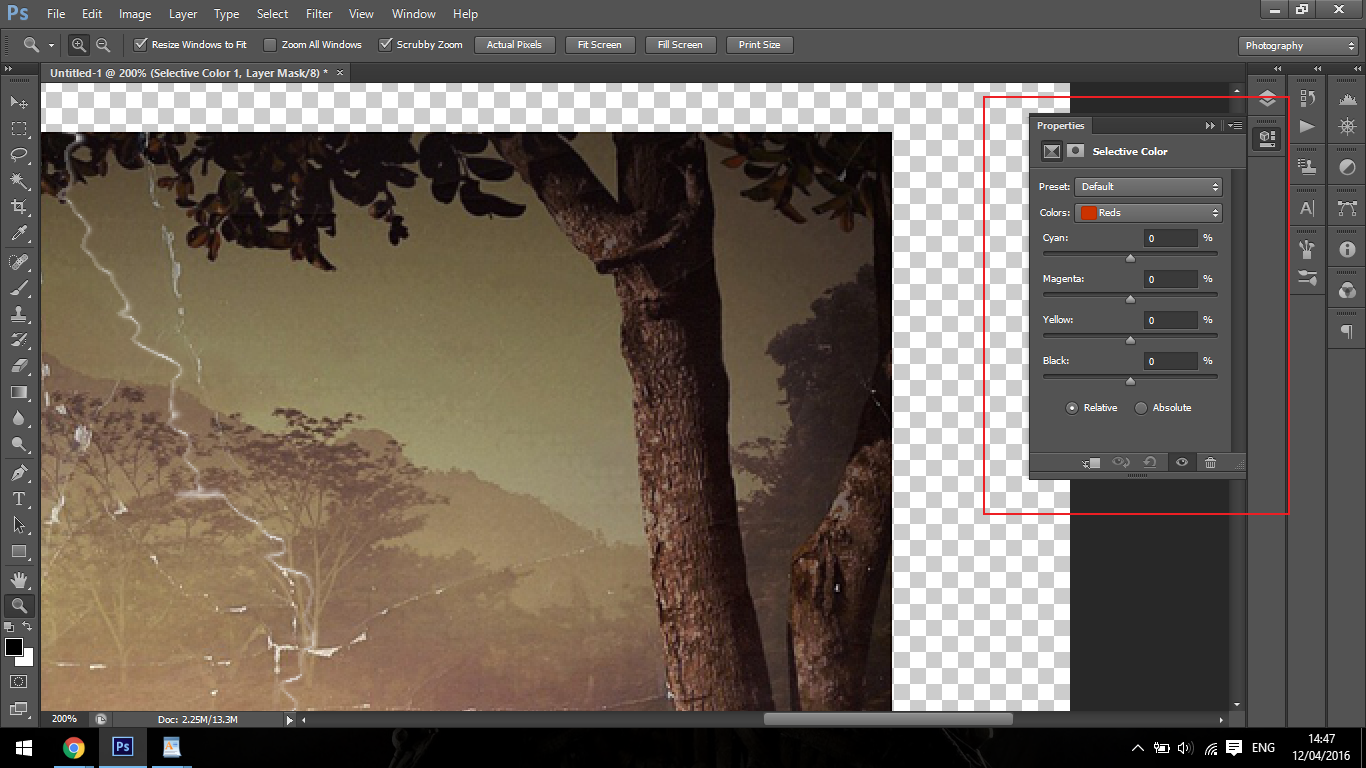
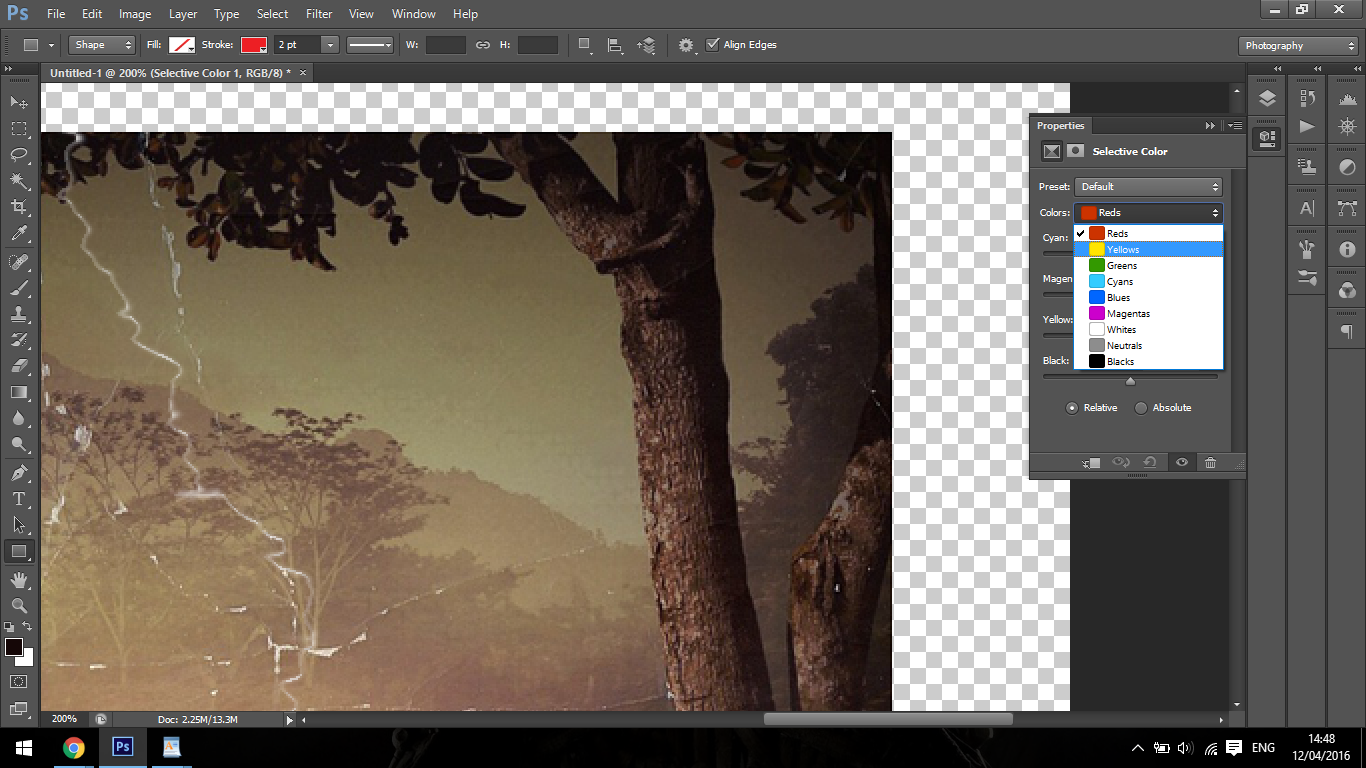
In that panel you will see there is two drop down boxes, One labelled Preset and the other labelled Colors.
Click on colors and in that you will see all the individual colour channels that the panel will let you edit.
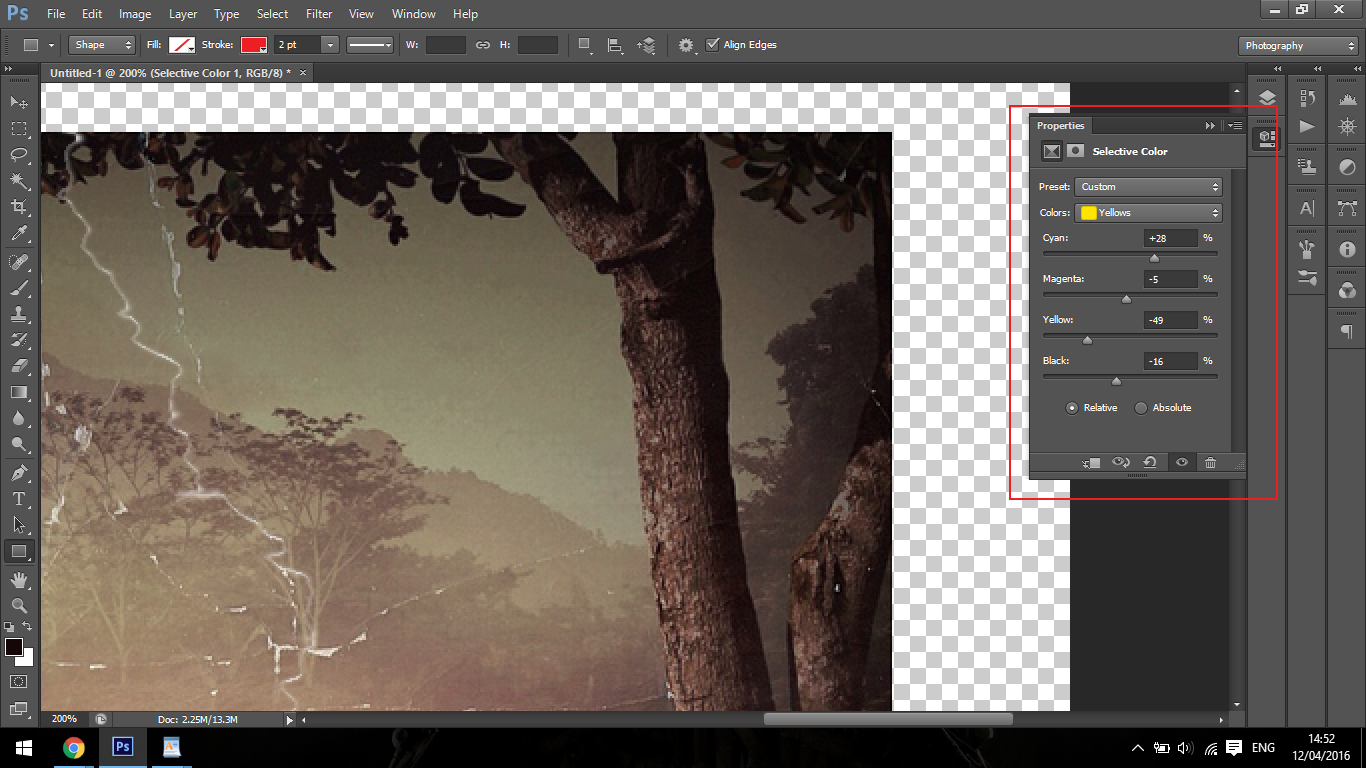
There isn’t really a set pattern that I can tell you how to use here, you will have to just play with the sliders back and forth using your own photographer judgement to decide on what looks good, Great or not so much either of these.
But you will see that there will be overly strong tints in your image, like yellow.
No doubt you will also see strong tints of blue and possibly red as well so at least you will know to go into those channels and work with those colors.
Once you have worked with those first three channels you can try the others just to see if it makes any positive difference at all to your image.
If it doesn’t work well then you can just slide the slider back to the middle and all good.
Ok, so you should be happy enough with your colour corrections that you’ve made by now and you could leave it there if you really wanted too, but I like to take things just a step further.
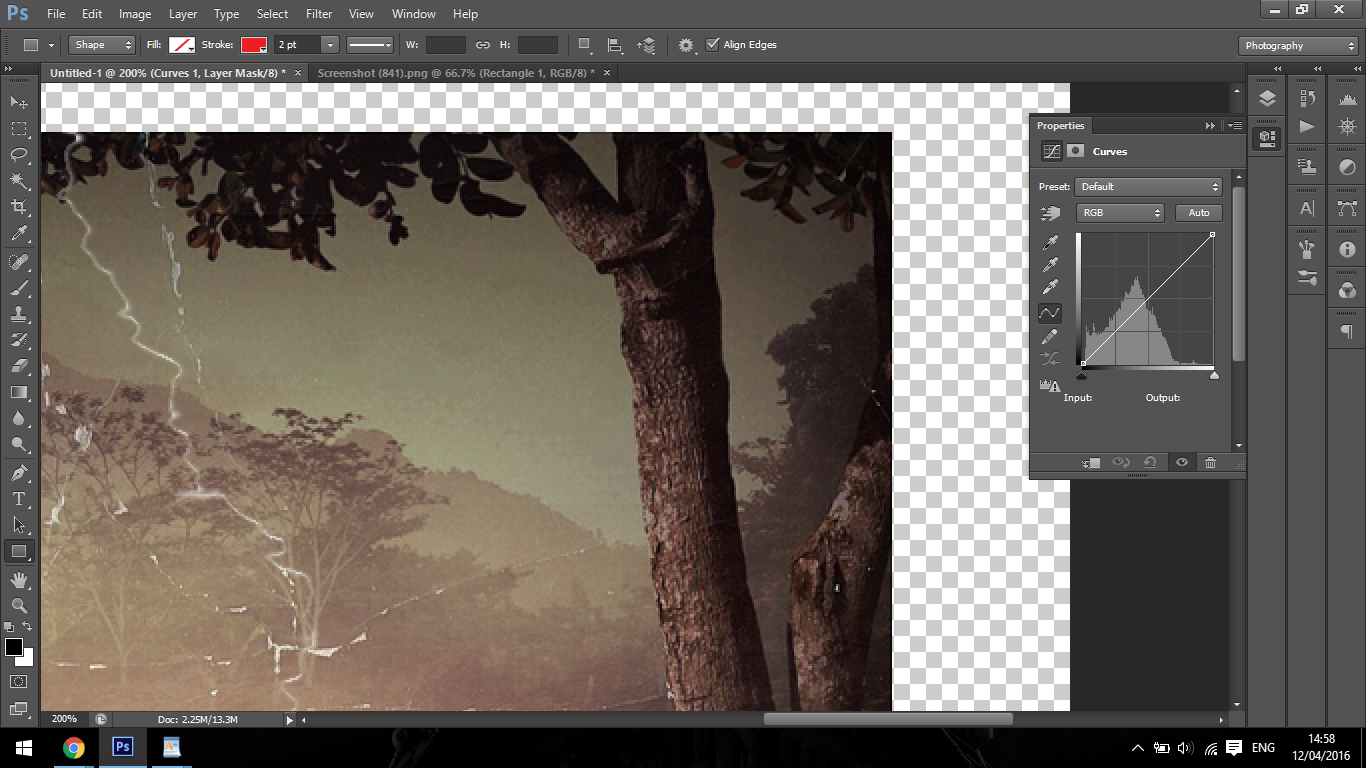
The last little touch I would do now is to create a curves adjustment layer which is the same action you did when you where creating the selective colour layer,
You do this to give the photo a little bit more contrast and strengthen it up a little more, what I do here is just pretty standard and not complicated at all in the least, I just move the sliders to roughly were I have shown below on the histogram.
Where you have seen above highlighted is the indicators that you use to work with the histogram.
You click and drag the top one in to the left and the bottom one you click and drag in to the right.
I darken the dark and lighten the light a tiny touch, simple.
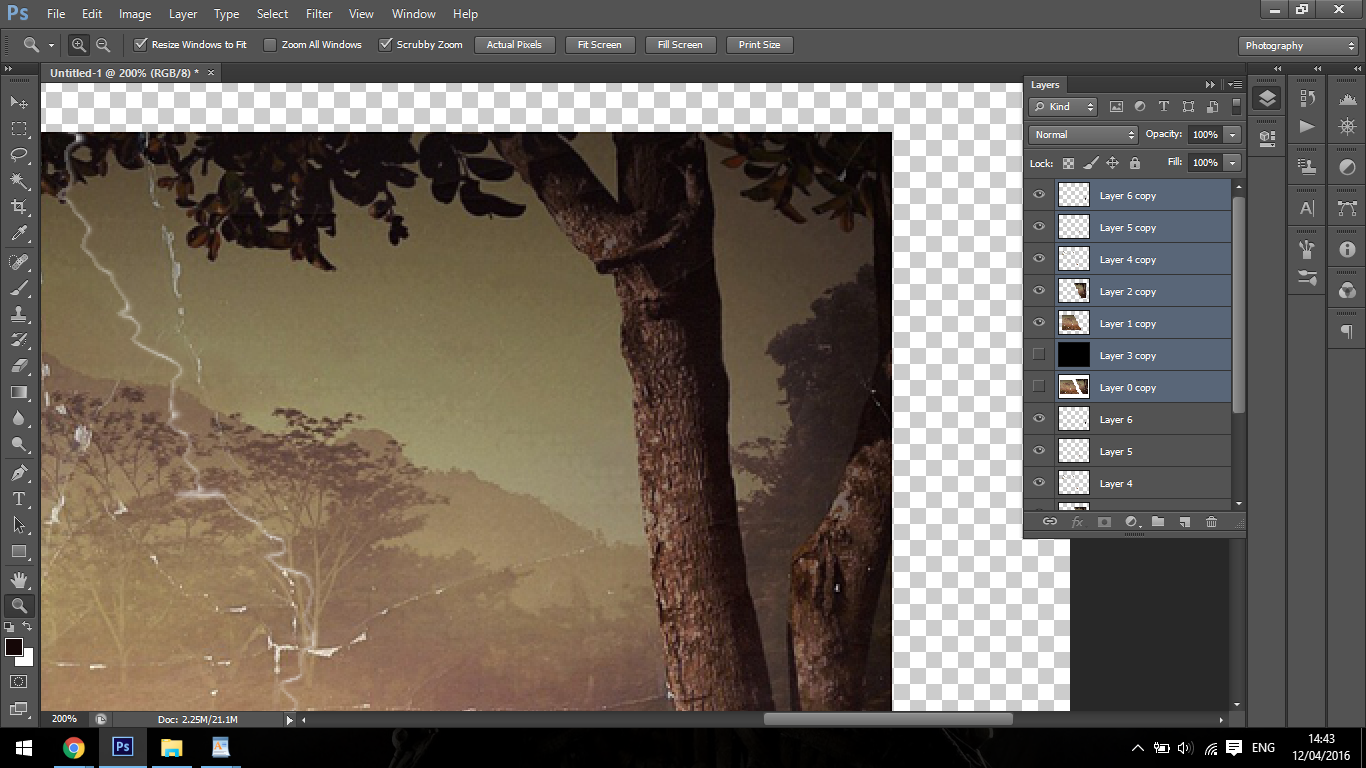
And that’s it we’re complete, now you will have a awesome image you can get printed out and framed if you wish to do so.
Graduated from college in 2002 with a degree in Art & Design, I started exploring my way in Graphic Design and Professional Post Production. Full-time freelancer since 2011.


 Facebook
 Google +
Comments (0)
There are no comments yet.