Creative underwater photoshoot: Techniques you need to try today!www.sleeklens.com
We all know how easy it is to click the button on a camera having a target object in range. However, creating a beautiful photo is all about being creative; use many tools and do not be afraid to experiment. Being creative underwater is a real art to be mastered. As you spend more time underwater you research your dive sites repeatedly, and you already are experienced enough to visualize your composition, potential backgrounds or colors. Getting it perfect is not easy but the experience will lead you to it. The following tips will hopefully be of great help if you want to deal with water like a pro.
Table of Contents
Panning and Shutter speed
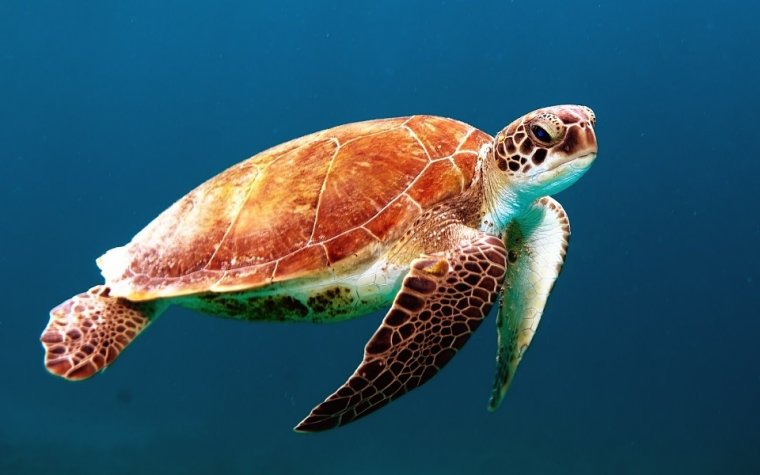
Panning is the horizontal movement of the camera while taking a picture. It often involves following a moving subject with your camera. While scuba diving we often take photos of moving objects like fish, turtles, sharks and many more. That is why mastering the technique of planning is essential. Panning should always be adjusted with the shutter speed. Slower shutter speed and panning makes the background blurred. Intentionally slow down the shutter to create the blur. You can try different shutter speed just to experiment and find the best suited. Panning is easier in low light conditions where it is easier to get slow shutter speed. Bringing ISO to 100 and the use of small aperture will also make wonders. The longer the lens the more the background will get blurred while panning. Some high definition cameras have this amazing feature to determine the exact shutter speed needed for a particular object. If you want to achieve the opposite: fairly sharp background and a trail of motion of a subject- try photo shooting at slow shutter speed without panning.
Rear curtain sync
To achieve a trailed picture you can set your flash to rear curtain sync, which provides a combination of both strobe and slow shutter speed. The strobe will flash at the end of an exposure, just before the second mechanical curtain closes. A TTL converter is not a good choice, in this case, therefore keep in mind not to use it. Instead, directly connect your strobes to the housing. Practicing this technique at home will lead you to a perfectly produced photo. However, this feature is not available with every model. Check to see if your camera/strobe combination supports rear curtain sync.
Double exposure
This is a technique that requires experience and above all, a lot of knowledge and respect for the marine environment. A double exposure is a camera combination of two photographs into one photo. The first photo usually has a dark area at its top half, while the second one will have a dark area at the bottom. When combined there is only one goal: to make the viewer consider it as taken by one shot. Many DSLR’s offers this feature, although there are various opinions on whether or not to use it. Some photographers believe it is depicting quite unnatural marine environment, while others are in favor of it since it shows creativity and skill.
Circular Bokeh shots
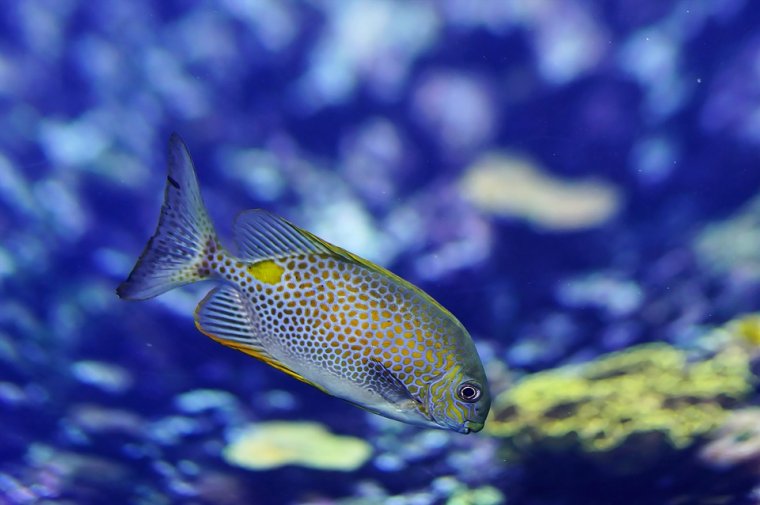
Isolating the subject is a very important part of photography and this is what Bokeh stands for. Making a fuzzy or blurred background to achieve a high aesthetic quality means getting a “good bokeh”. Wide open aperture gives the background objects a circular shape. This circular shape greatly depends on the quality of the lens. Since the aperture openings are not perfectly round, the better circular shape will mostly depend on the number of aperture blades. More blades will make a better circular shape and help to get better bokeh. In cheaper cameras when you stop down the lens, the highlights in the background will have a hexagonal shape. Use a high-quality lens wide open, so the aperture gets closer to a circle. Many factors affect the bokeh result. The above mentioned: type of camera and sensor size. The better the lenses, the better the bokeh you get. A small depth of field will help you as well. Greatly magnify your subject to get a smaller depth of field.
Backlighting
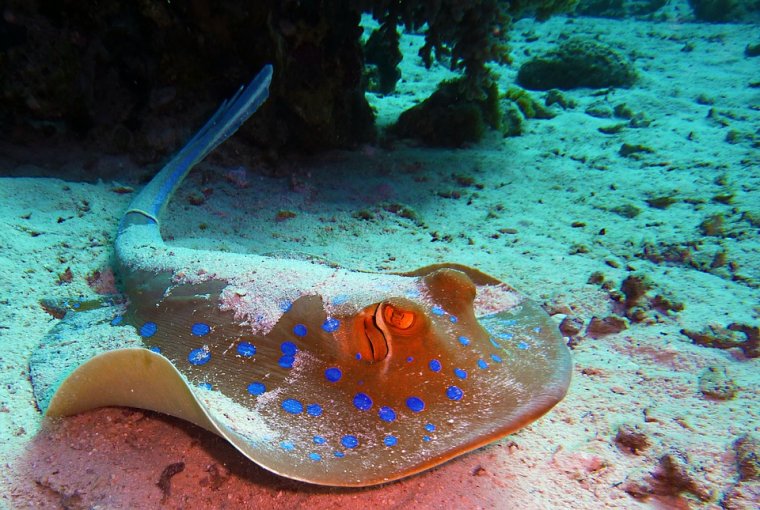
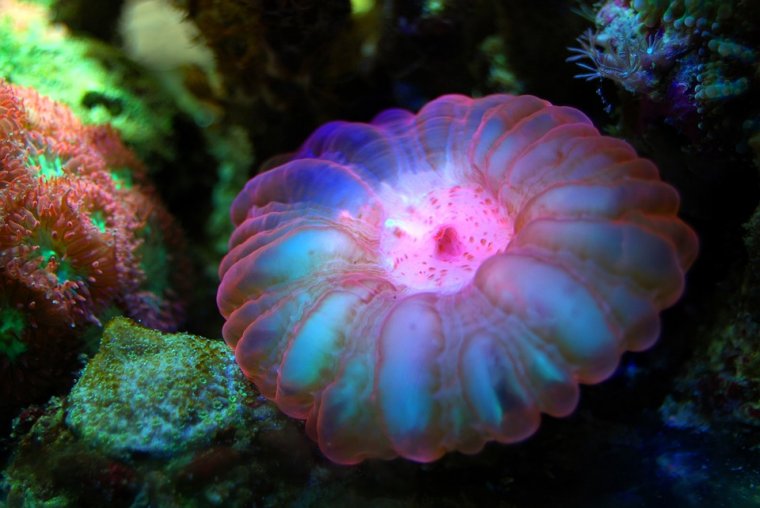
If you have a generous amount of time you must play with this commonly favored technique –back-lighting. Back-lighting is not a brand new idea. It is very often used in movies and theatrical performances in order to reveal the subject in a different dramatic way. You can use this with two goals on your mind: the first one is to separate the subject from its background and in a way make it pop. The second is to see how it affects objects or marine life that is semi-transparent or translucent. The results will certainly be dramatic in both cases. In the first case, you will definitely make the subjects pop from their hiding backgrounds. In the later, you can produce images where the subjects or fish will seem electric, or plugged into a neon sign. This adds fantastic luminescent quality.
Whatever your choice for the day, you should never be afraid to experiment and try it all over again. You may never know what you can achieve with all these possibilities and options offered. Enjoy your dive in a completely creative way.


 Facebook
 Google +
Comments (0)
There are no comments yet.