How to Better Organize Using Auto Stacking in Lightroom: Capture Timewww.sleeklens.com
Hi all, welcome back and are you ready to go into a little bit more detail on Auto Stacking, we’ll call this the advanced portion of our Tutorial but in reality it’s not and you’ll pick it up just fine.
Which actually leads me to a little word or advice, I tend to keep a small journal with a list of specific techniques etc that I find useful, so if the technique fits the project then you could have a folder filled with word documents with different jobs noted on them, such as Color Correction, how to change to Black and White or How to Retouch Portraits for example, then when you come to a certain scenario that you have to do you can immediately open your folder and follow your bullet points if that’s the way you wish to have them.
If found that by doing this I was learning through repetition and I was getting work done at the same time! I highly recommend this.
But anyway back to our tutorial.
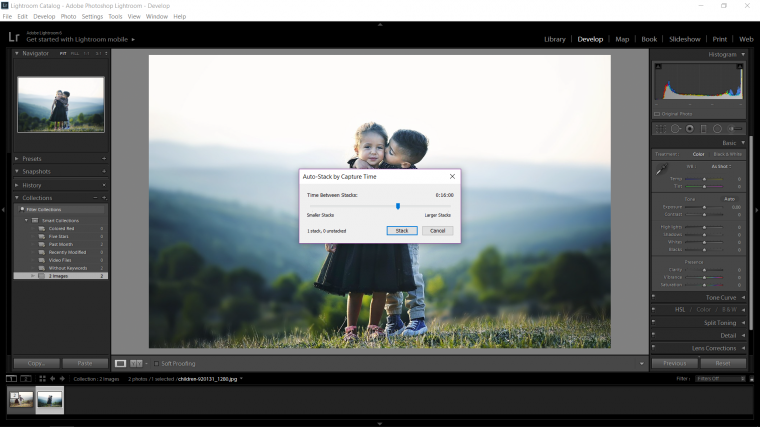
So use what you remember from part one to get the little time slider panel up and if you can’t remember then go back and have a quick look until your screen looks just like the example image below.
Depending on the amount of images you have when you slide the slider you will see on the bottom of that little panel the number of images that will be within that time frame that you have chosen.
So for mine in the image above you can see that I have 16 minutes for mine and you will see that there is only 1 image available for that stack, the more images that you have and the closer they were taken then the number will be greater there.
When you are happy with the amount of images within your time stack then all your have to do is just click where it says ‘Stack’ at the bottom of your popped up panel.
Now you will be back onto the normal main screen, don’t worry you may think nothing has happened but it has and I’ll show you now…
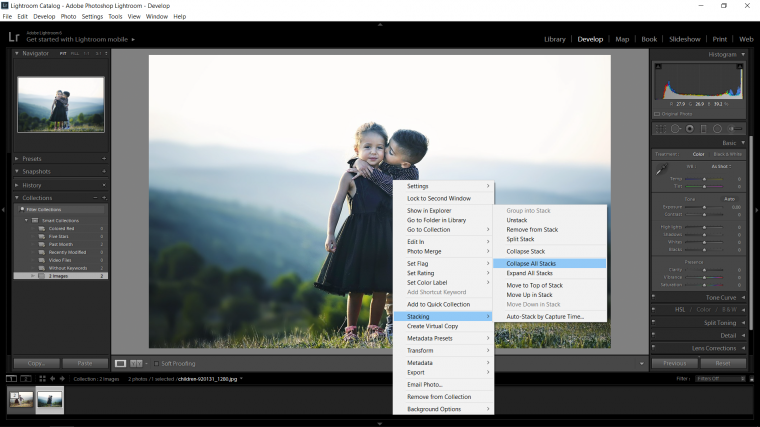
Right click once again on the image on your screen and you will see the all familiar by now panel appear where we clicked to stack in the first place.
Click on Staking but this time you don’t go to ‘Auto-Stacking by Capture Time’ which we did first, this time you click on ‘Collapse All Stacks’
You will now see your screen do a few computer freak out flutters and the thumbnails will now collapse.
So I had mine set for 16 minutes which meant that my images were added together, but if I were to do this with say 30 seconds or a minute between the images then it would categorize them into separate folders.
Now image you had 100 images that you had taken over the span of 1 hour.
When you do this technique and say you had your timer set to 1 minute then when you click on ‘Collapse All Stacks’ depending of how spread out the time is between images, you could have 60 folders with several images between them in there which will make it a whole lot easier when you are trying to look for specific images.
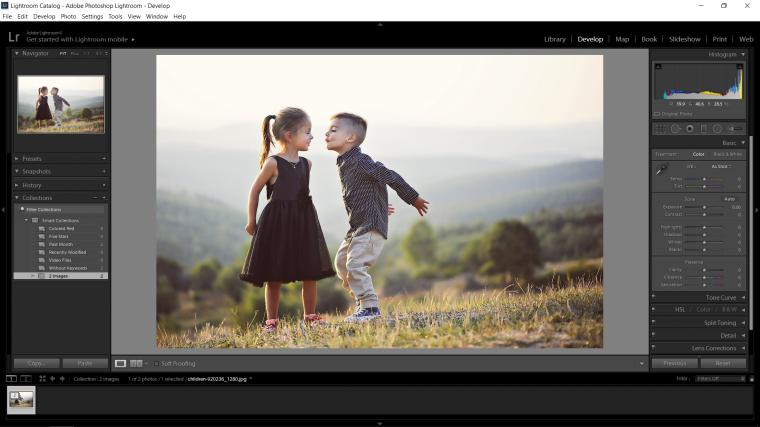
So what you would do now is, look at your thumb nail images and see if the little thumb nail has the ‘type’ of image, that being, type means if you were taking a lot of images of a specific thing like a flower, or person you will see then in the little thumbnail at the bottom.
Then what you would do from there is to click on the little icon in your thumb nail that looks like little stacked squares, it will have the number on it remember with the amount of image you have with in that folder, when you click on the stack icon it will expand that subgroup out and you will be able to go through all your images with in it as normal.
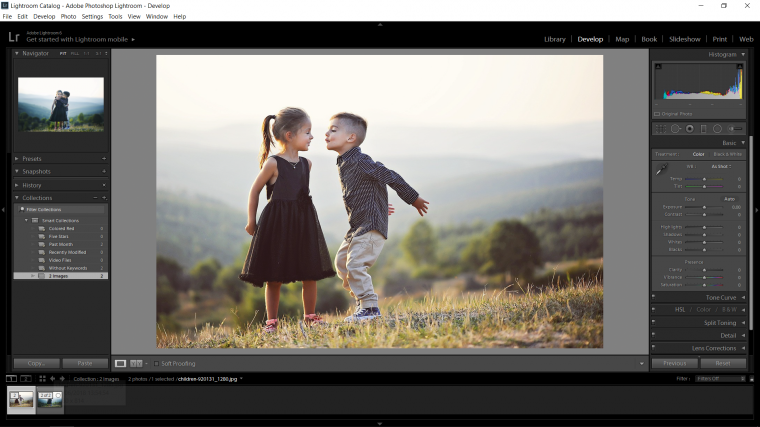
You will see on my example image below it will say 2 of 2 for my other image when I expand.
When you are finished you can just click on the icon again you used to expand to collapse the collection again.
Graduated from college in 2002 with a degree in Art & Design, I started exploring my way in Graphic Design and Professional Post Production. Full-time freelancer since 2011.


 Facebook
 Google +
Comments (0)
There are no comments yet.