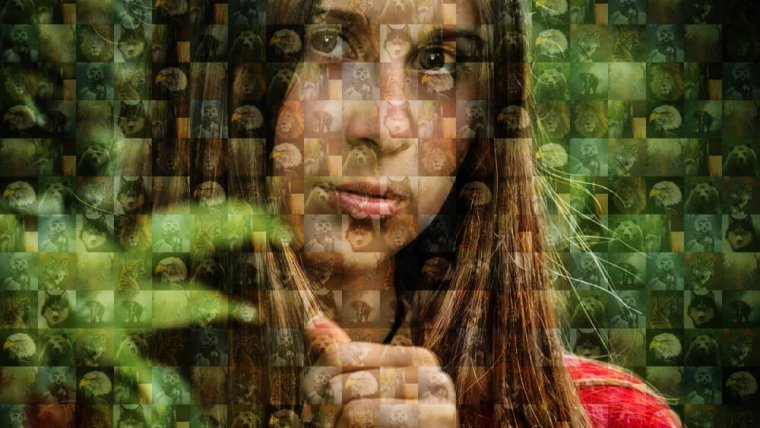
So in the first part of this tutorial, we went over all the prep for our Photo Mosaic, so of course, in this tutorial, we will be creating it.
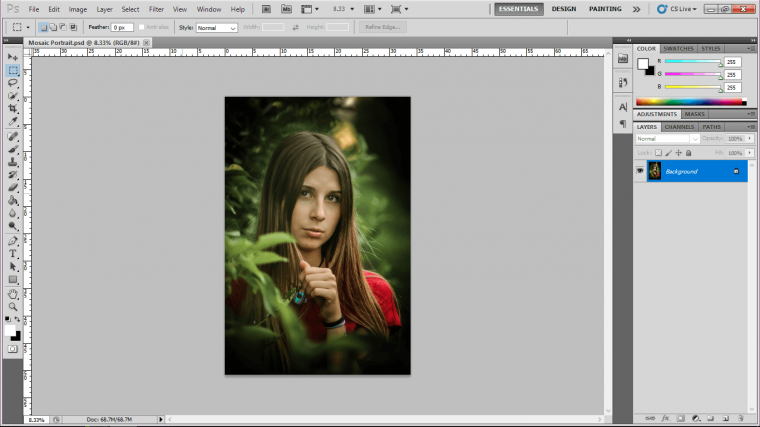
So to start we have to open up our PSD file so we can see our image and get to work on it, so do that by double-clicking on it.
Ok so remember I change my image from 3985 pixels to 4000 pixels and lucky enough for me it squared up nicely at 4000px x 6000px.
If this didn’t work out for you don’t worry about it so much, see what we’ll be doing is we will be dividing the image into 20 across and 30 down, that way we will have 20 images across and 30 images down.
Try to get an even number, if not then you will probably just have to create a new doc and place your image in, resize it so it fits, save up the new file and go from there.
So let’s divide 4000 by 20…that gives us 200px Wide.
Now let’s do the same with height.
So let’s divide 6000 by 30…and that gives us 200px High also!
Cool so our images will be nicely squared.
So in part one, I said to gather about 20 images, in reality, you can gather as many as you’d like, you are free to do your own thing within the constraints of what we are trying to achieve here, I’m just going to go with the 10 images I gathered.
Next, we are going to resize each image.
Make a new folder on your desktop and put all your image into it so they’re easily found.
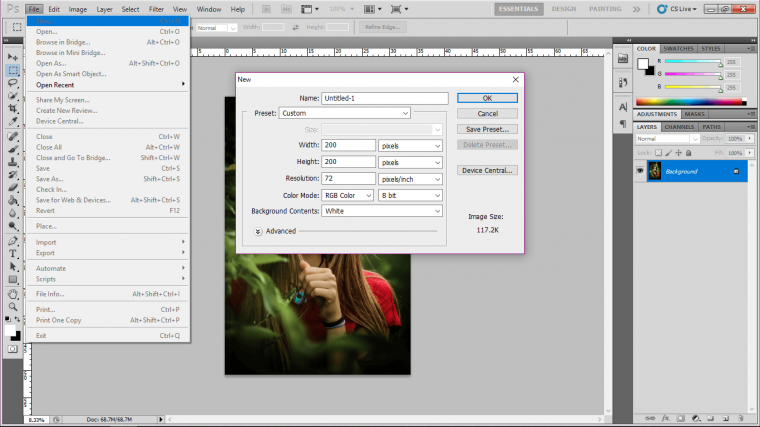
Then go to file new and in width and height type in 200 for each, below that you will see a resolution, so mine says 72 and below that it says RGB, so this would be my setting if my image was to just before web.
If not and it’s for print then I would change 72 to 300 and RGB to CYMK.
I could go into detail here but really details are pointless, all you need to know is that those are the 2 main setting you will use for Web images and Print images and you will basically never ever have to change those unless specifically asked to.
So do all that and click Ok.
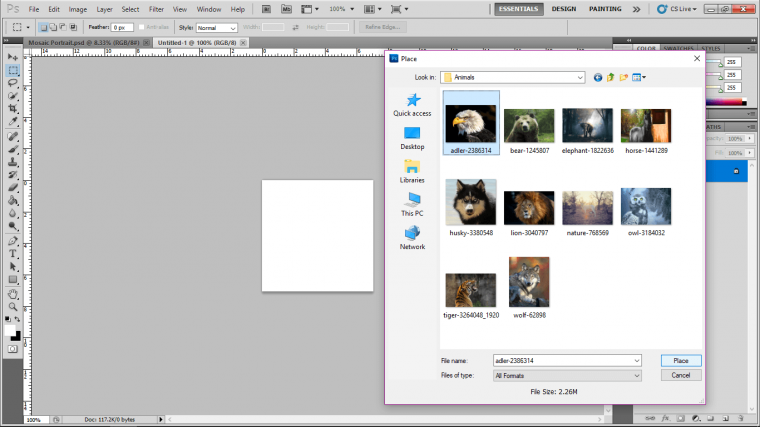
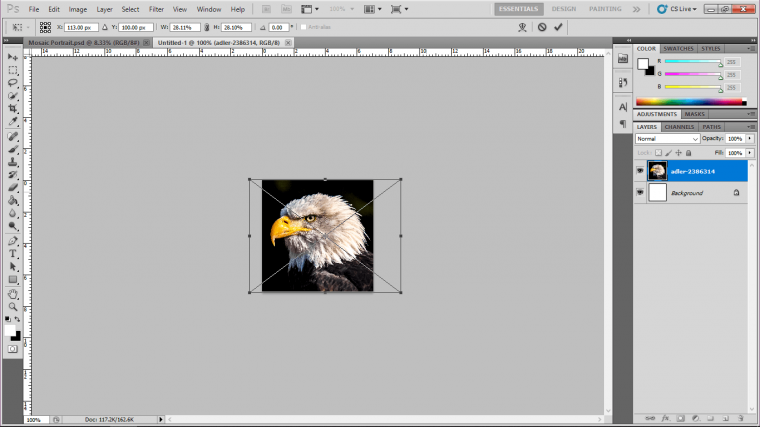
Now we’re going to place each of our images into the new file and resize them.
Go to File – Place
Then find your folder and take each individual image and start to add them.
When it appears on your screen you will be able to click the edges and resize, when you do this if you hold on your keyboard Shift and Alt you will be able to resize without distorting the image.
So go ahead an do that now.
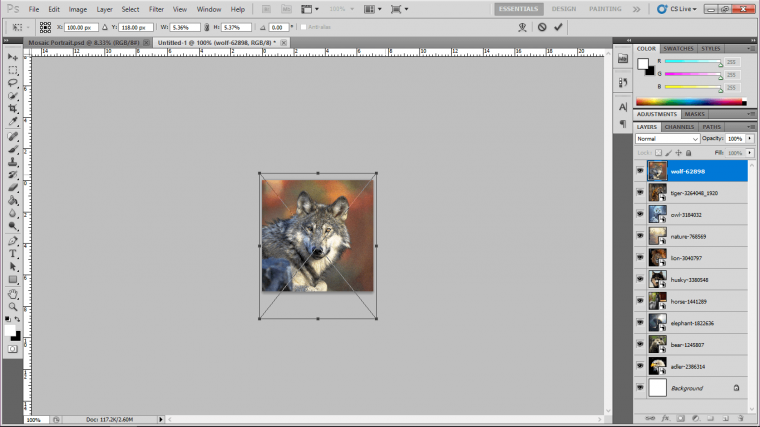
Cool now that we have this done we have to start to transfer the images over to the main image.
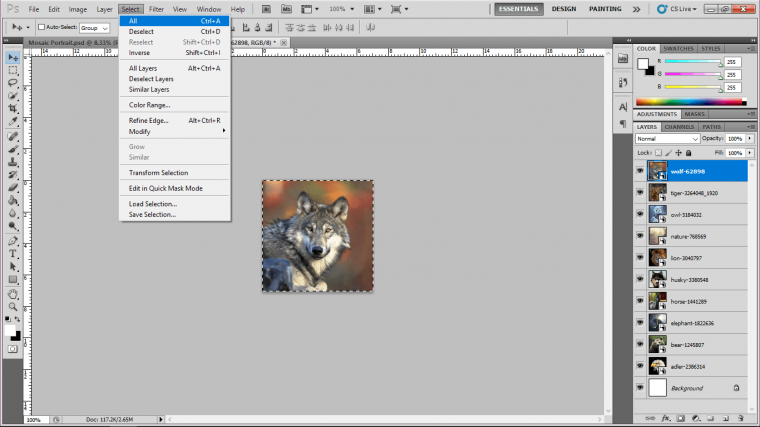
Now that you have all your images added to your new file go to Select and choose to select all.
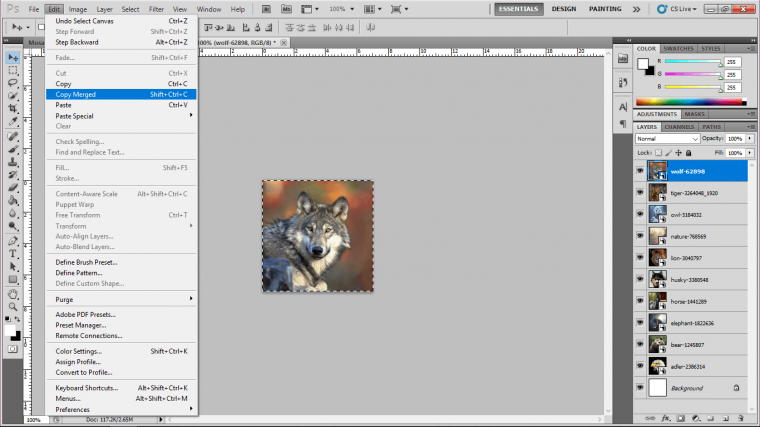
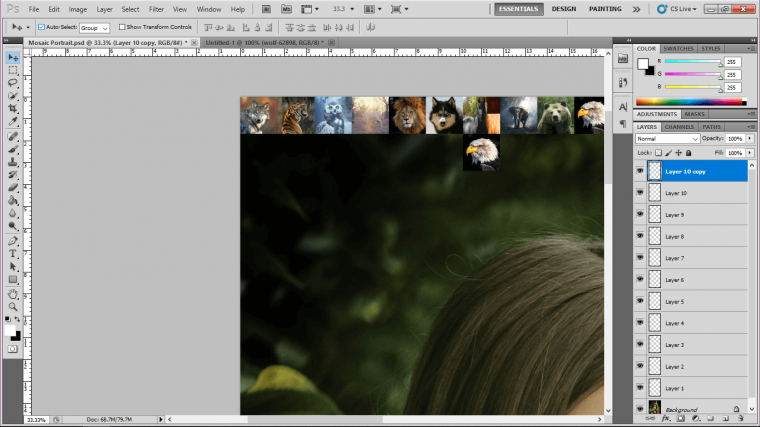
Then start to copy each image over one by one, you’ll have to use copy merged to do this because as I go through each I am clicking the little eye icon beside my thumbnails in the layers panel on the right to hide it.
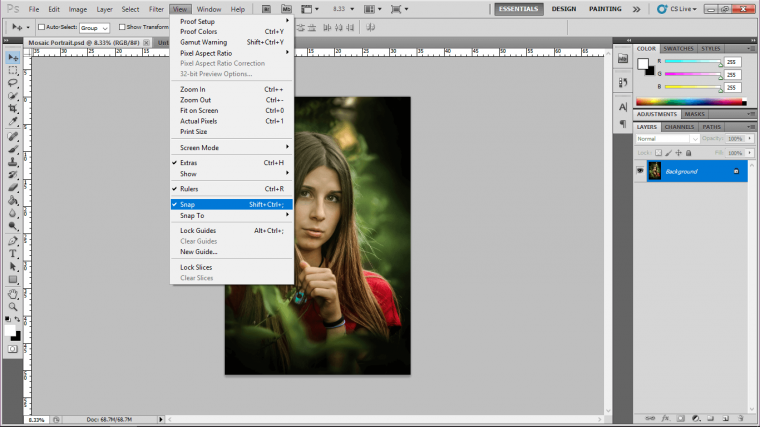
The make sure that you go to View and the Snap has a little tick beside it, this will ensure that when you move your images they will snap in tight to the edges of your main image and photos it is beside.
Now start to add each one in a row until you have all ten down, then if you look to the top left-hand corner just under File you will see Auto select, make sure that’s clicked.
This is going to be very very important because as you go along copying the files you need this option for speed.
Next up we will be making our mosaic in a very manual and practical way.
So, for now, save up your image as is and close down your 200px x 200px file that we created, we will no longer be needing that.
Graduated from college in 2002 with a degree in Art & Design, I started exploring my way in Graphic Design and Professional Post Production. Full-time freelancer since 2011.


 Facebook
 Google +
Comments (0)
There are no comments yet.