Replicating Flowing Water Long Exposures in Photoshopwww.sleeklens.com
Today I’m going to help you to create some wonderful Images using Photoshop for those who haven’t the means, the time or the know how.
We’ll be looking at creating Flowing Water Long Exposures.
So in case you are not sure what these are, let me explain.
A Flowing water Long Exposure is where you set your shutter speed on your camera to a few seconds to that the water looks like it’s moving.
With some steam of the river etc and the flowing water the images can look quite magical.
But, they can be hard to create if you do not know your way around a camera yet and you just want to get something into your portfolio.
Or… you may just have some old photos knocking around that you would like to improve upon and bring back to life.
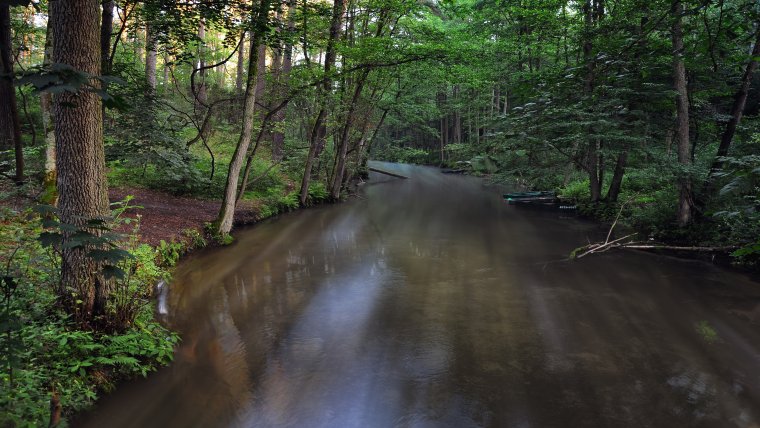
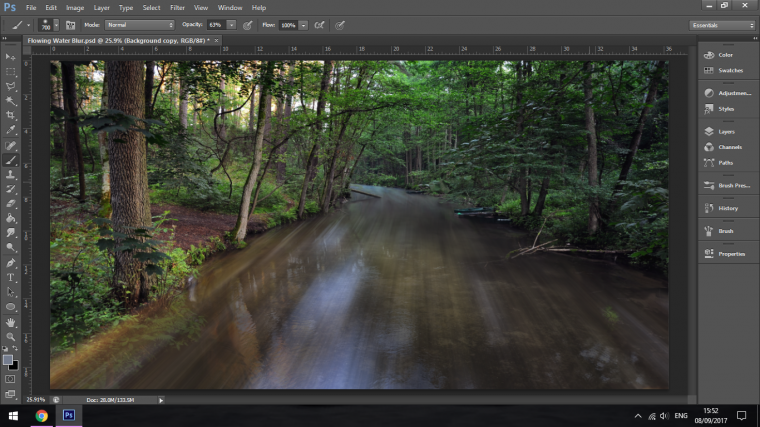
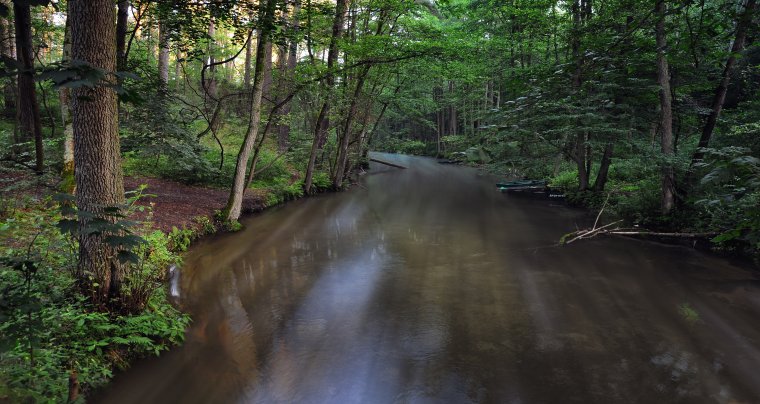
So the image we’ll be using today is…
If you get something similar then you’re all set, it’s all we need.
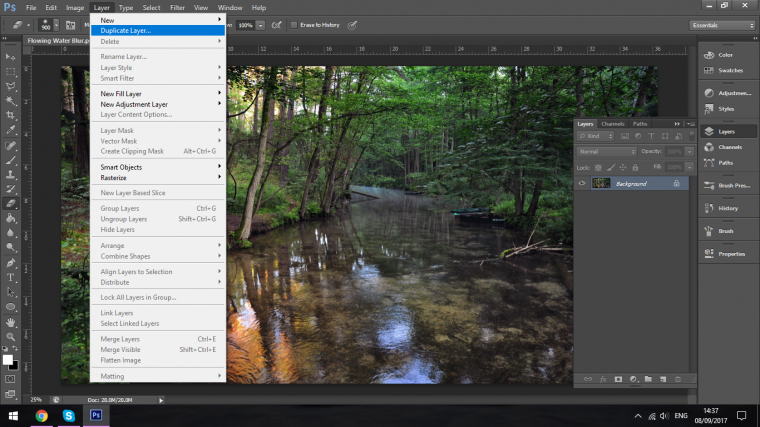
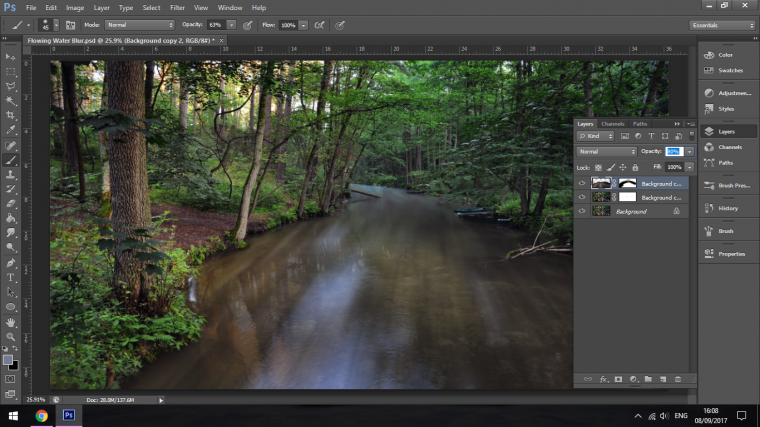
So the first thing I’m going to do is to create a Duplicate of my Background layer, I do this by going to Layer – duplicate Layer.
Keep this in mind when I say we have to Duplicate another layer because we will be doing this a few times as we go along.
To the right hand side you will now see in the layers panel a new layer called background copy.
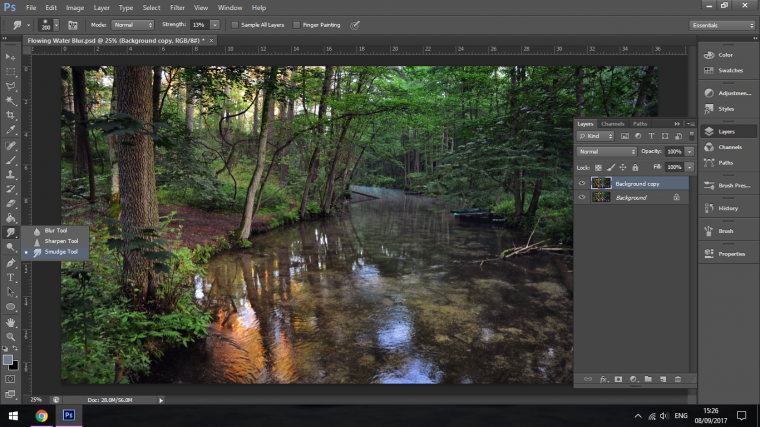
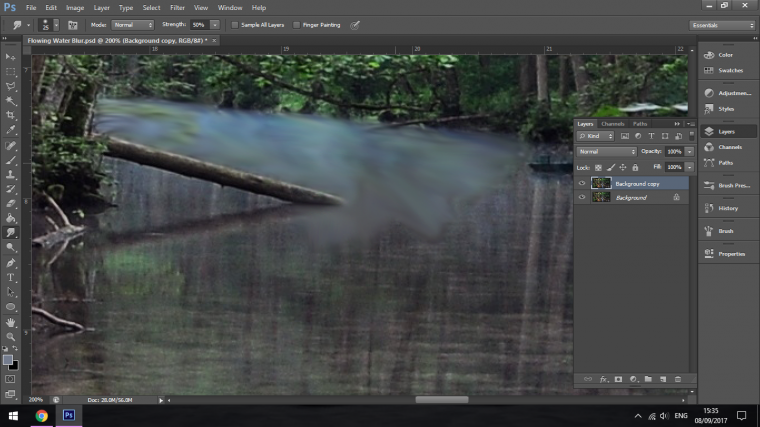
Now we have this done and memorised we can move forward, and we move forward by using our Smudge Tool, Shown Below.
Then for this I recommend about 50% for the strength, you find that option at the top menu bar to the right of the drop down box labelled Normal.
Now I do want to add here that this Tool can be tricky to use, not because of what it does but just because to really get any sort of speed out of it you would have to have a very strong computer or graphics card.
My computers about 4 years old now with a CORE i5 processor, I am able to run all sorts of modern games from my laptop such as Alien Isolation without having any real trouble or drop in quality, I have no graphics card… and when I use my Smudge Tool I get a good couple of seconds of lag, so keep that in mind as you will most likely unless you have an absolute beast of a computer have to deal with this lag yourself so patience is needed here and a little forward sight to how it will end up upon completing our edits using the Smudge Tool will look like.
What I do is I zoom right into the start of the water. (Ctrl – & + on your keyboard)
Then I start to click and drag the water in the direction I think it will flow in.
At the start using a small Brush you will not get a lot of lag but as you increase your Brush you will start to suffer this lag I would imagine.
As you go along you can change the size of your Brush by clicking on the Bracket Keys [ & ]
Make sure to use a Soft Brush, you can chose this option by right clicking on you image and choosing the first Brush in the batch, the one that has frayed blurred edges.
Then you take it bit by bit creating the effect as you would imaging the water to flow like.
I only go as far as doing the sides and say the first 3rd till I end up with something that looks like my image below.
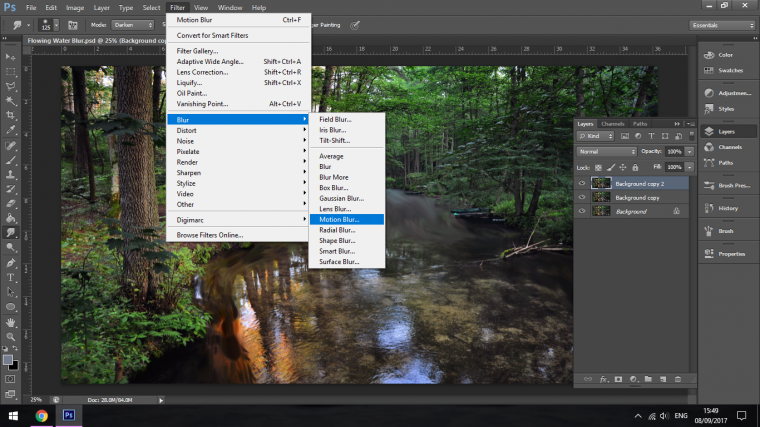
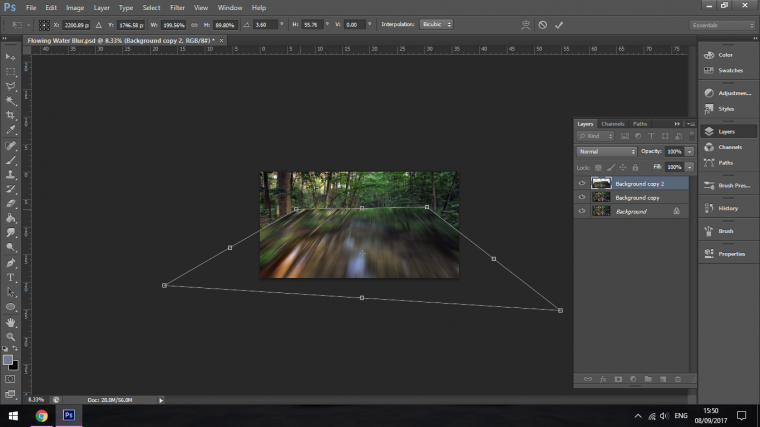
Next create another Duplicate Layer but off of the one we just used the Smudge Tool on.
And go to Layer -Blur – Motion Blur
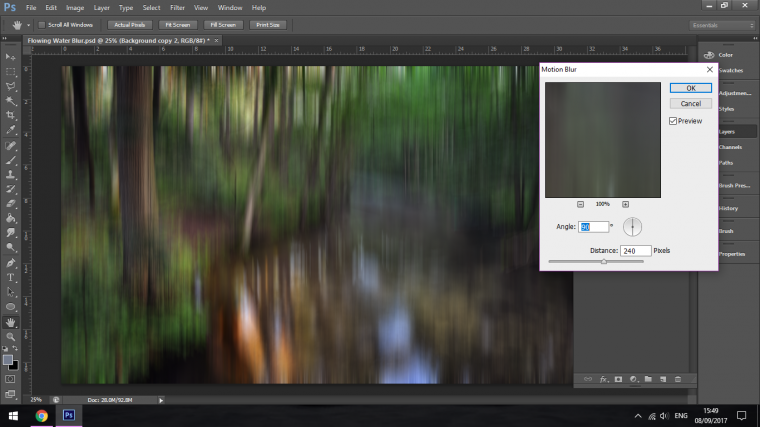
Set the angle the direction the water is going in and click ok.
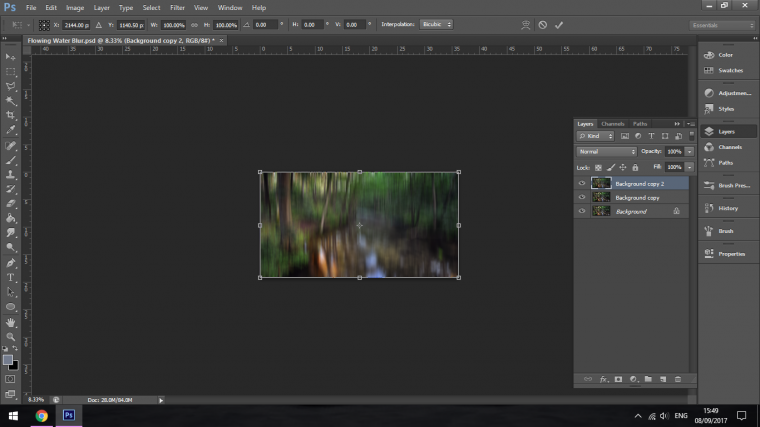
Next hit Ctrl T to activate the Free Transform Tool, and start to warp and position the water a little better, don’t worry about accuracy here we just need the streaks.
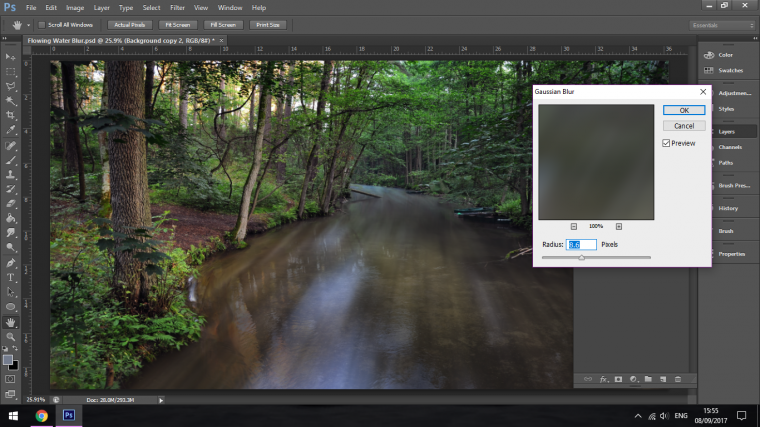
Then where we found Motion Blur, go back in and add a little Gaussian Blur.
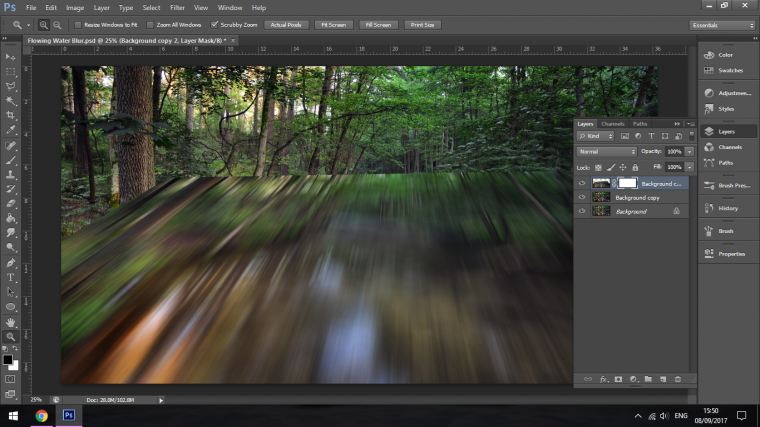
Then drop both your Layers opacity to about 80%
You will also notice here there is two little white boxes beside the thumb nails of my images, these are what is called Masks.
To create a mask I click on the icon at the bottom of the layer panel, it’s to the left of the FX icon.
Then while clicked on that little white box, you can use a Brush Tool with Black to paint over and hide areas you would like to tidy up, if you make a mistake switch to White and paint it back in.
Use that Soft Brush we talked about.
Take a little time with this, zoom in and work that way.
Graduated from college in 2002 with a degree in Art & Design, I started exploring my way in Graphic Design and Professional Post Production. Full-time freelancer since 2011.


 Facebook
 Google +
Comments (0)
There are no comments yet.