Portrait Lighting Effects in Adobe Photoshop for Beginnerswww.sleeklens.com
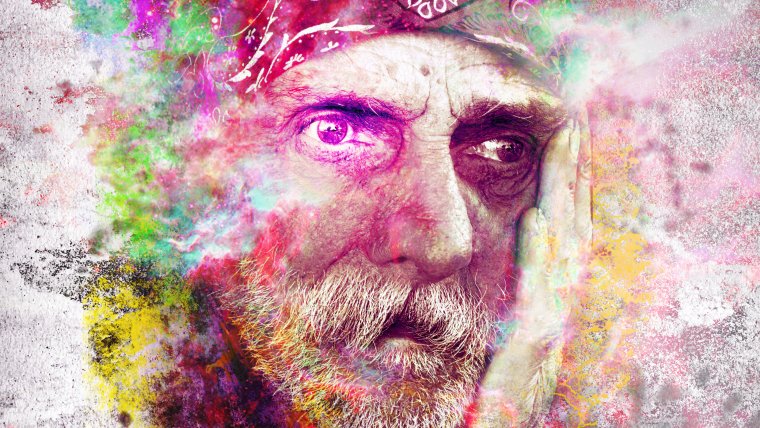
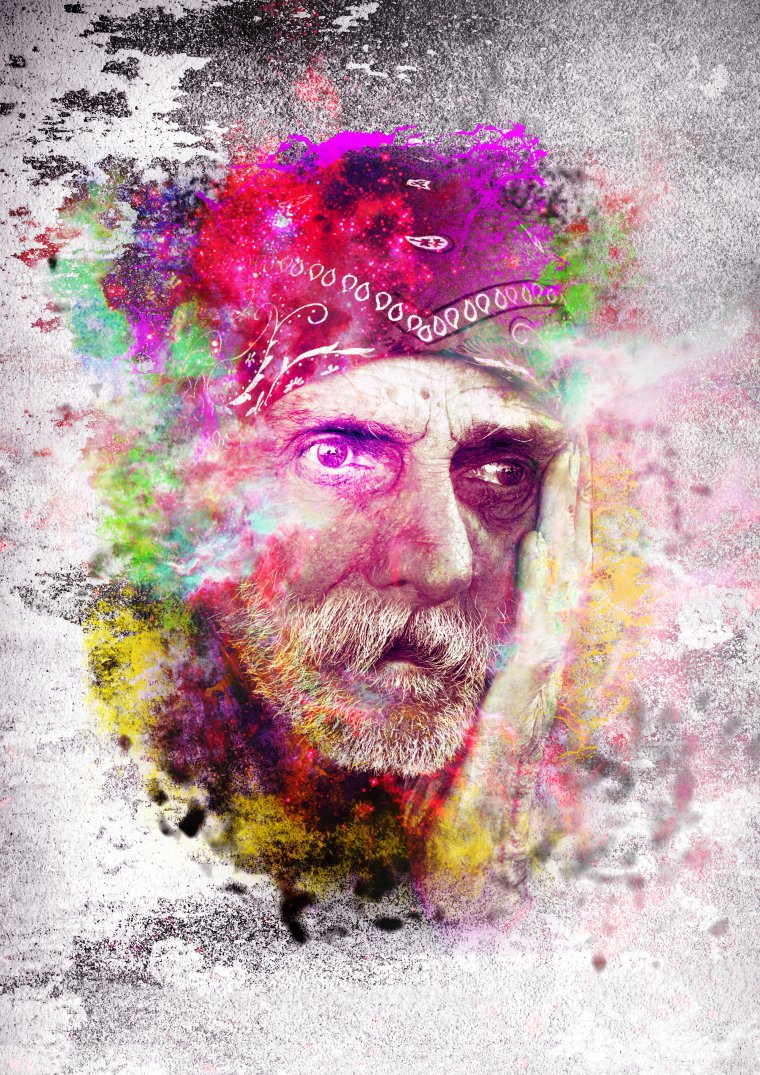
Today I’m going to be starting a nice Tutorial showing you how I created this Portrait using Photoshop.
So the Effect that I’m going to show you today can be used on any portrait so if you wis to keep this PSD file safe so you can use it in the future.
You can use this cool ImageEffect on your Portraits for your portfolio or alternatively you can use it for say a poster to some event it would look good representing.
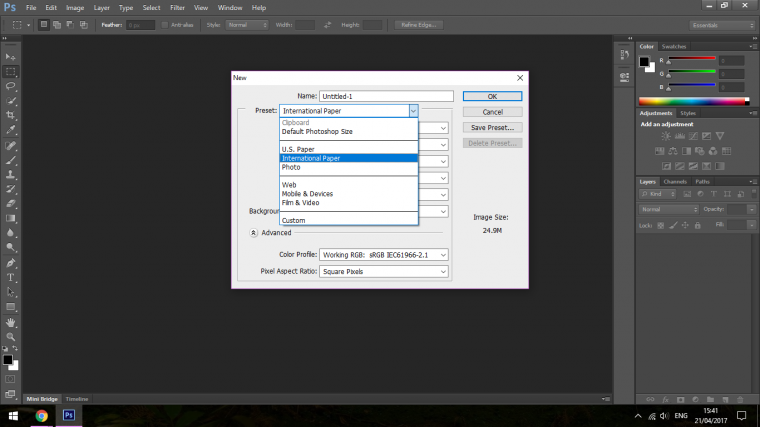
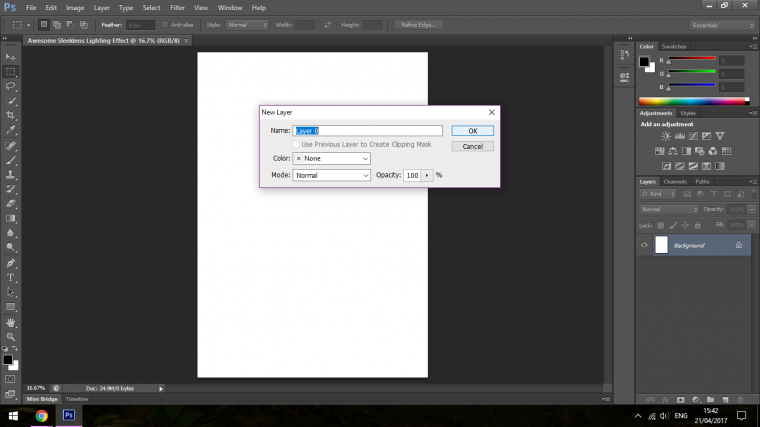
The first thing we’re going to do is to create a new document.
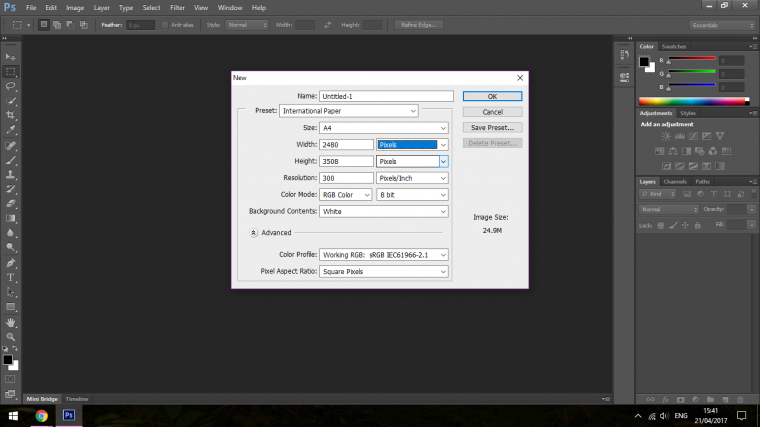
For this tutorial, we’re going to assume that the final image is for print.
A print is a little different that regular web based images, normally for web based images the resolution is set at 72 Pixels per Inch.
But for Print we need to change this to 300 Pixels per Inch.
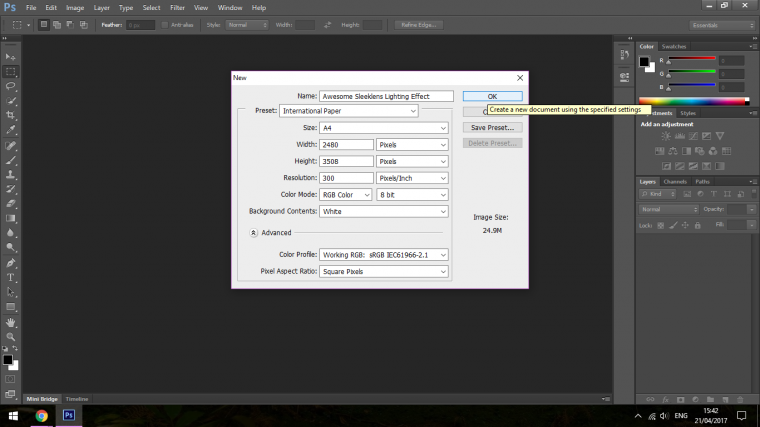
I will set the size to A4 (2480 Pixels Width x 3508 Pixels Height) and I will name it Awesome Sleeklens Lighting Effect.
File – New
Preset to International Paper.
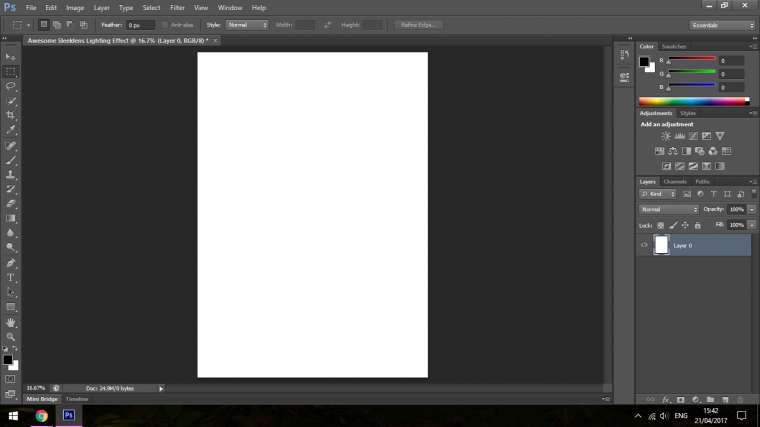
Then I double click on the Layer titled Background to the middle right of the image below, and Press Ok.
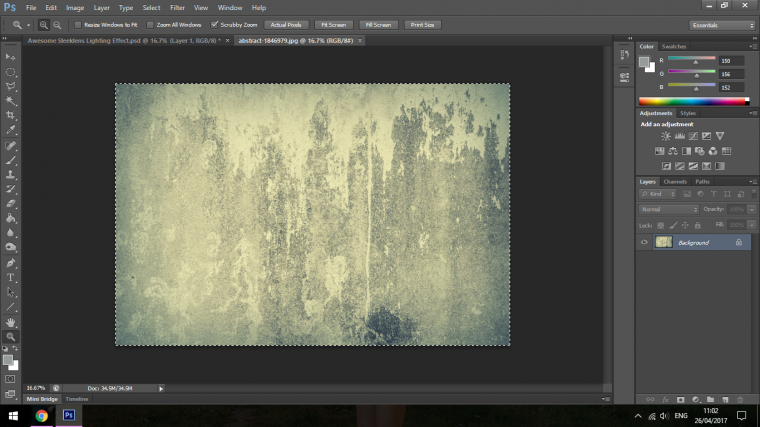
Now I’m going to add my first image, I’m going to add a Textured image, you can find these under the Keywords of Grunge usually.
For my Texture I got it from a website I use that has copyright free images called pixabay.com I used to use straight images from google which leads to problems when the work you are creating has to be used for commercial purposes, I would to save you a lot of headache find sources such as pixabay and keep a list, trust me on this, it will save you a whole lot of hassle in the future and it’s always good to say to clients when they think they have to go and buy stock images that you can get royalty free ones, I’d say this tip alone has gotten me plenty of Freelance jobs that without mentioning that could get these free images I think I may not have got.
If you know of any other sites such as pixabay then please add them in the comment section below, I sure plenty of people would much appreciate having free sources such as this.
I then go to Select – Select All – Edit – Copy, and paste it into my set up document.
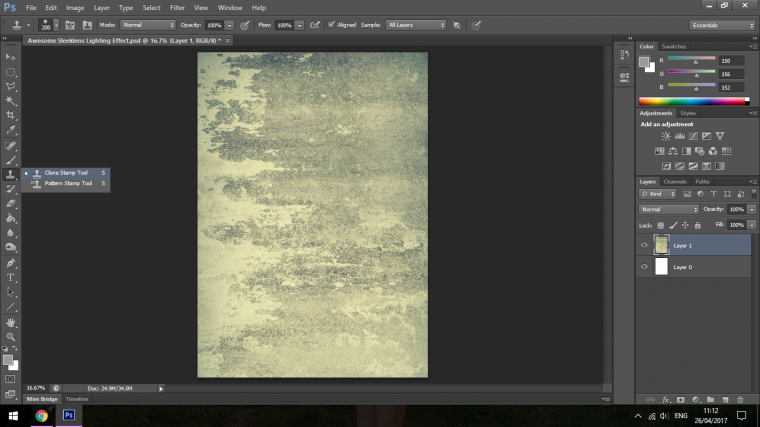
Then resize to your desired fit using the Free Transform Tool (CTRL T)
If you also wish to do so you can tidy up your grunge a little using the Spot Healing Brush Tool or the Clone Tool etc on areas such as the line running down the image or the likes of the dark patch at the bottom.
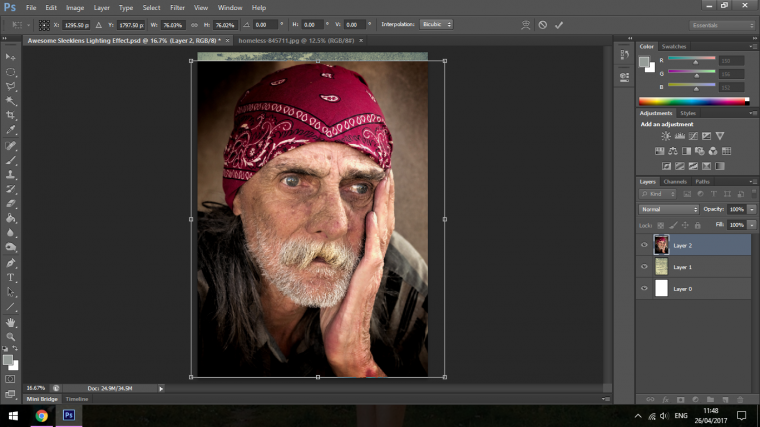
Now that you have your Grunge source image we’ll get our models image in the exact same process using out Free source sites to keep us right.
You can use any Portrait for this.
Resize it so that the face is roughly in the middle.
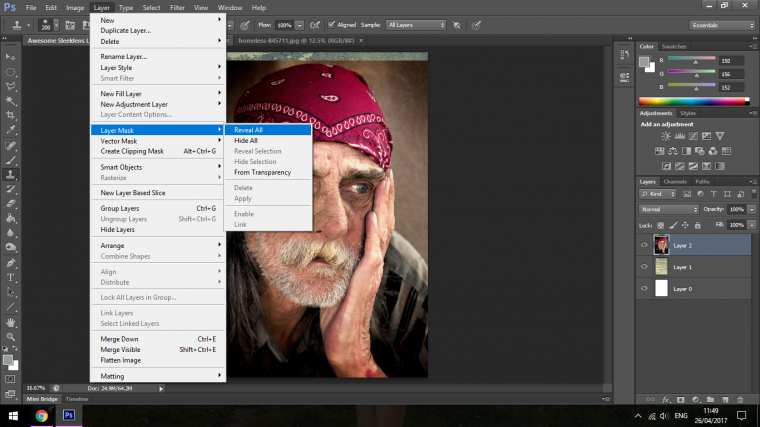
Then create a Layer Mask.
When you create the mask you will see the square appear on the right hand side on your layer.
It should be white, this means that when you paint over it with Black on your Brush Tool it will hide where it’s painted on, you can make it reappear again by painting on White.
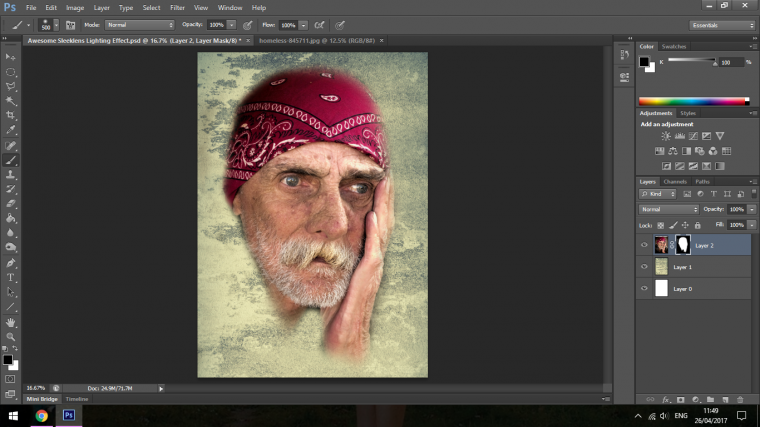
You don’t have to be anywhere near precise when doing this just enough that you can see the targeted area which for me it the hand and the head.
Close enough with this task is good enough.
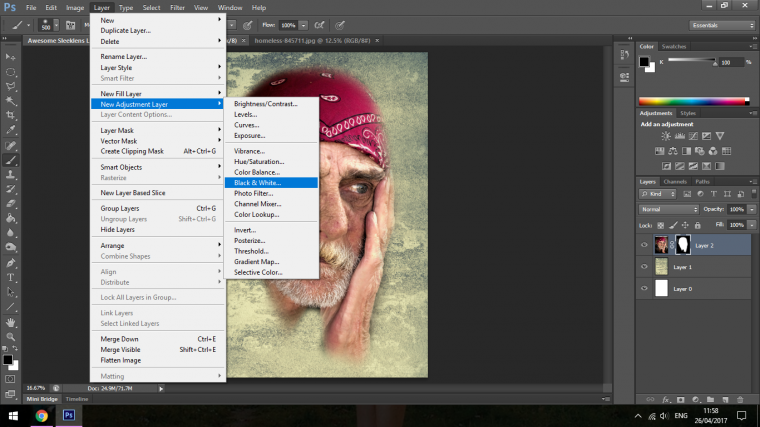
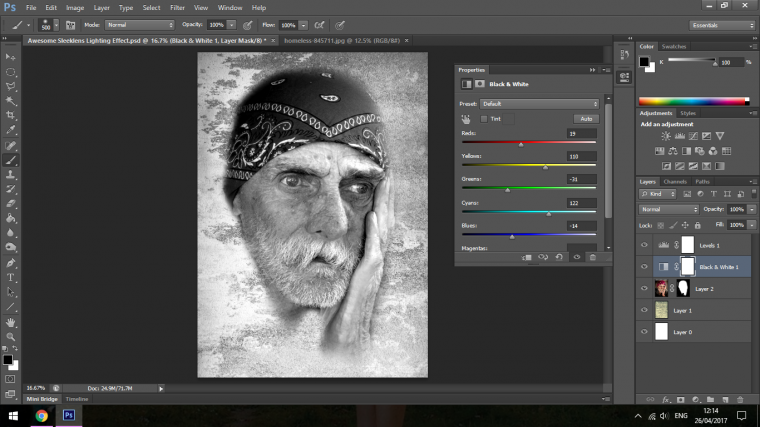
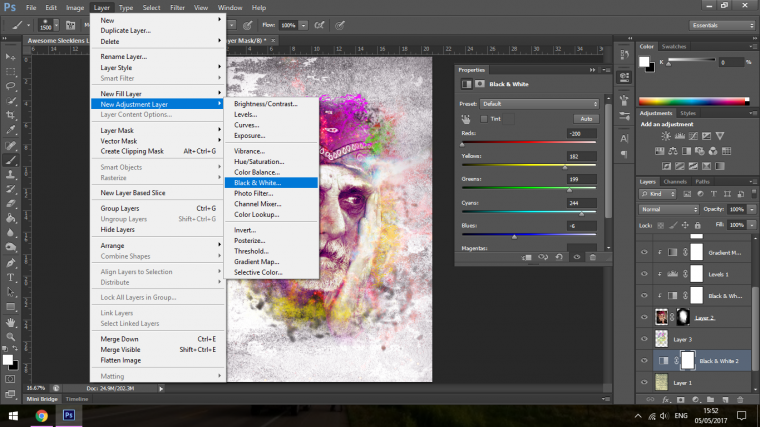
Last few steps for this part of the Tutorial is to create a Black and White Adjustment Layer and a Levels Adjustment Layer.
If you already know how to do this then cool if not then go to Layer – New Adjustment Layer
In there you will find both Black and White and Levels.
I wouldn’t do too much with Black and White, if you’d like you can play around with the sliders but try to keep it looking good with no details lost.
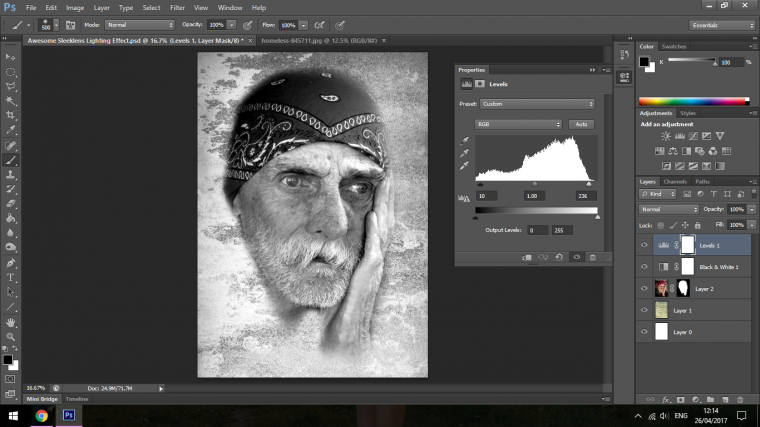
With the Levels all I do is take the two ends of the slider and slide them in just a little fraction.
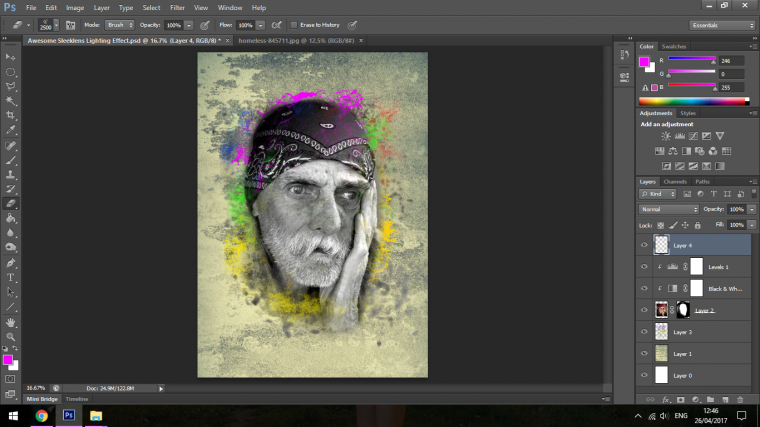
Next, we are going to add some splashes and text to your image, I have also decided to resize the head a little bit more so that my splashes will appear a little better around the edges.
The first step is you have to create a New Layer below the head layer.
So click on your grunge layer then go to, Layer – New Layer.
For this, you’ll have to look up some Photoshop Brushes, so again try to find royalty free Brushes.
Keywords like, Grunge, Distressed etc combined with Free Photoshop Brushes should provide some good results on Google.
Once you get those and you have the loaded, which is done by simply double clicking the Photoshop Brush File you will then be able to start adding some of the splashes of color.
So as a reference how I have my image below is what you should aim for, nothing crazy just yet.
And then just a few more splashes on a new layer on top as well.
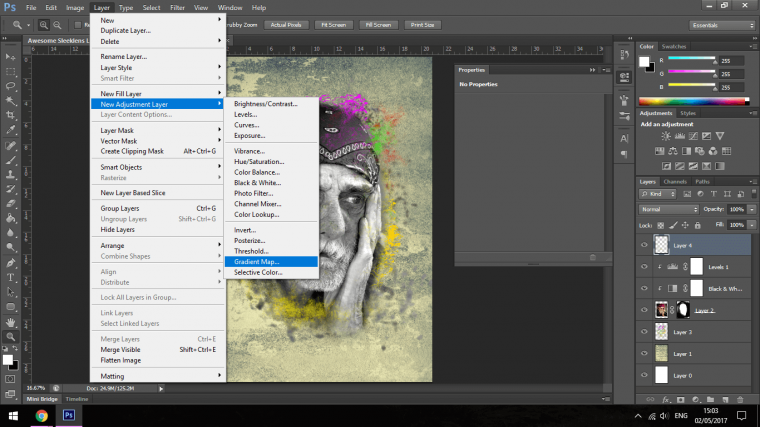
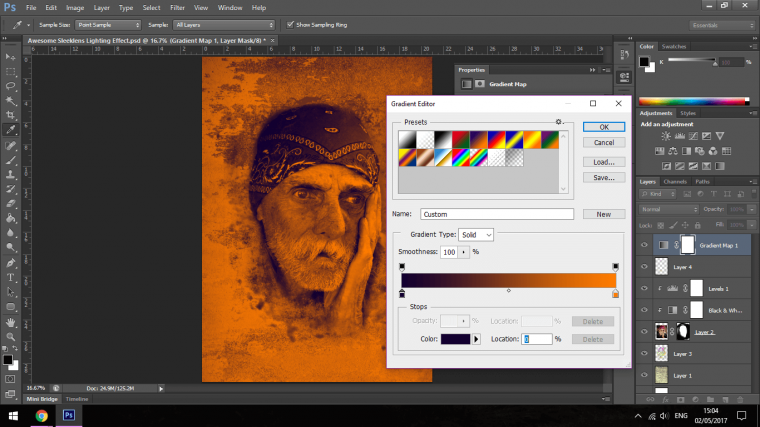
Now we’re going to add a little bit of color to the face, I do this by creating a Gradient.
I do this by going to Layer – New Adjustment Layer – Gradient Map
Once the panel appears you can choose whichever color combination you wish to do so, you do this simply by clicking on the little tabs on either side of the color bar and then selecting your chosen color by just clicking on it.
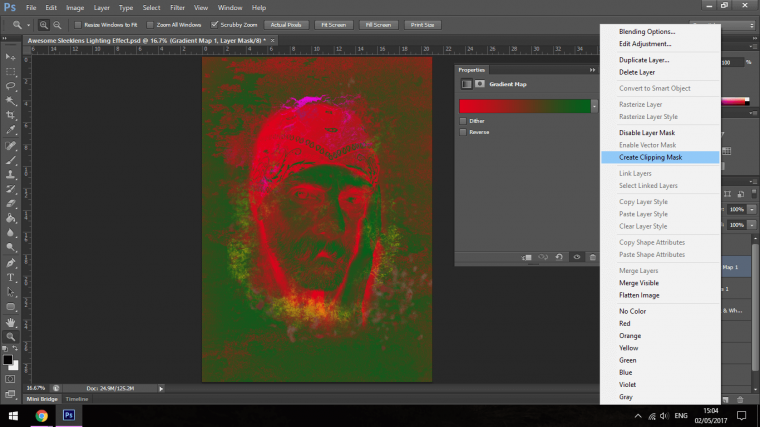
Make sure if you have to move the layer so that it is the next one up from the Adjustment layer that says Levels, when you do this then you right click on the layer and select Create Clipping Mask
This will add that adjustment layer to the face image and only the face image.
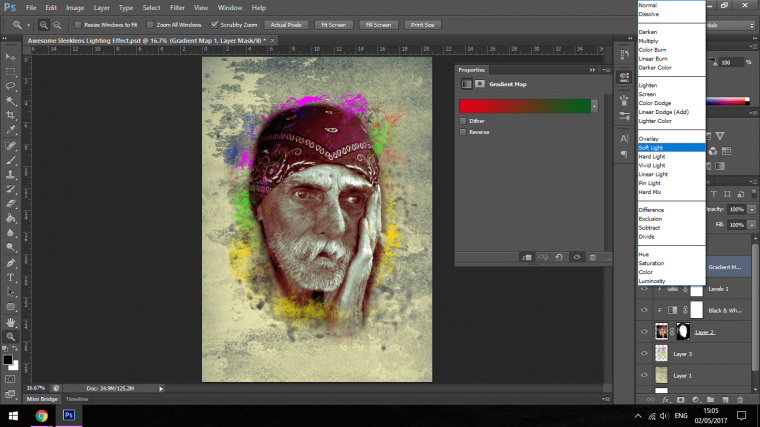
When you have done this then just above your layers you will see right beside Opacity on the right-hand side of your screen a little drop down box that should say Normal on it, when you click on this you will see a whole list of Blending options now appear for you to pick from.
Choose Soft Light
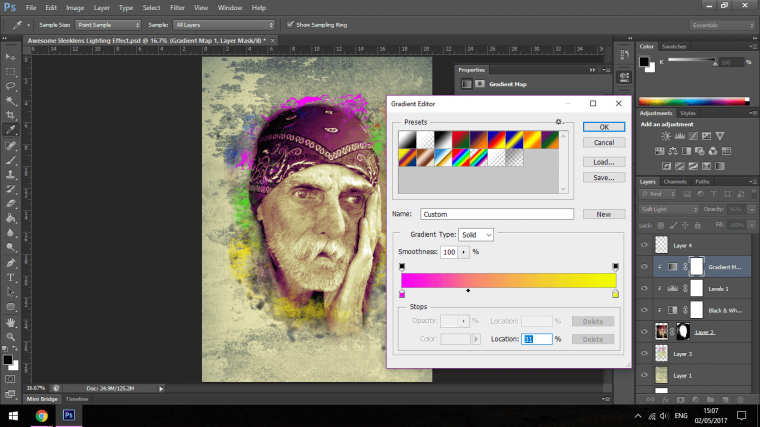
Then if you wish to adjust the colors anymore you can simply double click on the layer and edit as before when you chose the initial colors.
You can also drop the opacity of the layer too if you feel that the layer adjustment is far too strong.
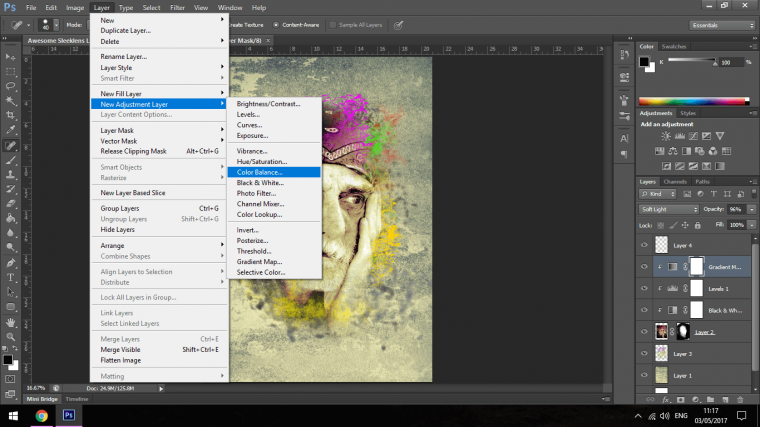
Next, I want to blend the face in a little more with the background and bring out the colors in my Shadows and Mid tones, so what I’m going to do for that is to use a Colour Balance Adjustment Layer.
Go to Layer – New Adjustment Layer – Colour Balance
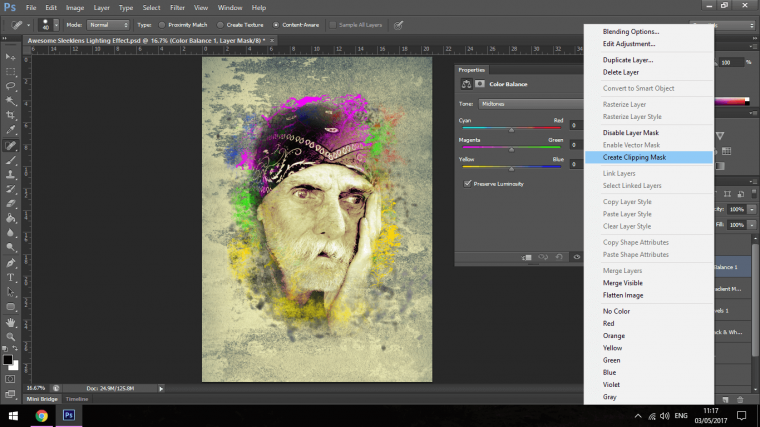
When that layer appears on the right-hand side with the other layer right-click on it and select Create Clipping Mask so it attaches itself to the Face image only.
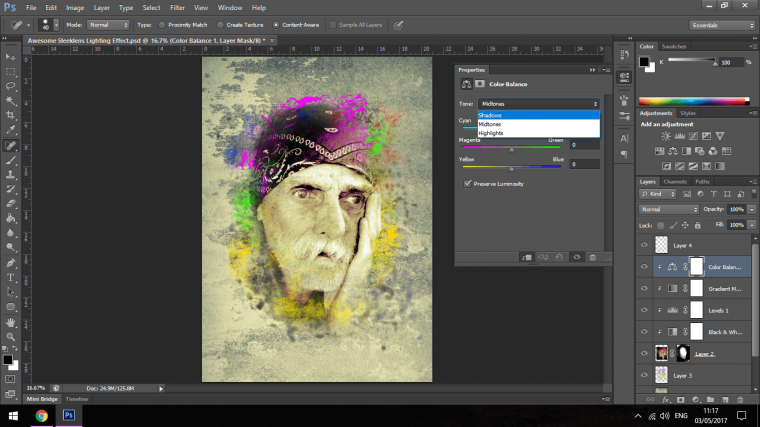
Now go through each Tone,
Shadows
Mid Tones
Highlights
These are in the drop box near the top in Colour Balance Panel.
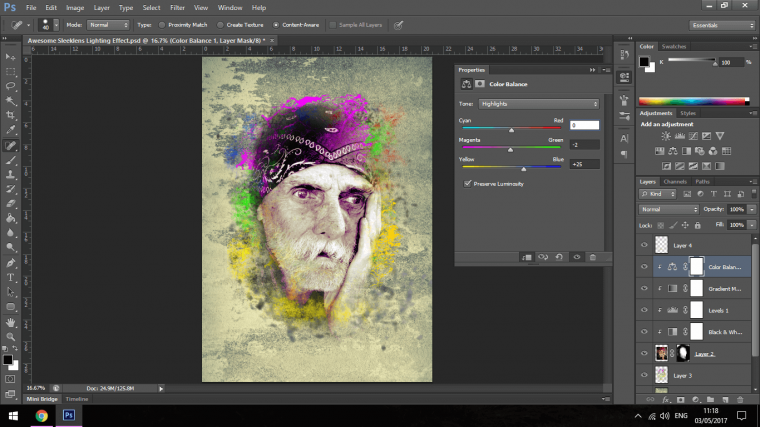
There is no specifics I can give you here accept to play around yourself till you achieve something that you are happy with, I wanted the face blended in more so that’s the effect I went after.
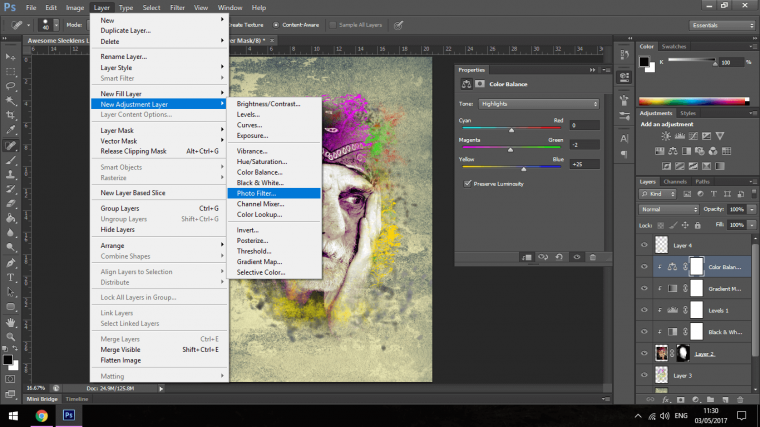
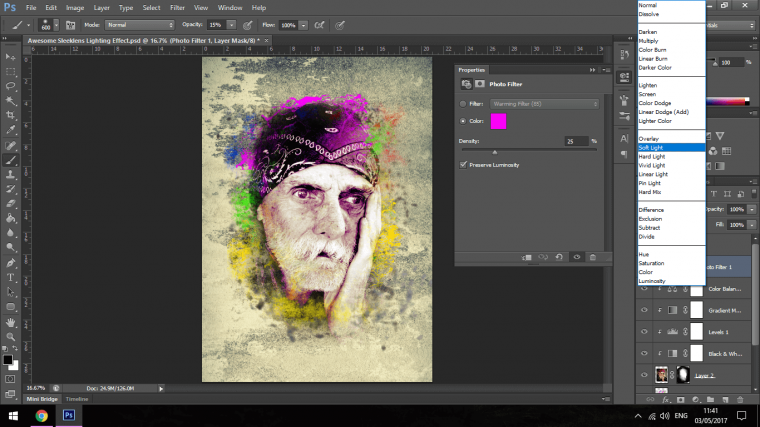
Now I’m going to add some Contrast to my image, I like the Purple direction I see my image going so I’m going to go to Layer – New Adjustment Layer – Photo Filter
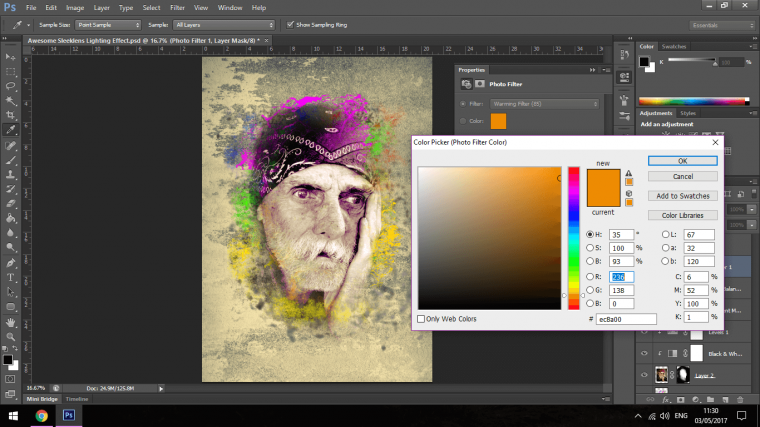
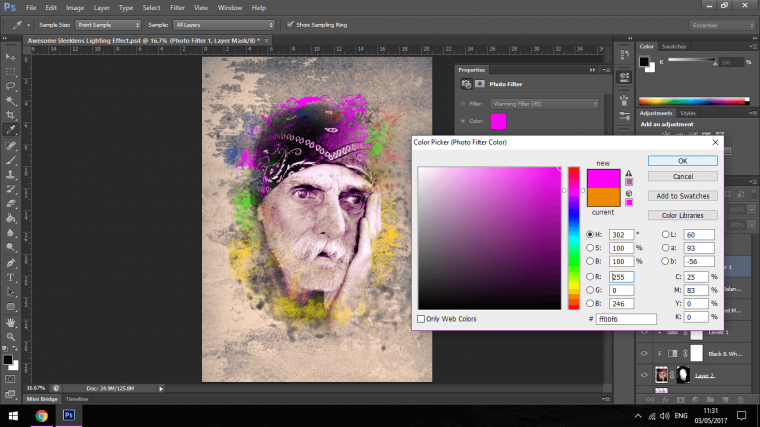
Where you see the box of colour with in the Photo Filter Panel you double click on the and the will open your colour options.
Now you choose on the rainbow slider the color you would like to use then on the left-hand side just click on how dark you’d like it to be or how light.
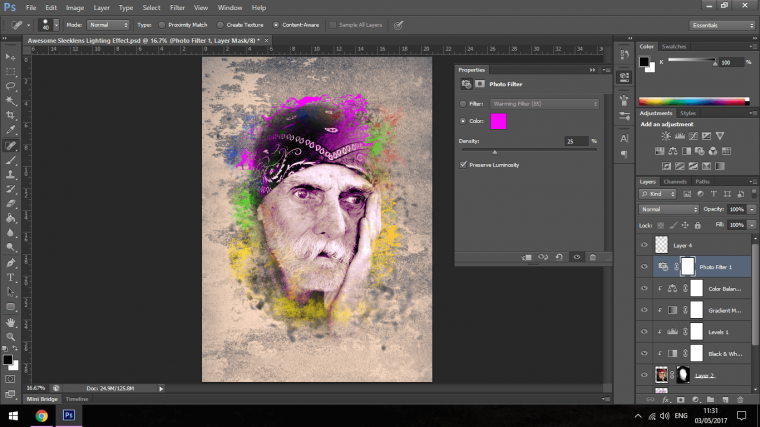
Density at 25% is fine.
Then I will change the Blending Mode to Soft Light, you find blending modes in the Layers panel on the right, you will see the opacity percentage.
To the left of that you will see the drop-down box where it says normal, in there you will find all the options you need, and in there you’ll find Soft Light.
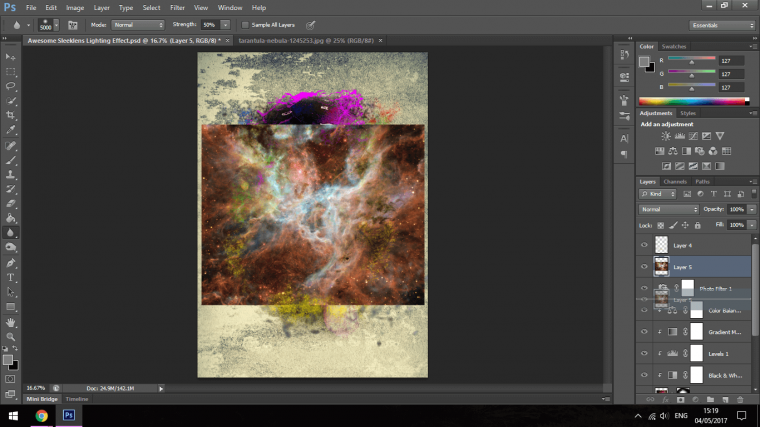
Now we are going to start to add some of the lighting effects, everything up until now has been prep.
I’m going to search my Free Image Website for some lighting effects.
The Key word that I used to find my lightening effect was ‘Nebula’
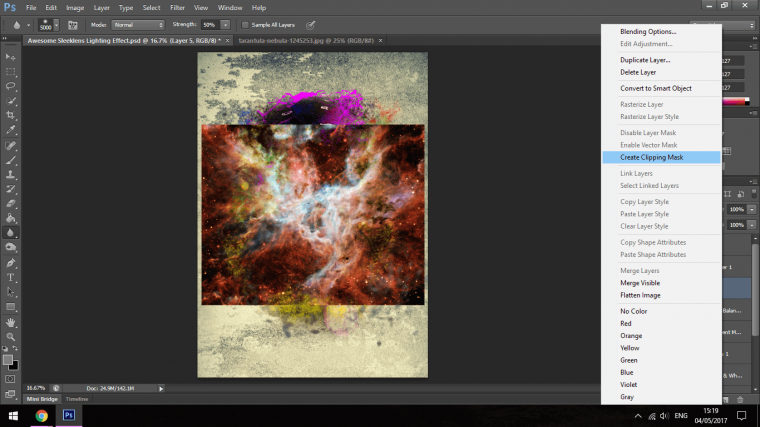
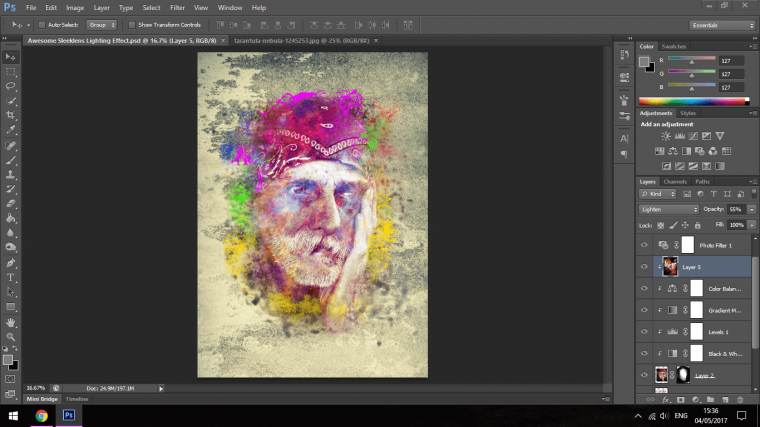
Then once you do that make sure to position it just about the Adjustment layer.
After you have done this Right-click on it and choose Create Clipping Mask so it is attached to the face only.
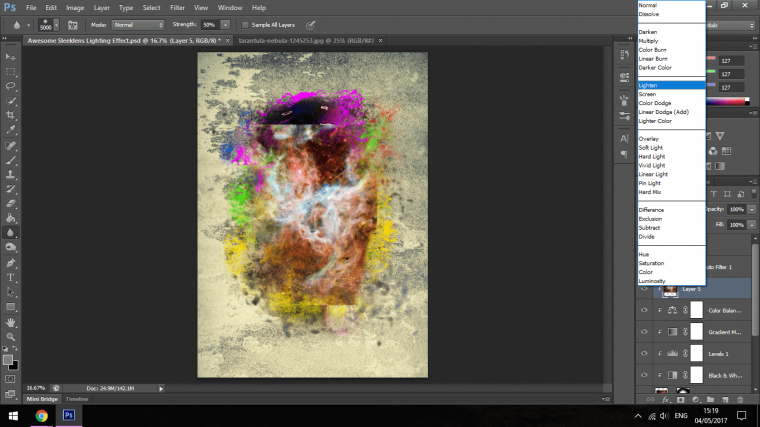
Then the next Step is to create a blending mode, and the one I want you to use is called Lighten, I believe this will give you the best effect results for this image, if not then feel free to try out all the others and get accustomed to them, if you can’t remember how to create a blending mode them you will be able to find the explanation in Part 2.
I’m sure you’ll remember this little tip ‘its the drop box beside Opacity in the Layers Panel’
When you have sorted out the blending mode when will position our effect in a manner that we like.
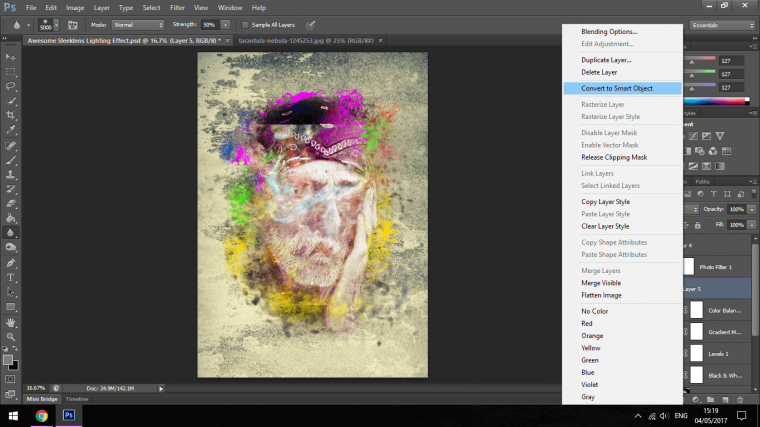
Right click on the layer with the effect on first and Convert it to a Smart Object, that way when we play around with the size and positioning it won’t affect the details.
Then key in Ctrl+T to open your Transform tool and position your effect.
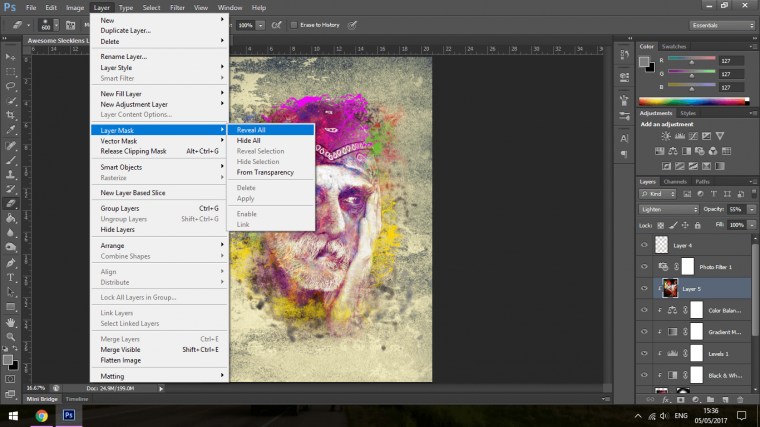
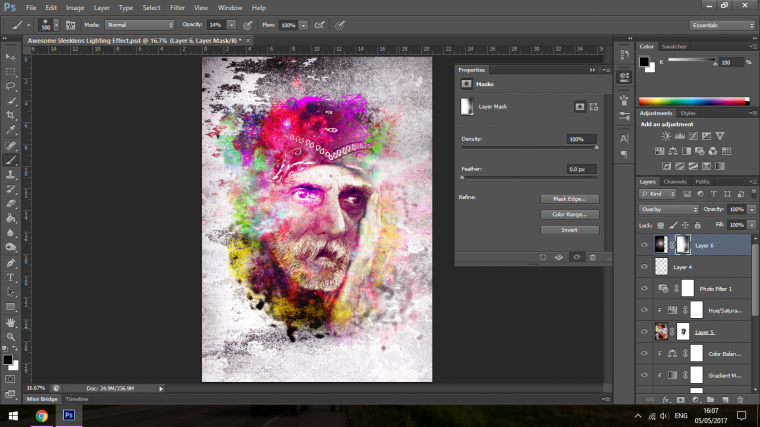
Next, I’m going to create a layer mast on the Nebula, so I can paint over using a Black Brush to hide the areas I don’t want to be visible.
Before you paint on to the image with your Black Brush make sure that you have selected the white box beside the layer thumbnail picture, that’s your actual mask.
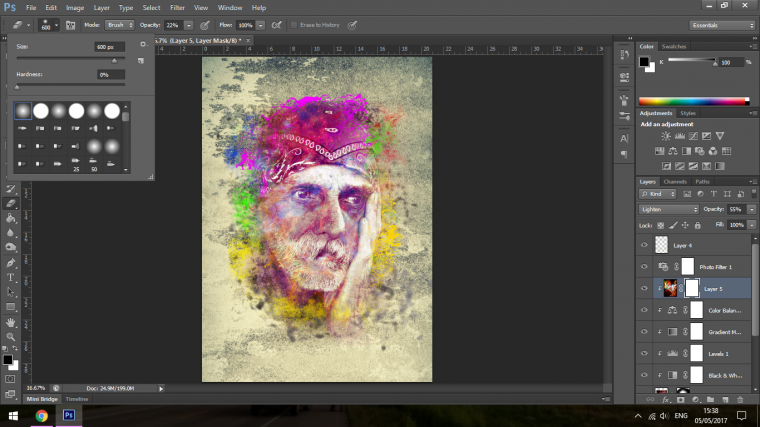
If you make any mistakes or don’t like the outcome of your image them you can paint back using a White Brush.
Make sure to Choose a Soft Brush, that’s when you click on your Brush Options you will see 6 circles at the top, we only have to bother with 1 here and that’s the first one, then you can lower your Opacity on the same menu to soften if even further.
Now initially I was going to keep the Clipping Mask on my Nebula Layer but I have realised that if I release the Clipping Mask it has given me more of a range with the effect, so to release the Clipping Mask right click on your layer and click on the Release Clipping Mask option, if you check that out and prefer it the way you had in then just do the same selecting Create Clipping Mask.
I also just went back to my original Background Layer and converted it to Black and White.
Then I played with he sliders a little until I was happy with it.
Those sliders are awesome while using Black and White, by the way, the control each individual color, so keep that in mind if you can when converting images to Black and White in Photoshop.
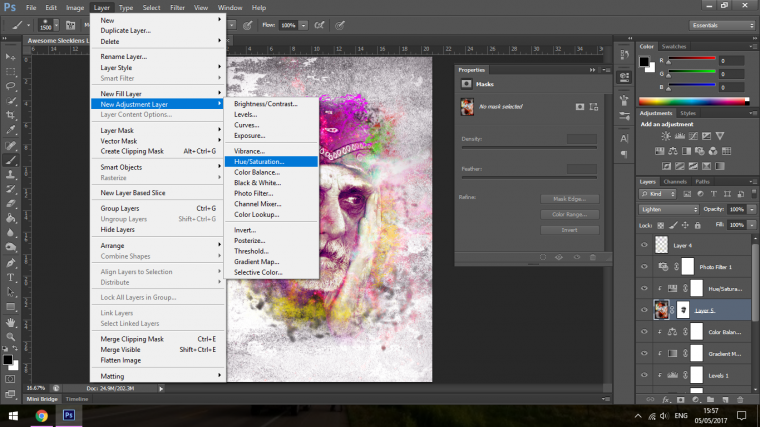
If you also want to with the Nebula you can create a Hue-Saturation Adjustment Layer, then Right Click on it and create a clipping mask.
Then you can try out different color options and see what you like.
If you wish you can add a few more Nebula’s, for this I think that one would be enough but your image will be different so it may require a one or two more just to look a little bit better.
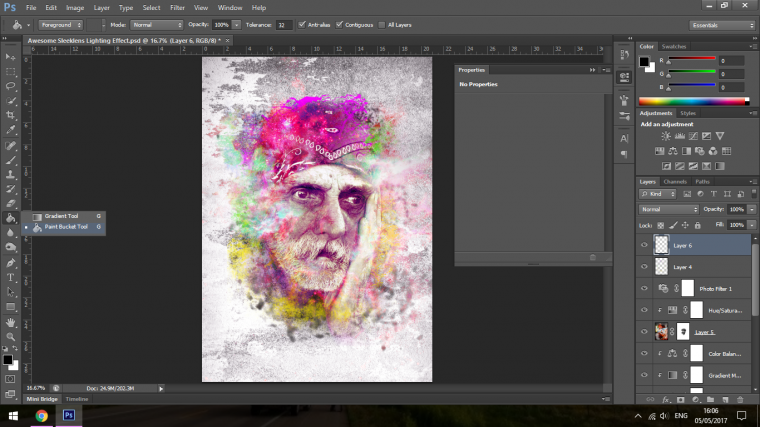
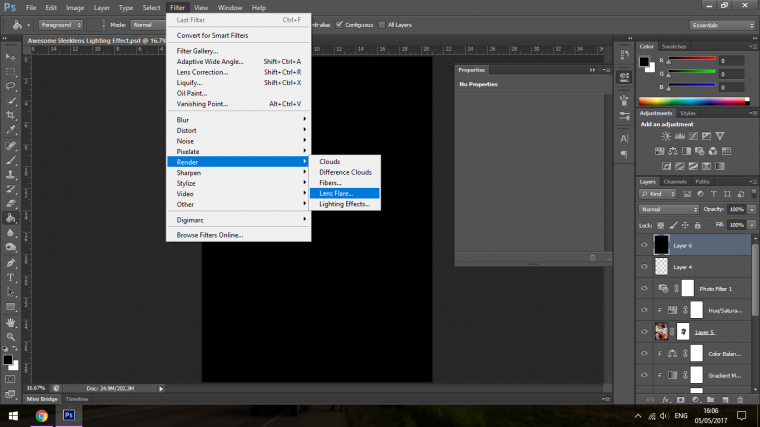
The Last thing I want to do here is to add a Lens Flare.
If your image is none commercial and just for practice you can google those.
If not then you can create one here by first creating a new layer on top of all the other layers.
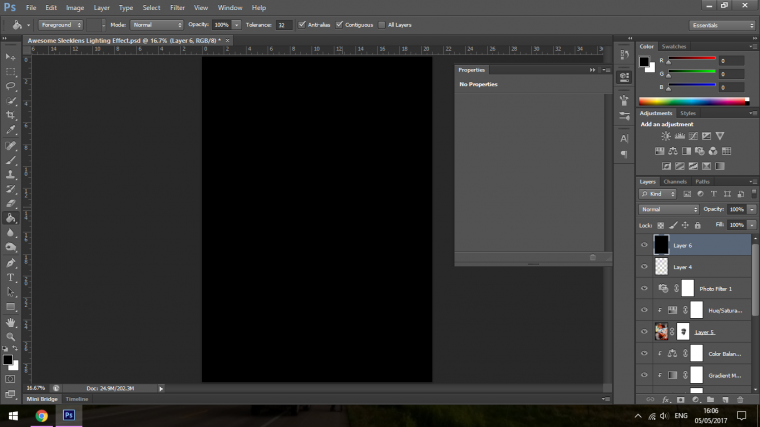
Then choosing the Fill Bucket Tool with Black selected.
Then click on the new layer and it will turn to Black.
Next, go to Filter – Render – Lens Flare.
In there you will find loads of options to play with, find one you like.
Once you are happy, change the blending mode like we talked about previous to Overlay and position it where you feel is best.
When you have done this you may have to create a layer mask to mask out the edges with the Black Brush.
Graduated from college in 2002 with a degree in Art & Design, I started exploring my way in Graphic Design and Professional Post Production. Full-time freelancer since 2011.


 Facebook
 Google +
Comments (0)
There are no comments yet.