Tips and Tricks for Using a Light Meterwww.sleeklens.com
Light meters might seem like an intimidating piece of equipment, but they can be one of the most important tools a photographer has at their disposal. The information provided by a light meter can help you set your exposure properly to achieve the mood you’re looking to capture in your image. By using the reading from a light meter, you can set your camera to shoot the image correctly exposed, or under or overexposed to suit your artistic style.
Cameras have a limit to the level of brightness they can capture, called dynamic range. A good light meter gives you an idea of where these areas of brightness fall. It shows you which areas will be either too light or too dark to contain any details.
That way, you can adjust your camera’s exposure to capture the most important parts of the image. You can also see if you need to expand the dynamic range of the scene by switching to a high dynamic range technique.
However, your camera can often produce inaccurate light readings. This happens especially often if you’re shooting a scene with a lot of black or a lot of white, to influence the perceived brightness. This confuses the computerized meter, and if you trust your camera to adjust the exposure for you, you’ll end up with a disappointing result.
Table of Contents
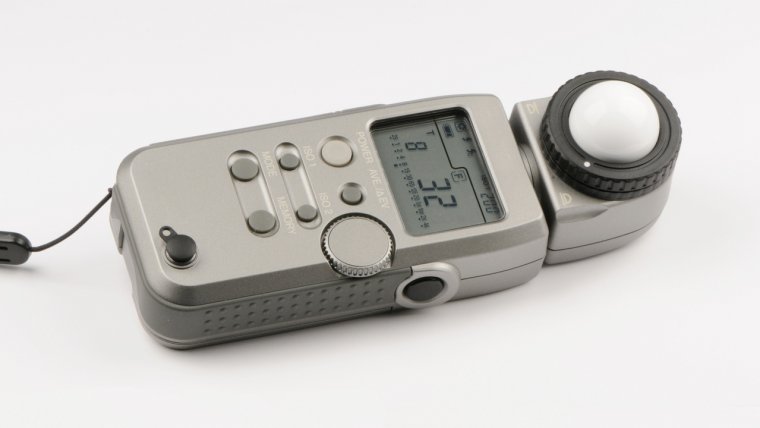
Types of Light Metering
Built-in light meters aren’t capable of measuring incident, or ambient, light. This is the light that falls directly onto your subject and is measured through the meter’s lumisphere, which looks like a white dome. With an incident light meter, you can correct exposure errors that can occur when your subject is backlit.
Reflective light metering picks up the brightness of the light bouncing off your subject and can be set to measure the light using several different patterns. Evaluative metering uses a precise algorithm to measure the exposure in several zones within the frame. Center-weighted metering will prioritize the middle of the frame when judging exposure. Finally, spot metering reads the light in just a small part of the frame.
By measuring the intensity of both ambient light and reflective light, a hand-held light meter can give you a much more accurate reading. Once you’ve input your ISO, and your shutter speed in certain instances, the meter tells you what f-stop setting to use on your camera to achieve the perfect exposure.
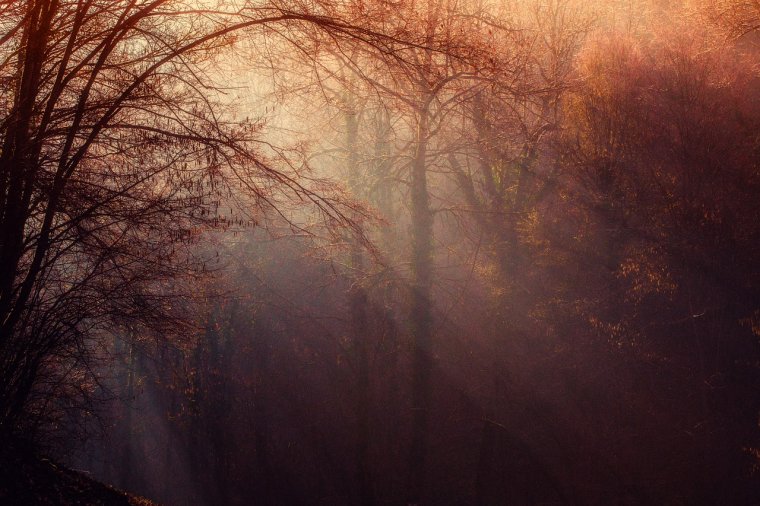
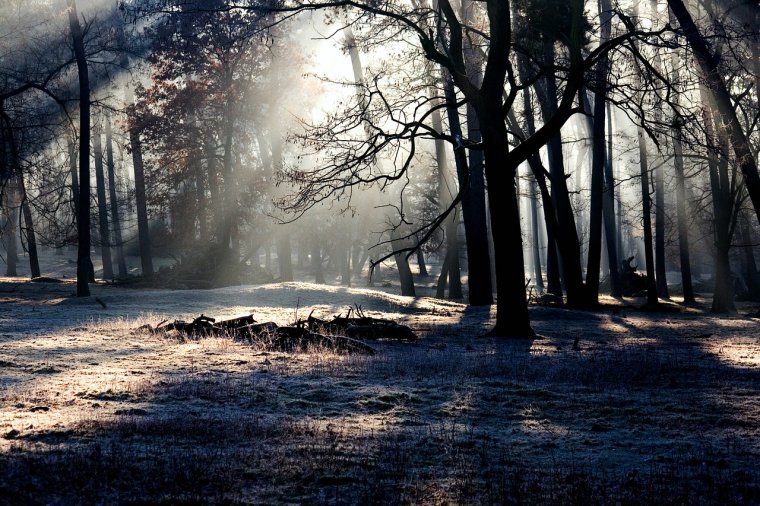
Shooting Landscapes
You probably only need an incident meter reading to accurately set your exposure for capturing landscapes. Hold out your meter and check to see that the light hitting your lumisphere is the same light falling on the scene you hope to shoot. Make sure you don’t have the lumisphere in direct sunlight – you want to measure the incident light in the shadowy parts of the scene, to retain as much detail as possible in your image. Once you’ve pressed the meter button to see the f-stop reading, set your camera’s shutter and aperture and get shooting.
A reflective meter reading will be more accurate if you use your meter’s memory button to capture readings from a number of areas with differing brightness. Use the average button to get an appropriate exposure value, and use that average reading to set your camera.
Shooting Portraits
Using an incident light meter when shooting portraits helps you to retain the details and tones of your subject’s skin and face, creating a more accurate and interesting portrait. Use the lumisphere to get a reading of the light falling on your subject’s face and adjust your camera’s settings accordingly. Portraits are generally more flattering when they are shot slightly overexposed. Once you’ve got your reading, bump your camera up one more stop for a bright, attractive head shot.
Again, take several readings from important parts of your subject – highlights on their cheeks, shadows in their hair and clothes. Press the average button to see the final exposure value to input on your camera.
Shooting Still Life
A light meter is a very valuable tool for shooting professional quality still life product photos. Capture a reading of the light hitting your subject by using your meter’s lumisphere, no matter how bright or dark your subject is. The reading from your meter will give you a good base exposure to set your camera, but feel free to bump it up or drop it down a few steps to achieve the effect you’re looking for.
By now, you should have an idea of which areas are most important to get a good reading with a reflective spot meter. The average of these readings will give you a solid exposure value, but again, adjust it however you like to capture the mood you hope to achieve.
Using a light meter will take a bit of practice, but the more you use it, the more you’ll understand how helpful this tool can be for any kind of photography. Save yourself tons of post-processing work and retain the important details in every shot by investing in a professional light meter to shoot properly exposed images every single time.
Before I became Editor-in-Chief of PHLEARN Magazine, I spent over five years specializing in Photography Writing and contributed articles regularly to sites like PictureCorrect, Sleeklens, and PhotoWorkout. Photography has always been a huge passion of mine; I may not be professionally trained in the art, but the knowledge and experience I have gained writing about photography techniques, interviewing some of the biggest and most inspiring photographers out there, and covering industry events has been invaluable!


 Facebook
 Google +
Comments (0)
There are no comments yet.