How to Create a Fish Eye Effect in Photoshopwww.sleeklens.com
Hi guys, so for today I’m going to be going over exactly how to Create a Fish Eye Effect in Adobe Photoshop.
So what is a Fish Eye Effect in Photoshop if you don’t know, well it’s a curved lens that gives you a warped look like you are in a tank under water looking through glass or something along those lines in the most simplistic explanation I can think of.
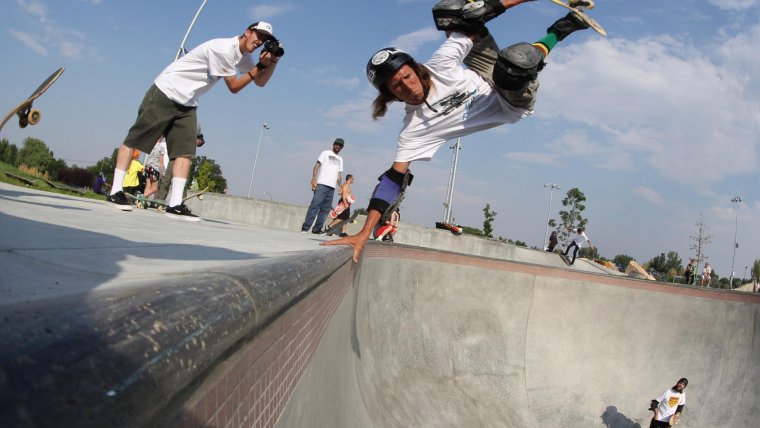
When I’ve seen these in the past, and I’m talking about years ago before I ever looked at a camera (haha I’m showing my age here) was in old Skate Board magazines in the late 80’s early 90’s, a lot of the times you would see the front covers or just the dynamic images inside with this effect on it that the Photographers had used.
It’s pretty cool and adds a bit of fun and a crazy dimension to your photography, so with all that being said let’s get to it.
So I’m going to show you a couple of ways to do this so you choose which one you like best and run with it.
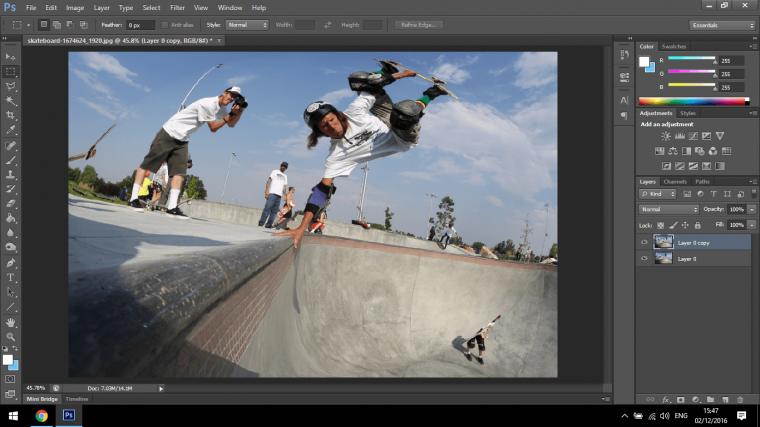
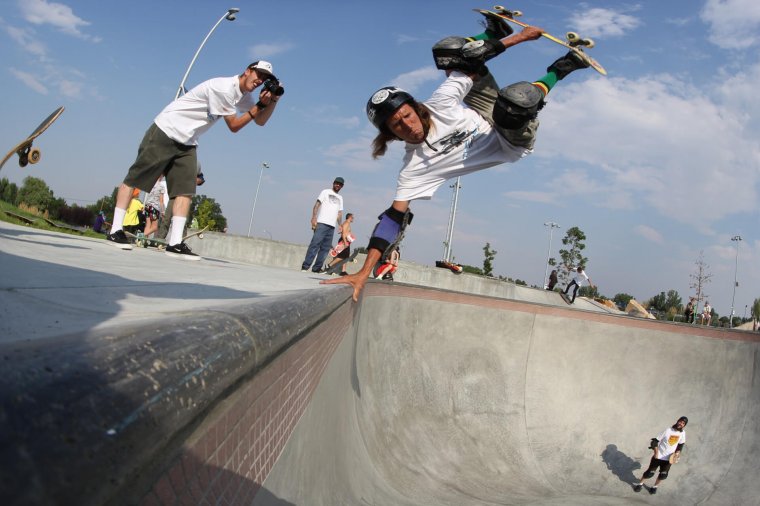
This image that we are going to use today if the exact type of image I remember this technique being used on, so, if you get something similar then it will be perfect.
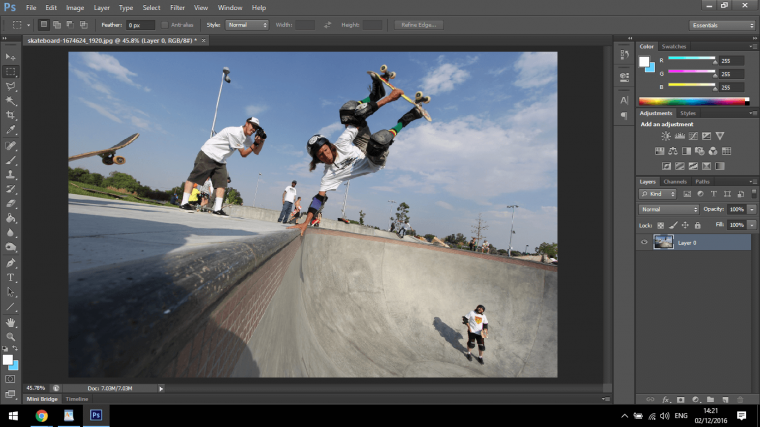
Ok so make a duplicate of this layer, you do this by dragging the layer to the little icon in the very bottom right-hand side because of the recycling bin in Photoshop. (It looks like a little Square page with a fold on it, just for reference)
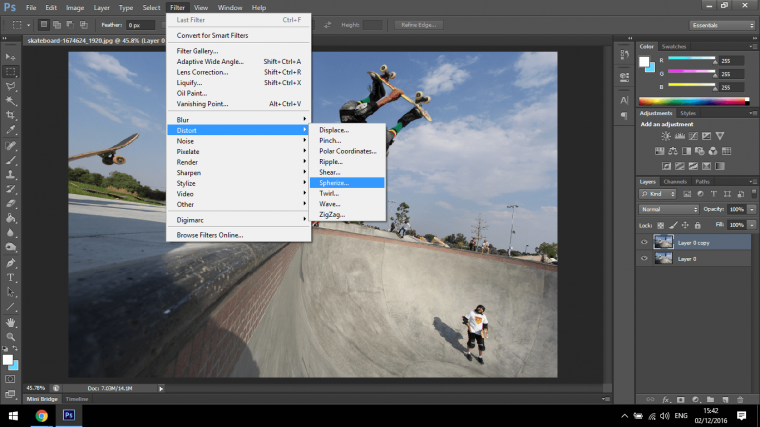
So the first one we’ll be taking a look at is how to use Spherize to get this effect.
You will find this effect in Filter – Distort – Spherize.
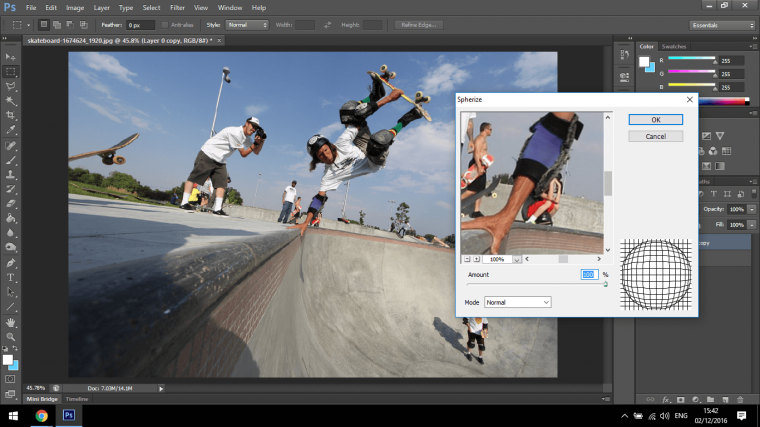
Ok so the issue that I have with this first of all is that it just creates a bubble within the image so you will still have the standard edges remaining, you can always fix this with a border of some kind or a vignette, the second is that it follows the layout of the image instead of having an exact square, so you would have to have an image that has already been cropped to a perfect circle to start with but then the same issue with the edges remain, but it is a quick way to do it and it may serve your purposes quite well.
So make another duplicate of your original background again.
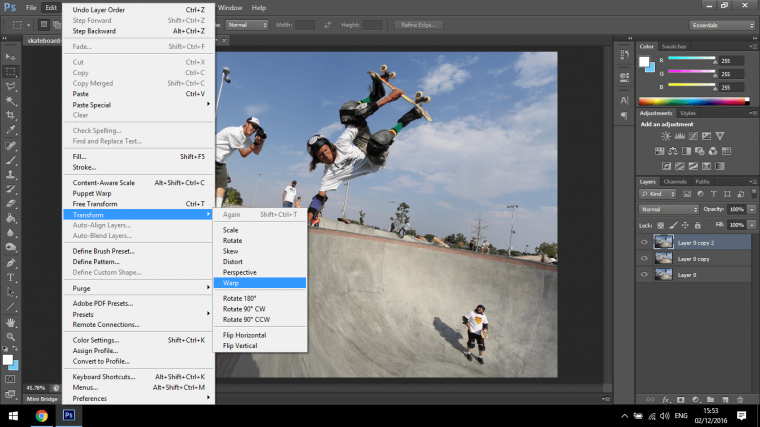
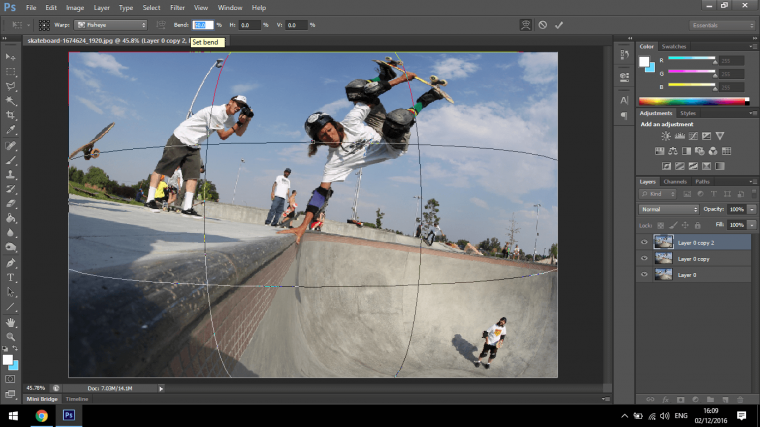
Right, that was the first way, the next way I believe is much better, to do it go to Edit – Transform – Warp.
Normally with this you would use the indicators on the actual screen that you see in the grid or at least you would start to play with them to see what they do, don’t! we don’t need to do a single manual thing, in this case, Photoshop has the process automated as if working with PS actions.
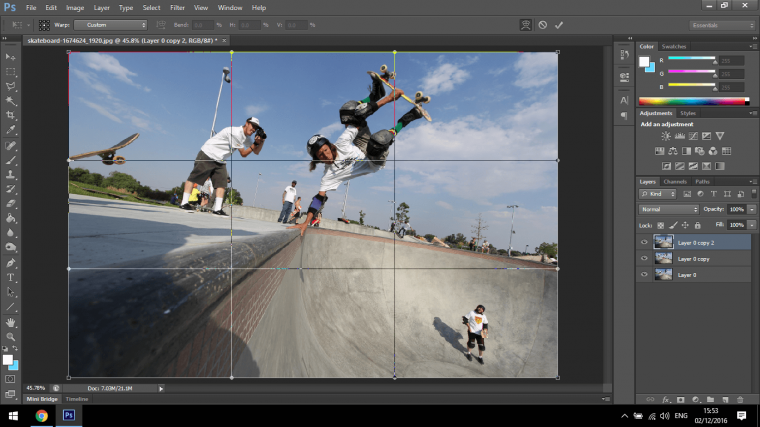
In fact, it has several presets ready for this but you will only need one, but just keep in mind that there are others for the future in case you need them.
So on the top left-hand side, you will see a custom drop down box.
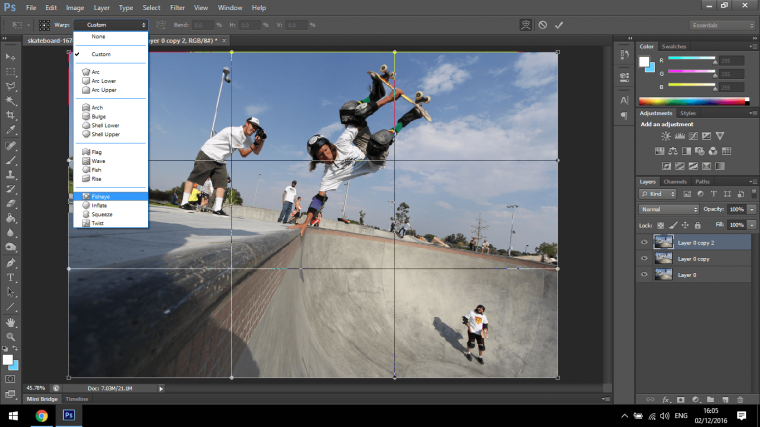
When you scroll down to the bottom 4 up from the bottom you will see the Fish Eye effect among all the other options there, or just look at the image below if you’re stuck.
When you click on that it will automatically warp the image for you to 50%
If you want to experiment with the Fish Eye Warp by increasing the bend or Decreasing the bend all you have to do is highlight the 50% and either type in a number or use the up and down arrow keys on your keyboard to do that.
For me, I found that 60% was enough as 100% warped the Skateboarder out of the image so just watch out for that.
So those are two quick ways you can replicate the Fish Eye lens using Photoshop, the first isn’t the best but it’s quick and you may want that shape within the rectangle and the second warps the entire image.
Pick which one you think looks best or whichever one you need to fit the task.
Graduated from college in 2002 with a degree in Art & Design, I started exploring my way in Graphic Design and Professional Post Production. Full-time freelancer since 2011.


 Facebook
 Google +
Comments (0)
There are no comments yet.