How to add Images on Screen Mockups using Photoshopwww.sleeklens.com
Hello everyone, so today I’m going to be showing you the exact technique I use to add Images on Screen Mockups using Photoshop.
This is something that I have to do a lot in my Freelance career.
I’m asked to do quite a few ads and banners for businesses and one of the trends that that side of Graphics has is to show lifestyle images of people with laptops and phones etc with the client’s website or images on them.
So early on, I learned that I had to figure out how to do this quickly and realistically as I was getting requests for this on a daily basis, so I came up with a quick and easy process to smash these out and have them looking excellent.
To be honest it’s not very hard at all and once you know it the skills will translate well into other areas of Photoshop.
Listen up and let me drop some fine knowledge for you.
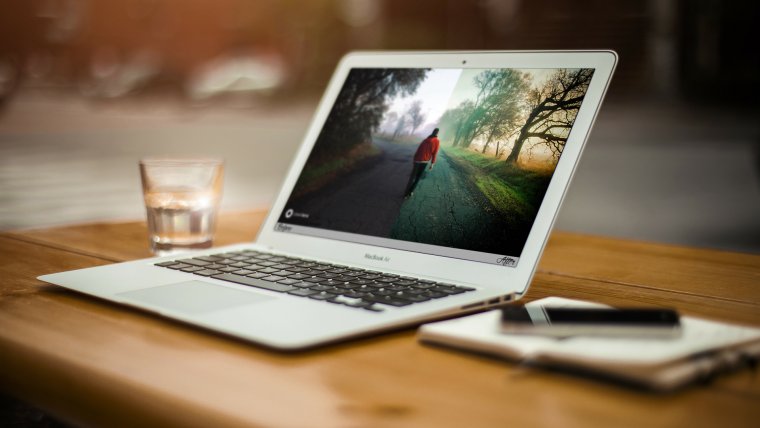
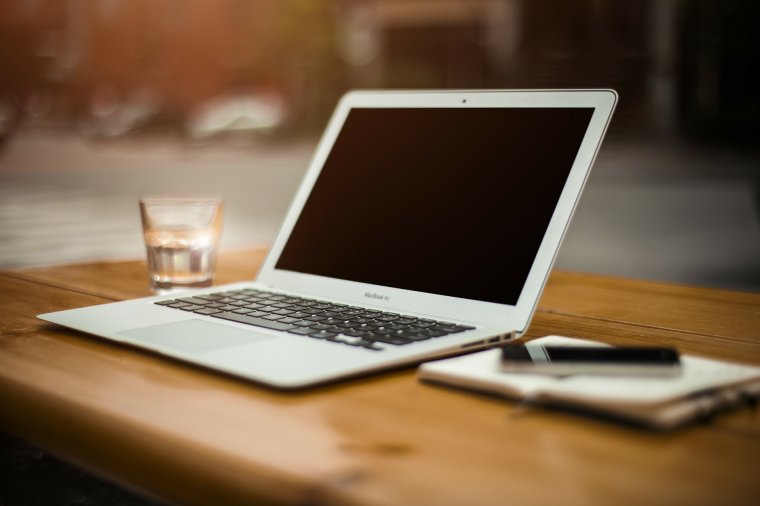
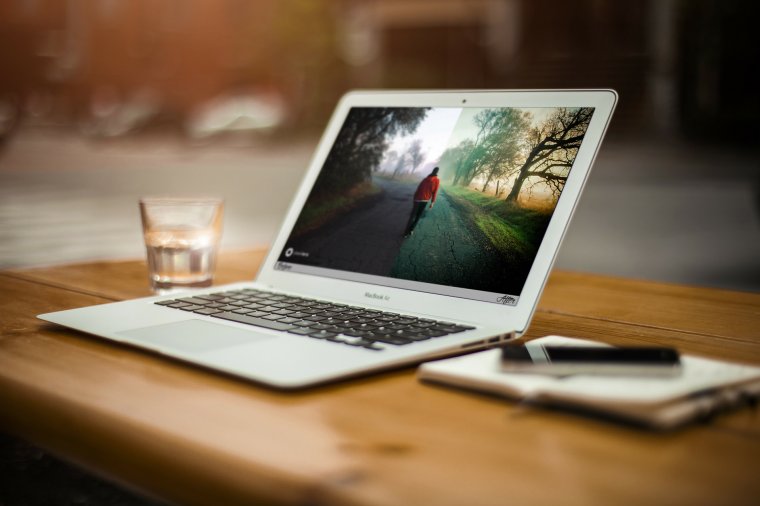
So these are the images I will be using today for our Tutorial.
The first is a nice lifestyle shot that I got from Pixabay which is what I use for all my free images for these Tutorials.
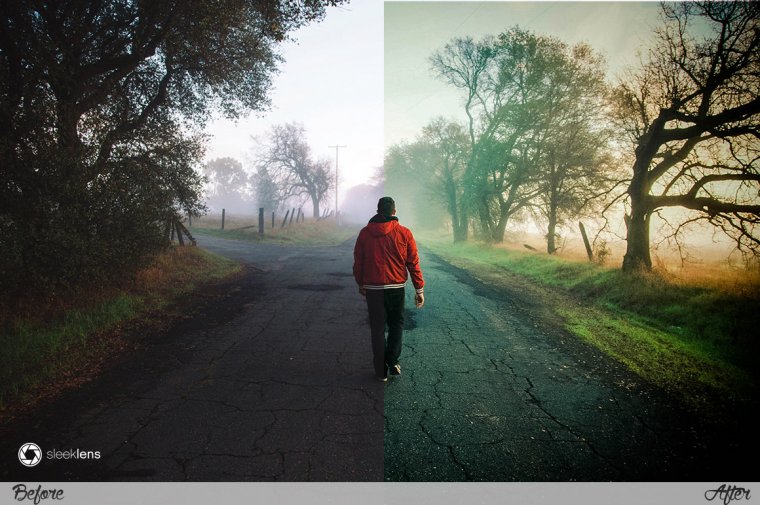
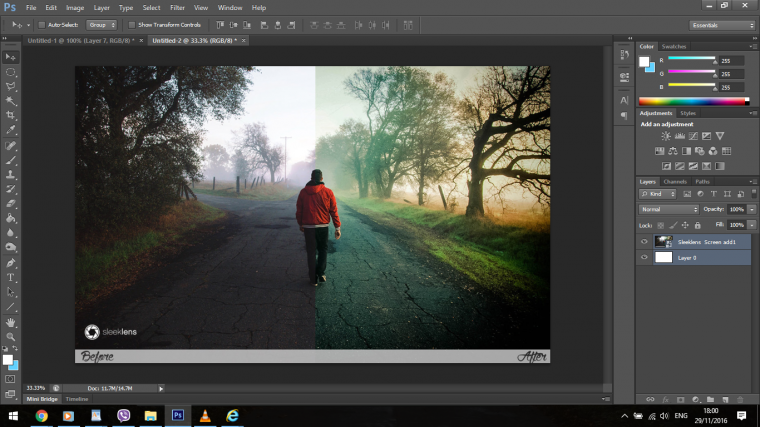
And the second is a Screen shot taken to Show the difference our Presets can make to your standard raw images.
The first thing you’ll want to do after you get your images is to find out what the model of the device is in your lifestyle image, then look up the stats online for the size of the screen.
Now this will sound kind of complicated but it’s really not, you will want to match the size of the image to the size of the screen.
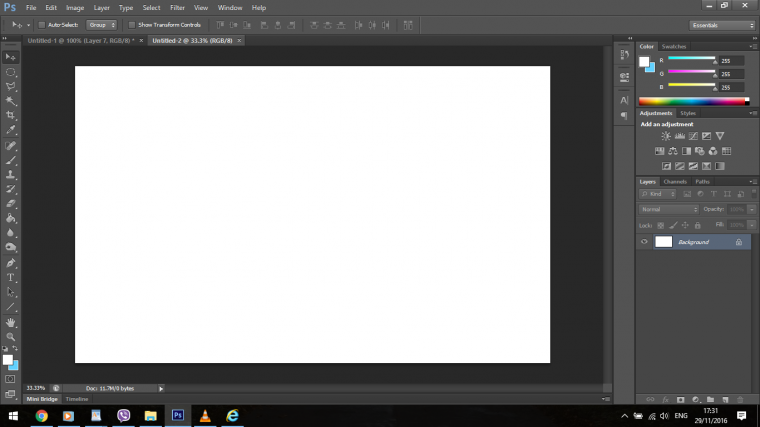
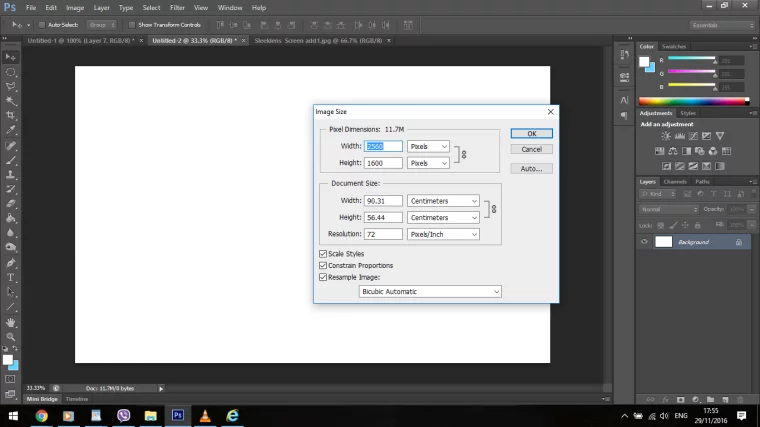
I do this by first opening up a new file in Photoshop with the exact dimensions of the model of the device.
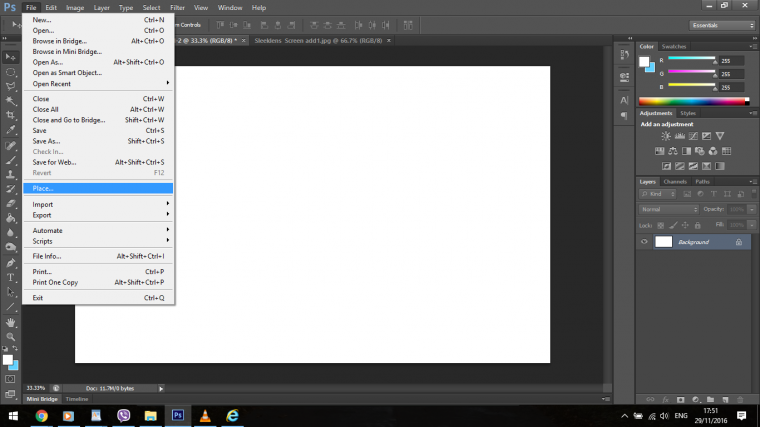
Next you will want to go to File – Place, find the image you want to use for the screen and select it, you may have to stretch the image out a little so that it fits the screen snugly, if you find that your image is simply too small you can compensate for this by creating the new screen size you just made close to the dimensions of the image you want to use, you can do this by going to image size and just type in on the length the width size of your image but perhaps make it a little larger so that you have room to stretch the image out when placed.
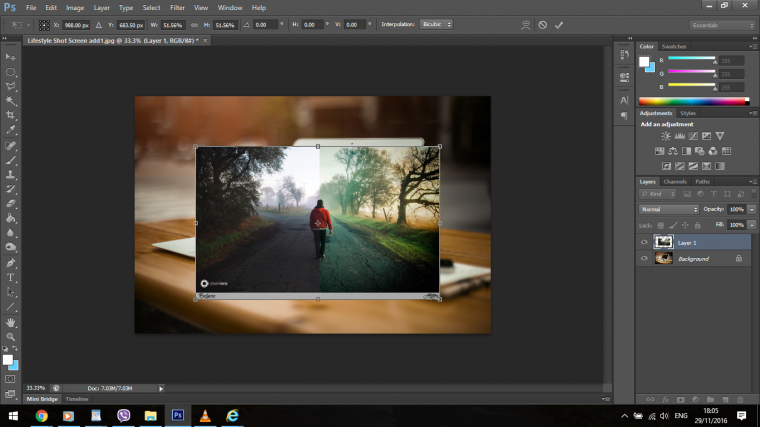
Now you can copy and paste your new screen image into the Lifestyle shot that you are going to use with the laptop in it.
You will probably have to use Free Transform to reduce the size a little, this can be found in the edit menu.
When you do this make sure that it is still bigger than the screen so when you add you will be reducing the size so it keeps its sharpness and not increasing which will reduce the resolution.
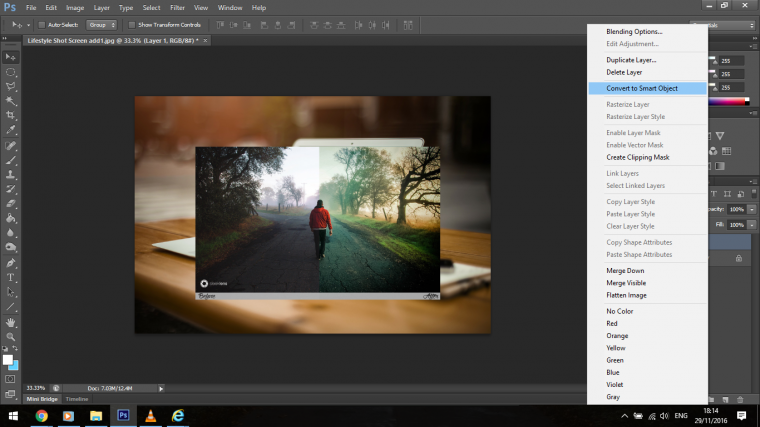
Now the next step is you will want to match each or the corners to the corners of the screen, I do this by first changing the image to a Smart Object.
You do this by right clicking on the layer that contains the image and choosing Convert to Smart Object.
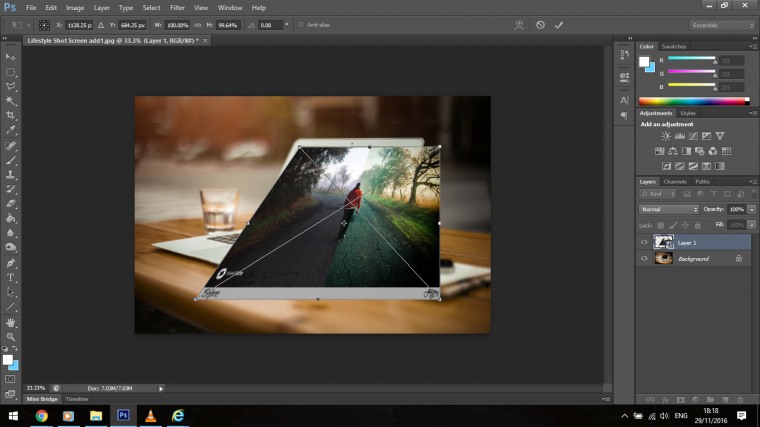
Then you can press Ctrl-T and this will allow you to manipulate the shape.
The way to manipulate the shape is to hold down on Ctrl while you click on the edges of the image, then you can start to drag them towards the corners of the Laptop screen to match them up.
While you are doing this you can press Spacebar to move around your screen and Ctrl + to zoom in / Ctrl – do zoom out on your keyboard.
Keep working with this until you feel you have a good match, you may have to go back and forth.
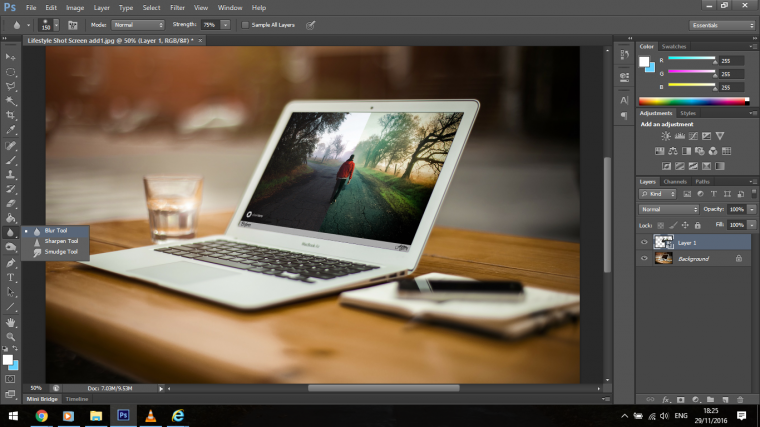
The last little touch I want you to be aware of takes note of blurs in the image, one side may be in focus and the other not.
This is easy fixed by using the Blur Tool with a reduced strength just too softly brush over those areas to match them in for realism.
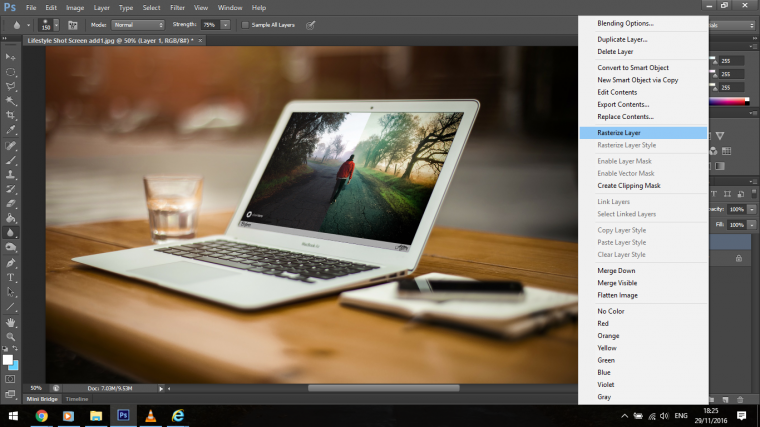
Remember to convert the object back to Raster before you do this, you will find this the same way you found the Convert to Smart object.
Graduated from college in 2002 with a degree in Art & Design, I started exploring my way in Graphic Design and Professional Post Production. Full-time freelancer since 2011.


 Facebook
 Google +
Comments (0)
There are no comments yet.