How to Master the Content Aware and Patch Tool in Photoshopwww.sleeklens.com
Hi everyone I hope you are all progressing nicely with our Sleeklens Photoshop tutorial series aimed at getting you up to scratch on the technical side of Photography so you’re free to think more on the creative, which is the most fun part of course.
Recently I have been doing a lot of residential and architectural retouching using Photoshop, mainly in my Freelance career I have to do a good amount of these types of jobs and one of the main things my clients ask me to do is to tidy up patches in grass or cover over areas that have now been changed since the original images that they took because as you know people change bits and pieces to their houses regularly and gardens are always growing.
So I want to take a look at the Patch Tool and the Content Aware Tool so you can learn how to do this as well at a fast pace instead of cloning large areas which can end up very messy with just the Clone Tool being used.
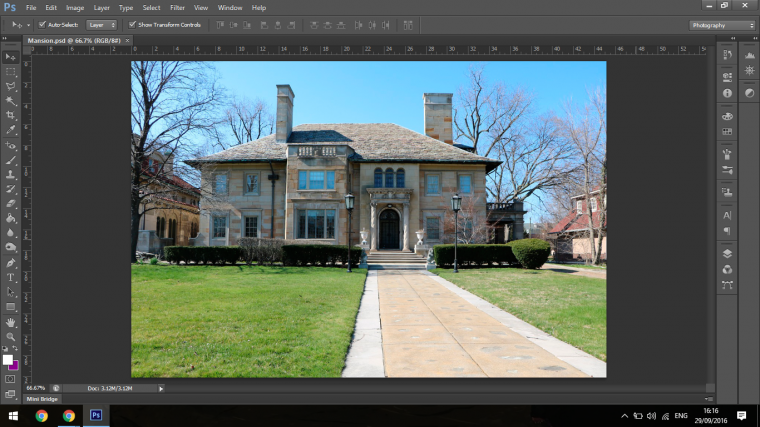
This is our image for today, so if you look at the foot path there, there is the two edges that my “Client” for today has asked me to cover up all those horrible patchy areas on his grass, he said they don’t have time to cut it and could I do anything to make it look better, lucky enough I know Photoshop.
Normally someone that isn’t too accustomed to Photoshop would probably grab the Clone Stamp Tool first and try to work their way down through the grass, now yes you could do that but that will take a lot longer that if you use the Path and Content Aware Tool.
Please note though that you can use the Clone Tool at the end to tidy us the edges, you can even go as far as to download free grass pattern brush so it will look like real grass.
You will be able to find loads of free content like this online so be aware of that because I’ve always found things like this very useful indeed.
So in this Photoshop Tutorial I will show you how to use both and why you would use one in a certain scenario over another.
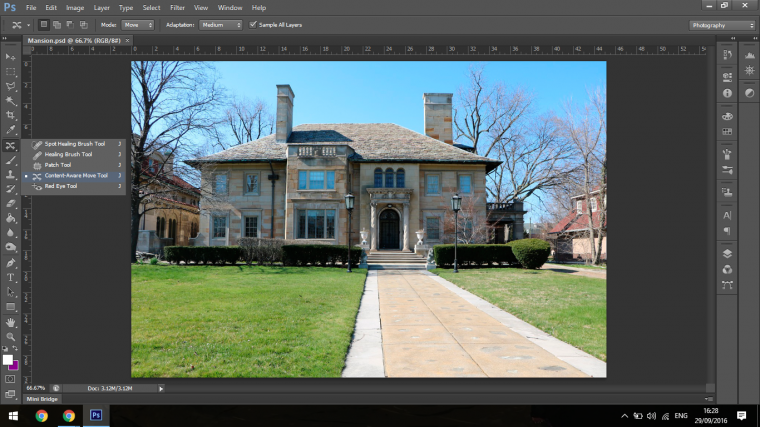
To start we’re going focus in on the Content Aware Tool.
Check the image below to see where you find it.
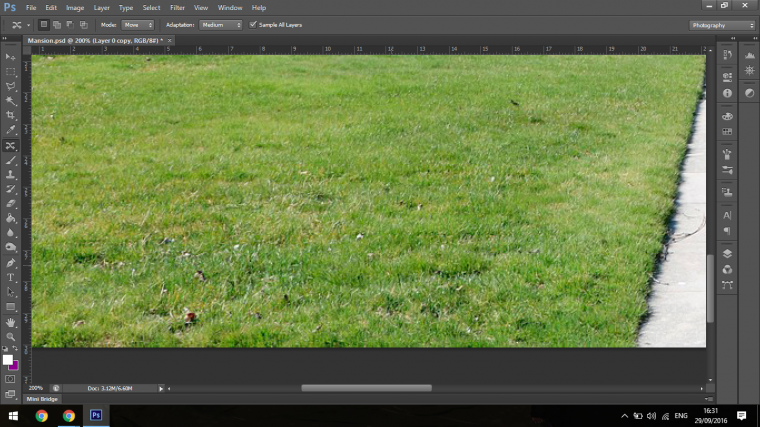
When we zoom in on the grass you can see patchy areas that we need to tidy up
How you would do this with the Content Aware Tool is click on the area that you want to fix, you can do large areas but sometimes depending on the image it might look a little suspect, so use our judgement and a little bit of trial and error while figuring this out.
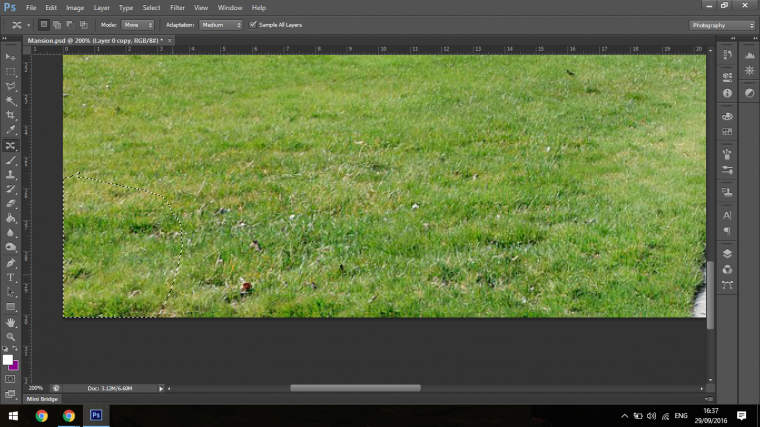
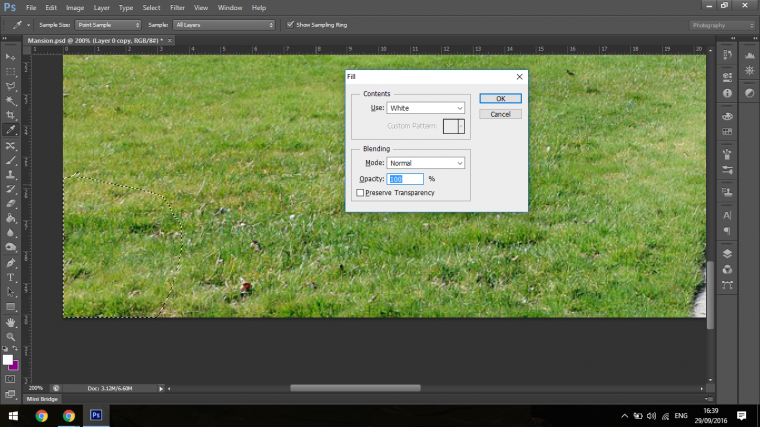
Ok so now click and draw around the area in a closed loop that you wish to fix.
Then you will see the selection appear.
There you can see it on mine int he bottom left hand corner, then you press on your keyboard Shift + Delete and a section box will appear.
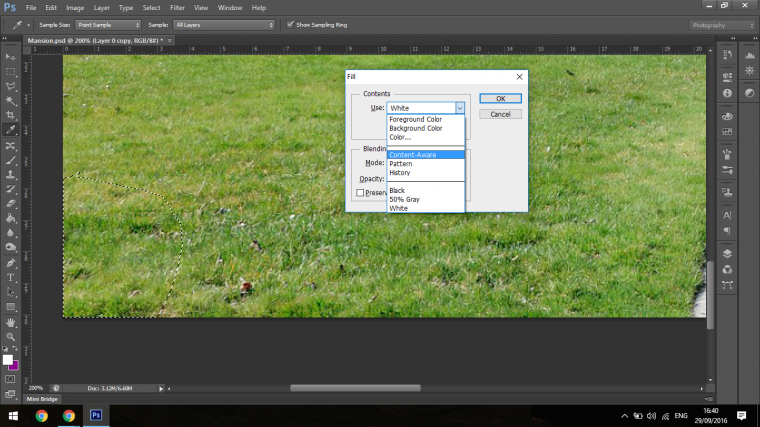
The where the box says Contents, you click on the drop box and choose Content Aware, then you press on Ok.
Results can be varied with this Tool so if you need to go again press on your keyboard Ctrl + Alt + Z to erase the last action you took.
I would suggest using this on larger areas that look very similar.
So the next Tool we’re going to take a look at is the Patch Tool.
How you use this is basically the same but instead of keying Shift and Delete you simply click on the selection hold and drag to an area that matches.
So if we do the same with the grass patches you will see you can customize it more to your own judgement.
The main differences between these two Tools is speed but one that I see happen a lot is if you use the Clone Stamp Tool too much over one area it will start to blend and become blurry, with these two Tool you now know how to use that should be a thing of the past.
Graduated from college in 2002 with a degree in Art & Design, I started exploring my way in Graphic Design and Professional Post Production. Full-time freelancer since 2011.


 Facebook
 Google +
Comments (0)
There are no comments yet.