Different types of Lighting Used in Photographywww.sleeklens.com
Back in time, when I was starting with photography the internet wasn’t so popular and full of information. I was having a conversation with an experienced photographer, and with an intention to grab some of his knowledge, I’ve asked about the lights regarding photography… he told me that when it comes to the “know how” of photography, two-thirds goes to the light. And that first I should learn the basics- composition, ISO, shooter speed and aperture.
In this article, I’m going to stay focused on how to get better lighting with camera flashes.
Being a photographer and not using a flash – that is not going too happened. Using a flash is an inevitable part of a complete photographer. But first, we going to have to understand that the flash it’s not only to brighten a scene or the subject that we are shooting. The flash can set the mood of your photo, or it can create special effects, and it can be fun if you know how to.
There are many techniques, but for this article, we are going to stay on 5 techniques:
Bouncethe Light
Diffuse Your Flash
Make Use of Ambient Light
Usage of Colored Flash Gels and Filters
Use More Than One Flash
For some of them, you’ll use an external flash, for some you can use the built-in flash, but the fun comes in when you are using external flashes- yes, more than one
Table of Contents
Bouncethe Light
The first thing that you have to have in mind is never pointed your flash directly toward the subject. This will result in white unnatural faces or nasty shadows in the background. The hint is to bounce the light from another surface such as the ceilings, a neutrally painted wall, or use a diffuser card on your flash. This will result in warmness and natural and soft look of your subject.
Diffuse Your Flash
If you are using an entry-level or semi-professional DSLR camera you have a built-in pop-up flash. This one is not as good as the professional ones. Why? Because they are a harsh and direct source of light, and use of them is not good for portraits. In my experience, it is much better to diffuse them. This will shorten the shooting distance from your subject but you will have a better outcome at the end of the day.
The same goes for the speedlight diffusers. In my opinion, it’s better to shoot with a diffuser because it smoothes the light and gives a more natural look of your subject.
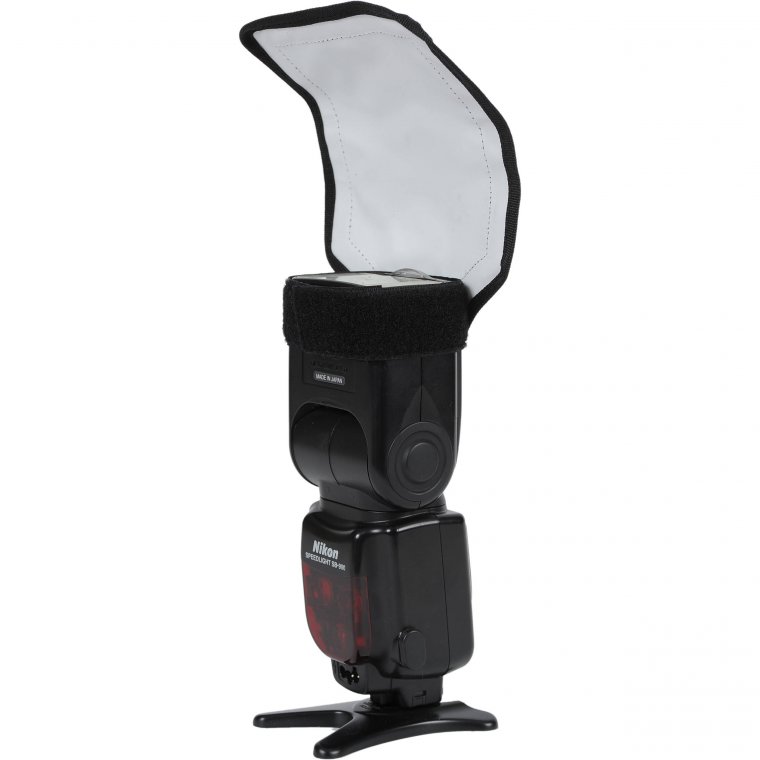
My favorite tool is the flash reflector. The diffuser sits on top the flash, the reflector is a white plastic or card that bounce your flashlight in order to spread the effects of the flash wider through a room and to make the flash less direct.
If you are making your own diffusers or reflector make sure that you are using white paper or plastic. Otherwise, you will cast a colored light on the subject which will leave your subject with tinges of that color.
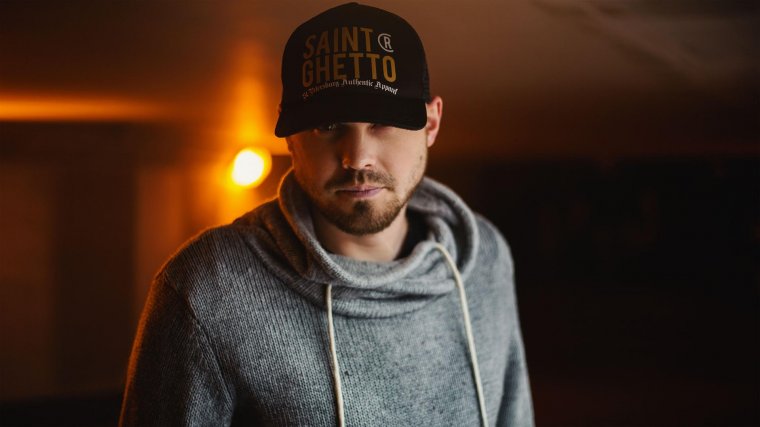
Make Use of Ambient Light
When shooting outdoors in low light or at night just flashing around you will probably get a photo with no background at all and exposed subject. How to make use of the background ambient light?
Allowing the background lights will give your photo a context and a sense of the atmosphere. You can do this by shooting in manual exposure and allow your camera first to expose the background and after that, you can compensate with the flash and properly expose the subject. This technique is called “2nd curtain sync” and I will make an article for just that in near future.
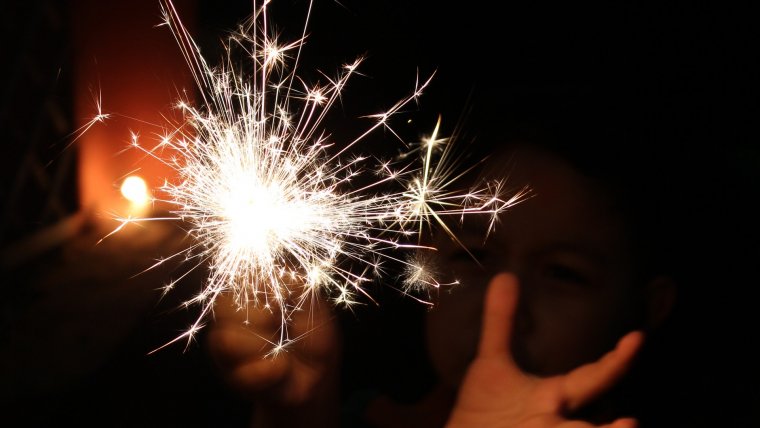
Usage of Colored Flash (Filters) Gels
Using flash gels (filters) is a good way to add vivid colors to your photos. They are attached to your flash in the same way as the diffusers allowing the flash to emit colored light. This will create special effects and it’s used to match the color of the ambient light, such as discotheques or nightclubs.
Also, the normal home lights have different color temperature comparing to the flash. Set your white balance to Auto (these days camera processors are pretty much accurate in their evaluation of the WB) and then adding an amber filter over the flash lens to correct your fore and background color.
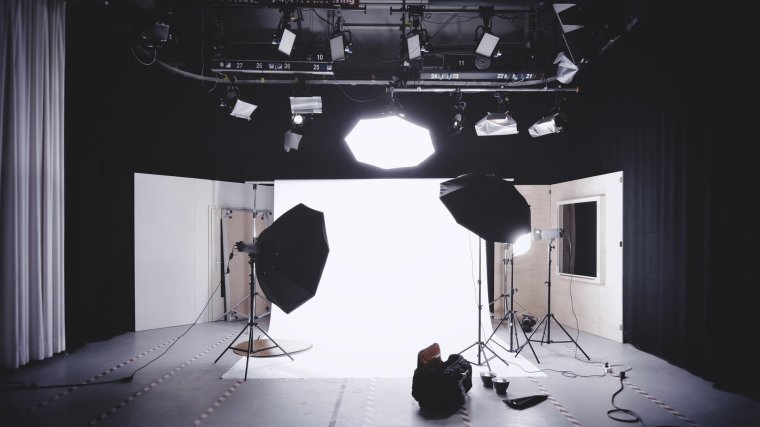
Use More Than One Flash
This technique refers more to studio photography. It creates 3-dimensional effects by throwing light on the subject and the background. Operation in a studio requires more knowledge in operating and synchronization of multiple flashes via a wireless transmitter. The idea is to create shadows and highlights.
To make a studio lightning you will need no less than 3 sources of light: the Main Light facing your subject and positioned close to either side of the camera, a Filler Light facing your subject and positioned near the other side of the camera, and a Background light in the back of the subject to create suitable highlights, and separate the subject from the background.
Try some of these techniques, go out and practice because photography it’s all about the experience. Leave a comment, and if you have a question I will be more than happy to answer them.
That is all for now. Hope that you have learned something new.
Damjan Nikolov is human rights activist, and freelancer photographer. Loves life, loves freedom, loves traveling and nature. A biker, devoted father and caring husband


 Facebook
 Google +
Comments (0)
There are no comments yet.