How To Record Videos With DSLR Cameraswww.sleeklens.com
Doing videos has noticeably been becoming a bit more popular than capturing still images for some reason. I personally think this trend has been influenced by social media as more individuals are encouraged to capture videos on their phone or even their camera to either upload to an Instagram story or utilize Instagram’s new feature, IGTV. With this trend becoming more and more popular, the time has come to learn how to properly record video with your DSLR camera. With different brands, the camera concepts of recording video might change but nonetheless, the fundamentals are usually the same. In this article, I will be sharing with you some of those fundamental tips and tricks as to how you can properly record videos with your DSLR camera.
Table of Contents
1. Set Your Camera To Video
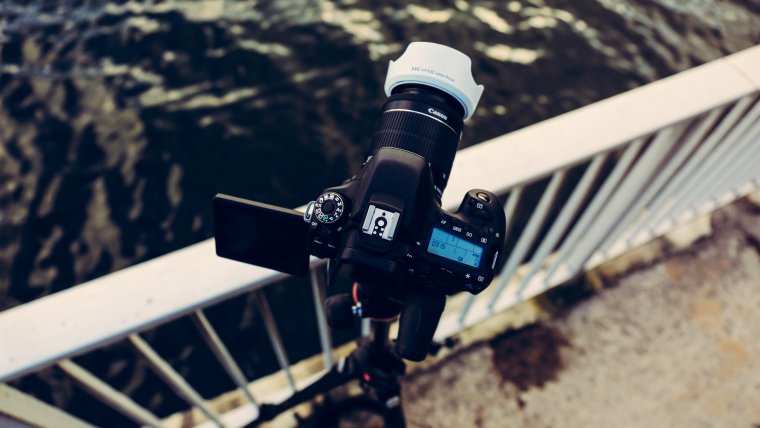
Like every DSLR you should have a series of options on your dial to select the modes of your choice. Whether it be fully auto mode or portrait mode, these modes will be available on your dial. You will need to select the mode that dictates video. This icon usually takes the same as an old school video camera or the dial might just say video. Once you’ve selected this mode, you’ve already made the first step in learning how to record video on your camera.
2. Use Manual Focus
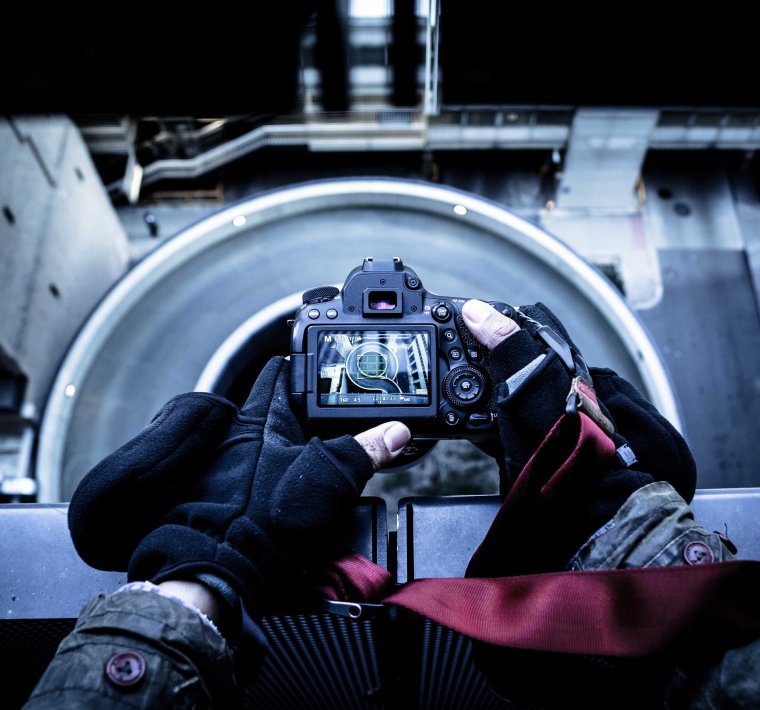
Even though autofocus is easy as a beginner, I wouldn’t recommend getting used to it too much as it is not the best option when doing videography. Depending on your camera’s capabilities, the autofocus option might be appealing to you but in the field of videography it is not something is made a habit. If you’re not already shooting with a fully manual lens, I recommend you look into purchasing one or flipping that little switch on the side of your lens to MF (manual focus). It may seem difficult at first but with a little practice, I promise it becomes so much easier to manipulate and use.
3. Recording Sound
If you plan to invest time and creativity into the art of videography then you should also consider getting a mic. Most DSLR camera does come with built-in mics but to be frank, nobody really uses them. They tend to not perform well when it comes to sound quality, noise cancellation, and overall performance. The most popular and affordable mic on the market for its quality is the Rode Shotgun Mic. This mic is very lightweight and performs pretty well for the price tag attached. You can easily find this mic on Amazon or any other photography site responsible for the sale of photography and videography equipment. This mic is used often by YouTubers and bloggers when recording video. Using a mic on your camera will help to improve your audio substantially and make your video that much more appealing.
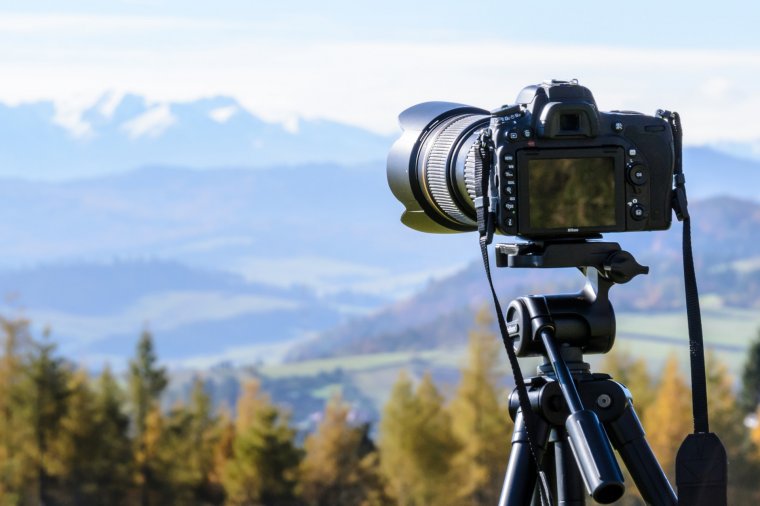
are one of the simple most used tools in photography but funny enough, it doesn’t get the praise it deserves. In videography its all about having steady hands to get a steady and appealing video. Tripods and Gimbals help in this case but depending on your budget, you can decide as to which you would like to invest in. However, when it comes to catching stable video and photographs, tripods are the way to go and will come in hand a lot throughout your practice in videography. I advise purchasing a very heavy duty or sturdy tripod as most DSLR cameras are not very lightweight and the chance of your camera tumbling over with a tripod that is not so sturdy is very likely. Check the specs on each tripod before making your purchase and also read reviews just to be sure it is sturdy enough for you.
5. Shoot In Sequences
Shooting continuously of an event or even any scene might be tempting but try to make a habit to shoot in different sequences for diversity when editing your clips. Shooting in sequences can come in helpful when editing because you can easily cut clips to match the music in your video if you have any. In addition to that, watching one scene or event for too long can become boring very quickly and lose the interest of whoever is going to be watching the clip. Keep it interesting with shot videos of different things,
6. Adjusting Your Settings
If you’re a beginner then I will inform you that when shooting video with your DSLR, it will not automatically adjust things such as your ISO for you. Different lighting situations determine different ISO levels and as a result of that, you will need to continuously preview and test your video before you actually begin to shoot. This should take anywhere between 5-10 minutes to adjust and be ready so don’t overthink it or worry too much. Depending on your camera settings or navigation of your buttons, adjusting your settings should be easily accessible and not too much of a hassle.


 Facebook
 Google +
Comments (0)
There are no comments yet.