This tutorial will be part of a more broader set of Tutorials that will be connected and will come after this one.
Also for this practical way I’m going to show you, this doesn’t just work with hair, in fact, this technique will work with pretty much anything if the basic fundamentals line up.
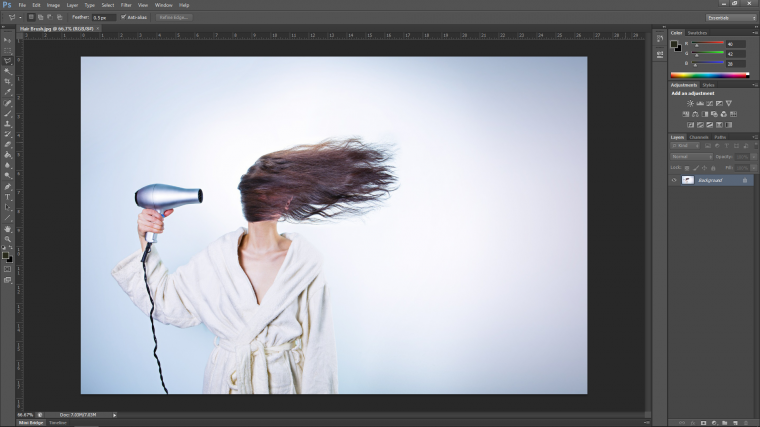
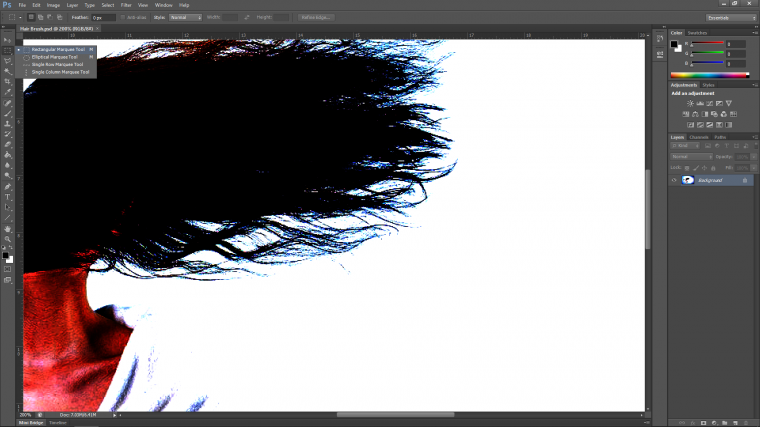
What do you notice about this image in terms of the hair? well, the hair is on a [pretty much] white background.
This means that we can use this to our advantage due to the contrast.
Note: If the hair is on anything other than a White(ish) or as close to White then this technique will not work.
So right now your exercise is to find a similar image on a Free Stock site such as Pixabay as I use all the time and then get yourself an image that is similar to mine, remember that there must be the contrast between the hair and the background.
Ok, so I’d imagine that you have your image and the exercise was successful and you’re ready to go?! good!
Next go to your image and find a suitable part on the hair that will work for the type of hair that you are trying to fix up, so for the image that would like to fix up I’ll be dealing with very straight short hair so I’ll want to find an area on the models hair that I could use.
The same idea would go for curly hair etc.
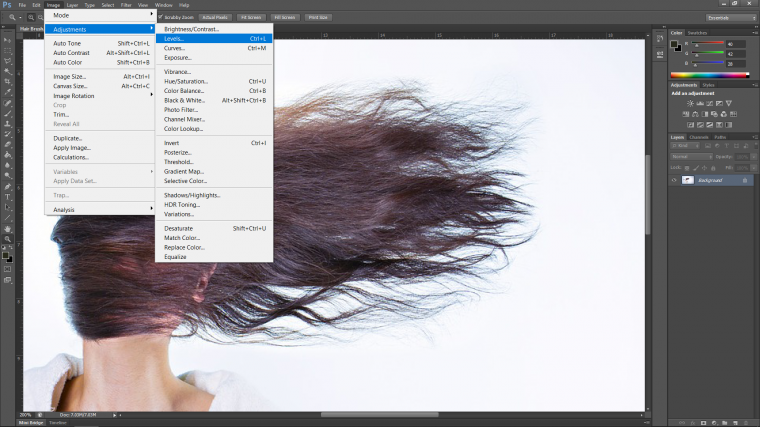
Now we have to create the contrast between the hair and the background.
The way to do this is through Levels, you will find Levels in the top menu, so go to…
Image – Adjustments – Levels
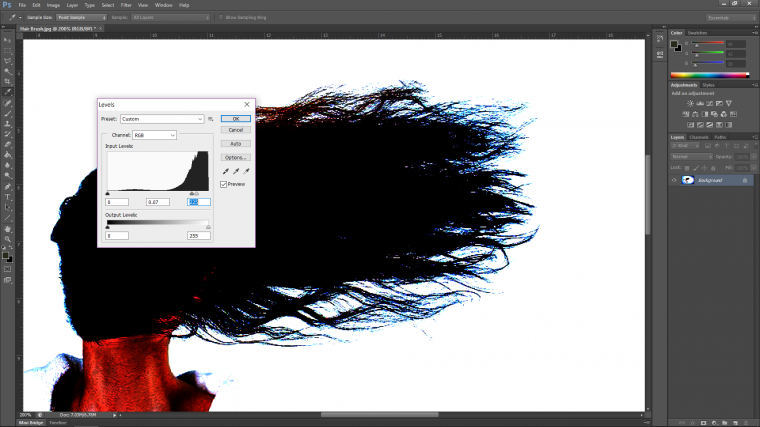
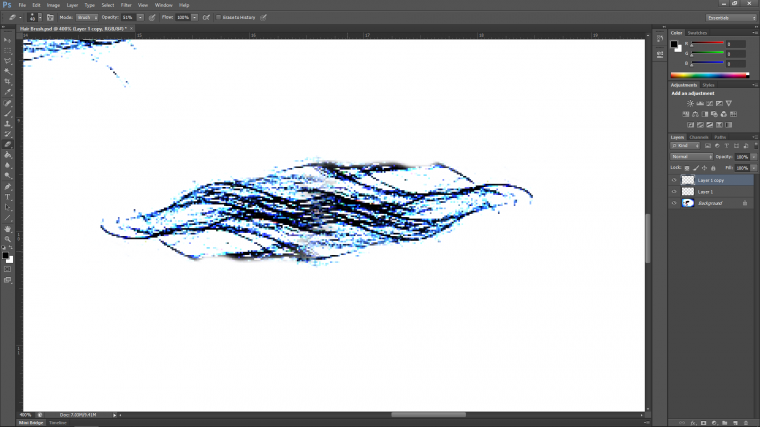
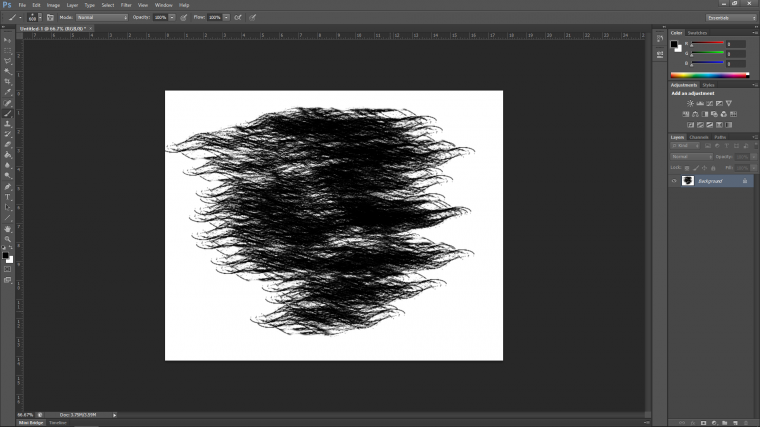
When Levels is open you will see three little sliders in the Input Levels Histogram.
Grab the center one and pull it toward the right until you see the hair turning black but don’t pull it all the way to the right you still have to leave a little bit of room to compensate for the white background so to do that you now pull the little slider tab on the right towards the left a little bit till you see a good contrast between the Black and White so that there is not that much if any color left, if there is don’t worry about it too much because once you create the brush that will disappear so a little noise is good here and there.
And just a note on Noise and what it is, if you ever hear the word Noise coming up in Photoshop related subjects then know that it is Pixelization, you can see it in my image below with the areas of the hair that’s Blue and Red, so anyway once you get to a point were your image looks something similar to mine you are good to go.
Hit OK.
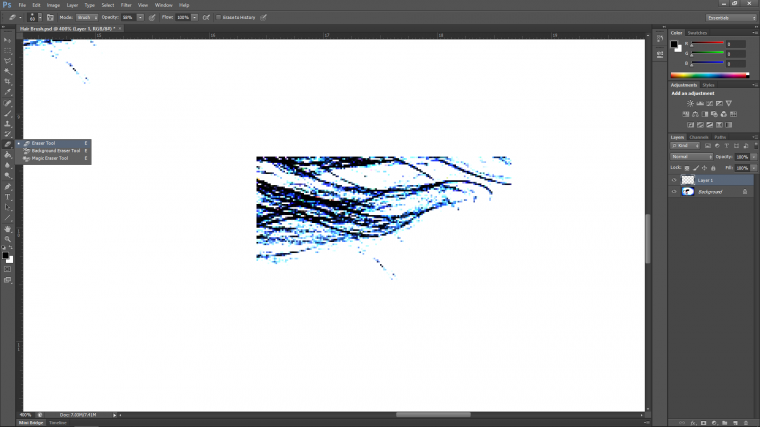
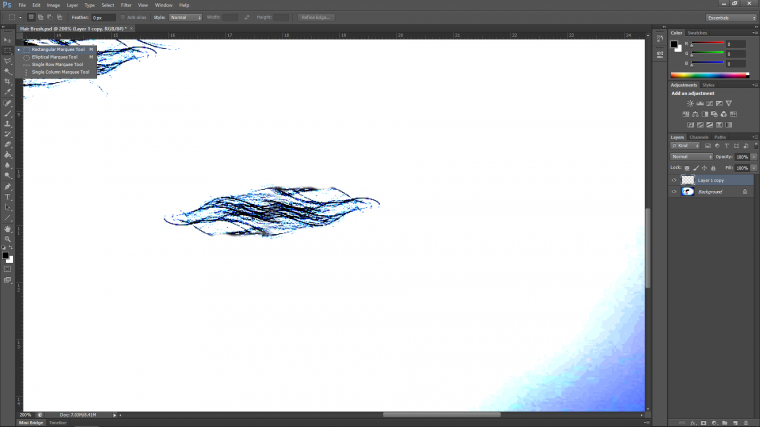
Next, grab the Rectangular Marquee Tool that you will find on the Toolbar on the left-hand side as shown in the image below.
You will require no Feather for this as you will see on my example image it is set to zero, if you don’t know what Feather is, it is an area on the outside of the selection that when selected will be faded, so the more you add to Feather the more faded it will be.
Next you’re going to click and drag over an area that you think you can use for your Brush, for mine I want an area around the outside were I am able to see a good amount of the hair strands, once you are happy with an area then as stated click and drag over it with the Selection Tool.
Next, you’re going to make a copy of the selected area by simply going to Edit – Copy and then Edit Paste so the selection ends up on its own layer.
So save up, go to File – Save As and look for the option PSD, just bear in mind also, that you can make several of these if you wish to try out different patterns!
Now we have our area copied and pasted it’s time to tidy it up a little bit to remove access areas and parts that are a little bit more edged than we would like it to be.
What I suggest doing here is to click on the pasted element and to move it to an area that has a white background, even you have to create a new file just for this part then all good there’s no problem there, it will already be copied and all you’ll have to do it to just paste it as you did before with File -Paste, but however you do it we need to tidy it up unless you got super lucky!
So what I generally do it to just take my Eraser Tool with 100% Opacity, you will see in my example image below that my Opacity was set to 58% from a previous Workflow so I had to boost it back up to 100% so just in case give that a quick eye and check that it is 100%.
Then all I do is I just start to erase out areas I think are not needed and try to use a bit or Artistic license to make it look kind of real.
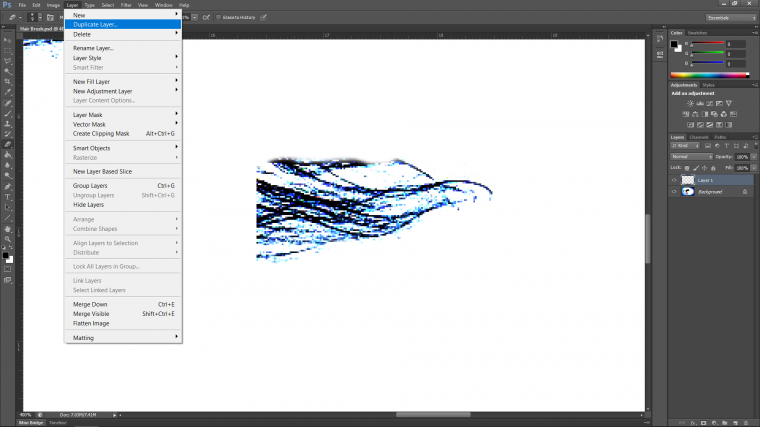
Now that, that is complete I’m going to create a Duplicate Layer so that I can create a little bit extra on to the back end of the hair, you may not need to do this depending on how your image came out, you also don’t have to use the same element of hair you can stick another area of the hair on to this if you’d like.
For mine I just created and duplicate and keying in Ctrl + T I Free Transformed it and flipped it round so that it joined on to the other end.
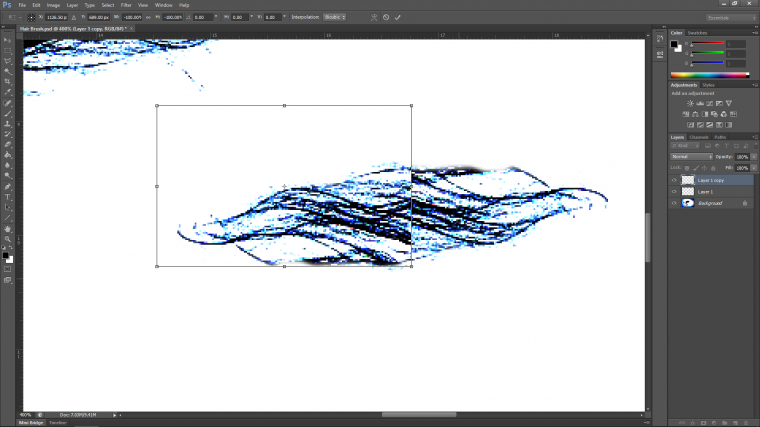
Then once I was happy with the placement I used my Eraser Tool Once again, but this time with a lowered Opacity, so I moved it from 100% down about half (you don’t have to be exact) and then I just blended in the areas where the two bits of hair met, again you don’t have to be super exact because when you use this you will be able to do various blends and fix-ups.
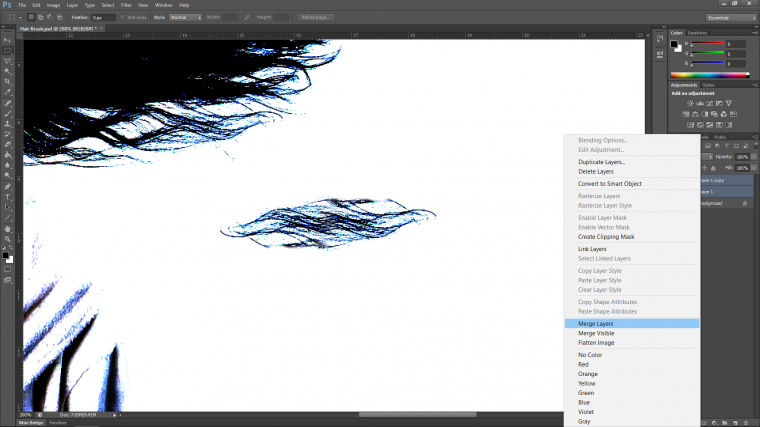
Next click on your layers and highlight them both, the way to do this is to click on the bottom one (no particular order actually) then hold shift on your keyboard and click on the Top Layer, then the two hair layers will be highlighted, you will now be able to right click on whichever one and then click on Merge Layers to join them.
Next select the hair with your Rectangular Selection Tool again but this time hold shift so that it creates a perfect square.
If your image is not perfectly in the middle of the square then just hit your arrow keys on your keyboard to shift it about until it is.
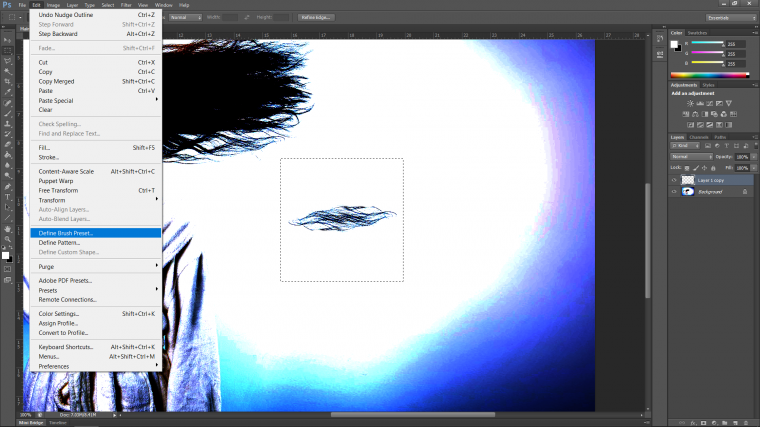
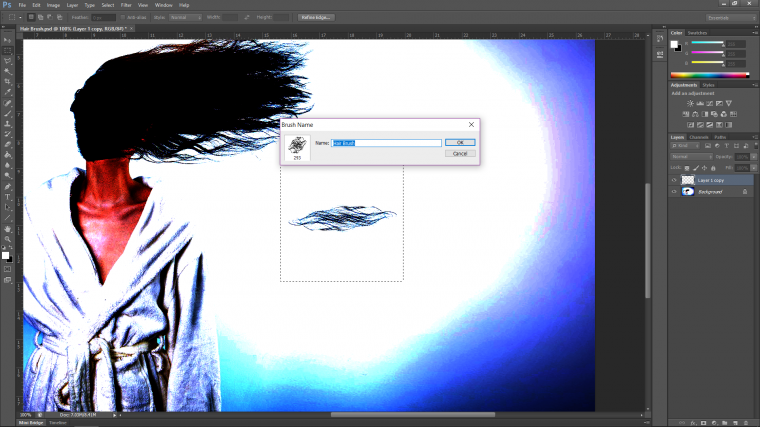
with the hair selected go to Edit – Define Brush Preset
Give it an appropriate name and click OK and the Tool Is created!
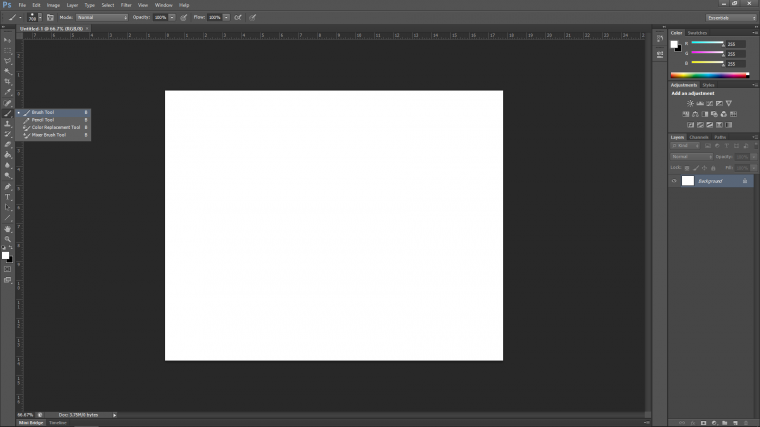
To test it out all you have to do is create a new file or you can just for testing out sake paint over the image that you already have up.
Anyway, so you selected your Brush Tool by going to the sidebar on the left-hand side and clicking on the Brush Tool as shown below.
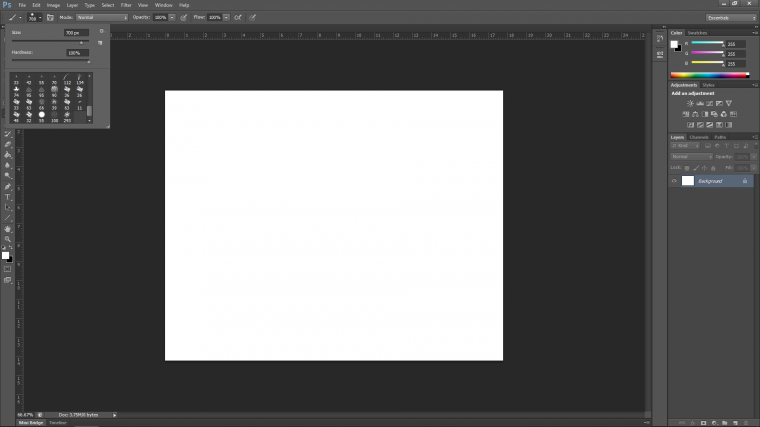
Now at the very top of all your Tool Bars you will see some options, under Edit you will see some Brush Icons that you can click on, click on the second one over to open it up, the scroll the whole way to the bottom and you will find your Hair Brush Tool that you just created.
Then just paint as normal with your Brush Tool and try it out to see what effect you get.
There is a lot more that can be done to the Brush but this is just the bare basics, and keep in mind if you can silhouette it you can make a Brush out of it!
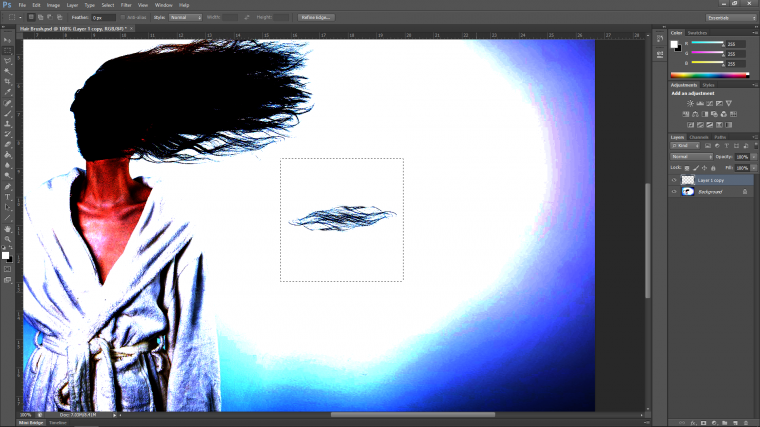
Check out my quick little example of what you can now do combining this Brush with the Clone Stamp Tool below.
Graduated from college in 2002 with a degree in Art & Design, I started exploring my way in Graphic Design and Professional Post Production. Full-time freelancer since 2011.


 Facebook
 Google +
Comments (0)
There are no comments yet.